
Door repairs cost around $250 on average but can range from $50 to $700 depending on the type of door, type of repair, materials, and project scope.
Make your grand entrance with a fully functioning door

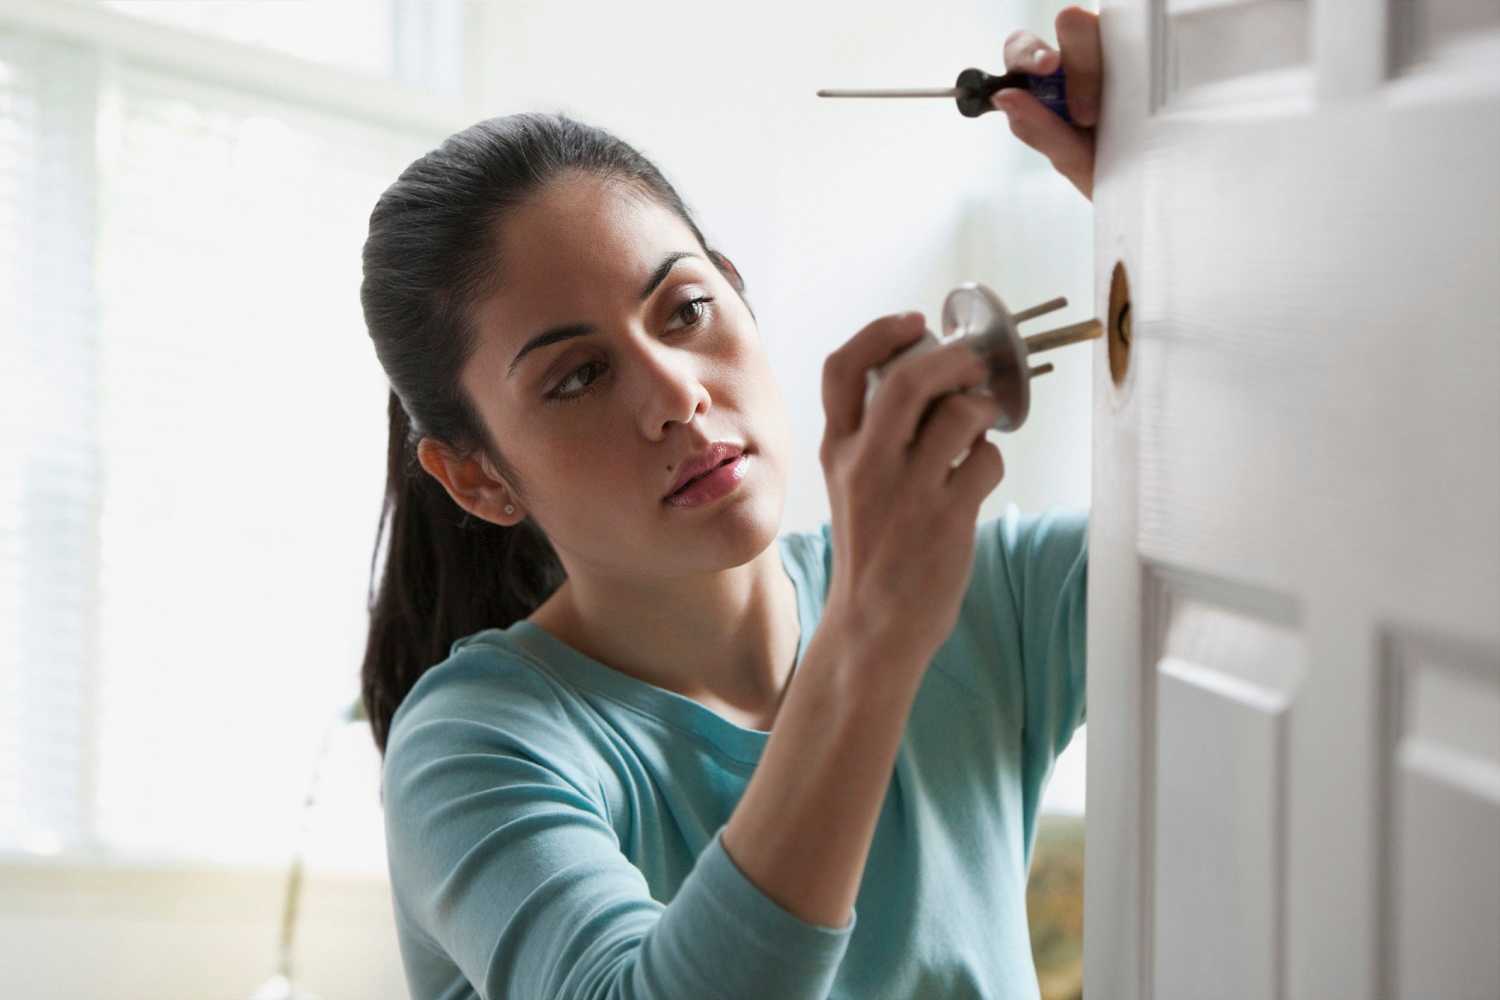
Fixing a sticking door starts with checking loose strike plates or hinges, which create friction when your door rubs against the frame.
Door repairs cost $130 to $375 on average, while hiring a contractor for planing runs about $250 for more complex stuck door issues.
Tighten all hinge screws and replace them with deeper 3-inch screws if your door still sticks after basic adjustments to the hardware.
Hiring a local handyman service professional removes the guesswork from planing and sanding, especially when your door needs removal for major adjustments.
If you’re dealing with a door in your home that sticks, the constant reminder of its unnecessary stubbornness gets harder to ignore. And once you’ve had enough, most homeowners want to know how to fix a door that sticks. If this is you, read on to learn multiple ways to fix a stuck door so you can come and go as you please.
If you’re struggling with a sticking door, you could be facing one of a few common door problems. Improper installation, sagging or broken door hinges, wear and tear, or friction within the strike plate can all cause a door to stick. Troubleshooting with a few different methods will help to narrow down the issue.
Since there are multiple causes of a stuck door, you’ll need to follow these steps to check for different issues. If you try the methods below and your door still sticks, a door repair professional can help get it working again.

In many cases, the friction caused by the metal strike plate contacting the door frame leads to a stuck door. Take a look at the metal strike plate to see if the screws are loose. If so, give each screw a quick turn to tighten them. While you are at it, tighten the lock on the door for even more uniformity.
Be careful, and don’t overtighten either area to avoid stripping the screws. If some of the screws are already stripped, use a screw extractor to pull them out and then replace them with functioning screws, tightening as necessary.

A door can stick when the door edge hits the frame with too much friction. So if tightening the strike plate didn’t do the job, try tightening the hinge screws on the other side of the door. Check all available hinge screws for looseness and use a Phillips-head screwdriver to tighten them.
As always, do not over-tighten the screws to avoid stripping or accidental damage. In most cases, three or four turns are enough. Afterward, check to see if that resolved the issue.

When you were tightening the hinge screws, did the screws turn but not actually tighten? Replace the screws with longer ones to pull the door jamb closer to the frame, thus fixing the stuck door issue. There are two ways to do this:
First method: Remove the middle screw from the jamb side of the top hinge. Replace it with a 3-inch wood screw. Often, though not always, this single screw replacement corrects the swing and alleviates the stuck door problem.
Second method: If the above didn’t work, it indicates shallow pilot holes and a need for multiple screw replacements. Start by removing one screw with a screw extractor and using a drill to lengthen the pilot hole slightly. Replace that screw with the new 3-inch variety and move on to the next. Repeat the process until all hinge screws are brand new.

If the above hinge adjustments didn’t work, there are other ways to draw in the jamb to fix a stuck door. Another option is to drive a long screw through the alternate side of the hinge jamb, which is the latch side. This will give your door extra room to breathe.
First, focus your attention on the part of the door that rubs against the frame. Use a drill to carefully drive a 3-inch screw near the middle of this area. Use a countersink drill bit to ensure maximum protection of the wood and to create a uniform look. You may need a second screw near the first one in the case of extremely loose jambs. Tighten the screws gradually and keep an eye on the trim to ensure you don’t open up any joints. This process creates obvious screw heads on the latch side of your door. Cover them with wood filler and paint over them to match the rest of the door.

This is by far the most labor-intensive and challenging method. Feel free to contact a door repair pro to pull this off. Planing a door requires removing the door entirely and using a belt sander, so only attempt it after completing all the above steps to no avail.
First, create a mark so you’ll know where to sand it later before removing the door. Lay down masking tape running vertically between the jamb and the frame. Then, use a ruler or compass and a pencil to create a straight line on the tape. This straight line represents the layers that need sanding to fix the issue.
Use a screwdriver or drill to remove the door from the hinges. Take your time and have someone nearby to help carry it after removal. Place it down somewhere stable, such as a work table.
Use the belt sander to sand to your mark. Go slowly and sand right up to the line, but do not exceed it. Otherwise, a large gap will form between the jamb and the frame. Take breaks to check your work and ensure you're creating an even sand and not a beveled edge. After planing it, apply sealant and paint to match the rest of the door, allowing it to dry. Place the door back into the hinges and marvel at your handiwork.
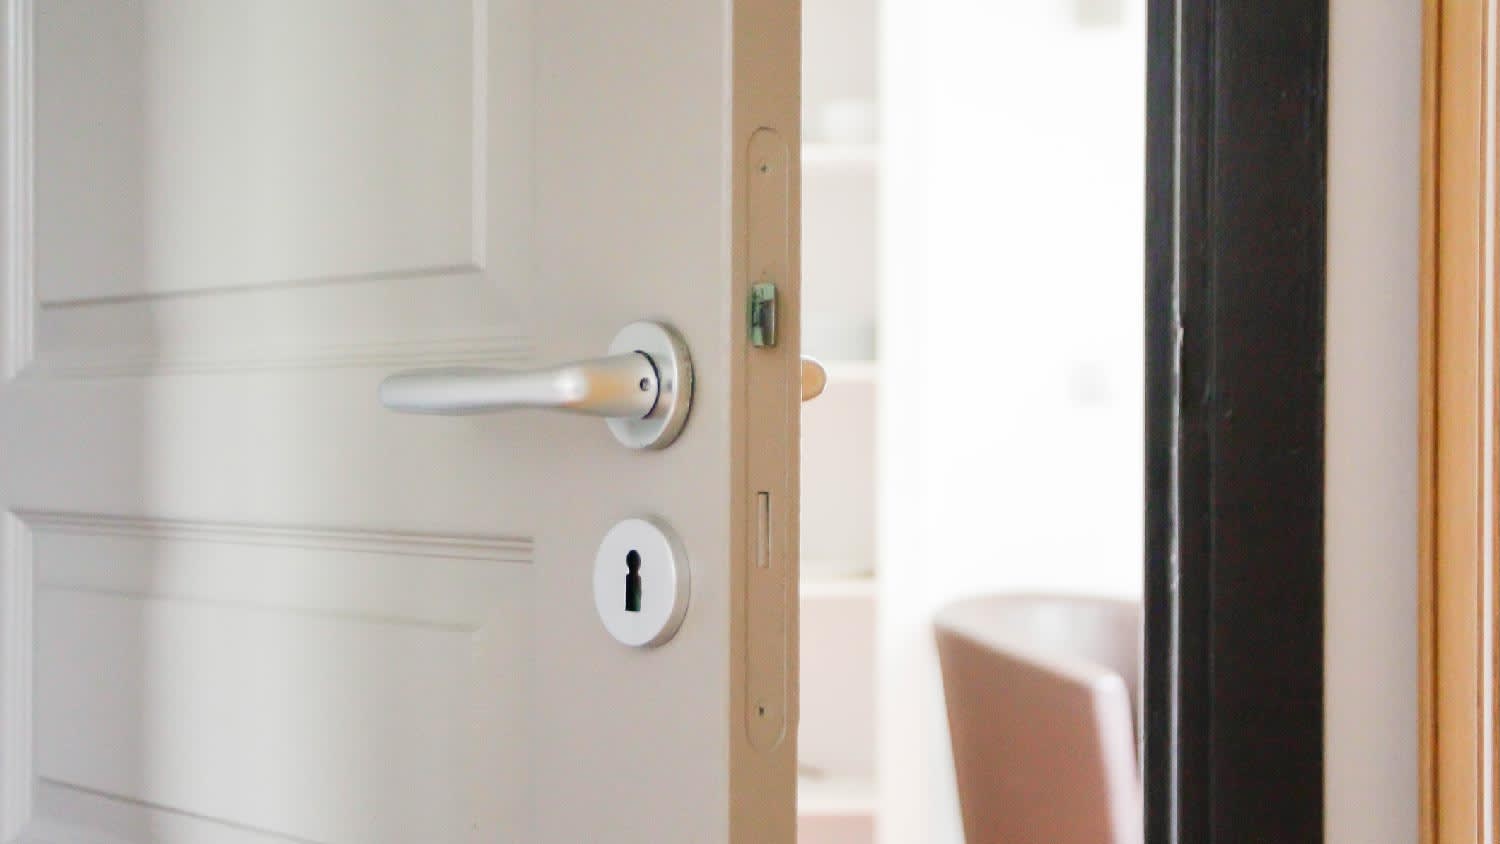
Based on data from Angi, about 31% of homeowners need to repair the frame of their doors. Locksets and hinges are the next most common parts of a door that need repair, at 10.7% and 9.6%, respectively.
Once you learn how to fix a door that sticks, the next obstacle is ensuring you minimize the chances of your other doors sticking. Since there are a few different causes for a stuck door, there are quite a few ways you can keep them opening smoothly. We’ll cover a few prevention tips below.
The hardware on your door, like your hinges and strike plate, plays a huge role in whether you have a sticky door. If they’re loose, your door will have trouble opening and closing. To prevent this, occasionally inspect the different parts of your door, including the hardware, to ensure it’s functioning correctly and not misaligned.
Just like water and oil don’t mix, neither do doors and humidity. Wooden doors are impacted the most, but humidity can do a number on door frames and other door materials. When the humidity in your home is above 70%, it causes the wood to swell, which can make the door take up more space than it was originally intended to. You can use ventilation fans, dehumidifiers, and air conditioning to keep your humidity levels low and consistent.
Foundation settlement can also be the cause behind a sticky door. When your foundation starts settling, it can settle unevenly, leading to misalignment issues in your home. The only way to fix a problem like this is to contact a professional foundation repair company near you. However, a measure you can take at home to prevent the situation from escalating is to inspect your foundation for cracks at least once a year.
Because it’s easy to strip screws if you use a high-powered drill, be sure to use one with a low torque option. This helps ensure the screws are secure without stripping them. Not all drills have this setting, so check whether yours does before starting.
Once you know how to fix a sticky door, the first four steps are easy DIY fixes. This process is simple and effective in most cases. If you need to remove the door to plane it, consider hiring a pro to avoid accidents while handling a heavy door. Hiring a handyperson costs $50 to $150 per hour, and a pro can remove, plane, and reattach the door in less than one hour.
Door repairs cost $130 to $375 on average, but you might spend more depending on the type of door and the severity of the problem. Simple fixes like tightening hinges or sanding a small area may only require basic tools and materials, costing around $20 to $50 to DIY.
If the solution to a door that sticks is more complex, you might need to plane the door, which involves shaving portions so they no longer stick. The best option in this case is to hire a local door repair contractor to take on the job for about $250.
Terrible experience. Walls/trim/floors/cabinets/doors all have drip marks, overspray, etc. Tiling at the fireplace had to be redone by another vendor due to incorrect and shoddy install by Profect. Contractor had his children in our house while he was on site without prior authorization or...
 Profect painting & exteriors
Jason has helped me with multiple household projects, with the most recent being new door installation. He has always showed up on time and organized and has done an incredible job! Jason is very professional and he's now my go-to for anything around my house that needs to be fixed or...
Company came to look at my garage door that was off track. They also said I needed a brace on the other garage door. They put the door back on track, and I paid to install the brace. The technician told me I needed a new garage door opener, and it would cost $1000. Red flags went off in...
 Precision Overhead Garage Door Service
On Sunday 2/26 I requested quotes via Angi from 4 refrigerator repair businesses. Northwest Appliance responded to me Monday morning (2/27) and my refrigerator was repaired by noon the same day. Great communication, they did everything they said they would. The technician had the parts on...
Excellent customer service and knowledge. I was recommend to him from my neighbour. My front door and window came in great and were installed beautifully perfectly, I m very satisfied with their excellent work, so decided to order one more big bow window for my living room. I cant wait for...
Called ahead and worked quickly to install keyless locks on vintage wooden doors.
Scott did not get appropriate access to the property prior to the scheduled inspection which required us to come back later in the day to complete it. He also, unprofessionally, knocked on a neighbor?s door in his attempts to reach someone with access. His overall report was fine though the...
Door Depot was very responsive - they came out the day after my call to assess my needs, then returned at my convenience to complete the work. They arrived early, and the work was completed in a shorter period of time than estimated. Very pleased with the results. I would definitely use them...
 Door Depot LLC
Replace garage doors: Fast response, competitive estimate, timely work done well.
Jeremiah did an awesome job cleaning 28 windows inside and out! He was fast, efficient and now I have a beautiful view again. This was a Groupon for $139 for 20 windows, but I had 28 windows/doors cleaned, so there was an extra $6 per window. Totally worth it.
 Complete Home Services
From average costs to expert advice, get all the answers you need to get your job done.
Door repairs cost around $250 on average but can range from $50 to $700 depending on the type of door, type of repair, materials, and project scope.
If your door won’t open, the issue could range from broken pieces to regular wear and tear. Check out the common causes and DIY fixes to get it moving again.

Not every damaged door needs to be completely replaced. Learn how to fix a broken door, whether it’s been kicked in or dented.
Whether you need to repair, straighten, or unstick a closet door, these tips can help you save money while making bifold closet door repairs a breeze.
Use our guide to identify eight common door installation problems—and how to fix them.
Is your garage door stuck and you need to get it up and running for your household's sake? Here's how to troubleshoot your garage door woes.