
How much does clapboard siding cost? This guide reviews cost factors, prices per square foot, and more to help you plan your budget.
Clap back at siding damage with these repairs

Cracks, warping, or loose clapboard siding repair issues stem from harsh weather, age, moisture damage, or impact from debris and windstorms hitting your home.
Expect to pay $4 to $13 per square foot for professional clapboard siding repair, with average costs around $900 depending on your damage extent.
Installing replacement clapboards requires measuring precisely, matching wood species, removing old boards carefully, and sealing new boards to prevent moisture from seeping behind your siding.
Hiring a local siding professional provides confident guidance on matching wood species and completing precise cuts, especially when working on ladders or replacing multiple boards.
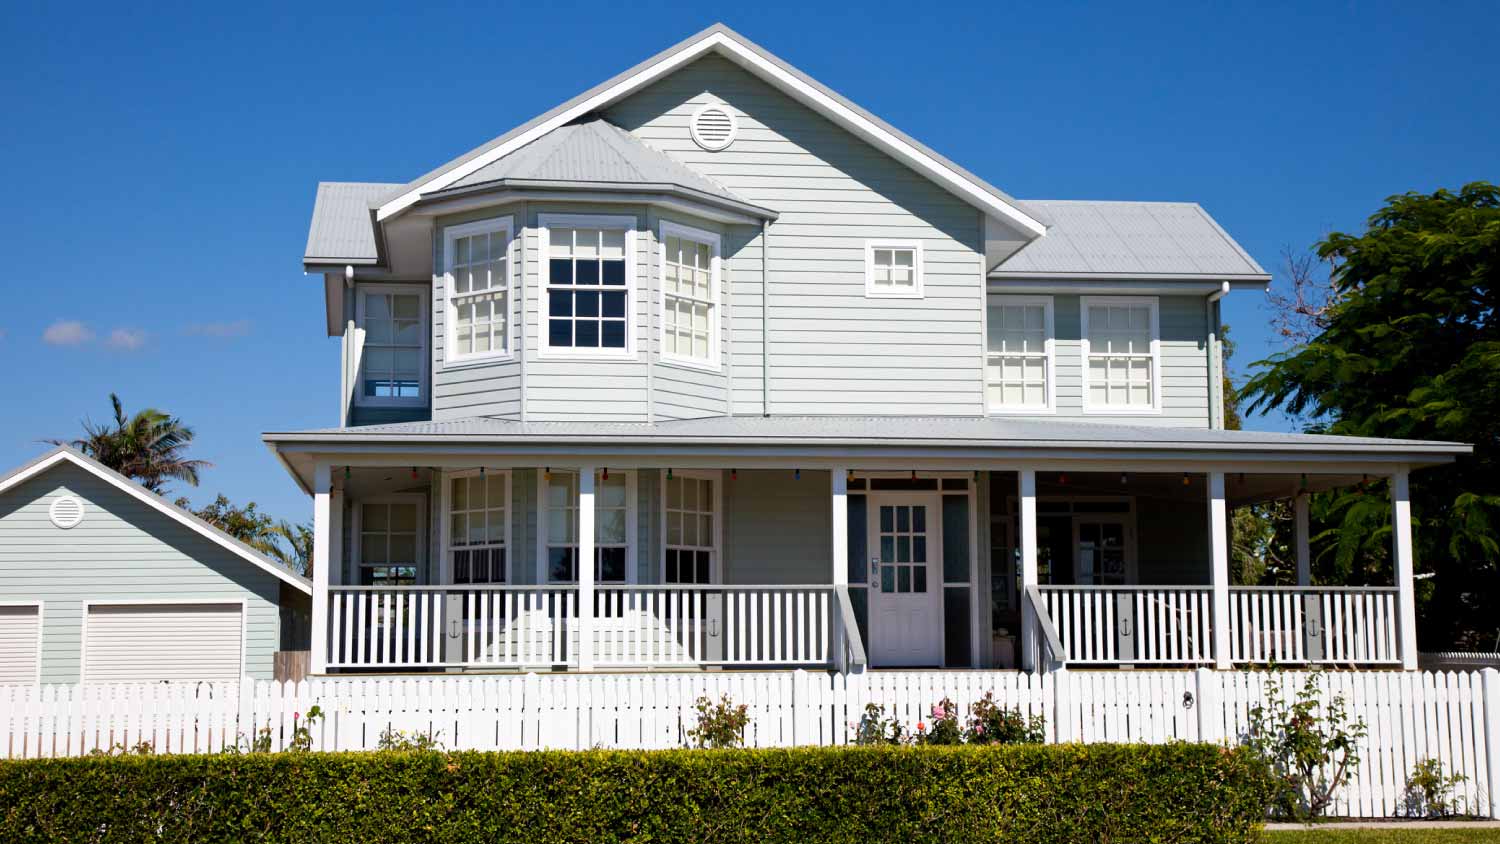
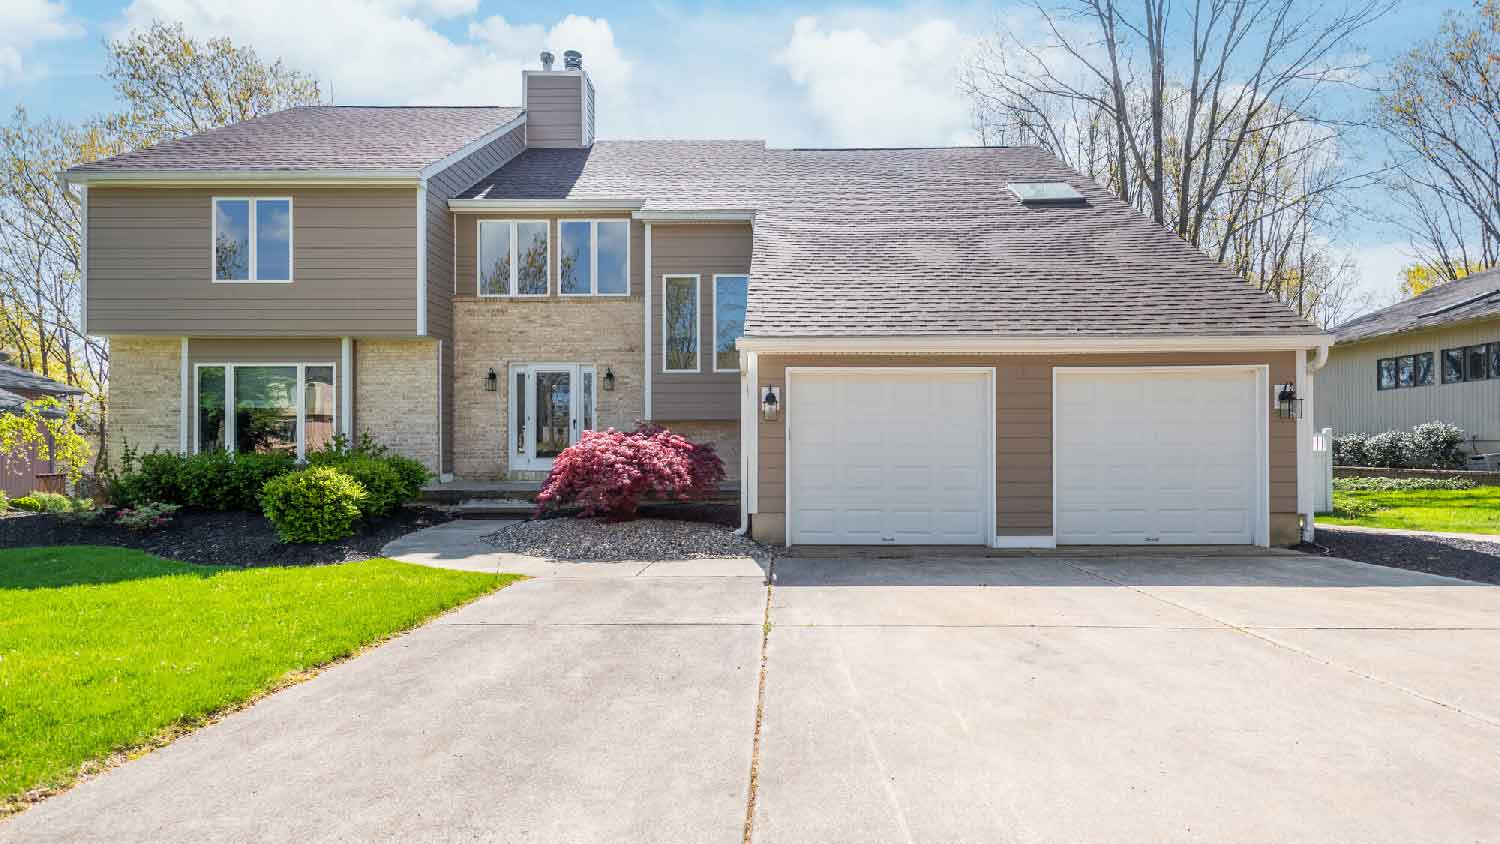
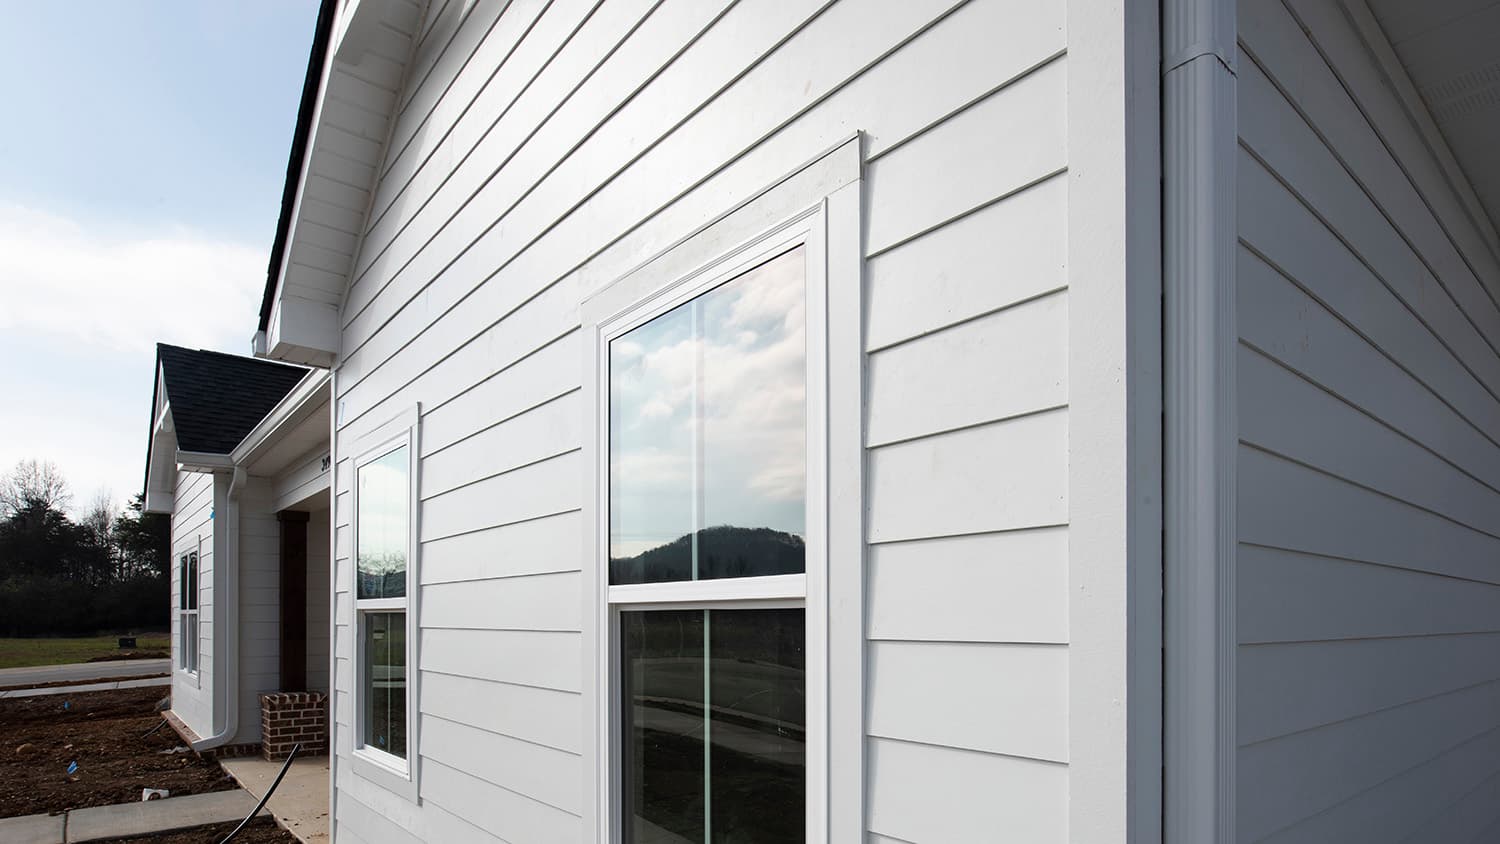
Clapboard siding is a style of horizontal, slightly overlapping boards seen on the exteriors of homes. Unfortunately, harsh weather, moss or mildew growth, and other problems can necessitate learning how to fix clapboard siding in order to avoid exposing the inside wall to further problems.
The key to successfully repairing clapboard siding is choosing the right replacement boards and practicing your handiwork with careful sawing. Let’s go through the key steps and review when to hiring a siding contractor for this task.

Cleaning and resealing your clapboard siding every few years can fix many minor issues like dirt or light mildew and algae buildup. However, sometimes clapboard needs further repairs, like if you notice these signs:
Cracks or broken clapboards: There’s no way to cover this up, and it could lead to moisture seeping between your walls. Cracks can be caused by age, harsh weather, or even impact damage from debris flying in windstorms.
Warped siding: You should remove and replace bulging or uneven boards. If you notice large “bubbles” on the board, that’s a sign of moisture damage and you should replace the board and locate where moisture is getting trapped.
Loose siding: Age, wind, and other problems can loosen siding. In most cases, it’s best to replace loose siding to avoid causing further damage.
Deep-set mold and moss damage: Mold and moss can grow in vulnerable clapboard siding and permanently damage it, even after it’s removed. These dangers, plus the chance of mold or mildew returning, are a sign to replace that section of the board and ensure the repaired board is properly sealed.
Boards past their lifespan: While you can keep clapboards in good shape, they will eventually age out after about 50 years. The boards will fade, grow frail, fray, and start risking the integrity of the wall. Watch the quality of the boards when you purchase a new home, and keep an eye on the siding that looks like it’s reaching the end of its life.
Impact damage: Holes, dents, and broken boards can result from heavy, unexpected impact damage. Clapboards can withstand all kinds of weather, but especially bad hailstorms may damage boards on an exposed side of the building. Boards can also break from accidents like a stray baseball, slamming yard equipment against the walls, and falling patio furniture.
When repairing or replacing wood siding, it’s best to wait until you have a stretch of dry, relatively warm weather to work in. If you’re waiting for things to clear up, you can complete a lot of prep steps like measuring boards and gathering the supplies for your repair project.
Give your siding a careful examination to find out how far the damage extends. You can tell a lot by lightly pressing on and tapping the siding to see if it’s loose, rotten, or broken. Mark which clapboards you need to replace. Do not plan on replacing only part of the clapboard—replace the entire board. It’s much more effective, since remnants of the old board may still be in danger of the same kinds of problems.
While replacing a clapboard siding piece isn’t complicated, you’ll need the right tools for the job. Before you begin, gather your supplies, such as:
Pry bar
Hammer
Tape measure
Exterior siding nails, like ring shank nails
Sand paper
Silicone caulk designed for exterior use
Sturdy gloves
Paint primer
Crosscut handsaw or table saw
Clapboards are generally 1½ inches thick and 6 inches wide, with two inches covered by the next overlapping board. However, these dimensions can vary, so start by measuring all dimensions of the clapboard you’re replacing. Remember, you will want to replace the entire board.
You should also match the wood species to your exterior wall. This is more difficult, especially if your clapboards are painted. Cedar boards are relatively easy to recognize and common, but clapboards can be oak, pine, spruce, and even redwood. Consider taking a piece of the clapboard to the local lumber store if you would like help identifying it.
It’s easiest to remove the nails first before trying to take pieces of the clapboard off, especially if it’s still intact. Use your pry bar or hammer to carefully pry off existing nails. You may be able to press and move the clapboard slightly to gain easier access to the nails.
With the nails gone, you can grip the lower edge of the clapboard and pull it out to split the board and pull part of it away. This method works well on old or cracked boards, but less so on intact boards, which you can remove as one piece. Your pry bar can help here, but you’ll have to be careful to avoid damaging nearby boards.
Pry out any additional nails that have escaped the first pass. You should also light pry up the board or “course” of siding above the damaged board so you can make sure there aren’t any remaining bits of clapboard.
If your new clapboard is the exact shape and size as the old one, you can skip this step. But in other cases, your new board may be a bit too long, especially when replacing boards near windows and doors.
If that’s the case, measure your new clapboard and mark it with a pencil at the exact point you need to cut it. Use your handsaw or table saw to make a clean cut.
Lift up the above course and place the new clapboard onto your exterior wall. Remember, clapboards cover the first two inches of the board below. You may need help from an additional person to balance this step.
Before the board is fully in place, apply a layer of exterior siding caulk to the ends before fitting it firmly. You shouldn’t caulk the top or bottom edges of the clapboard if possible—clapboards need some unsealed edges to help disperse moisture.
Using your new siding nails, nail the clapboard into place in the same spots the old nails were (or close enough). Reapply caulk at the edges if necessary. Check that the board sits snugly in place and doesn’t move.
If you want to paint your siding, now is the time. It may be difficult to match the preexisting paint color, especially after weather wear. Your board may look like the “odd one out” for a while. However, you can bring a chip from the old siding into a local hardware store’s paint department to spot a near match.
If the board doesn’t already have primer, start by sanding it smooth and apply a thick coat of exterior home primer. When the primer has dried, use a large paintbrush to apply the coat of paint. In most cases, you should wait at least several hours and apply a second coat.

You can’t prevent every type of exterior siding damage, but there are ways to maintain it as much as possible. Here’s how to keep your clapboards safe and sound once you’ve made necessary repairs:
Regularly clean and seal the siding: Wood clapboard siding benefits greatly from maintenance every few years, including resealing the boards and cleaning. It’s also important to repaint the siding when the old paint starts to flake off, as paint is another important protective layer.
Keep gutters clean: Dirty gutters are a major problem for vulnerable siding. When gutters are clogged, water tends to run down the siding instead of being drained away, weakening the wood. Plan to clear out your gutters at least once per year before the heaviest rain starts in your area.
Watch for insect problems: Repairing insect damage to siding can be time-consuming and expensive. Watch for new holes or grooves in clapboard siding that could indicate bugs like black carpenter ants, termites, or carpenter ants. Handle bug problems quickly with bait, cleanup, and contacting pest control if necessary, and they won’t have a chance to harm your boards.
Keep bushes away from walls: Bushes and branches shed their leaves against clapboard siding, scrape it in the wind, and make it easier for pests to find the siding. Not to mention, it creates a fire hazard. So keep bushes and shrubs trimmed at least a couple of feet away from your siding.
Keep doors and windows well-sealed: Clapboard damage frequently happens around doors and windows because their gaps can make it easier for moisture to seep in and boards to warp. Make sure the door and window trim is sealed with exterior caulk and that the seal stays secure. Caulk isn’t advisable for every part of clapboard siding, but it is important in these areas.
Removing a clapboard and replacing it with a new version is within the reach of most home DIYers, as long as you are capable with a saw and have an extra pair of hands to fit the board into place. However, more extensive damage could be too much for homeowners to handle, especially if you need to replace several boards or there’s extensive damage.
Siding pros near you can provide an inspection and provide an estimate of the cost to repair your specific problem. You can expect clapboard siding repair to cost between $4 to $13 per square foot, plus around $40 to $90 per hour for labor. The average professional siding repair job costs about $900.
The guys at PaveWay are top notch. From the estimate to the job being completed,all was done in a timely and professional manner. I myself was a DOT Engineer Inspector(know what to look for) and got to talking with Cameron and he himself was a Contract inspector for a few years,same job as...
 All Star Paving and Sealing
I highly recommend KTM construction! I will look no where else for anything that needs to be done, in or out side of our property. The level of craftsmanship is 5 star service across the board! The level of detail, knowledge and professionalism is 5 star service across the board! Ken is a...
I purchased the "Big Deal": $199.00 for exterior pressure-washing of one- or two-story home up to 2,000 square feet. They cleaned the siding only. I wasn't aware when I bought the Big Deal that they would not do any other surfaces other than the siding (i.e. sides of the gutters or stucco). I...
 Complete Home Services
This brownstone is historical and the carpentry work is very detailed. I was very happy to secure a company in NY and living in OH to complete the request. Wood work on this brownstone has been existing since approximately 1888 and West side did a GREAT JOB. I will not be able to...
 Westside Home Improvement
Nice group of workers, very friendly. Day 1 covered everything before starting, seemed very organized. Things seemed to be going great. Day 2 they didn't show up until around 10:00a.m. and work crew was cut in half, was told they had another job. Day 3 they didn't show up until around...
 CertaPro Painters of Columbus
The work went great! Couldn't ask for better. Joel set a work start date. About the time of the storms that may have been associated with Sandy. He was half a day late. They set up on a Thursday. On Friday they had a full crew at work. By Monday they were finishing up. Now, the best...
 NJW Construction
A few months ago, a tree branch fell across my car, leaving a series of dents across the hood and driver's side fender. I took it to Rife's after reading the Angie's List reviews. Rife's did a great job! My car looks like new. And they made the process as easy as possible. When I came in...
 Rife's Autobody Inc
I received an email from Angie's List offering Car Detailing 4 U's services for $99. Coming from Angie's List, I expected this to be a highly dependable and qualified company that was known for doing exceptional work. I set the appointment for them to come to my home. They were arrive at...
We first had Mark fix the back patio and liked his work so much we had him make a brick patio on the side of the house. When we decided to change our concrete walkway to brick, we wanted Mark to do the job because his prices were fair and he did such good work on t he other two projects.
 Mark Monnette Masonry
I was very pleased with the cost and end result. I truly expected this job to cost me 50% more than it did. When you factor quality and cost, I would highly recommend Mark's services and plan to use him in the future. The best part was, I asked Mark to match the paint color in one section...
 Fresh Touch Custom Painting Inc.
From average costs to expert advice, get all the answers you need to get your job done.
How much does clapboard siding cost? This guide reviews cost factors, prices per square foot, and more to help you plan your budget.
The cost of Hardie board siding depends on the size of your home and the style and color you choose. Get a more accurate estimate with our in-depth cost guide.
Learn about the average siding repair cost to expect based on siding type, repair type, and extra labor when getting estimates to fix siding from contractors.
Are you wondering what clapboard siding looks like? This explanation of clapboard siding will help you discover when to use clapboard siding, clapboard siding pros and cons, costs, and styles.

Explore common clapboard siding sizes and get tips on selecting the right dimensions and styles for your home's exterior.
Clapboard or lap siding is one of the oldest modern exterior wall options. Let’s look at the pros and cons and if it’s a good fit for your home.