
Drywall texture can create an attractive finish and add dimension to your home’s walls. This guide breaks down the factors that influence the cost to texture drywall.
Doing a knockdown texture doesn’t have to be a fight

This project requires a lot of experience, so we don’t recommend DIYing it. Hire a pro with the special skills and tools necessary to complete the job safely.
Adding texture to drywall can improve the room’s appearance and hide slight imperfections. Knockdown is one of the most popular drywall texture types, but learning how to do knockdown texture can be a challenging, messy job if you aren’t sure what you’re doing. When you follow the steps for creating a knockdown texture, though, you’ll create a final textured look that you’ll be proud to show off.

The drywall compound will fly across the room during application, meaning you need to protect any spaces where you don’t want splatters. To start the process of applying knockdown texture, remove as much furniture as possible from the room. Put drop cloths on the floor and over any furniture you cannot move. Apply wide masking tape to protect baseboards. Consider taping plastic sheets over areas where you don’t want the compound to land, such as the ceiling, other walls, or light fixtures. Unscrew outlet covers and light switch covers and put masking tape over the openings.
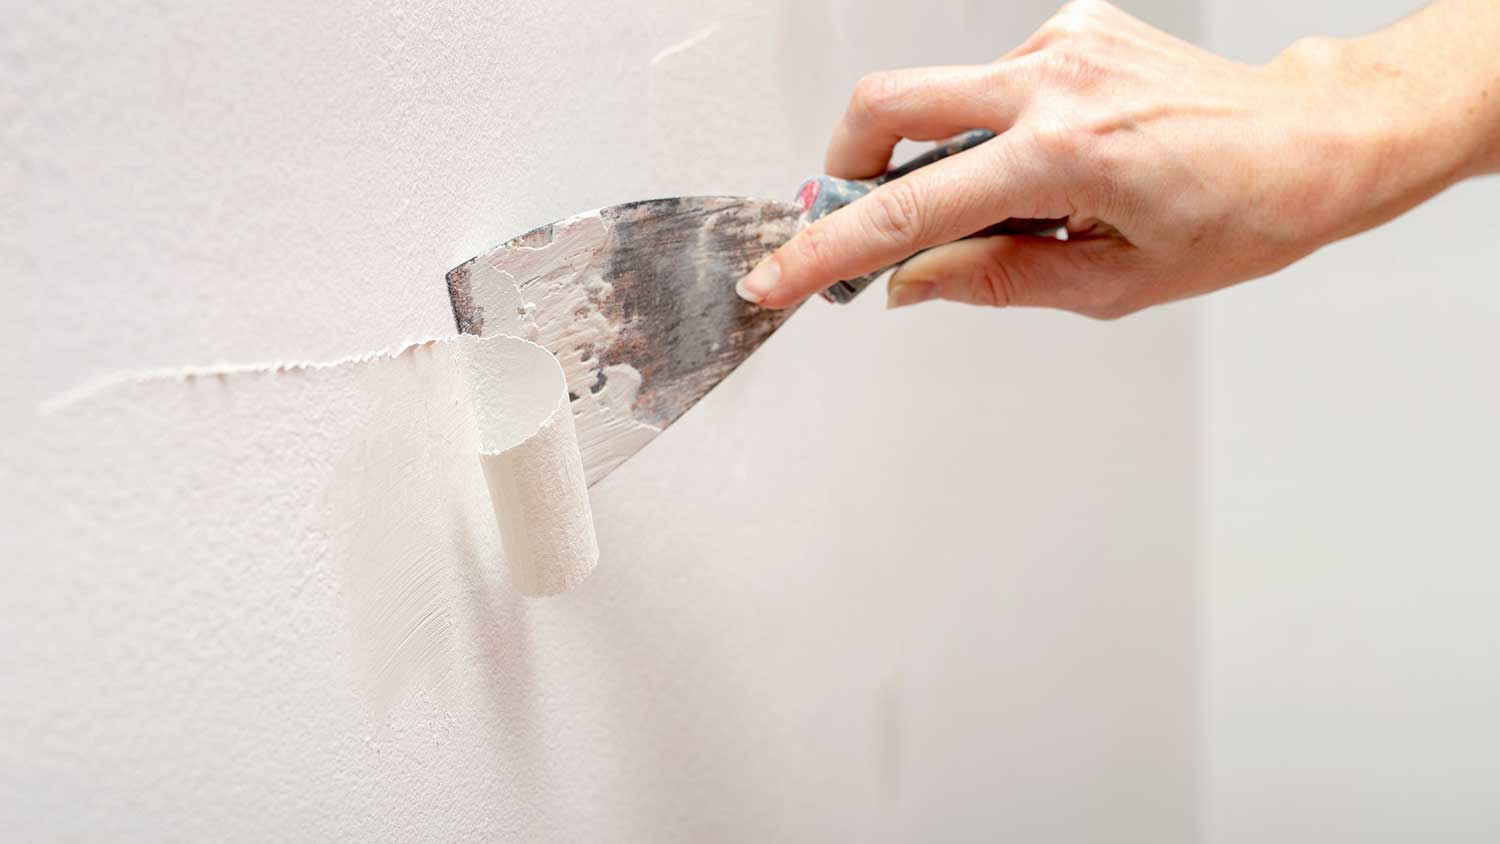
Use a slightly damp sponge to remove dust and grime from the area where you’ll be applying the knockdown texture. Fix any cracks or holes in the ceiling or walls. The knockdown texture will hide some flaws, but you should fix significant problems before starting.
Whether you rent or purchase a spray gun, closely follow the instructions for assembly and use.
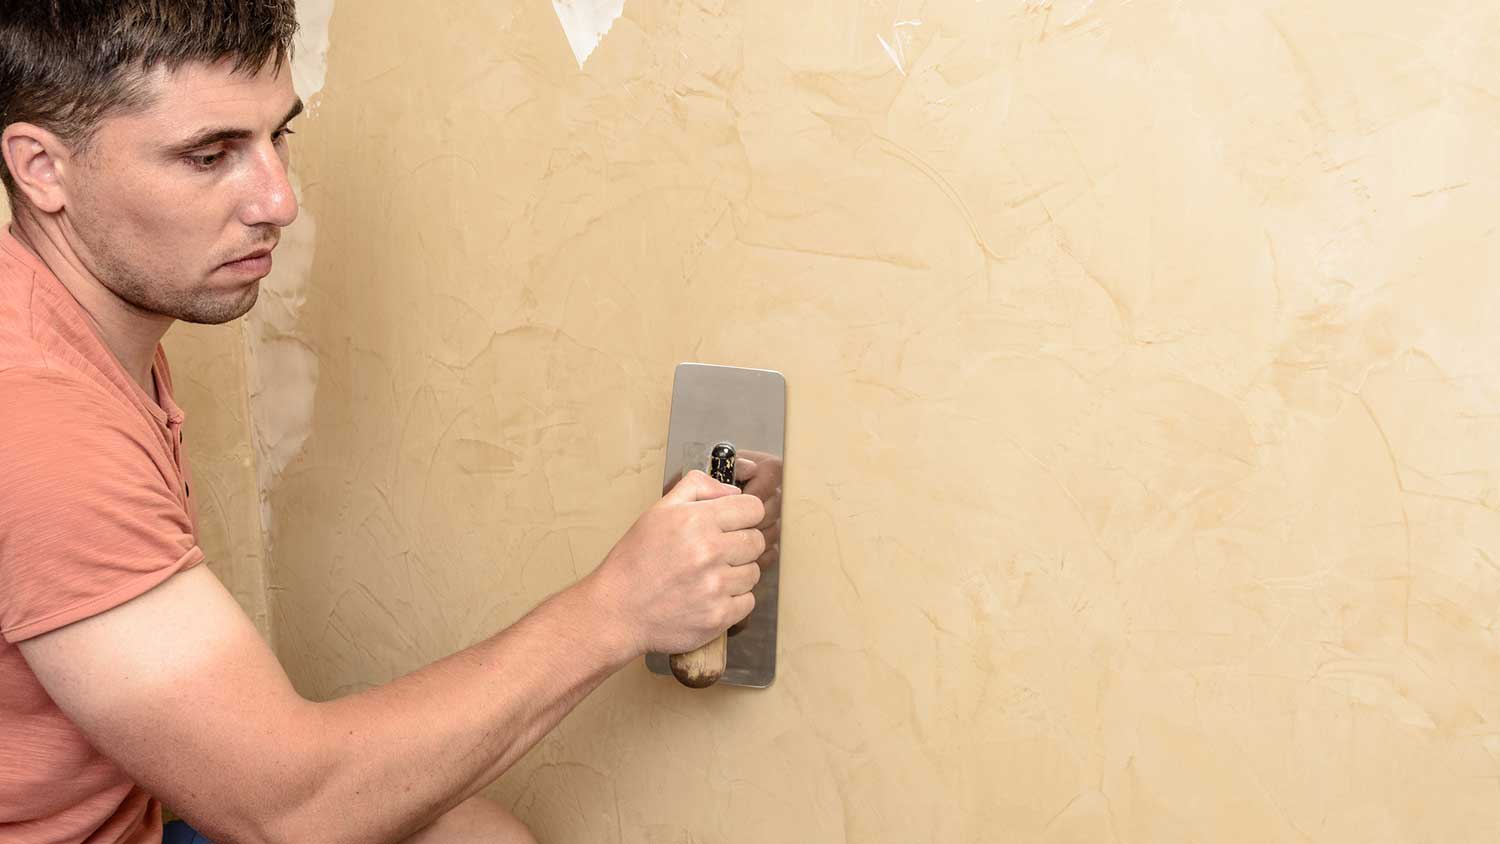
Mix the drywall powder and water according to the instructions in a 5-gallon bucket to create the drywall mud. Use a drill and paddle mixer to remove any lumps. The mud’s consistency should be thin enough that it slides off a drywall knife when you hold the blade at a roughly 30-degree angle.
If the mud is too thick, it won’t go through the spray gun properly, and if it’s too thin, it won’t yield the desired texture. Add a little bit of water to a compound that’s too thick or a little bit of dry compound if the mixture is too thin. Continue working until you have the right consistency.

The spray gun should have a hopper that resembles a funnel. Add some of the mixture to the hopper. Turn on the machine and test the spray gun’s application on a large piece of cardboard. To avoid splatter indoors, you may want to test it outside while you gain a feel for how the machine works.
To apply a knockdown texture properly, hold the spray gun’s nozzle roughly 18 inches from the wall or ceiling. Move back and forth in a continuous motion.
Don’t cover the entire wall or ceiling at once. Work in sections a few feet wide, or the compound will dry too much before you can use the knockdown tool.
The mud will land in tiny clumps on the surface. Try to cover about 50% of the wall or ceiling with compound and 50% without compound.
If you’d prefer to apply the knockdown texture by hand instead of using a spray gun, you can use a paint roller to put the mud on the wall or ceiling. Then use a slap brush right away on the compound before continuing with the next step.

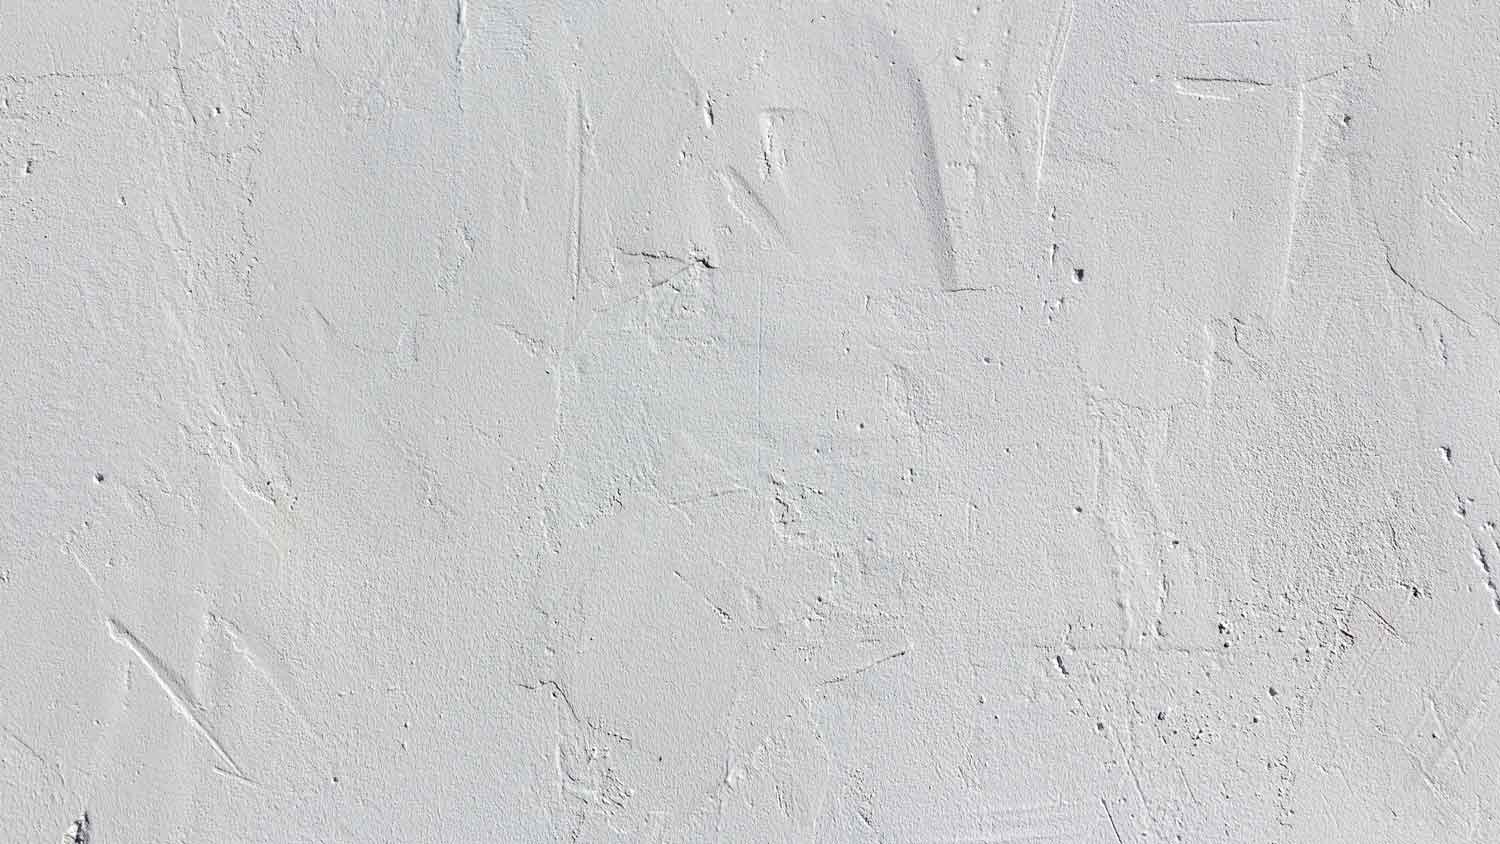
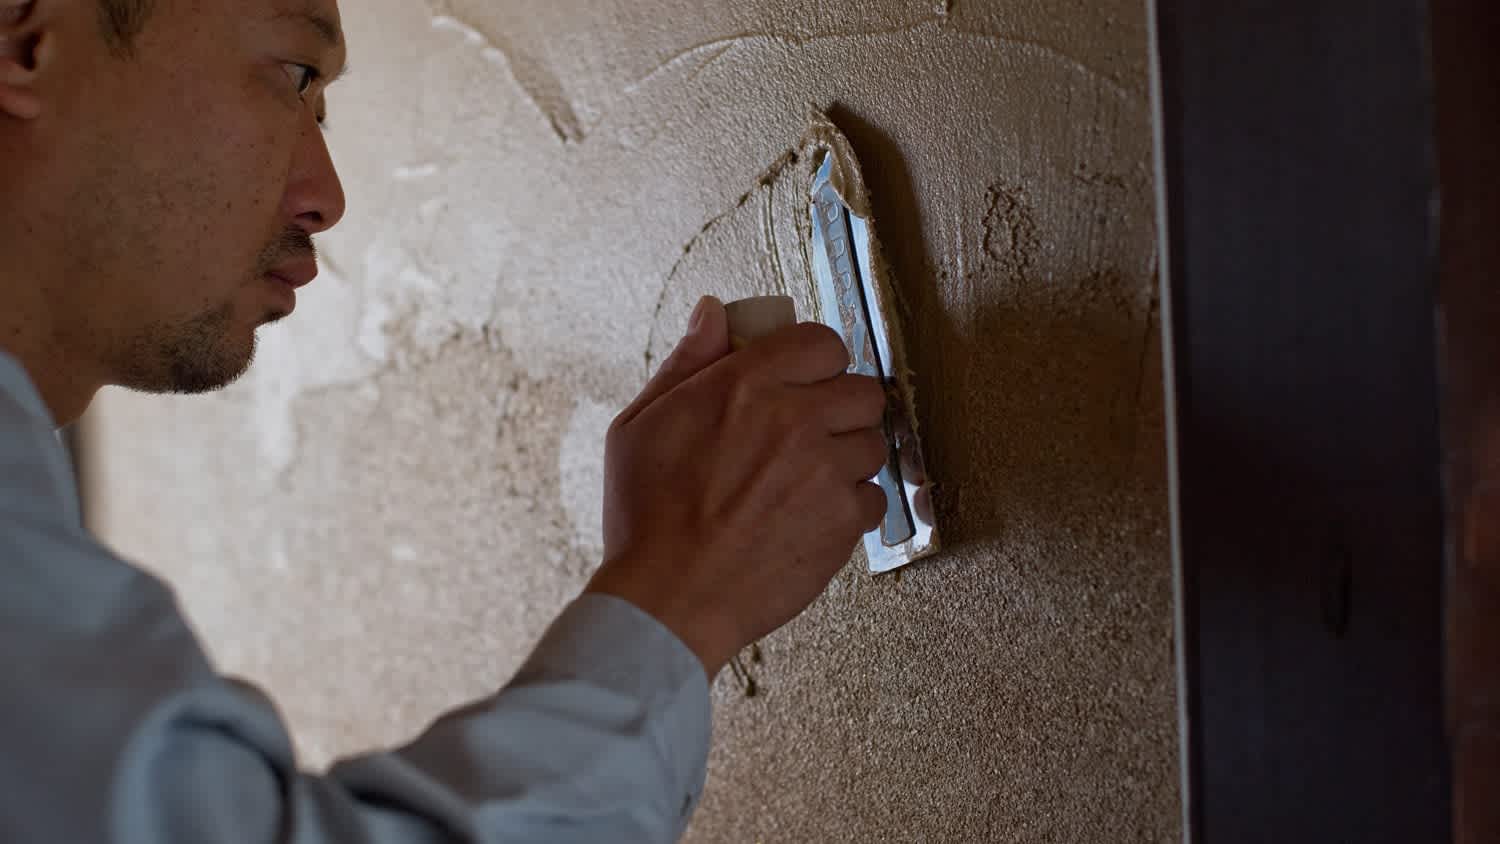
Before using a knockdown tool on the drywall compound, allow the mud to sit for about 10 minutes, drying slightly. After it dries enough, it should no longer have a wet sheen. Use the rubber edge of the knockdown knife to remove the compound's peaks, leaving a thin layer in place. As you smooth out the peaks, you’ll create a random pattern that yields the desired look of the knockdown texture.
Work in a straight line and apply light, consistent pressure. Wipe the knife after each pass to remove excess compound. To get a feel for the process, practice using the knockdown tool on the cardboard where you did the spray gun test earlier.
After using the knockdown knife on one section, return to the fifth step and apply the compound to the next section. Let it dry for 10 minutes or so before using the knockdown tool on that section.
Continue going across the room in the sections until you reach the end of the room.

Finally, allow all the compound to dry before touching it. This could take anywhere from 3 to 12 hours. Do not paint or prime the knockdown texture for at least 24 hours after applying it. Waiting a few days to paint is even better to ensure the compound is completely dry.
To clean the room after doing a knockdown texture, immediately wipe up any drywall mud that splattered onto areas without protection. Cleaning while it’s still wet makes it easier to remove.
After everything dries, carefully peel the masking tape. Some of the dried compound on the tape might fall to the floor, so leave the drop cloths for last. To reduce the mess, try rolling or folding them on themselves to hold as much of the dried compound inside them as possible.
You could track wet compound mud out of the room while walking on the drop cloths during and after the application. You may want to use shoe and clothing covers like you’d use for painting because of the likelihood of splatter.
If you decide to try a DIY knockdown texture, you’ll want to avoid some of the most common mistakes, which will increase your chances of a successful outcome.
Don’t hurry through the preparation process. Spraying the compound mud can generate a significant mess, so you’ll want to protect items and areas where you don’t want texture.
Don’t just pick up the spray gun and start spraying without being confident that you know how to use it. Practice and gain a feel for how the tool operates.
Don’t use the knockdown knife too early, or you won’t be able to create a pleasing-looking texture. Let the compound dry a bit.
Don’t use compound texture that’s too thick or too thin. A consistency like pancake batter is perfect for creating a knockdown texture.
Learning how to do a knockdown texture and how to texture walls can be a challenging job for a DIYer, even if you have some experience with doing odd jobs around the house. If you know how to mud drywall or how to use a paint sprayer gun, you’ll probably be comfortable with doing a knockdown texture on your own walls.
However, if you don’t have experience with these kinds of jobs, applying the drywall compound can be an extremely messy job. You might end up creating a far bigger mess than you intended, leading to a long cleanup process. If the mess is extensive, you might even need to hire a pro to fix it and then apply the texture the right way.
A local interior painting professional should be able to create the knockdown texture and give you a stress-free process. An average DIYer needs about three hours to create a knockdown texture on a ceiling or wall, but the pro should be able to do it in about half the time.
Custom Paint Jobs LLC is the go-to choice for all your painting needs. They painted both the interior and exterior of my house flawlessly. Their work speaks for itself!
Beginning with the estimate, Larry and Peyton were super helpful in getting my new condo's interior re-painted. Not only was the job well done, but also done in a super timely manner as promised.
 Five Star Painting of Plain City and Powell
From average costs to expert advice, get all the answers you need to get your job done.
Drywall texture can create an attractive finish and add dimension to your home’s walls. This guide breaks down the factors that influence the cost to texture drywall.
Looking to add some texture to your walls for a unique finish? Use this guide to estimate skip trowel texture cost to see if it’s the right option for you.
The cost to remove texture from walls depends on square footage and the type of texture. Learn all the factors that will impact your budget in this guide.
Deciding between orange peel versus knockdown texture for your walls? Learn the differences in appearance, cost, and difficulty to choose the right finish.

If your room is falling flat, learning how to texture walls will help bring dimension to your space. Get to know all the different options and how to do them yourself.
Looking for a unique design to accent your home? Consider these drywall texture types for increased style that's sure to be a conversation starter.