
The cost to remove texture from walls depends on square footage and the type of texture. Learn all the factors that will impact your budget in this guide.
Orange you glad it's not flat?

If you’re looking to add subtle dimension and character to your walls without going overboard, orange peel texture is a popular choice. Named for its resemblance to the dimpled skin of an orange, this finish strikes a balance between smooth and textured. The texture is ideal for hiding minor wall imperfections while still keeping things clean and modern. Whether you’re tackling a new drywall project or refreshing a room, learn how to do orange peel texture on your walls to give your space a polished look.
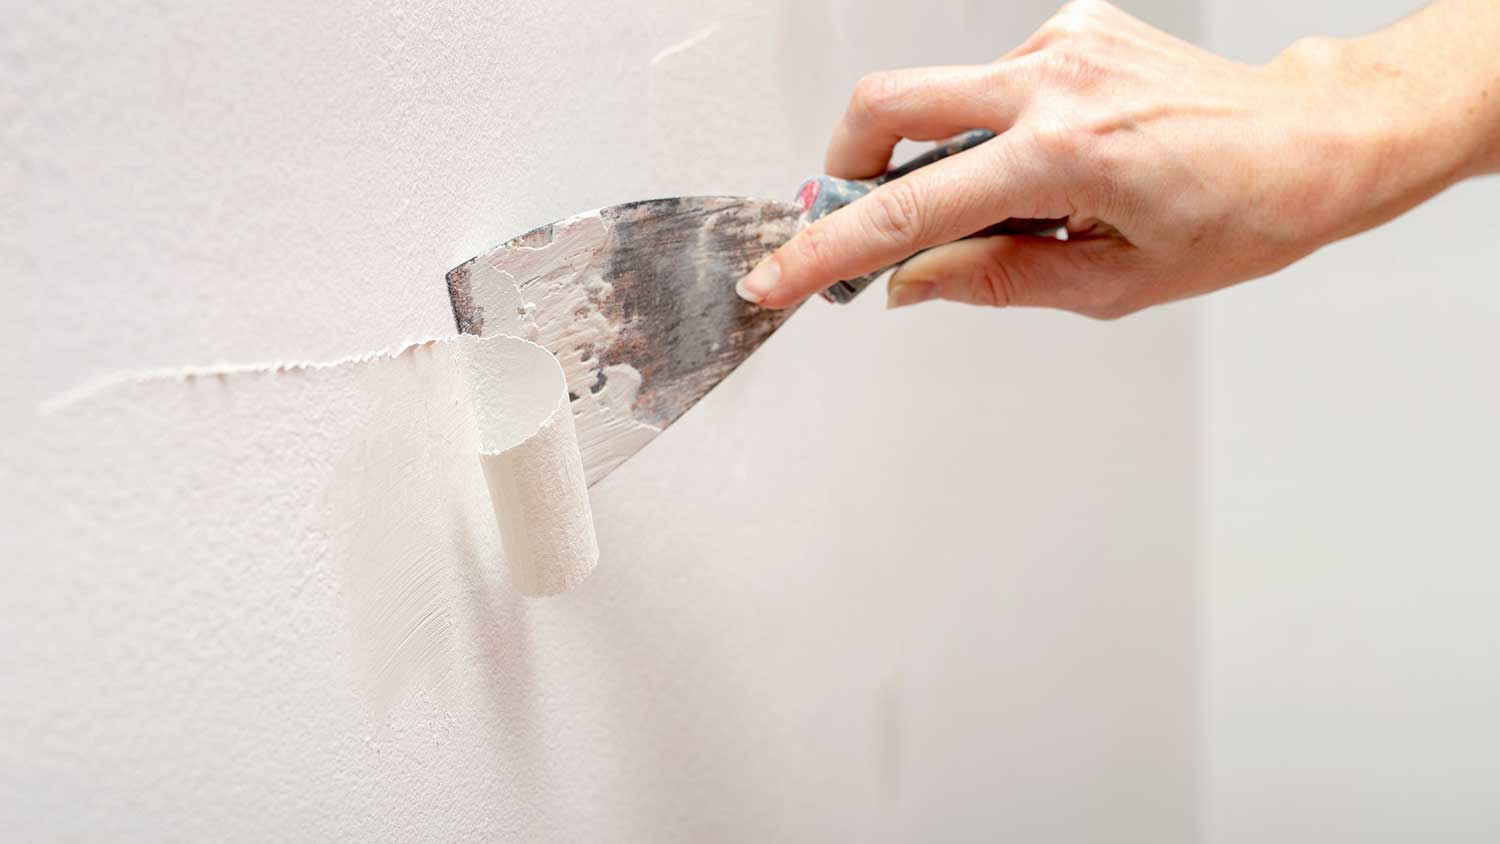
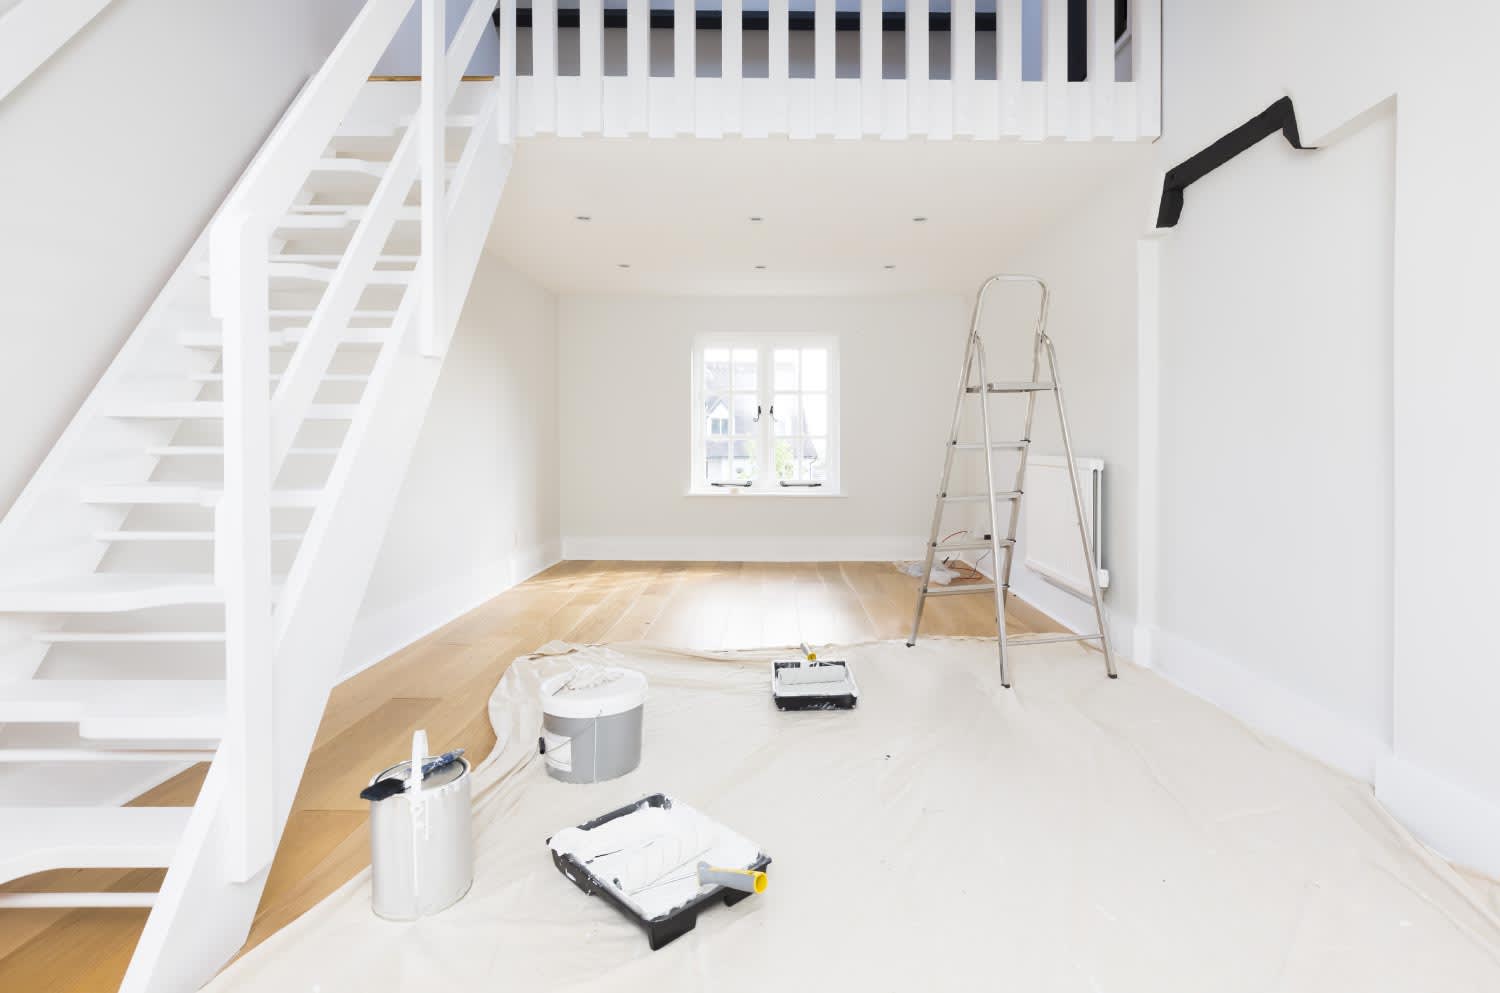
Remove or cover all furniture in the room and lay down drop cloths to protect the floor. Use painter’s tape to mask off baseboards, trim, electrical outlets, and any other surfaces you don’t want to get textured. Inspect the walls for holes, dents, or cracks and repair them using joint compound. Once dry, sand the repairs smooth and wipe away any dust so the surface is clean and even before texturing.
Pour the pre-mixed joint compound into a 5-gallon bucket and add water gradually to thin it out. You’re aiming for the consistency of pancake batter. It should be thick but able to flow through a sprayer. Use a drill with a mixing paddle to thoroughly combine the mixture, ensuring there are no lumps.
Once your compound is thinned, pour it into the hopper gun’s container. Attach the hopper gun to an air compressor, setting the pressure between 20 and 40 PSI, depending on your desired texture size. A lower PSI will give you a finer spray, while a higher PSI results in a more pronounced texture.

Before spraying your walls, test the spray on a piece of cardboard or scrap drywall. Adjust the air pressure and nozzle settings on your hopper gun until you achieve a spray pattern that resembles small, random splatters, which gives orange peel its signature look. Taking time to get the spray right here will help you avoid mistakes on the wall.
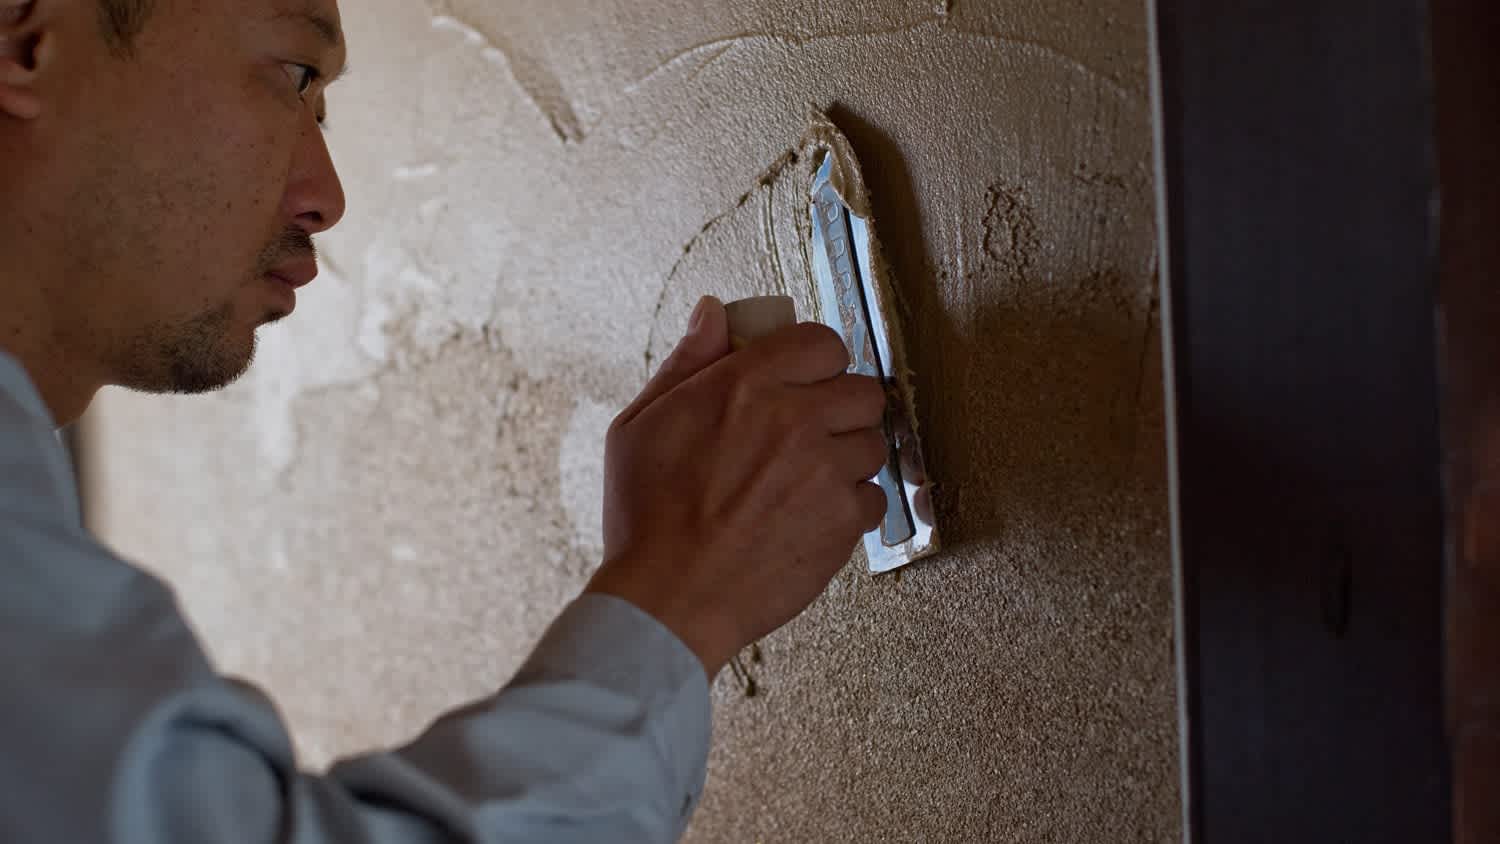
Hold the hopper gun about 18 inches from the wall and apply the texture. Use smooth, overlapping strokes in a consistent sweeping motion. Work in sections and maintain a steady pace to ensure even coverage across the wall's surface.
If you want to achieve a lighter texture, you can learn how to do a knockdown texture. You can knock it down slightly by gently dragging a drywall knife or knockdown blade across the surface about 10 to 15 minutes after spraying. Do this carefully while the texture is still tacky and not fully dry to flatten the peaks and create a softer look.

Let the texture dry for at least 48 hours, and avoid touching or disturbing it while it's drying to preserve the finish. Inspect the surface to see if there are any rough spots or overly raised areas you want to smooth out. Use fine-grit sandpaper and a gentle touch to avoid ruining the pattern. Now, you're ready to prime and paint with your chosen color.
Avoid these common mistakes to help you achieve your desired orange peel texture.
Using joint compound that's too thick or too thin: If the mix is too thick, it won’t spray properly. When it's too thin, it will run down the wall. Aim for a pancake batter consistency.
Skipping surface prep: Failing to patch holes, sand, or clean the wall can result in uneven texture or poor adhesion.
Not testing the spray pattern first: Always test on scrap material to avoid surprises on your actual wall. Each sprayer and compound mix can behave differently.
Holding the sprayer too close or too far: Spraying too close can cause blobs, and being too far can result in a dry, dusty spray. Stick to about 18 inches from the wall.
Inconsistent spraying motion: Stopping, hesitating, or overlapping unevenly can lead to a patchy or clumpy texture.
Ignoring air pressure settings: Using air pressure that's too high or too low will affect texture size and consistency. Stick to the recommended 20 to 40 PSI range.
Rushing the drying time: Painting over texture that isn’t fully dry can smear the finish or cause paint to peel later on.
Forgetting to prime before painting: Primer helps paint adhere evenly and enhances the final look. Skipping it can cause blotchy or dull paint results.
If you’re comfortable with drywall work and have access to tools like a hopper gun and air compressor, applying orange peel texture yourself can save money and be a rewarding weekend project. It’s especially doable for small rooms or patch jobs, and with proper prep, practice, and patience, you can achieve professional-looking results.
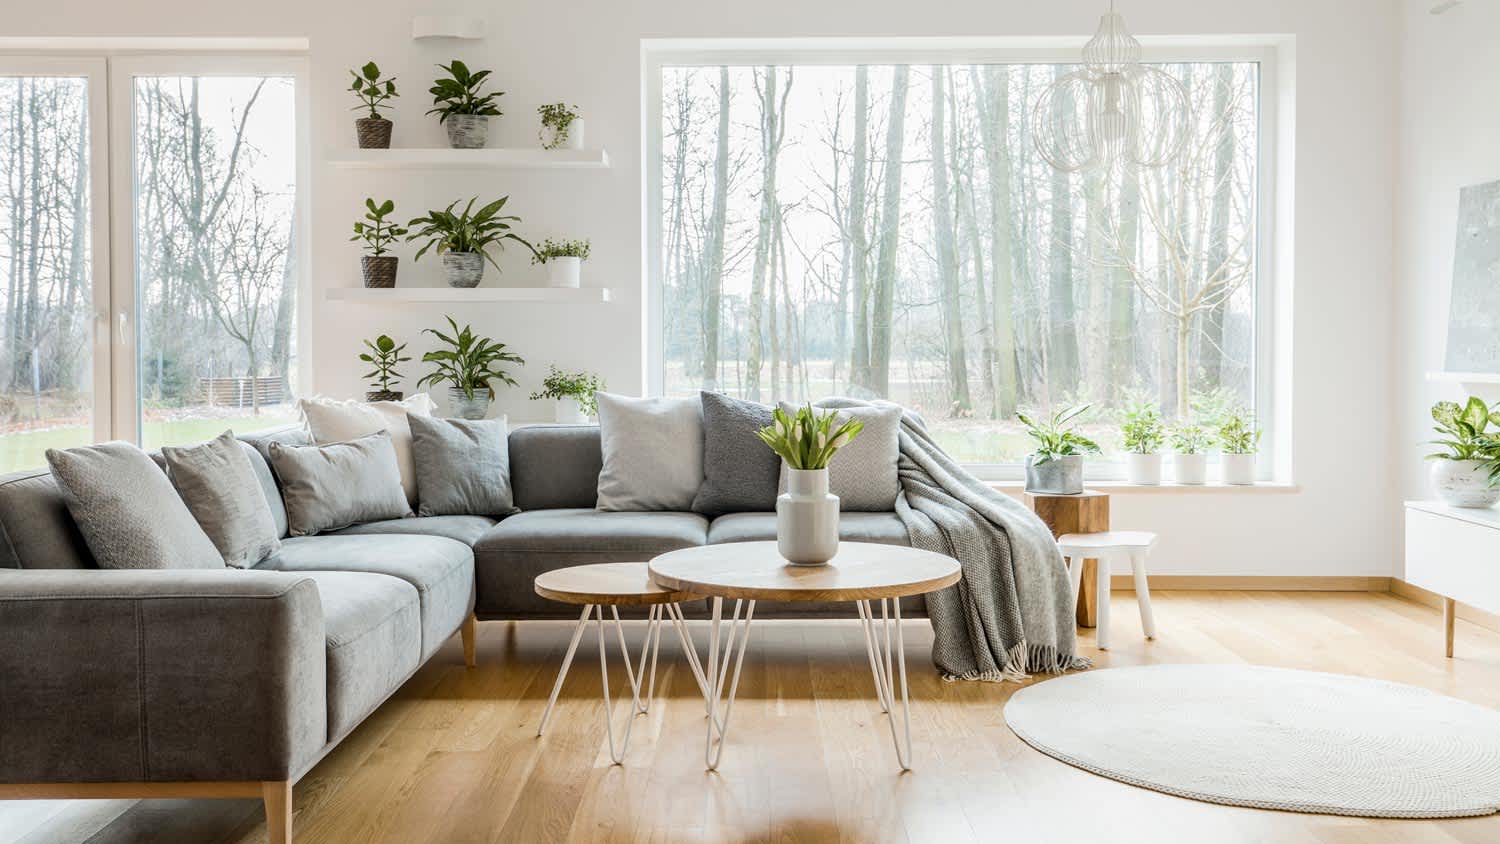
If you're looking to apply the texture to large areas or high walls, hiring a local interior painter is a good choice. The average cost to texture drywall in an orange peel pattern ranges between $1.25 to $1.95 per square foot when you hire a pro. A 450-square-foot living room, for example, would cost between $570 and $900. However, if you DIY this project you’ll only pay for the materials, which will run $0.13 to $0.30 per square foot. This totals between $60 and $135 for a similar sized room.
Should you decide to give the project a try but are unhappy with the result, you'll have to add in the cost to remove texture from walls on top of completing the project to your liking. If you're at all unsure about how to texture walls, consider hiring a pro.
Custom Paint Jobs LLC is the go-to choice for all your painting needs. They painted both the interior and exterior of my house flawlessly. Their work speaks for itself!
Beginning with the estimate, Larry and Peyton were super helpful in getting my new condo's interior re-painted. Not only was the job well done, but also done in a super timely manner as promised.
 Five Star Painting of Plain City and Powell
From average costs to expert advice, get all the answers you need to get your job done.
The cost to remove texture from walls depends on square footage and the type of texture. Learn all the factors that will impact your budget in this guide.
Deciding between orange peel versus knockdown texture for your walls? Learn the differences in appearance, cost, and difficulty to choose the right finish.
Looking for a unique design to accent your home? Consider these drywall texture types for increased style that's sure to be a conversation starter.
Sick of staring at popcorn walls or faux stucco? This guide will show you how to remove texture from walls like a pro. Here’s what you need to know.

If your room is falling flat, learning how to texture walls will help bring dimension to your space. Get to know all the different options and how to do them yourself.
If you're looking for a beginner-friendly DIY project, follow these five steps to remove peel-and-stick tile.