
Need to add to your shed’s life span and protect your belongings inside? Use this shed roof replacement cost guide to see what your project will total.
If you’ve got the tools and the time, we’ve got your back


Your DIY shed plans need to account for roof style, pitch, and materials before you start framing, as these decisions affect structural support and weather protection.
Professional shed installation costs around $2,500 on average, and getting estimates helps you decide whether to tackle the project yourself or hire help.
You'll need to obtain a building permit before starting, as sheds face regulations on placement, height, foundation requirements, and mechanical considerations in most municipalities.
Hiring a local carpentry professional removes the guesswork from roof framing and shingle installation, ensuring your shed stays dry and structurally sound for years.
Whether you need a safe, dry space for your tools, or a place to organize outdoor toys, a shed can provide you with the shelter you need. But every shed needs a sturdy roof to offer that protection. Knowing how to build a shed roof is essential if you’re planning to construct a new shed or replace a damaged shed roof. But before embarking on this DIY project, it’s important to plan ahead and know what type of roof shed you want to build. Read on to learn how to build a shed roof from start to finish.
A shed roof is more than meets the eye. The roof must stand up to wind, storms, and snow. To do that, it must have the right combination of roofing materials, steepness, underlayment, and shape. Your shed’s roof shape often has more to do with function than good looks. Here’s a look at the different types of shed roofs.
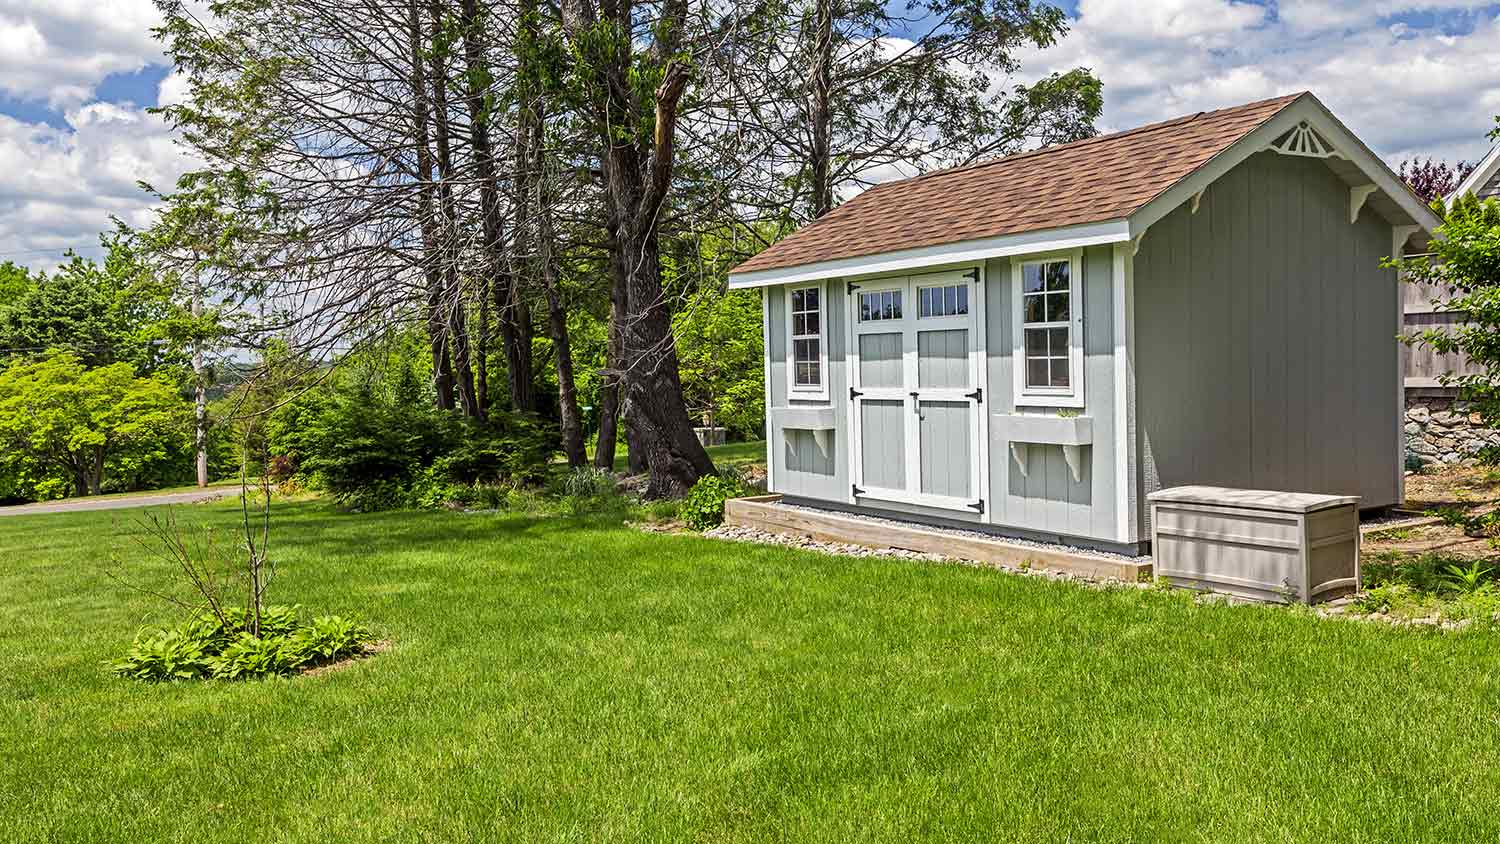
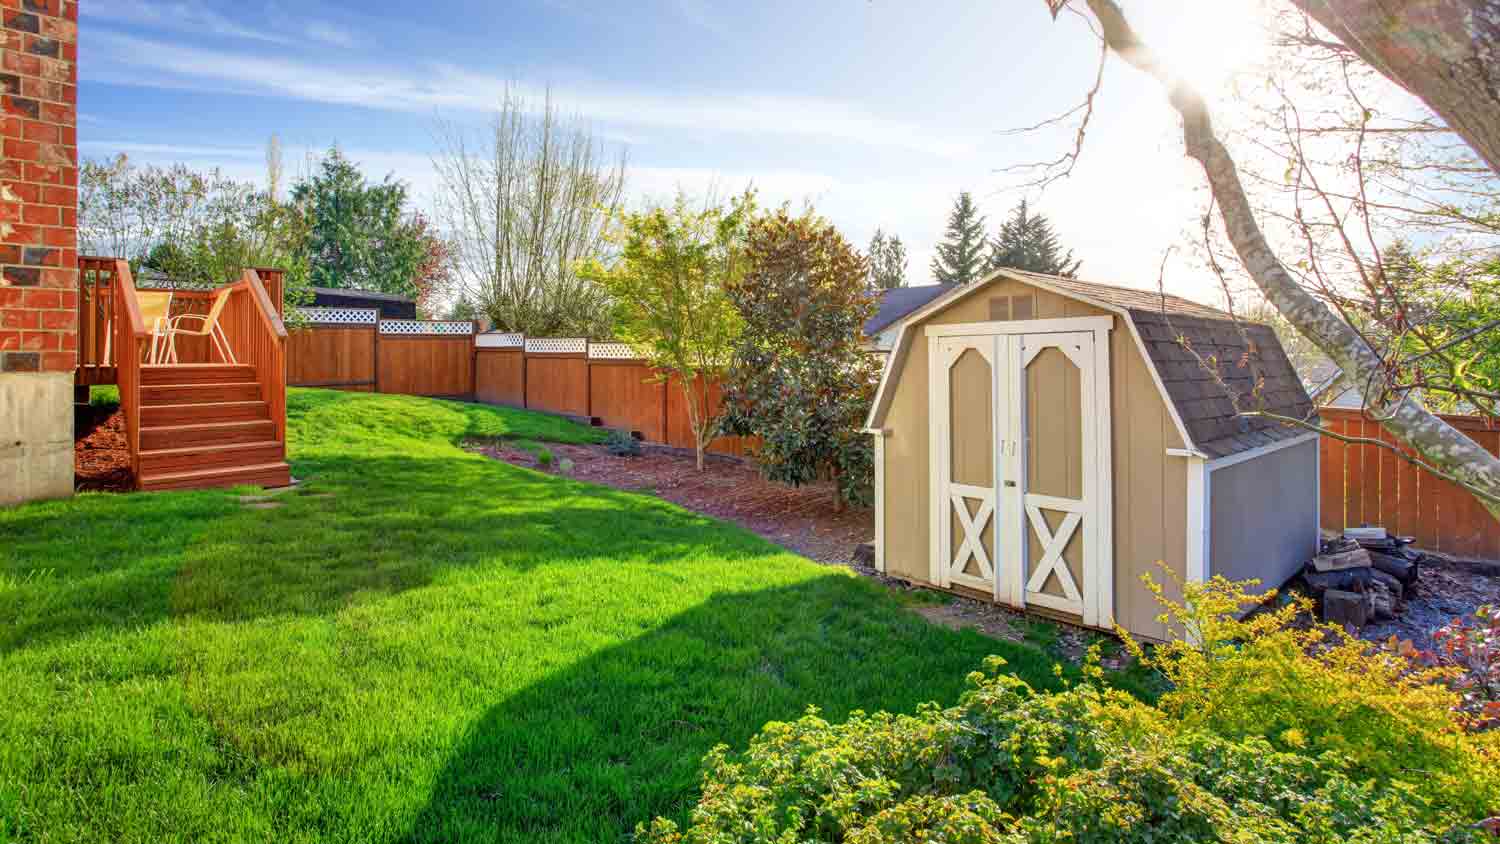
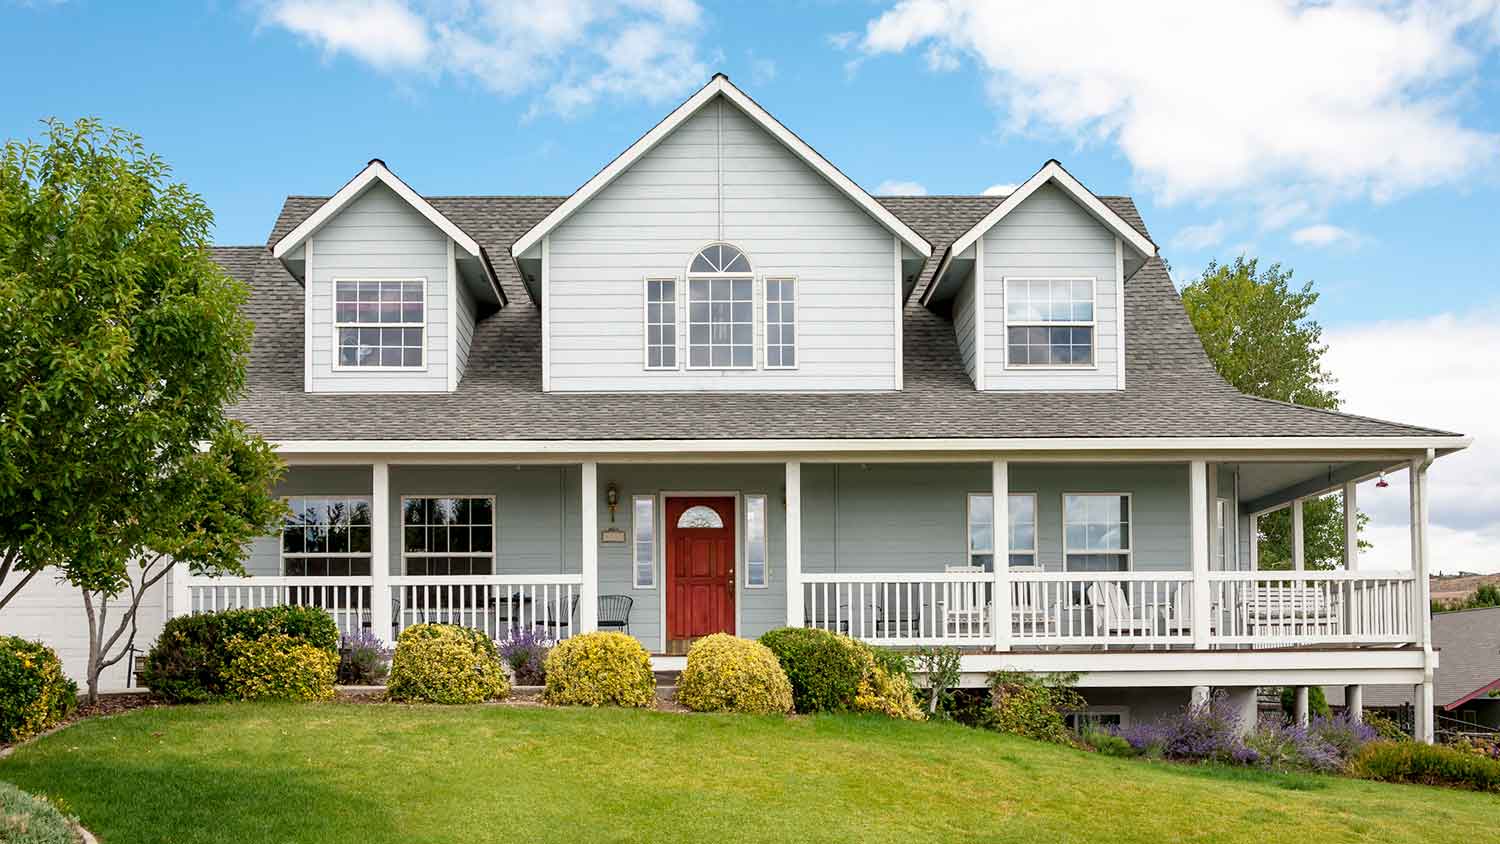
A gable roof is the most popular shed roof style. It consists of two equal slopes that meet in the middle and form a ridge or a peak. The open, triangular ends of the shed are the gable ends.
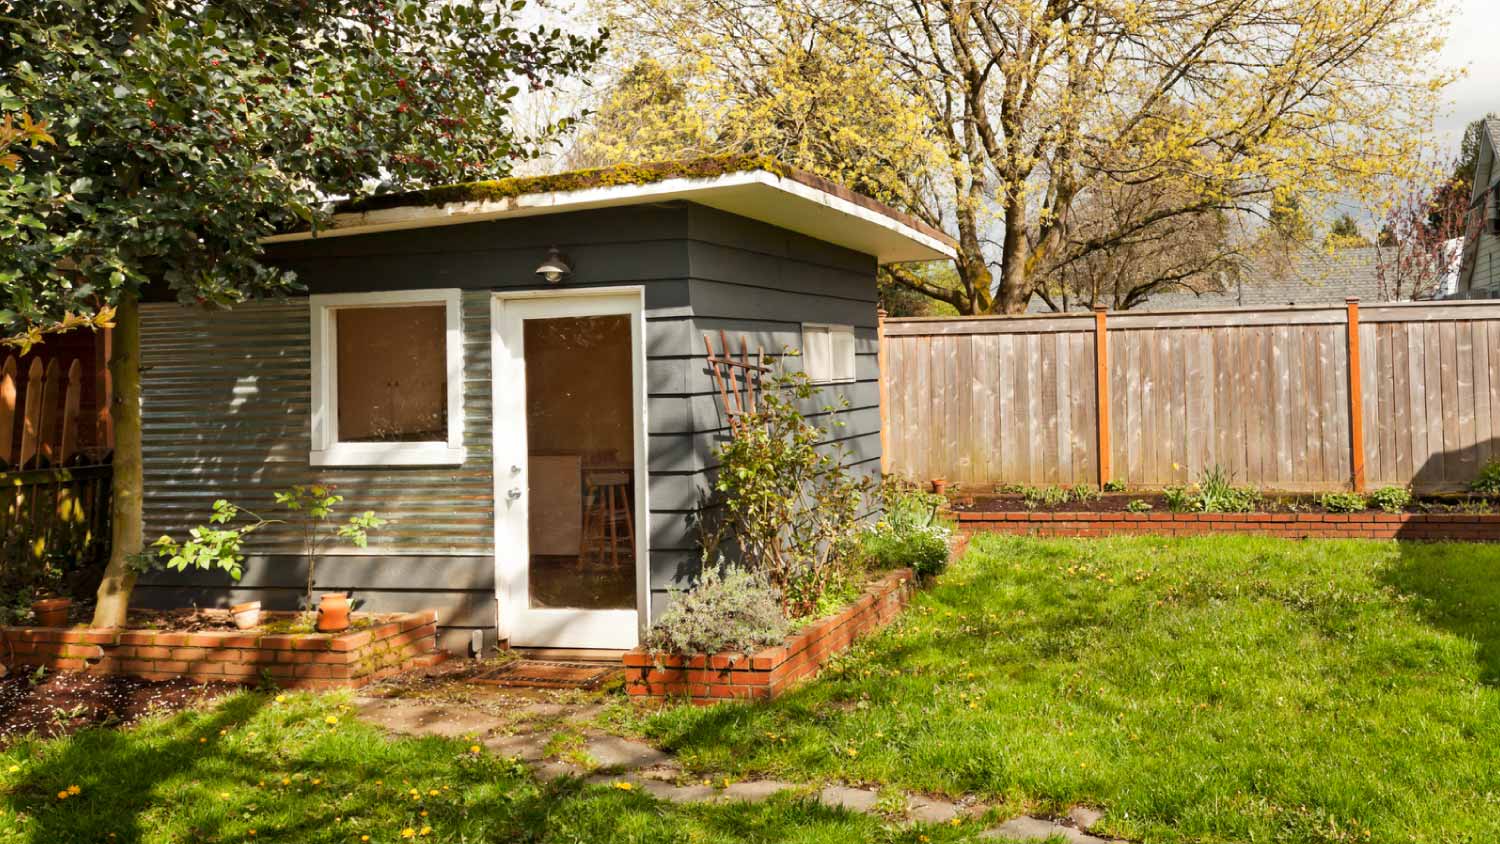
A lean-to roof is a roof with a single slope that extends from one high wall on one side of the shed to the other, lower side. Lean-to is a generic term that refers to either a skillion roof that’s steeper than 45 degrees or a shed roof that’s not as steep.
Gambrel roofs are recognizable as a popular feature on barns. Similar to a gable roof, they have equal planes on either side. However, a gambrel roof contains an additional, steeper slope below the roof’s gable portion.
A saltbox roof looks similar to a gable roof, except one roof plane is significantly longer than the other and rests on a shorter wall than the opposite one.
A hip roof is a gable roof with two additional slopes replacing the gable ends. A hip roof has two pairs of equal roof plane triangles that meet in the middle to form a top ridge and four other descending ridges at the corners of the roof.
Hip-on-gable roofs are rare in shed roof design, although you may see them occasionally. This roof style was popular on homes in the early to mid-1900s. A hip-on-gable roof consists of a lower gable and upper hip roof and looks like someone was building a gable roof, changed their mind, and opted for a hip roof on top.
Before starting your building project, your municipality will likely require you to obtain a building permit. Sheds are subject to rules relating to where you can place them on your property, height restrictions, footing or slab requirements, and mechanical considerations.
Roofing material is a generic term for the covering on your roof. For our purposes, think of roofing materials as shingles, roll roofing, or metal roofing panels.
Underlayment installs just under the shingles or other roofing material and provides a second layer of protection for the shed and its contents.
The roof deck or sheathing is the flat wooden panels that attach to the rafters and provide the roof's main surface.
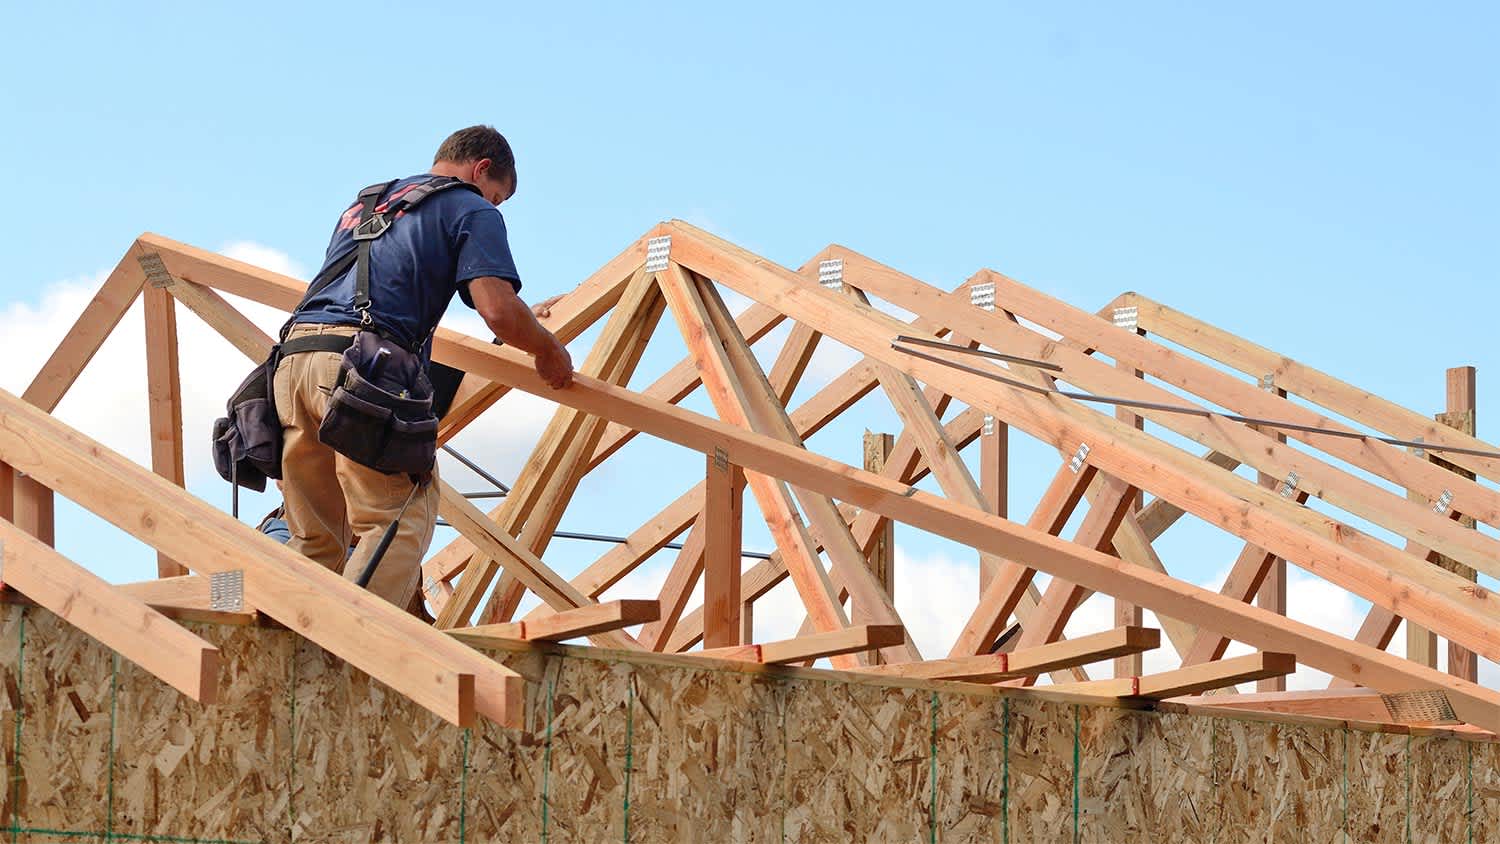
Rafters for sheds are the 2x4 or 2x6 supports that rest at the angle of the roof and support the sheathing.
Trusses combine rafters with a bottom chord of wood. Assembly of roof trusses happens before installation on top of the shed’s walls.
The ridge is where two roof planes meet and form an apex.
Drip edge and fascia cover the lower, front edge of the rafters just below the roof and at the outer end of the eaves and rakes, which are the sloped edges of a gable roof.
Soffits can refer to location or material. A soffit is under the roof’s eaves and extends from the fascia to the shed’s wall.
Birdsmouth is a particular triangle-shaped cutout in a rafter that provides a place for the rafters or trusses to rest on the shed wall.
Bird blocking goes between the rafters on top of the shed wall. It fills the void between the roof deck and the top of the wall. Installing bird blocking may not be necessary if solid soffit panels are present.

Building a shed roof requires several steps and a bit of mathematics. Taking your time while planning and measuring will save a great deal of mistake-fixing effort later.
Every good roof starts with a plan.
Accurately measure the length and width of the shed.
Choose a roof style. Remember that lean-to and saltbox roofs are only appropriate for sheds that have a tall side and a short one.
Choose the roof's pitch or slope. The pitch refers to the roof's steepness and presents itself as a ratio. A pitch of 6:12 means that the roof ascends six inches for every horizontal foot and creates a 45-degree angle.
Choose your type of roof material. For roofs with a pitch of less than 3:12, you’ll need to install a membrane roof instead of shingles or other material.
On the shed wall top plate, mark the location of the rafters or trusses every 16 inches on center.
To frame a shed roof requires 2x4s if you’re building trusses and 2x4s or 2x6s for rafters, depending on how strong the roof needs to be to stand up to snow or heavy winds. Although you can choose rafter framing for any roof style, truss framing is easier and faster. For lean-to and hip roofs, choose rafter framing for simplicity.
For lean-to roofs, cut rafters that span the width of the shed plus an overhanging amount for the eave.
For hip roofs, calculate the length of each rafter between the ridge board and the wall’s top plate and add an overhanging amount for the eaves.
Cut birdsmouths into the eave end of the rafters, where they’ll rest on the top plate. Use a speed square and jigsaw to make a cutout that matches the roof’s slope.
Install the first few rafters to support the ridge board. Then continue until the two long sides are complete.
Repeat the rafter cutting and installing procedure for the hip ends of the roof while installing a hip ridge board from each wall-top corner to the roof ridge board.
Use your shed width measurement to determine the trusses' bottom chord length.
Calculate the length of the rafter boards depending on your chosen roof style.
Decide if you’ll install your trusses with or without birdsmouth cuts. It’s common to skip birdsmouths and simply run the bottom chord to the dimension of the total shed width.
Cut the bottom chords and rafters. Remember to add an overhang amount to the rafters for eaves.
Cut six gusset plates for each truss from plywood that you’ll use to hold all the parts together.
Lay out your first truss on the ground and secure the lumber intersections with three gusset plates and appropriate nails.
Flip the truss over and install the other three gusset plates directly opposite the first three.
Test fit your truss on the shed.
Repeat the above steps for each truss until you have enough to cover the roof.
It’s necessary to have an assistant for installing trusses.
Lift the first truss into place at one of the gable ends and have one person support it upright.
Use 16D nails, at least two on each side of the truss, to toenail it into the top of the wall.
Support the first truss by nailing a 2x4 from the top of the truss to a wall stud.
Repeat the first two steps to install the next truss.
Temporarily attach the second truss to the one prior with a 2x4 for support. Nail the lumber to the underside of the rafters.
Repeat steps 4 and 5 until all the trusses are in place.
Nail a “rat run” on the top edge of the bottom chords. A rat run is a series of long 2x4s that attach the trusses’ bottom chords together and extend from one gable end to the other.
Every roof needs decking. Here’s how to install it correctly.
Nail full sheets of roof decking oriented strand board (OSB) or plywood to the rafter tops starting at the bottom.
Stagger the roof decking joints. In other words, don’t install two subsequent rows of decking with their ends landing on the same rafter. Leave a quarter-inch gap between the sheets to allow them some room to expand in case they absorb moisture.
Install roofing clips between decking panels if local code requires their use.
Cut and install pieces of OSB or plywood to fill in the remaining voids.
There are just a few details to wrap up before the big finish.
Install a lumber fascia board around the perimeter of the eaves.
Install a metal or vinyl fascia covering and drip edge around the roof perimeter.
Install a metal, vinyl, or plywood soffit under the eaves between the fascia and the shed.
If you skip installing a soffit, install bird blocking to fill the void between the roof decking and the shed wall between the rafters. Simply cut a 2x4 piece to fit and use nails to secure it in place. Also be aware that the nails from your roof installation will penetrate the decking, making them visible. By code, nails must extend through the decking.
Shingles, roll roofing, corrugated metal, corrugated plastic, or membrane are typical roofing materials for sheds. Follow the manufacturer's instructions to install a rolled, metal, plastic, or shingled roof.
A shingled roof is a common choice for sheds. Here are the basic steps you must take to install a shingled shed roof:
Install ice and water guard or felt paper underlayment.
Install a starter strip of shingles along the bottom edges of the roof and up the rakes. Make sure the first row of the shingle's edge is offset from the starter row at least 3 inches. They should not line up or water will flow through the seam.
Install individual shingles using four to six nails each. Place the nails closest to the edge about two inches away from each shingle end.
Stagger the seams in each subsequent row of shingles at least three inches apart.
Use gloves, a straightedge, and a sharp utility knife to trim the shingles at the roof’s edges.
As you reach the top of each roof plane, cut the last row of shingles to fit.
Complete your shed’s roof by following the manufacturer's instructions to install the ridge shingles.
Cover any exposed fasteners on the roof with roof sealant to prevent corrosion and oxidation.
Shed roof maintenance is similar to essential roof maintenance for your home. You should regularly check your shed roof, especially after intense storms and high winds. If you spot debris on your shed roof, remove it immediately. If you notice any damage, repair it as soon as you can. If you build your shed under shady trees, you may need to scrub off moss or fungus from time to time using a bleach and water solution.
“Do not ever power wash a shingle, rolled roofing, or modified bitumen roof. Power washing will prematurely remove the granules and destroy the shingles,” says Ami Feller, Expert Review Board member and owner of Roofer Chicks in New Braunfels, TX.
Building a shed roof is an excellent way to enhance your DIY skills and save some money over professional installation. However, it’s time-consuming, labor intensive, and may not be every homeowner’s idea of a good time. If that’s your situation, you can hire a local carpenter or a nearby shed builder to perform the task for you.
Professional shed installation costs around $2,500 for an average project and varies dramatically depending on numerous factors. If you’re on the fence about doing the job alone, getting a cost estimate or two may help you decide.
Mitchell and the crew were top tier i am so happy with my new roof
D1 Roofing delivers outstanding service from beginning to end, backed by a strong warranty and expert teams. I highly recommend them for their excellence in meeting and surpassing expectations with unmatched communication. Choosing D1 Roofing was flawless decision
This place took $25,000 for a flat roof job with a five-year warranty and never returned to fix the leaks that were caused by their work. These people are not professionals and should not be doing this type of work. They incorrectly changed the pitch of the roof, and caused more damage than...
The technician was very professional and friendly. He answered all my questions and was very thorough. He left the fireplace area very clean . He inspected from the roof and advised me as to other work that might need to be done. There was no pressure there. I was very satisfied with the...
 Supreme brick & chimney
I am really impressed with their timeliness and turnaround. Mitchell came out, and we decided to move forward with their pricing. Our roof was on within a week, and we could not be happier with their team! Amazing company, great prices and honest, dependable craftsmanship. I highly recommend...
Manuel Calvillo is the best option in the area for roofing and you won't be disappointed.
They damaged multiple items on my property, including a marble slab used as a table top, tried to hide it, and refused to pay or replace. Arrived day one without a ladder to access roof & delayed a day. Left a mess in back yard; didn't wear face masks; no show by owner to property to see damages
I've hired Gary/Cherokee Roofing for two different homes, work quality, responsiveness, and completion have been great both times. And the prices quoted were very competitive. I would definitely hire again.
Lyle did a great job removing asbestos shingles from our front porch roof. They worked together with our roofer to make sure that the new roof was able to be installed on the same day that Lyle removed the asbestos shingles.
 Lyle Environmental
Bradley Builders did a good job replacing the roof on our front porch. They color-matched the existing shingles on the rest of the house and installed a metal ridge roll since we live in a historical neighborhood. They did the job while we were out of town. When we got back, everything was...
 Bradley Builders, Inc.
From average costs to expert advice, get all the answers you need to get your job done.
Need to add to your shed’s life span and protect your belongings inside? Use this shed roof replacement cost guide to see what your project will total.
The cost to build a shed depends on factors like size, material, type, and more. Learn how much it’ll cost to hire someone to build your new shed.
Get transparent shed repair cost info so you can learn average prices, cost factors, and ways to save on shed repairs for your home.
Designing and building dormer framing may not be a DIY task, but it does help to know how the addition takes shape. Here are the ins and outs of dormer framing.
Building a roof is a serious but rewarding project. If you're up to the task, use this step-by-step guide to learn how to build a roof without the help of a contractor.
Wondering who to hire to build a shed? Compare shed builders, handymen, and contractors, then learn how to choose the right pro for your project.