
Let the light flood into even the gloomiest attics and transform the look of your home. Here's how to calculate the cost of adding a dormer of any style.
When it comes to building the best dormer, it's all about how you frame it

Dormer framing requires proper roof load transfer planning, as gable dormers bear weight on sidewalls while shed dormers transfer it to the front wall.
Expect to pay $2,500 to $20,000 for dormer installation, with average costs around $15,000 depending on your roof slope and structural requirements.
Your dormer project needs precise measurements using a plumb bob to keep the front wall parallel with your home's exterior before cutting roof openings.
Hiring a local general contractor handles complex structural calculations and ensures your dormer framing meets building codes while keeping you safely off the roof.
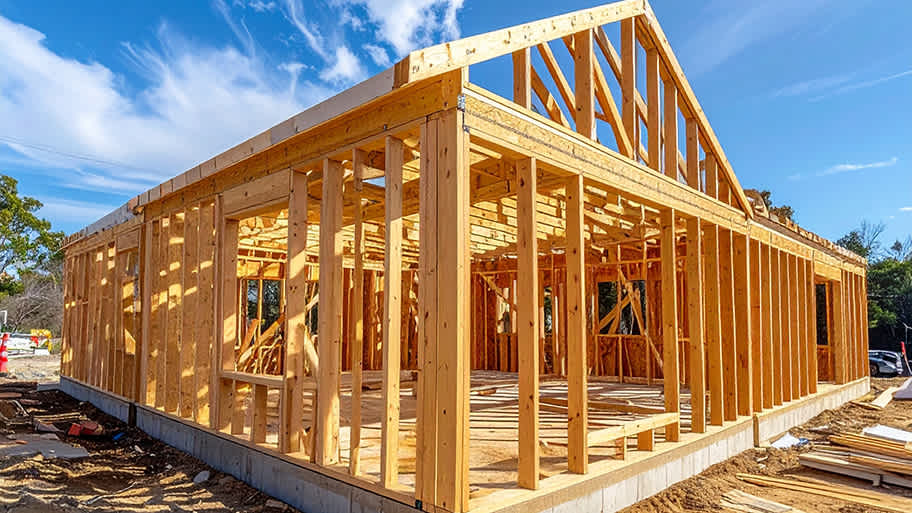
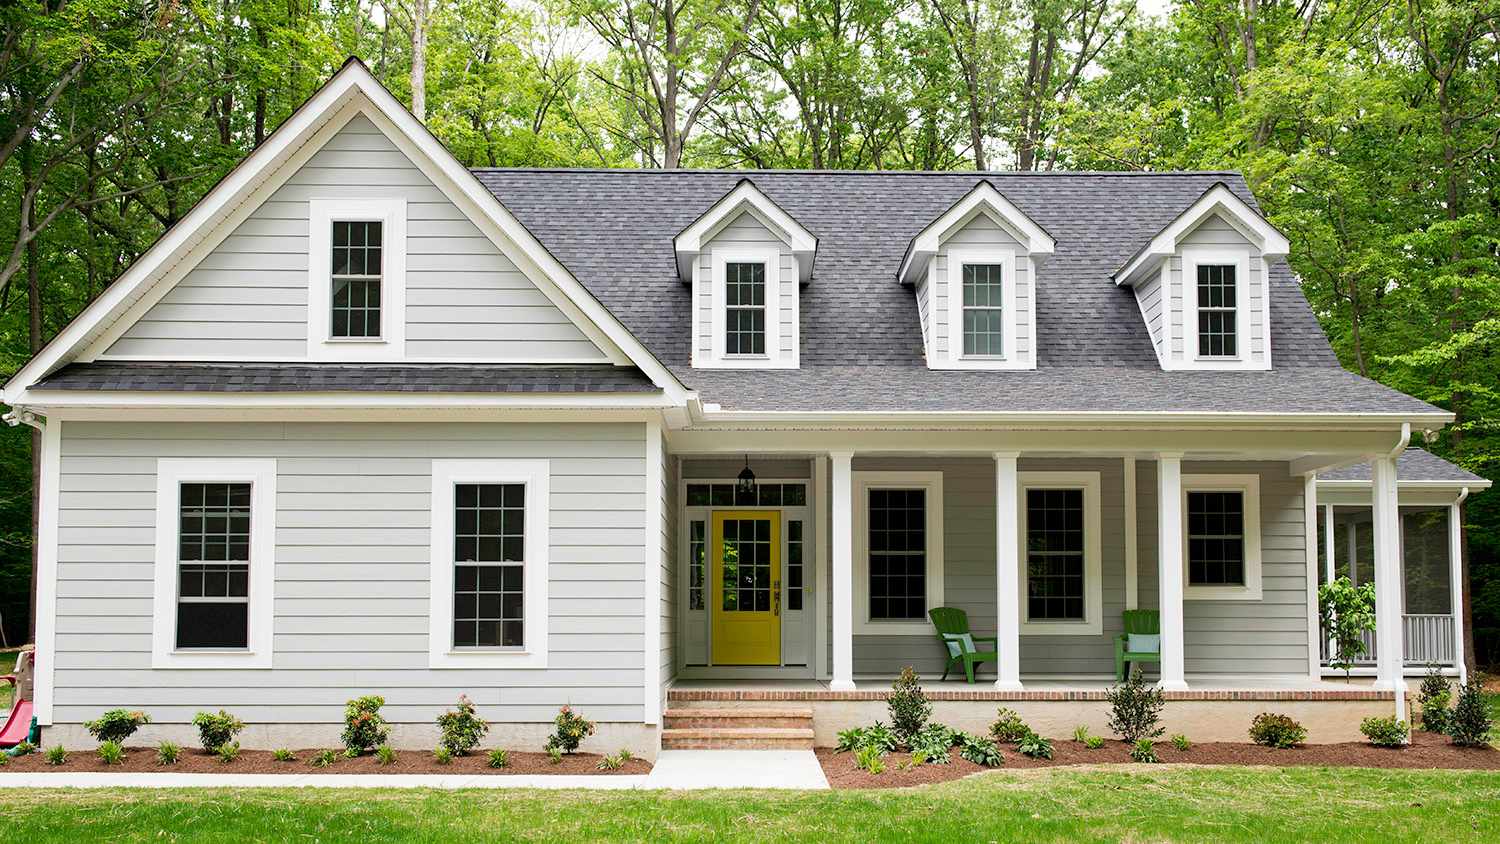
One of the best ways to expand your attic's living space without extensive construction is to design a dormer addition. Whether you add a single-windowed gable dormer, a multi-window shed dormer, or one of the many variations of these two styles, this is a job best left to the professionals. That being said, understanding the dormer framing process can help you determine the best design for your home and what to expect from the timeline. Let's walk through the two main types of dormer framing and what makes them unique.

A dormer addition is a type of bump-out extension added to a roof that sits perpendicular to the front wall of your home. Not only do dormer additions feature windows to increase light and airflow to your top floor, but they also extend usable living space.
You'll encounter many types of dormer additions with a range of sizes, roof styles, and even with perks such as a dormer balcony. However, in order to understand the basics of dormer framing, get a sense of the process by looking at two styles: a gabled dormer and a shed dormer. From here, you'll be able to make small adjustments to your plans to build designs such as a hipped or recessed dormer.

Installing a dormer costs anywhere from $2,500 to $20,000, with the lower end of the range reserved for very advanced DIYers. While the high end may seem steep, it's much less than adding a new second story to your house while still expanding your square footage.
Keep in mind that, at the very least, you will likely need to hire an architect to design your dormer. Local regulations may require a licensed local general contractor or architect to sign off on the plans for you to receive your permit to begin.
Preparing dormer framing takes just as much, if not more, work as the build itself. Anytime you add significant weight to your home or alter load-bearing beams and joists, you'll need a professional to take a look.
The cost of building permits for home construction range between $150 and $2,000. Nearly all towns require a permit to install a dormer, particularly those on the front of the house. Not only do dormers alter the structure of your home—a feat that almost always requires the-sign off of an architect—but you are also adding a window and expanding your home's square footage.
In some cases, you will need permits for the word related to dormer framing, such as fortifying the foundation or load-bearing studs.
When you hire an architect, they will consider several major elements of your home to draw up dormer framing plans:
The slope of your roof
The roof load compared to the weight of the new dormer
Your home's structural weight load
Interior headroom and floor space
The size of your home's windows (a dormer window should not be larger than the other windows)
Which dormer styles pair with your home's style
In some cases, roofs with extreme slopes or historic buildings that require far too much fortification to hold the dormer may not be worth the work. This is why it is crucial to move slowly through this phase.
Your architect will also determine what's known as the roof load transfer and how the proper dormer framing will achieve your goals. As we'll touch on more below, the style of dormer framing determines whether the load transfers through the side walls or the front wall of the dormer. The weight can also either land on the roof rafters or the joists of the top floor.
Once you get the long-awaited green light from the town, ensure you have the proper supplies, tools, and space to complete the build without interruption. Some of the most common tools you will need to frame a dormer include a reciprocating saw, a circular saw, a plumb bob, a chalk snap line, measuring tools, a level, and basic tools such as a hammer, screwdriver, and nail gun.
At this point, you or your contractor should also ensure you have proper roof safety equipment. Ladders, harnesses, glasses, gloves, and tool belts are all must-haves.
If you've chosen to source the materials on your own, bring the cut list from your blueprints to a lumber yard. A professional on-site can ensure you have all the right cuts so you don't have to do the guesswork at home. Depending on your dormer framing design, you will need cuts of wood, often 2-by-4, 2-by-6, or 1-by-8, for the following sections:
Gable ridge
Window header
Dormer rafters
New roof double rafters
Dormer wall studs
New ceiling joists

With the plans drawn up and materials gathered, now you can begin marking your roof and the interior space for cuts and dormer framing additions. Remember, only begin removing your roofing materials after you have your measurement double and triple-checked.
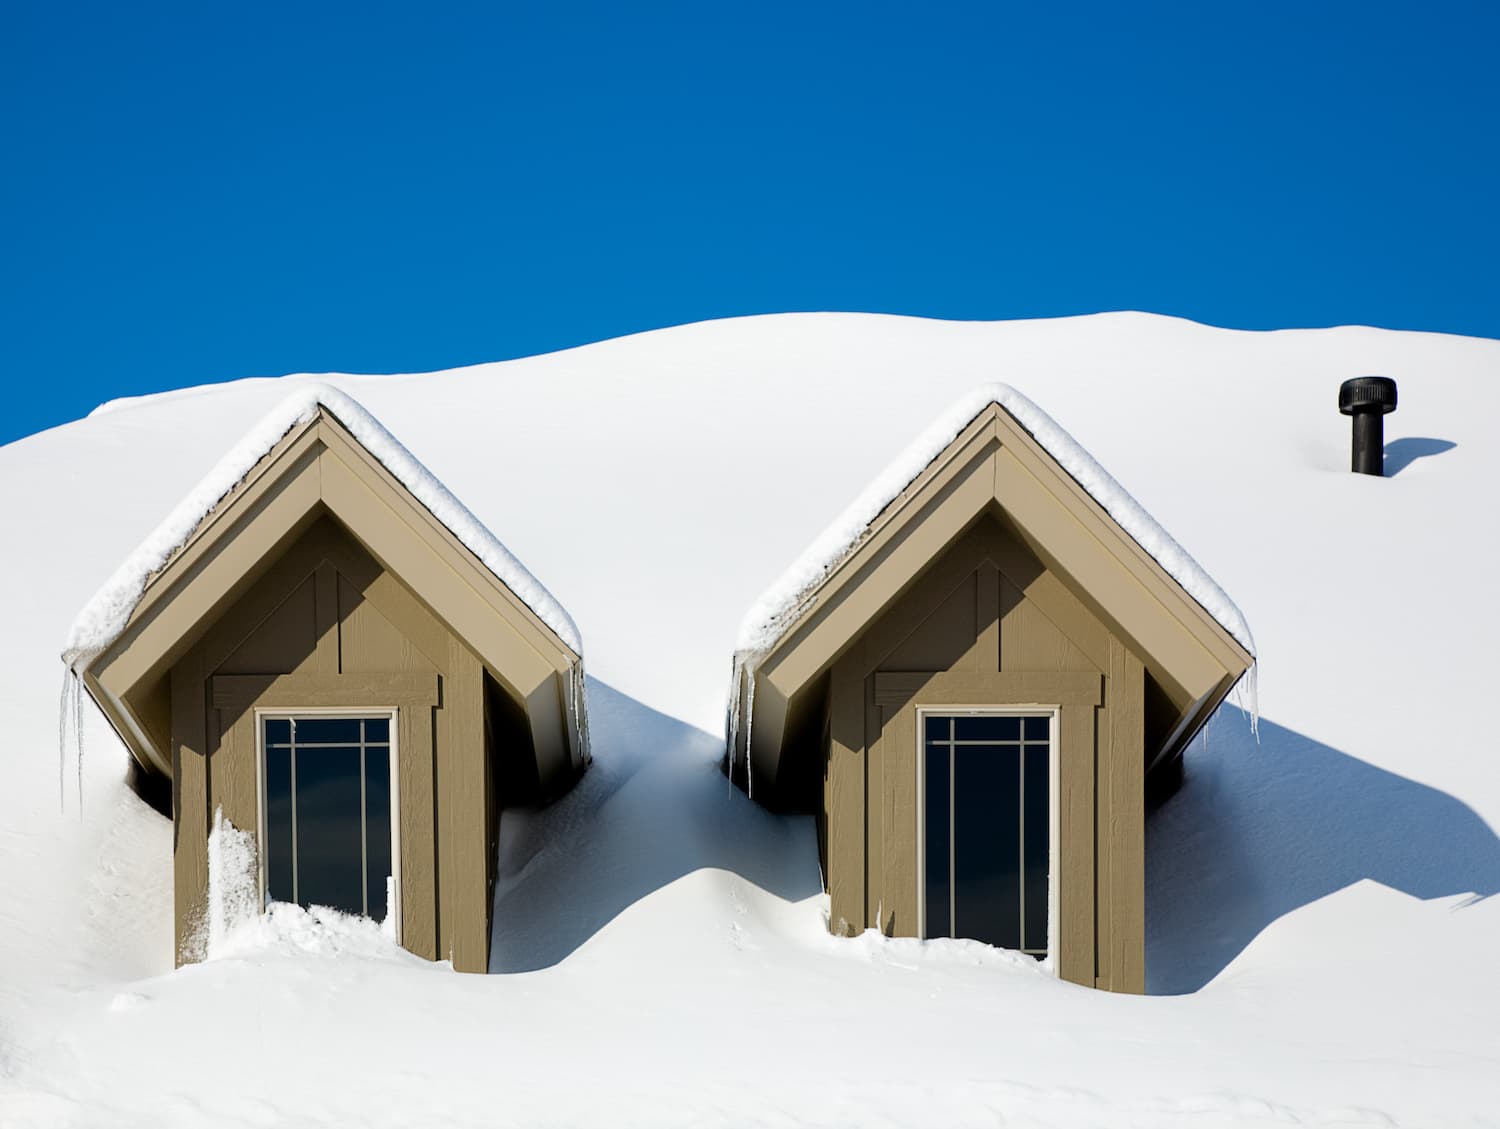
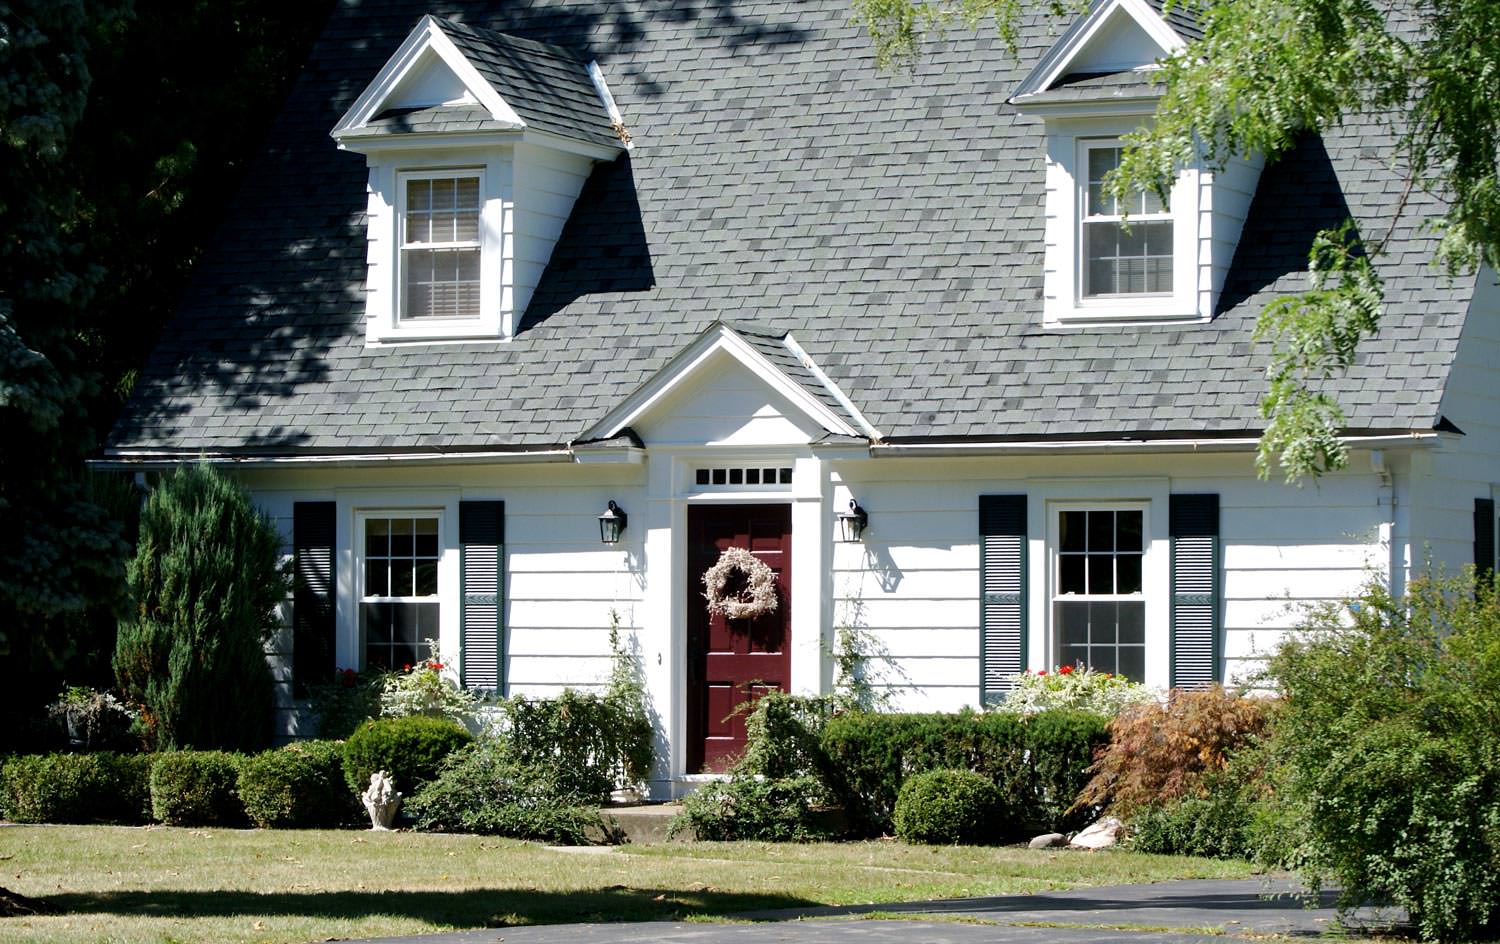
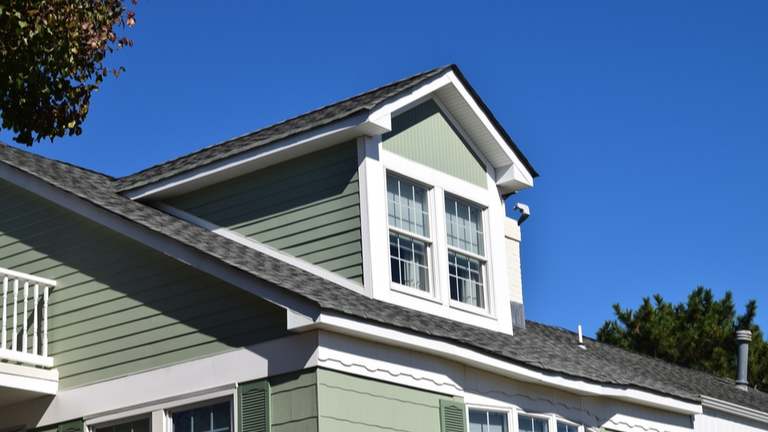
A gable dormer has a ridge that runs perpendicular to your roof's main ridge. The gable has one peak and slopes down evenly on either side. The dormer ridge extends out from the roof, running parallel to the rafters of the floor of the attic. Most gable dormers have one window framed at the center of the front wall of the dormer.
It's important to note that the roof load transfer bears on the sidewalls of a gable dormer, so you will often need to fortify your roof rafters before starting. Here are the basic steps of framing a gable dormer.
Using your blueprints, mark out where your dormer walls will enter into your attic and where they will meet either your attic floors or the ceiling rafters.
If included in your blueprints, install either double or triple roof rafters on the inside of your attic to bear the weight of the dormer walls.
If the front of the dormer sits on the attic floor, you will need to remove the floor planks and subflooring to make room for the posts.
Remove the shingles from the exterior of your roof and snap a chalk line where you will cut into the sheathing.
Use your plumb bob to ensure that your front wall dormer measurements are parallel to the front of the house.
Cut the rafters set to be removed with a circular saw.
Install your pre-built front wall and brace it to ensure it reminds plumb with the front of your home.
Install the dormer sidewalls, ridge, and rafters and frame the window for installation.
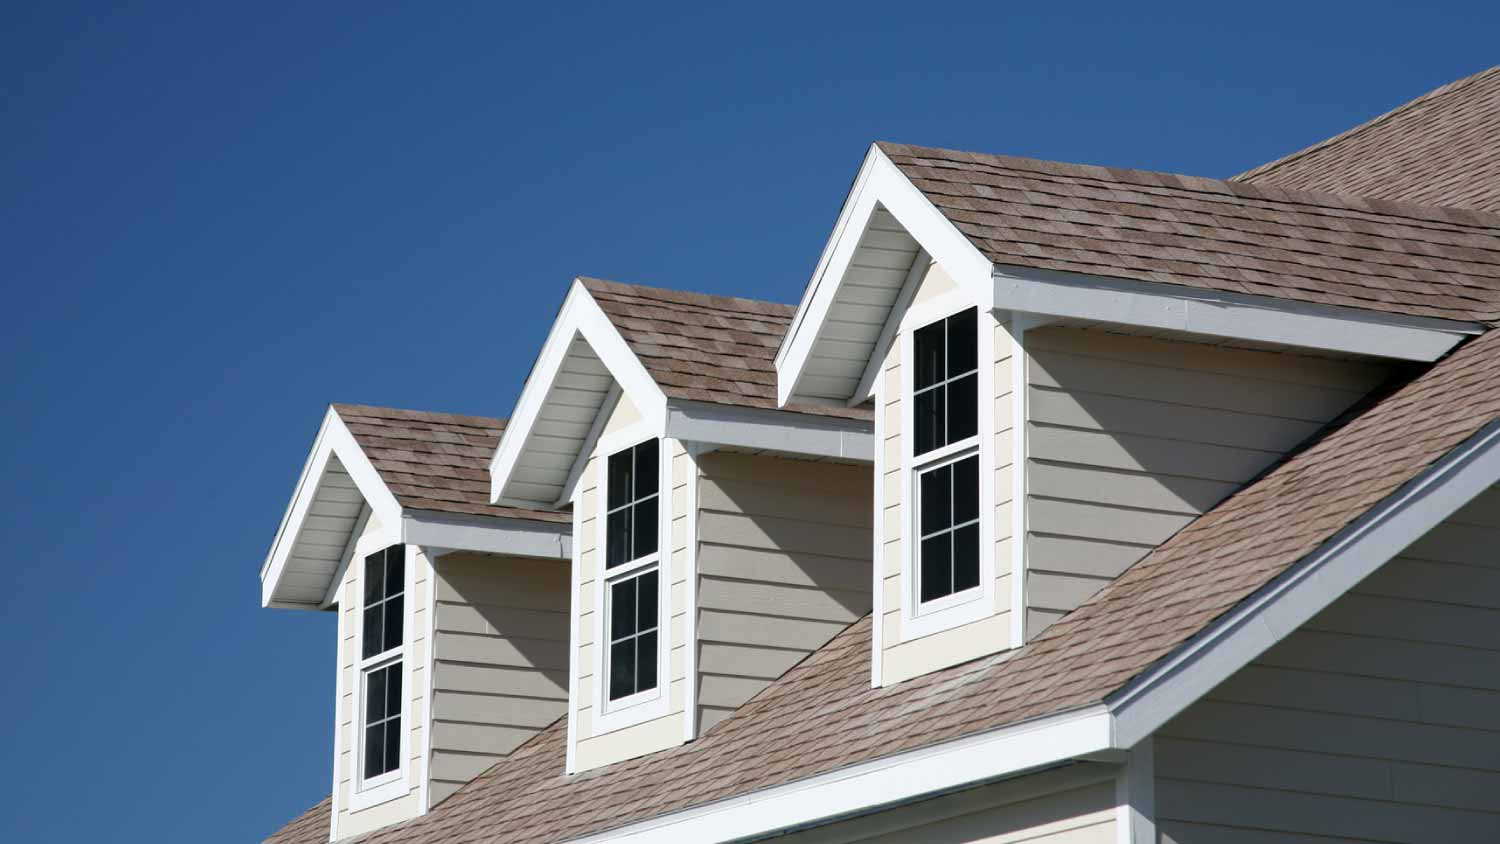
A shed dormer connects several windows and extends the living space with a much wider dormer, typically at least a 20-foot opening. The roof of a shed dormer is typically flat or slightly sloped, often appearing as if the home's roof popped open like a bakery box.
A shed dormer often lines up with either the front exterior wall of your home or it sits on the floor of your attic. In either case, the load roof transfer falls to the front of the dormer instead of the side walls.
You will need to fortify the floor joists of your attic if the shed dormer focuses the weight further back from the front of the house. However, if it sits parallel with the exterior wall, you may not need to make changes to its load-bearing capacity at all.
On the inside of your attic, determine where the ridge will meet the slope of the roof.
If the intersection occurs lower than the roof ridge, mark a space to add an additional header for fortification.
As you did with the gable dormer, mark the measurement of your cut on the exterior of your roof with a snap line.
Use the plumb bob to ensure that the front wall of the dormer sits parallel with the front exterior of the house.
Cut the opening of your roof, covering it with plastic when you take breaks to keep the large open interior of your attic dry.
Raise and attach the front wall of your shed dormer and add the window headers and framing.
Install the side walls and ceiling rafters of the dormer. Remember the sidewall can rest directly on your roof's rafters since they do not carry the load.

Once you have the front wall, side walls, and rafters in place, you're ready to work on the exterior of your dormer framing. While this process is far more complex than a simple list, you'll need to consider:
Adding the wood sheathing to the walls and roof of your dormers.
Finding and installing complementary roofing materials.
Adding flashing around the edges of your dormer.
Opting for either traditional siding or waterproof cladding.
Installing the window into the wood framing.
Adding additional gutters to the exterior of your dormer.
Including insulation to the inside of your dormer walls and ceiling.
A glance at even the quickest overview of dormer framing instructions makes it clear that this is not an ideal DIY project. In nearly all cases, it's best to leave major home construction like this to trained professionals.
However, we get that the cost savings for going it alone are tempting. When you're calculating the cost to finish an attic, taking on some of the work yourself will lower that bottom line. However, stick to less-risky projects such as the brainstorming phase, installing basic flooring, or painting the interior. Bring your favorite attic ideas to life without the costly and dangerous risk of taking DIY too far.
Exquisite workmanship from Custom Paint Jobs LLC. My home has never looked better.
Visited my home for estimate same day that I called. Painted on Saturday. Great job. Good price!
Window Depot did an amazing job on my deck. I wasnt sure what I wanted to do, but their composite decking was affordable and will last a long time. I am excited to have family over, and I am no longer embarrassed by my backyard. Jeff and the ground crew were polite, respectful, and caring for...
The guys did an outstanding job and we had a great experience with CarifaTile. I appreciated that Joe reviewed the quotes with me and set expectations prior to the install. The crews showed up as scheduled and always left the areas clean upon leaving the house. We will definitely use...
 CarifaTile
Beginning with the estimate, Larry and Peyton were super helpful in getting my new condo's interior re-painted. Not only was the job well done, but also done in a super timely manner as promised.
 Five Star Painting of Plain City and Powell
BJ Trim Carpentry rescued me in the middle of a do-it-yourself project. I found I needed more expertise than I had...and more TOOLS! BJ Trim Carpentry responded quickly and completed what I needed expertly, politely and with a little humor!
This brownstone is historical and the carpentry work is very detailed. I was very happy to secure a company in NY and living in OH to complete the request. Wood work on this brownstone has been existing since approximately 1888 and West side did a GREAT JOB. I will not be able to...
 Westside Home Improvement
We had a great experience with Mark Rodgers Construction. We were in the process of seeking out estimates for possible foundation work for our front porch. Mark came out himself to provide the estimate. Turned out that the company deals mainly with concrete, so we wouldn't be getting an...
Overall this experience was incredible! I looked on Angies List for a cleaning service because I was planning a holiday party and wanted to make sure we found a reliable, thorough and efficient cleaning service to make sure everything was perfect for the party since we had co-workers and...
From beginning to end our experience with Joe was very good. He was professional and prompt in his estimate for the job and worked hard to meet our schedule so that he could remove our old backsplash the day before our new countertops were removed and return shortly after they were removed to...
From average costs to expert advice, get all the answers you need to get your job done.
Let the light flood into even the gloomiest attics and transform the look of your home. Here's how to calculate the cost of adding a dormer of any style.
The cost to frame a house can vary depending on the size of your home, the structure you’re building, and your materials. Keep reading to learn how much framing your house might cost.
Raising the roof on a Cape Cod house adds valuable living space. Learn how much it costs to raise the roof on a Cape Cod house and what affects the price.
When remodeling or building a home, you can incorporate dormers into the upper floors or attic. We’ll explain the eight primary types of dormers for homes.
Dormer additions are both stylish and practical. Check out how to increase your attic's living space while boosting your home's curb appeal.
Adding a dormer to your roof improves both the interior and exterior of your home. But before installing a dormer, there are a few things to consider to get the best value for your home. Learn more about permits, styles, and cost of adding a new dormer.