
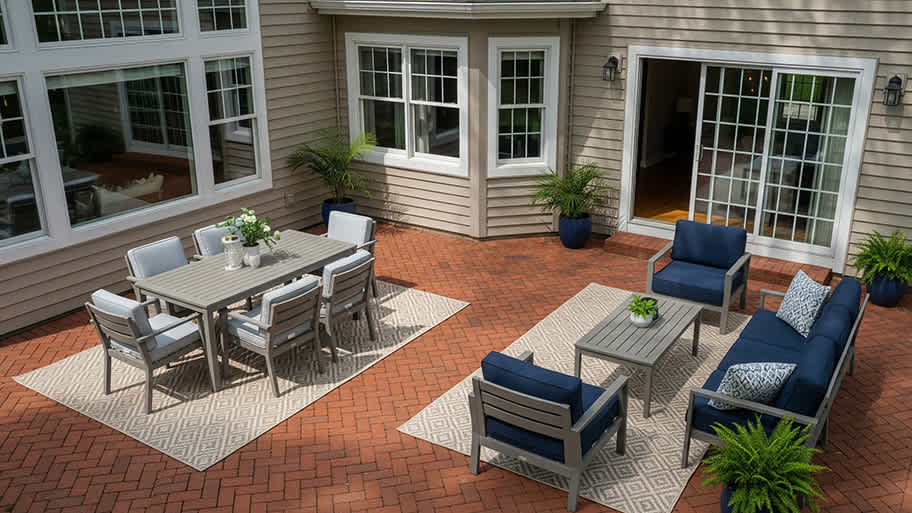
Looking to build an outdoor entertainment space? Use this patio cost guide to get an idea of how much your exterior project will come out to.
Brick by brick, your patio is paving the way for good times

Installing a bathtub liner gives your existing tub a fresh look without the full replacement cost, as long as your tub has no cracks or drainage issues.
Expect to pay $500 to $2,800 for DIY materials or around $6,400 for professional installation, while tub replacement costs $2,000 to $9,400.
You'll need to clean your tub thoroughly, remove all hardware, apply primer and adhesive, then carefully fit the liner to avoid trapping moisture underneath.
Hiring a local bathtub repair professional provides reliable help with proper sealing and adhesive application, preventing water damage and mold from improper installation.
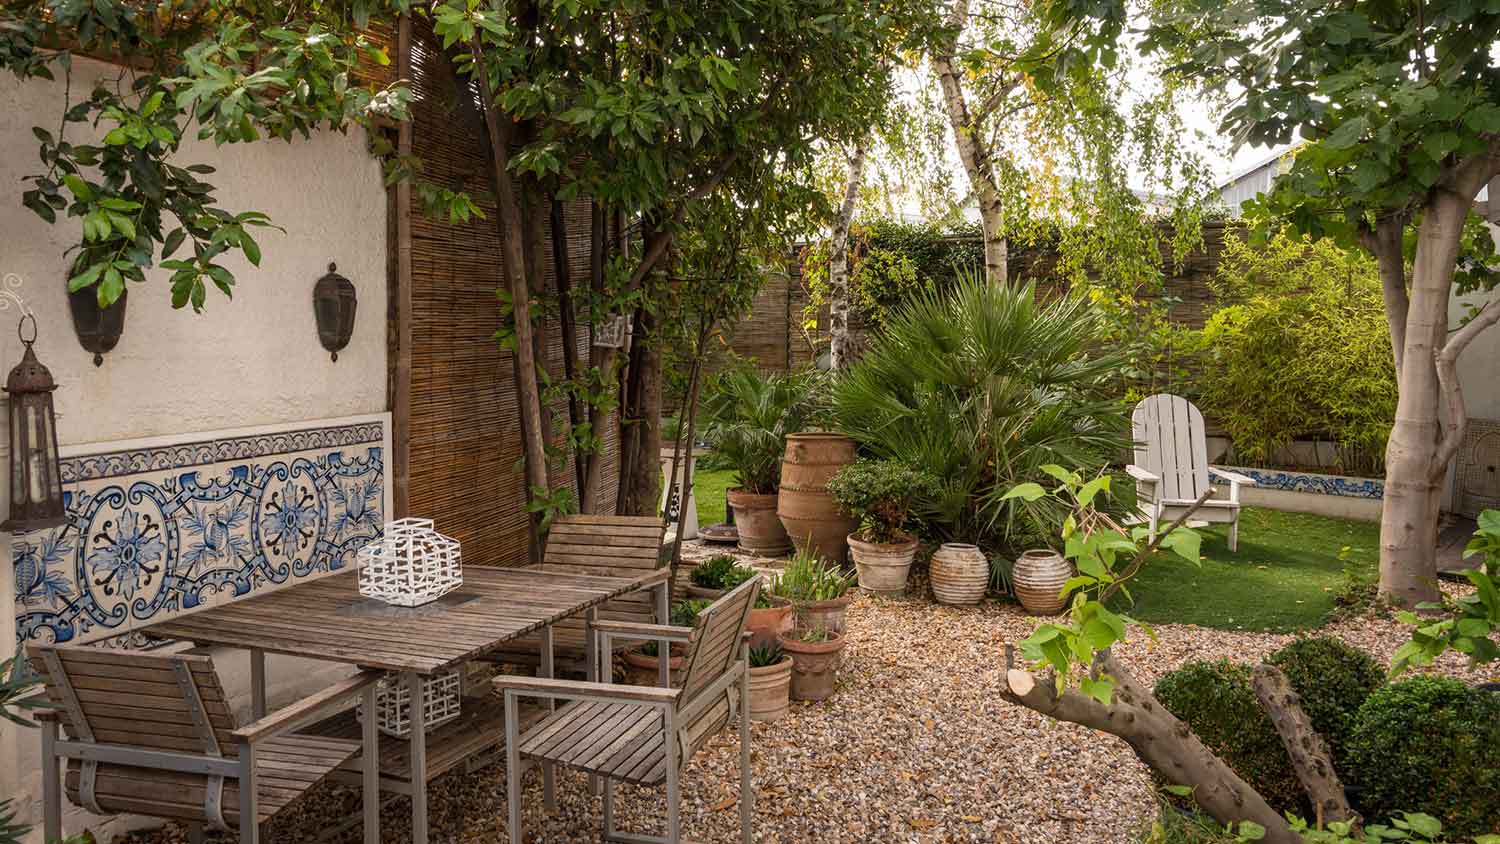
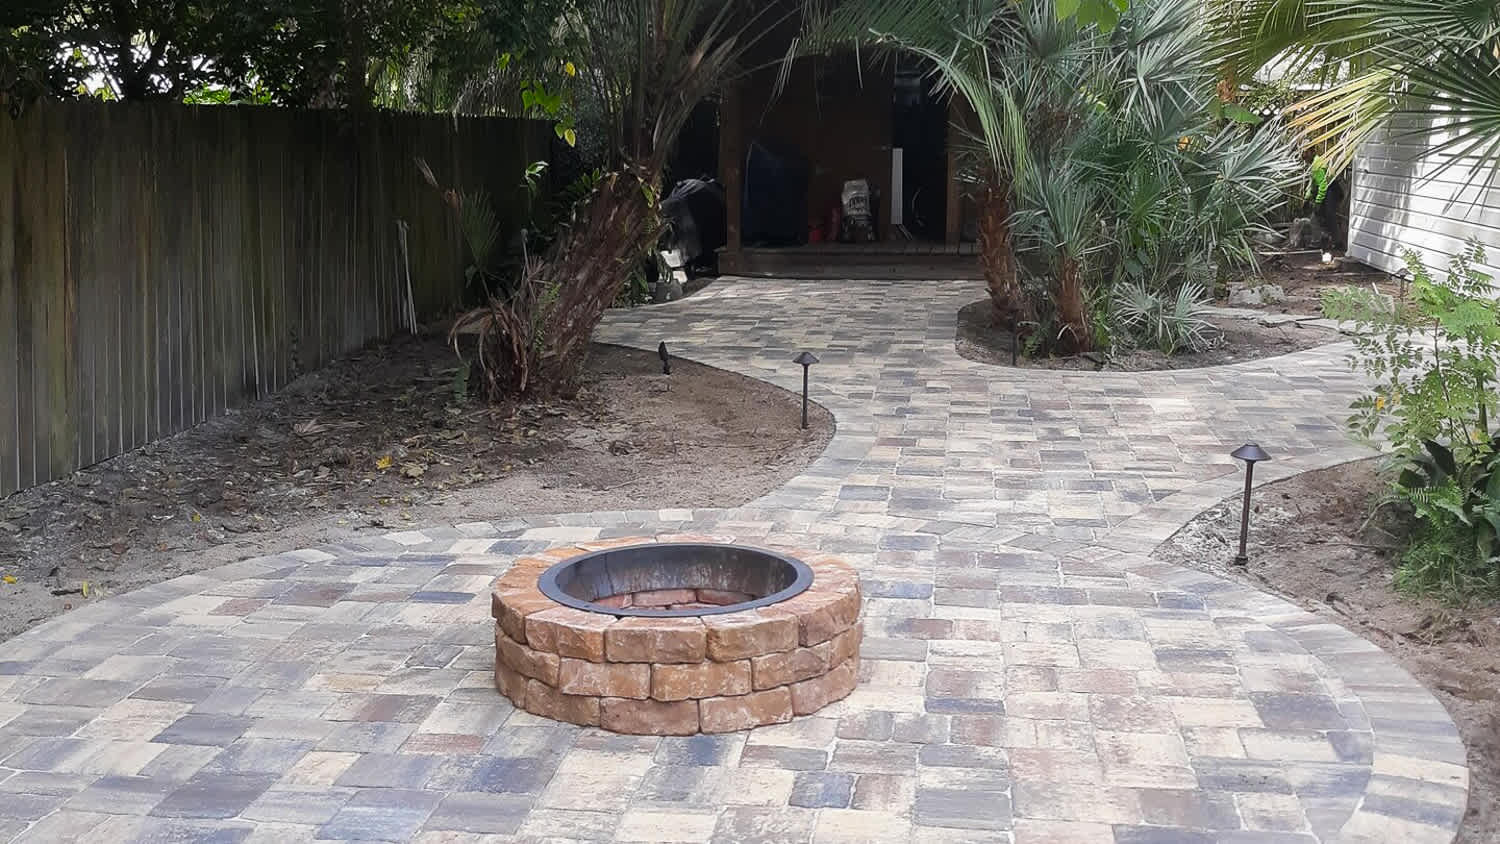
You can turn your backyard into the most versatile room on your property with a brick patio. Set up lounge chairs, roll out the grill, and add a dining set—just like that, you have a living room, kitchen, and dining area all in one. Brick patios bring a clean, timeless look, but getting it right means taking the build seriously from the start. While it’s not the most complicated DIY project, it does take patience, precision, and planning to build one that looks great and lasts for years.
Start by grabbing stakes and string, then mark the patio layout directly on the ground. Walk the perimeter, adjust as needed, and make sure the shape fits the way you’ll use the space.
Next, call 811 a few days before building your brick patio. This connects you with local utility companies who’ll come out and mark any underground lines—gas, water, electric—so you know exactly where (and where not) to dig. If you skip this step, you could hit something important and mess up essential services, like whether you’re able to take a shower or turn on your oven. A quick call can prevent costly delays and major problems, so play it safe and always “call before you dig.”
Now, plan for drainage. Use a measuring tape and level to create a slight slope—roughly one inch for every eight to 10 feet—away from your home. For example, if your patio runs 16 feet from the house, aim for a drop of around two inches from one end to the other. Mark these levels now so you can reference them later.
Finally, sketch your paver patio design on paper. It doesn’t need to be fancy, just clear. Include the dimensions, outline your brick pattern (running bond, herringbone, basketweave, etc.), and note any curves or borders. Your sketch will help you figure out how many bricks, gravel, and sand you’ll need.

Using a square-edged shovel, start digging inside the area you marked off—removing grass, roots, and anything else that doesn’t belong under a brick patio. You’re aiming for a depth between seven and 10 inches to make room for your layers: four to six inches of gravel, one inch of sand, and your two to three-inch bricks. Use your measuring tape to keep things even, and toss the soil into a wheelbarrow so it’s easy to move. As you dig, follow the slight slope you planned for drainage. Lay down a level on a straight board to double-check you’re on the right track.
Shovel crushed gravel into the excavated area, then spread it evenly with a rake to about four to six inches deep. Again, use your measuring tape, level, and straight board to keep an eye on the slope for drainage. Once the layer’s in place, power up a plate compactor—you can rent one from a hardware store—and compact the gravel in overlapping passes until it feels solid. For smaller areas, you can use a hand tamper, but it will take a lot more time and effort. Spraying the gravel with a light mist can help pack everything down.
Roll out landscape fabric directly over the compacted gravel, and trim it to fit with a utility knife. Smooth it out to eliminate any wrinkles while overlapping the edges. This layer blocks weeds and will keep your sand base stable, so your patio has a cleaner finish and needs less maintenance in the future.
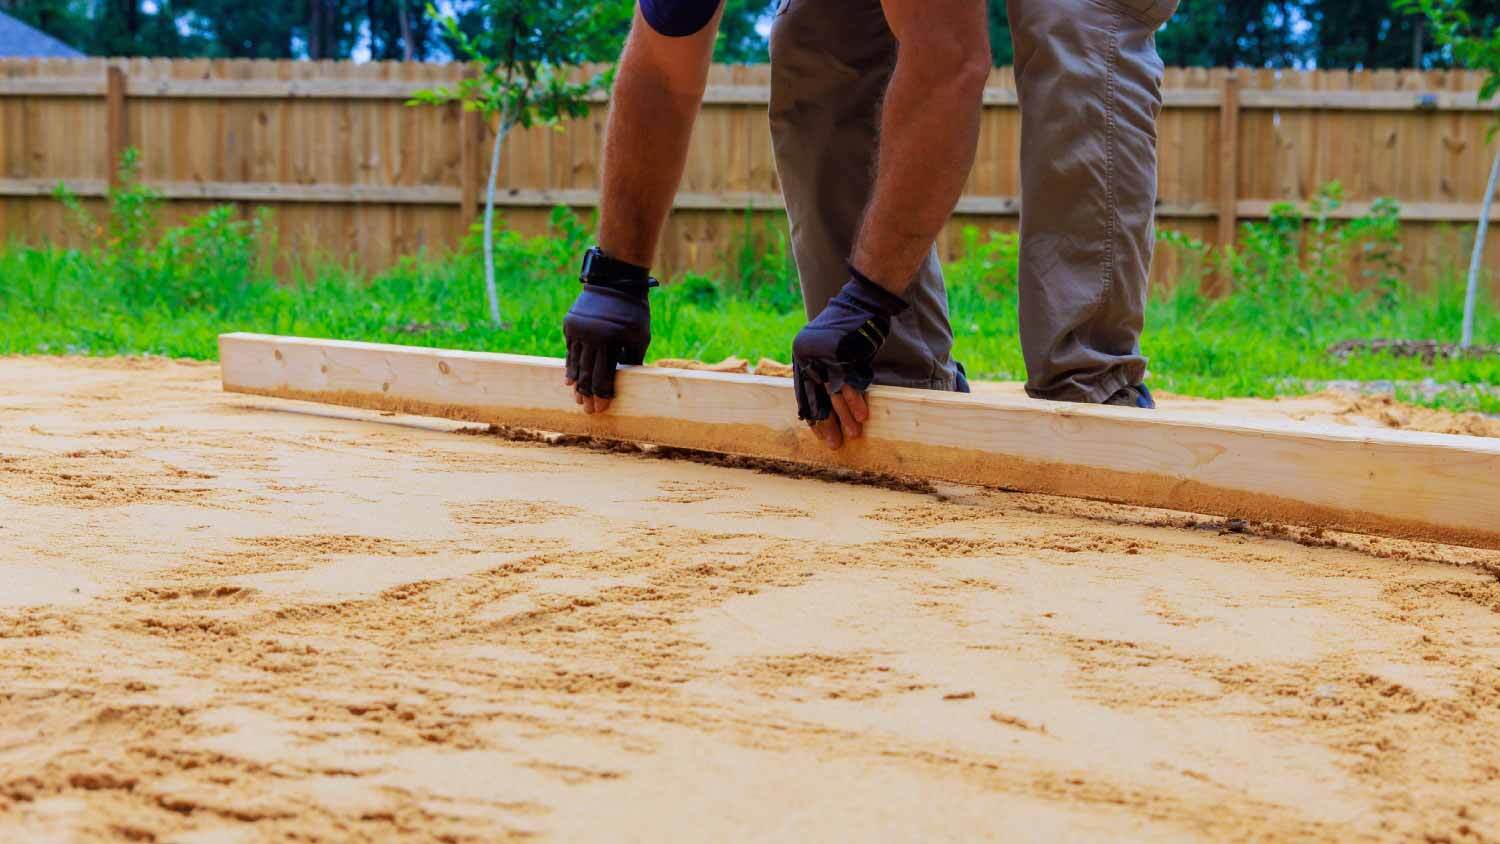
Unload coarse sand (paver sand or sharp sand) into the patio area, and spread it with a shovel to create an even layer about one inch thick. Skip the fine sand—it shifts too easily and won’t hold your bricks steady. Set down your guides (two straight pipes or 2x4 boards) at one end of your sanded area, spacing them about three to four feet apart. Use a level to make sure they sit evenly.
Drag a screed board—any long, straight piece of wood or metal used to smooth and level materials—across the top, using a smooth, back-and-forth motion to flatten the sand between the guides. Once the section is level, gently lift one guide and use a hand trowel or the edge of your board to fill in that gap with the sand. Move your guides and repeat the process in sections until the full patio is covered. Avoid stepping on your screeded areas. Work backward across the space to preserve the smooth, even surface you just created.
Start from a fixed edge—like your house or a solid border—and press each brick into the sand with a gentle twist to lock it in place. Run a string line tight across each row, checking it regularly to keep your layout straight.
Drop in paver spacers as you go to keep uniform gaps (typically 1/8" - 1/4") for jointing sand later. If you need to make cuts when you reach the edges, measure and mark your brick pavers with a pencil. Use a brick splitter or wet saw to cut it to your measurements—just don’t forget your safety glasses.

Install edge restraints around the perimeter of your patio. This prevents your bricks and base layers from shifting over time. Choose a material that fits your layout and skill level—plastic edging bends easily around curves while metal gives a cleaner finish. For plastic edging, anchor it with long spikes every 12 to 18 inches using a hammer or mallet. Metal edging may need stakes, screws, and a drill for assembly and shaping, especially if you’re working curves into your layout.
Whether you’re laying straight edges or smooth curves, use your measuring tape and level to keep the restraint height even with or slightly below the brick surface to prevent tripping hazards. Cut plastic edging with a utility knife or heavy-duty scissors, and wear gloves and safety glasses throughout.
For added stability and a finished look, use your shovel to backfill the edges with soil or mulch.
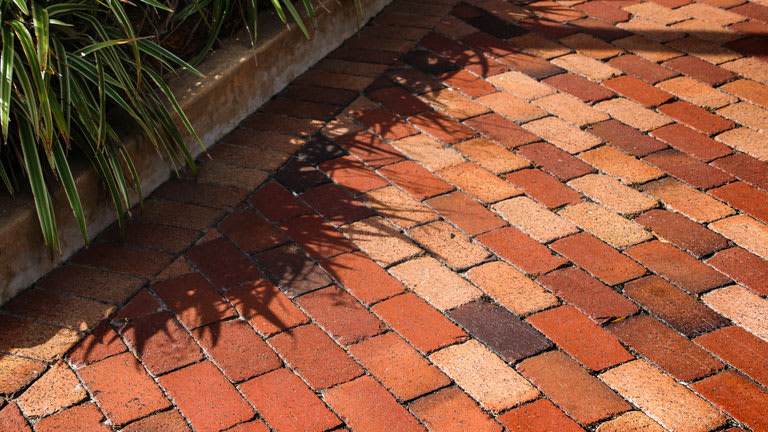
Pour polymeric sand across the brick surface, and use a stiff-bristled broom to sweep it diagonally into the joints. This isn’t just filler—polymeric sand has special binding agents that lock the bricks in place once activated with water. It hardens as it dries, helping prevent weeds, ant infestations, and erosion from rain or regular foot traffic. Sweep thoroughly to remove all excess from the surface—leftover dust can stain. Mist the area gently with a garden hose to set the sand.
Even a well-planned patio can fall apart—literally—if you overlook key details. Take the time to get each step right, and you won’t have to worry about uneven surfaces, shifting bricks, and drainage issues. If you’re taking the DIY route, avoid these mistakes to save yourself time, money, and future repairs:
Don’t ignore local codes and permits: Contact your local building department early to check if permits are required for your patio.
Don’t guess the design: Measure your space and sketch a layout to estimate materials and anticipate any tricky designs.
Don’t ignore soft soil: Dig out soft or unstable ground before building your base. Don’t just hope it settles right.
Don’t rush to furnish: Let polymeric sand cure fully before setting furniture or planters on the surface.
Don’t skip maintenance: Sweep regularly and top off joint sand when needed to prevent weeds and shifting.
Don’t build in bad weather: Avoid building in harsh heat, freezing temperatures, or rain. Schedule your project during dry, moderate conditions.
If the thought of managing every detail of your patio feels overwhelming, you can always hire a professional brick paver to handle the project for you. This option not only saves you the time and effort of building your brick patio, but it also guarantees that your patio will be durable, level, and free from the common DIY mistakes that some homeowners are bound to make.
Building a patio yourself might seem like a money-saver, but consider the costs and effort involved. On average, a DIY brick patio can cost between $1,903 and $4,122 for materials alone (for a medium-sized patio around 168 sq. ft). Add to that the time, effort, and rental costs for specialized tools like a plate compactor and wet saw. For a 168 sq. ft. patio, expect to spend days—or multiple weekends—hauling materials and ensuring proper alignment, grading, and drainage.
Hiring a professional paver typically costs $50 to $80 per hour or $4 to 11 per square foot, and their crew could get the job done in about 19 to 23 hours. For the same 168 sq. ft. patio, you’re looking at $2,520–$4,200 (including materials and labor). Sure, the initial investment might be higher, but you’ll avoid the risk of costly mistakes and get a warranty for your peace of mind.
Supreme Brick & Chimney did a great job with a cleaning and inspection of the fireplace! He was efficient, on time, and very pleasant. The space was kept very clean, and the fireplace was spotless when he was done. He also performed a thorough inspection, and did a great job talking us...
 Supreme brick & chimney
Koby & team weâ re great! Moved our two bedroom apartment in about 4 hours, and weâ re super friendly, quick, and careful with are things.
We had our houses windows and back door replace this summer by Window Depot USA of Central. He gave us grate advise and saved my family lots money. The team did a fantastic job with installation. If you need help, they sure get job done right!
Wonderful. I am going to have them remove and replace my driveway in the spring.
 All Star Paving and Sealing
We were having 2”x 2” tile installed . There was a small installation error and the new additional replacement tile was from a different lot and the colors didn’t match. Joe assured us that he would rectify everything , which he did without hesitation. We decided to go with the 18” x 36” tile...
 CarifaTile
Did an amazing job transforming my yard. Also installed sod in places, would recommend to everyone.
Ed did a great job in installing stone to the outside of our house at a fair price
Manuel Calvillo is the best option in the area for roofing and you won't be disappointed.
All around they have done a really great job. <br /> I have used JL Landscapes for the past 8 years. I own and operate my own commercial/residential real estate company where we own, operate, and maintain our own properties. JL Landscapes has been our exclusive landscaper for both our...
 J.L. Landscapes
Outstanding experience! I needed my yard/garden/patio prepared for a party the coming weekend. I contacted Rick and he was able to schedule service that same week. He and his crew did a wonderful job removing the fall foliage, weeding, trimming back plants and hedges, even cleaning up the...
 Distinct Designs Residential Enhancements
From average costs to expert advice, get all the answers you need to get your job done.
Looking to build an outdoor entertainment space? Use this patio cost guide to get an idea of how much your exterior project will come out to.

Discover the true brick walkway cost for your home. Discover installation prices, key cost factors, and expert tips to save on your brick walkway project.
Discover the cost to install brick flooring in your home. Learn about installation, materials, labor, and ways to save on your next brick flooring project.
Here are the steps to repair your brick patio—whether you need to re-level a sinking patio or replace missing mortar.
Unsure who to hire for brick and stone patio installation? Learn which pros to call, what they do, and how to choose with confidence.
If you’re looking to build a brick pathway or patio, there are lots of walkway patterns to choose from. Here’s a list of the most popular designs and types.