
When calculating the cost of building a treehouse, consider the size, types of materials, and design. This guide will help you figure out what to budget.
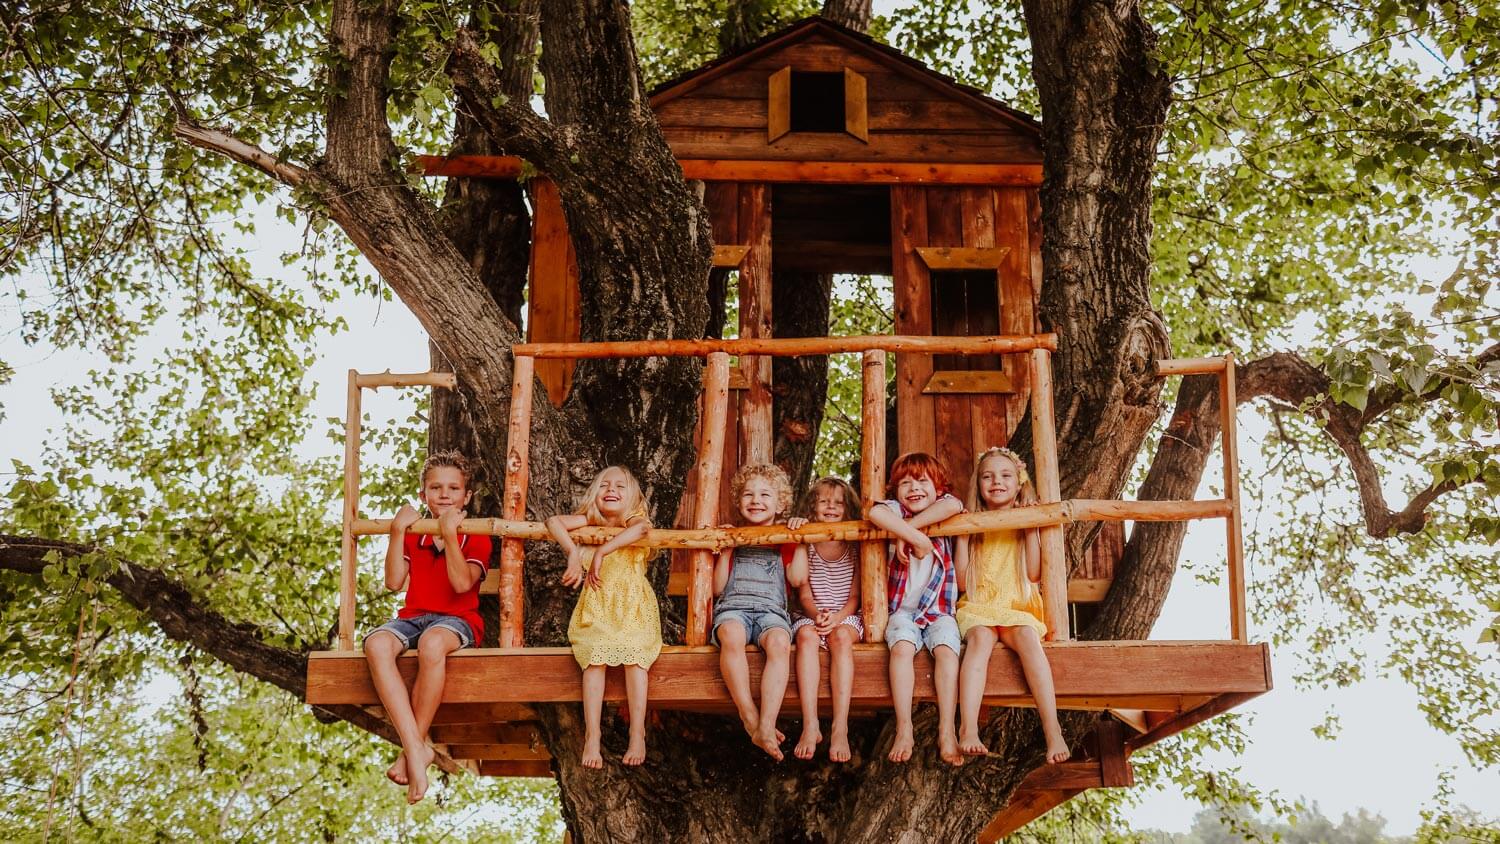
Build your treetop retreat

Building a treehouse starts with selecting a strong tree like oak or maple with a sturdy Y-shaped trunk to support your structure safely.
Professional treehouse builds cost $7,000 to $100,000, so planning your project carefully helps you decide between DIY and hiring a pro.
Your treehouse floor needs proper support beams, joists, and decking installed level and secure before you add walls, windows, and roofing materials.
Hiring a local treehouse building professional keeps your project structurally sound with proper tree attachment methods and permits handled correctly for safety.
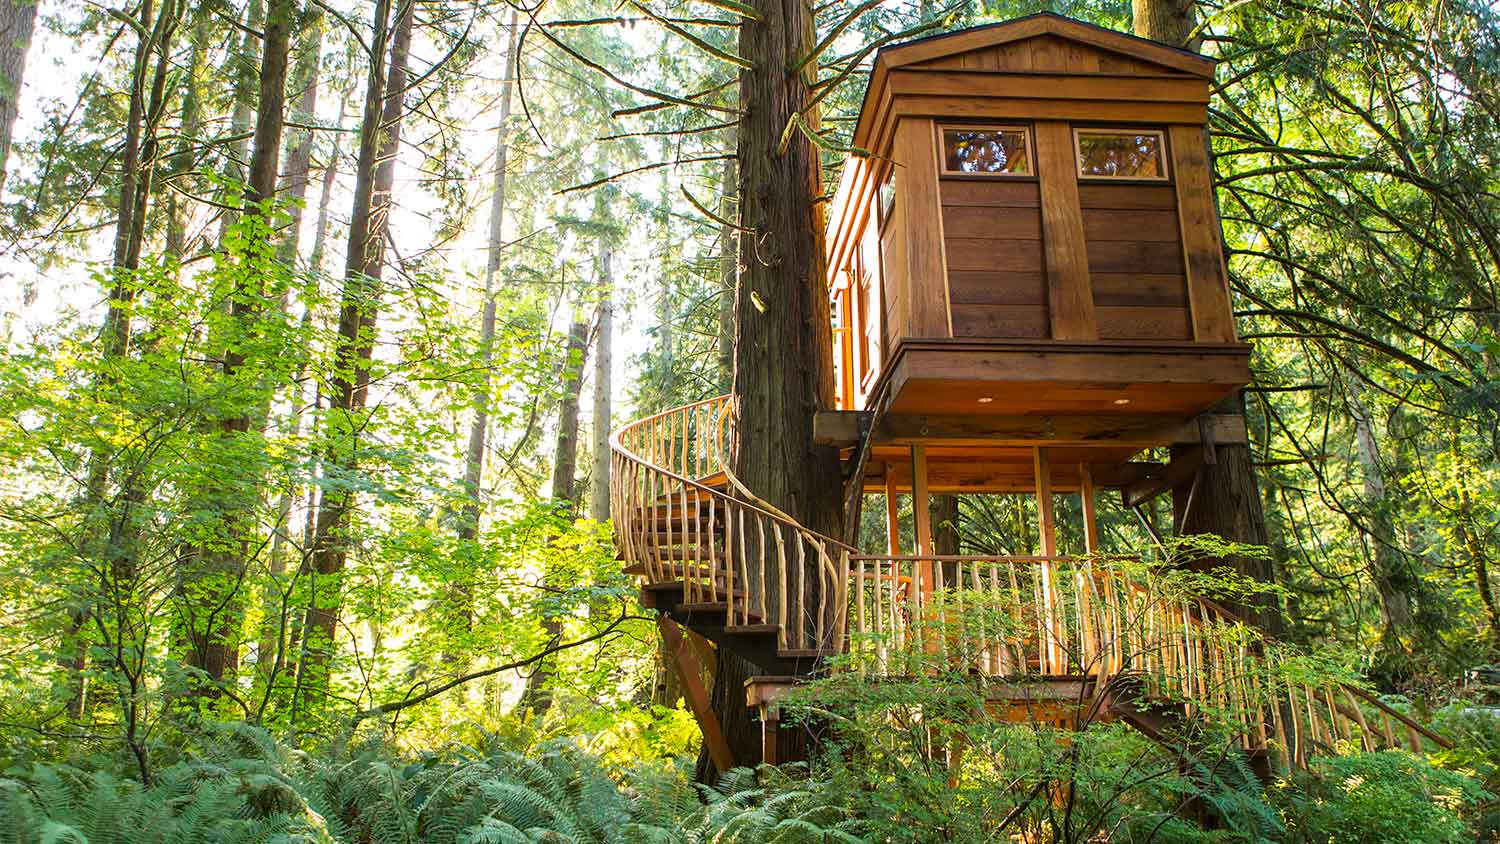
Whether you’re a kid eager for skyward adventures or a grown-up looking for a quiet treetop retreat, learning how to build a treehouse is a great feat. Reality TV shows and professional prices can make building a treehouse seem out of your element (and out of your budget), but it’s still possible to put your DIY chops to work and build a beautiful treetop space. Here’s a step-by-step guide on how to build a treehouse.
From becoming a kid’s clubhouse to acting as a tranquil home office space, a treehouse is like a blank slate and a whole new living space. It can help connect you with nature and place you close to the animals and brilliant foliage—not to mention killer views of the surrounding landscape. Plus, a treehouse is away from the noise and distractions at ground level, so it’s the perfect escape from day-to-day life.

With a project as big as a treehouse, chances are high that you’ll have to adhere to local building codes or homeowners association regulations. Before you make any concrete plans, look up your local agency guidelines to ensure you can build the treehouse. In some cases, you’ll need to acquire a building permit before you can get started.
Aside from that, it’s crucial to select a suitable tree before you build a treehouse. The tree should have a strong “Y” shape to support the structure, and ideally be an oak, maple, or similarly strong tree that can withstand the stress. Look for a good height—not too short but not dangerously tall—and make sure it has strong branches. If branches have broken off within the last few years or there are signs that the tree is dying, it’s unfortunately a no-go.
Follow these steps to complete your DIY treehouse build.

First, come up with a plan that details measurements for the platform, foundation, walls, doors, windows, stairs, and deck space. Consider using a premade treehouse plan to simplify the design process. If building from scratch, ensure accurate measurements, especially the height from the tree. Draft a blueprint addressing these key aspects:
Platform measurements: Determine how far the floor expands from the tree trunk.
Foundation plans: Decide if the foundation will be in the ground, on a support beam, or a combination. Floor beams are recommended for safety.
Treehouse walls: Specify wall height and material (planks or plywood sheathing).
Doors: Plan the doorframe location and decide on an open frame or an actual door.
Windows: Include space and framing for windows if desired.
Stairs: Decide on stair location, whether premade or custom-built.
Deck space and railings: Consider safety with railings for any external deck space.
If your treehouse will be supported by floor beams, start by marking their locations using cinder blocks. You will need at least four support beams in most instances, but your design may call for more.
Once four (or more) cinder blocks are spaced according to plan with the tree in or close to the center, place a pre-measured and cut 4x4 wood post into each cinder block. When determining the height of your floor beams, consider whether you will add a handrail around the perimeter of the treehouse. If so, make sure the beams are tall enough to use as corner posts for the railing to attach to.
Connect the four posts using 2x8 planks, a framing nailer, and three-inch framing nails. This floor frame will support your treehouse floor, so measure the height accordingly before nailing. Use a level to ensure these posts are straight before nailing them to the floor posts.

Before attaching the decking planks to the foundation, lay out the design on the ground as a practice run. In this step, you will decide which direction you want the floorboards to point, as well as the width of the deck. Make adjustments to the blueprint during this step if you notice the deck looks too narrow or too large during the trial run.
Floor joists are structural supports that run perpendicular to the floorboards, so the direction of the floorboards will help you solidify the position of the floor joists. Search online for a floor joist calculator for an easy way to calculate how many you’ll need. For the average treehouse project, two to four should be plenty, but larger, more elaborate treehouses may require more.
Evenly space out the joists from the center. Consider drilling your center joists into the tree trunk itself for extra support. Pre-drill both the lumber and the tree trunk to avoid damage.
Once the joists are in place, attach joist hangers to the corner of each joist, using one-inch galvanized nails and a hammer to secure them in place—not screws. Be sure to hammer in nails for every hole in the joist hanger to guarantee the platform can hold the maximum capacity.
Once you’ve stabilized the floor platform, you can start working on securing the floorboards (2x4 planks) to the floor frame using your nail gun and framing nails. Remember, the floorboards should be laid perpendicular to the direction of the floor joists. You may have to measure and cut planks as you go to fit around the tree trunk, so keep your tools on hand for quick adjustments as needed.

With the deck boards in place, now it’s time to assemble the frames for the four walls. Start by using 2x4 planks based on the dimensions of your blueprint. The wall frame should consist of one top, one bottom, and two side planks in the shape of a square or rectangle, depending on your design.
Starting from the center of the plank, evenly install two to three stud planks, then secure them with framing nails. Repeat this step with every wall frame, framing out space for the windows and door if you’re including these in your design. Then, secure the entire frame to the floorboard using a nail gun and framing nails.
Cut a ridge beam for the roof using 2x6 planks. The length of the ridge beam should measure the same as the width of your treehouse (this may differ depending on your specific design plans). You’ll have to use scrap planks to hold the ridge beam up while you secure the rafters.
Use 2x4 beams as your rafters, creating a gable roof. Attach each rafter from the top of the wall frame to the ridge beam at two feet on the center or according to your blueprint. The edge of the beam touching the ridge beam will need to be cut at a 45-degree angle with a miter saw.
Next, measure and cut your siding. Refer to your blueprint to measure and cut your siding to the correct sizes. Popular options include wood panel sheet siding and horizontal wood plank siding.

Secure the siding to the wall frames using a nail gun and framing nails. Keep in mind that you may have to use a reciprocating saw to fit the top of the siding underneath the gable roof.

Use your reciprocating saw to cut out the areas between the window and door frames. If you see any extra pieces of wood around the perimeters of the structure, use the reciprocating saw to saw them off for a finished look.
If you want to add doors and windows to your treehouse, now is the time to install them. Alternatively, you can simply add trim around the door and window areas to give it a polished look. But for more elaborate designs—or treehouses designed for living or work spaces—doors and windows are a must.
Build the trimmings using 1x6 lumber to frame door and window openings. Secure the trim to the siding using your nail gun and framing nails.

Measure and cut a sheet of plywood sheathing to the desired length for one side of the gable roof. Have a helper hold the plywood while you secure it over the rafters using your nail gun and framing nails.
If your treehouse design has a deck, you’ll want to install railings as a safety measure. Use two 2x8 wood planks for the top and bottom of the railing and connect them to two of the four 4x4 posts in the corners. Secure them using deck rail brackets. Use vertical 2x2 wood planks between the two posts.
The more planks you install, the more secure the railing will be. Use framing nails to attach everything together as you go. Repeat this step for all sides of the deck. Be sure to leave an opening in the railing for ladder access.
To build a simple ladder entrance to the treehouse, install a 4x4 post next to one of the original base posts, leaving about two feet of space in between. Use 2x4 planks as steps. Cut the desired amount and secure them to the posts using framing nails. Ideally, each step should be around 10 inches apart.

This step is optional, but adding a coat of paint or stain creates a nice finishing touch. It also helps preserve the wood, keep pests out, and keep splinters at bay. Have your kids help with this part by choosing the colors and applying the paint themselves. Choose a color scheme and paint with exterior-grade paint. Or, for a more cohesive look, opt for a natural-looking stain to compliment your house’s siding and the surrounding nature.
Here are a few tips to keep in mind for a DIY treehouse project:
Explore treehouse ideas online or visit existing treehouses for inspiration.
Allow ample room around the tree to accommodate future growth.
Use specialized fasteners for treehouses to hold the structure in place.
Ensure the chosen tree can support the treehouse's weight, including furnishings and occupants.
Opt for weather-resistant and durable materials for longevity.
Begin construction from the ground up for a more stable structure.
Building a treehouse is a serious project, and it’s worth considering hiring a local treehouse building service for guaranteed safety, stability, and longevity. A treehouse costs anywhere from $7,000 to $100,000 on average for a professional build. DIYing the project can save you around 60% of what it would cost to hire a professional treehouse builder, but it’s important to consider the time and effort involved, as well as additional expenses if anything goes wrong.
Incredible workers! Very skilled with the machinery, climbing, cutting, roping, and removal. Handled everything. Professionals!
 Hoffman Expert Tree Services
I m so impressed with Custom Paint Jobs LLC s craftsmanship. They truly care about quality.
Window Depot did an amazing job on my deck. I wasnt sure what I wanted to do, but their composite decking was affordable and will last a long time. I am excited to have family over, and I am no longer embarrassed by my backyard. Jeff and the ground crew were polite, respectful, and caring for...
Storms Mobile Welding was great to work with. They were prompt, professional and did an overall excellent job on the project. I highly recommend.
Great job...edging and pre clean up went well with a great job with seal coat. Friendly, efficient and professional.
 All Star Paving and Sealing
Great tree company, very professional and honest. Glad we found them, they had the best pricing
It was wonderful working with Yordy and his team. They were very professional and are experts in what they do. They have completed the work on time, with better quality and with in fairly reasonable price. We just started with backsplash work , but liking his work, we went on to provide...
We hired Jim to replace our hardwood floors with new hardwood. He and his helper Jerry did a fantastic job. Their work ethic is impeccable!! We would highly recommend McColl Floors!
The job went extremely well. Work was done as promised and the job came out better than expected due to Mr. Moyer's commitment to excellence and personal pride in providing the best work possible. He is one of those professionals who is not satisfied until the customer is completely happy...
 Pro Flooring
We needed to have a wall cabinet resized so that we could fit a larger refrigerator underneath. I removed the cabinet from the wall myself and brought it in, where Wally was able to resize it for me in his shop. The results were perfect: it's exactly the size that I asked for, and...
 Pioneer Woodworks
From average costs to expert advice, get all the answers you need to get your job done.
When calculating the cost of building a treehouse, consider the size, types of materials, and design. This guide will help you figure out what to budget.
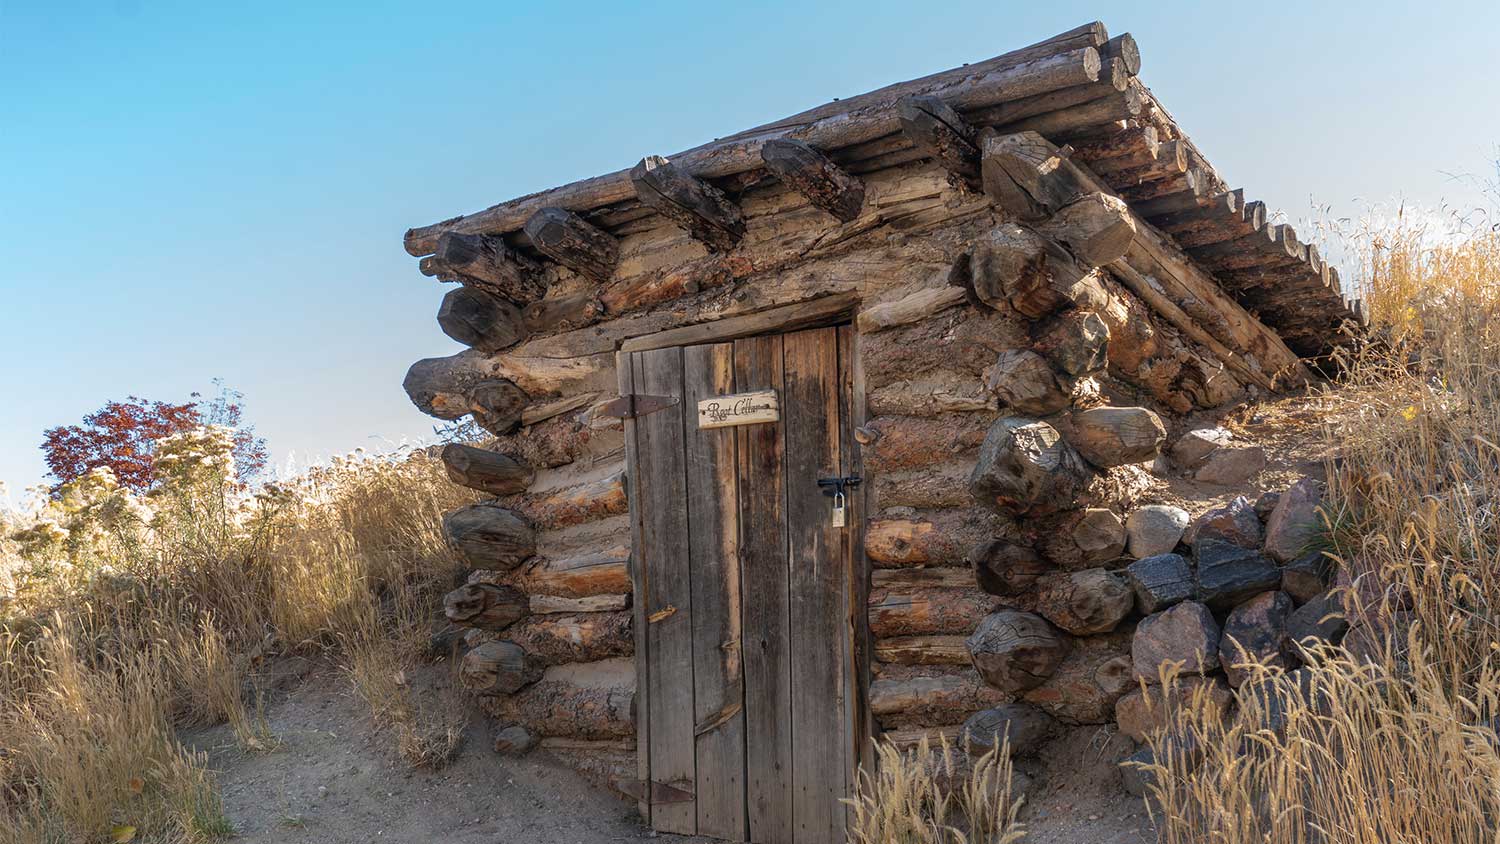
The cost to build a root cellar depends on size, location, materials, and other variables. Our guide will help you decide which option is best for you.
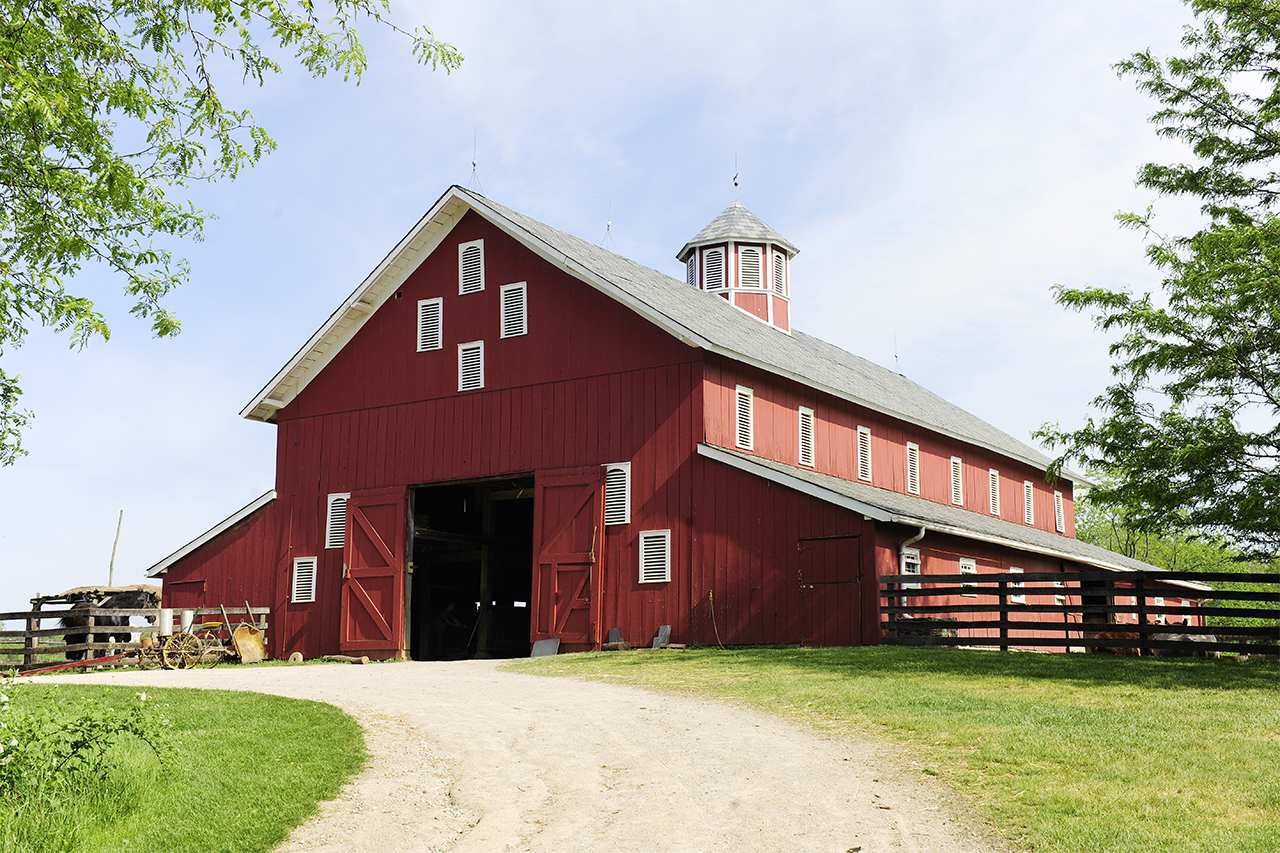
Get the facts on the cost to build a barn. Learn what impacts barn construction prices, from materials to labor, and how to budget for your project.
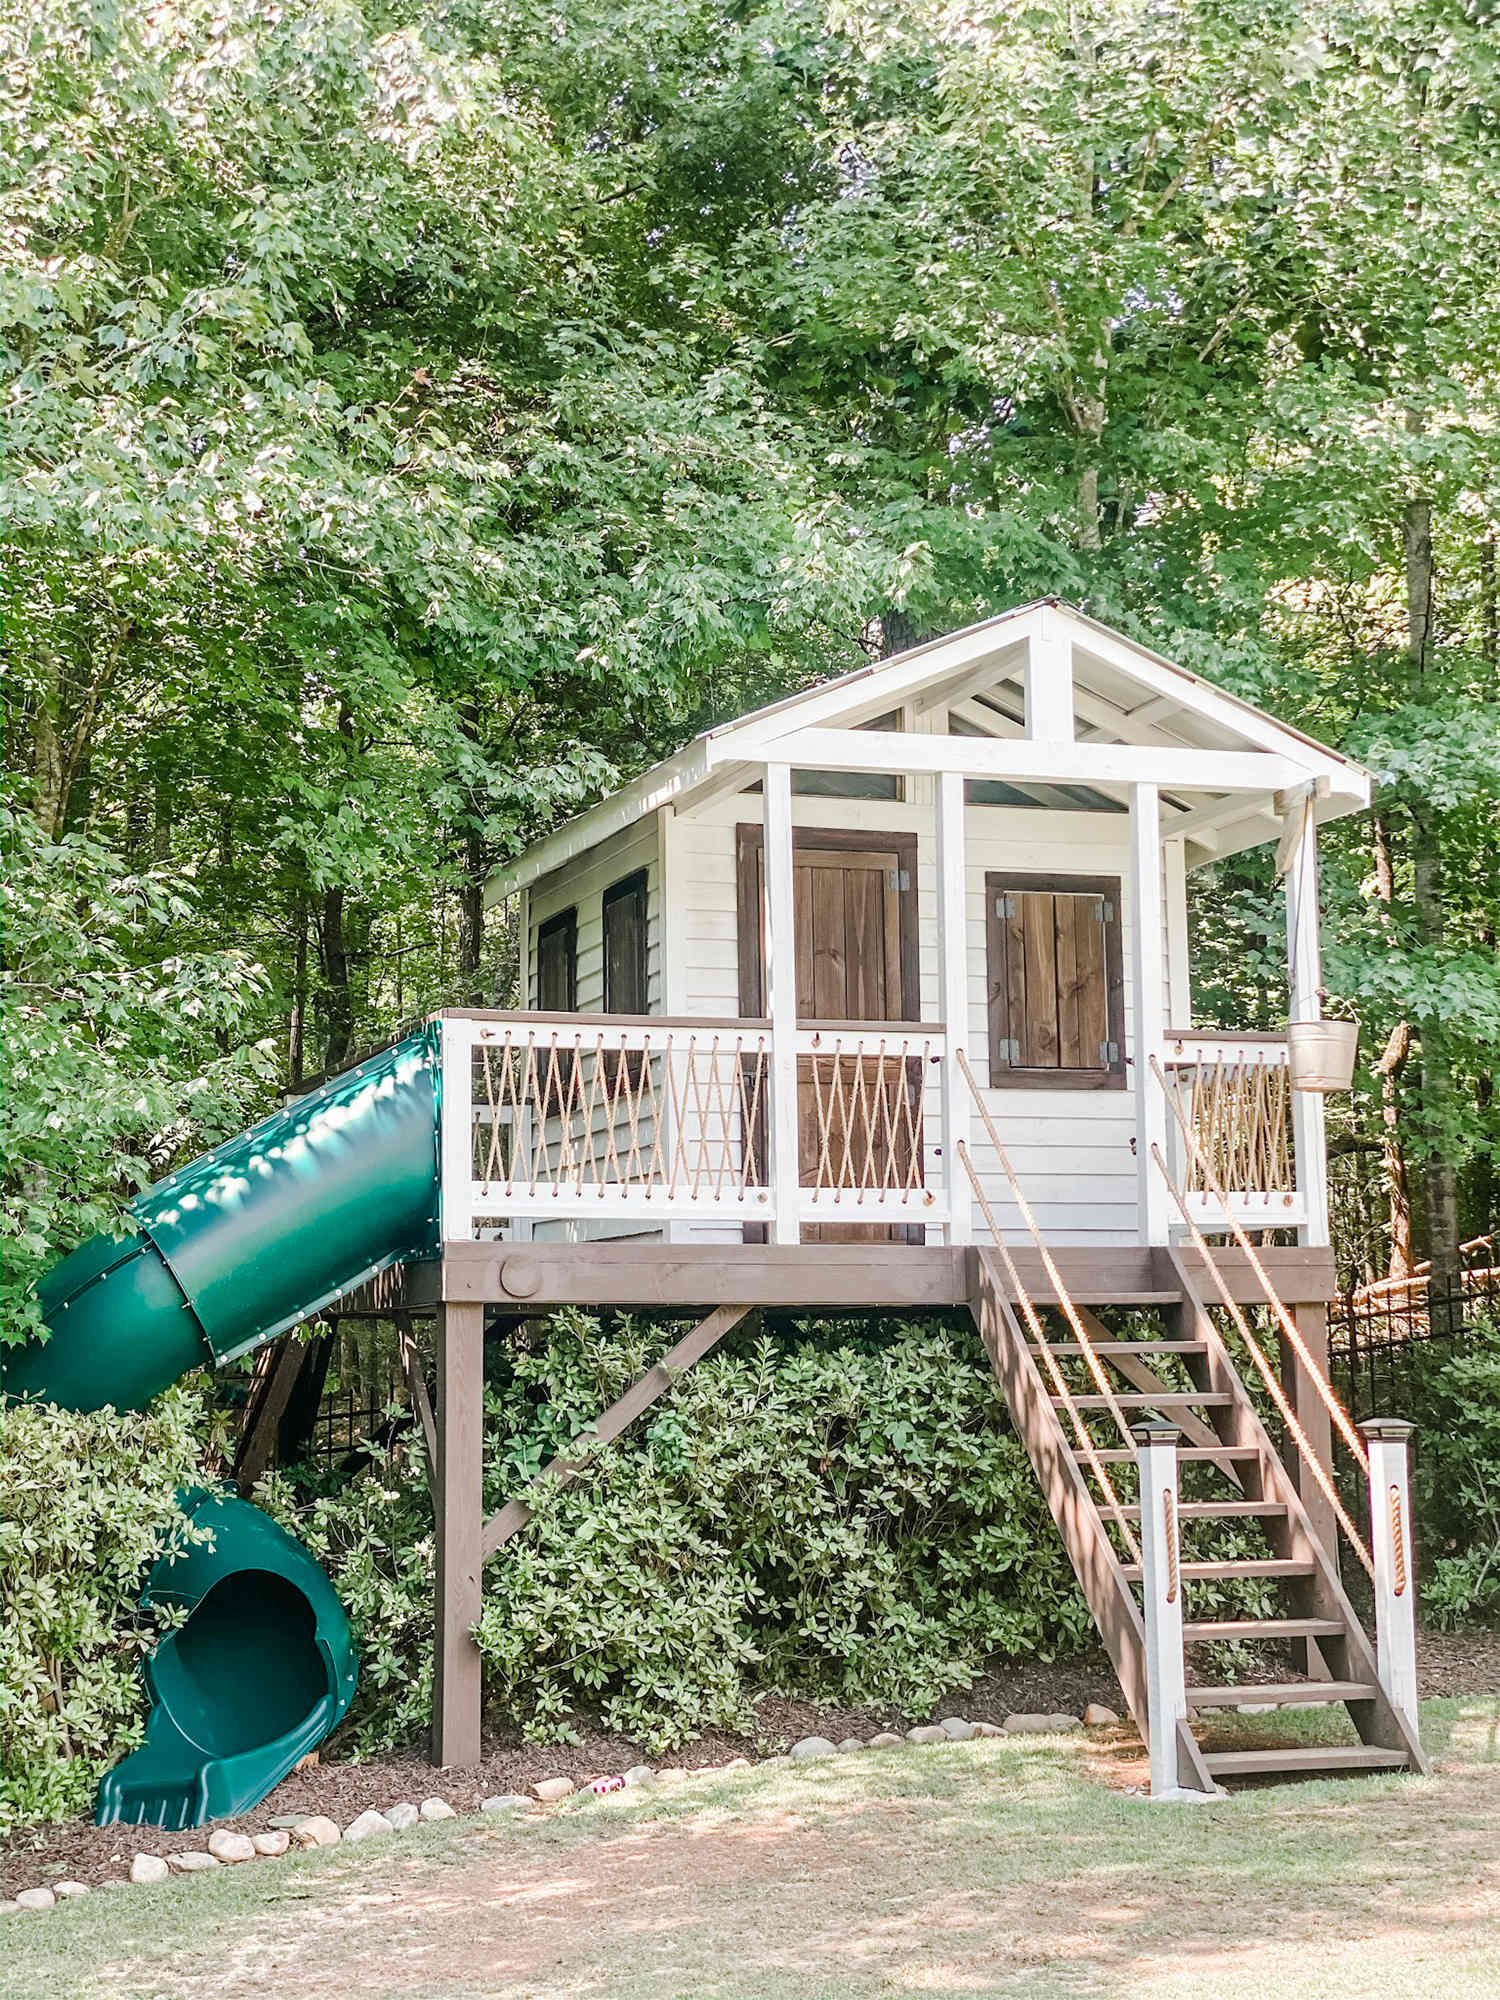
Who said a treehouse is just for kids? These sophisticated treehouse ideas will help you take your backyard landscaping to the next level.
Whether it’s a treehouse for your kids or yourself, it’s important to find the right builder. Here’s how to hire a pro for your treehouse project.
Having a small backyard doesn’t mean you have to skip out on the fun of outdoor living. Discover some small backyard ideas to get the best use of your yard.