
Thinking about adding a deck to your home? Explore this guide to learn about the average cost to build a deck based on factors like size, material, and labor.
Sharpen your DIY skills with this simple project

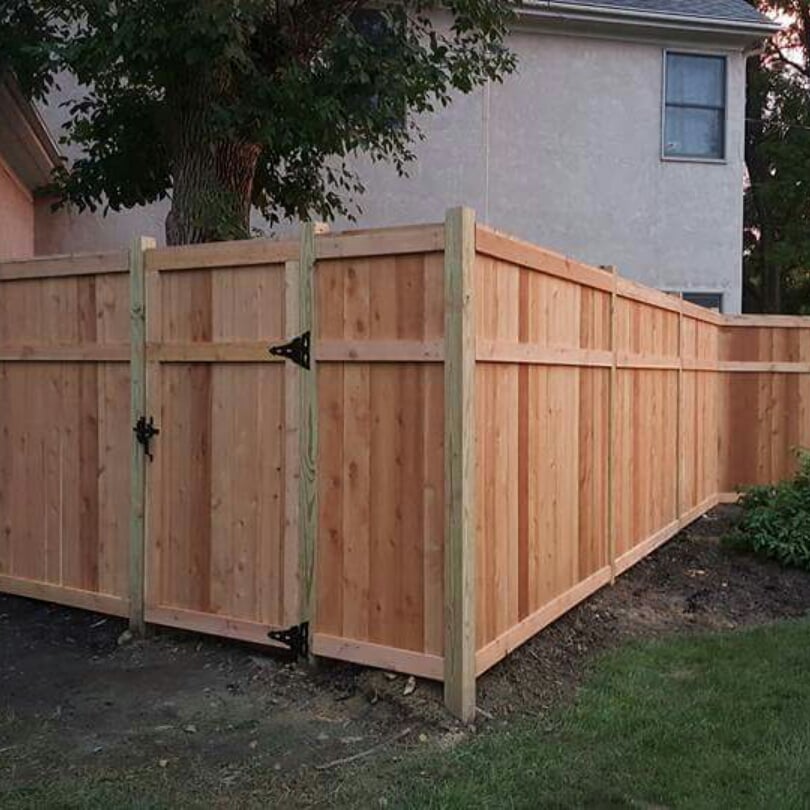
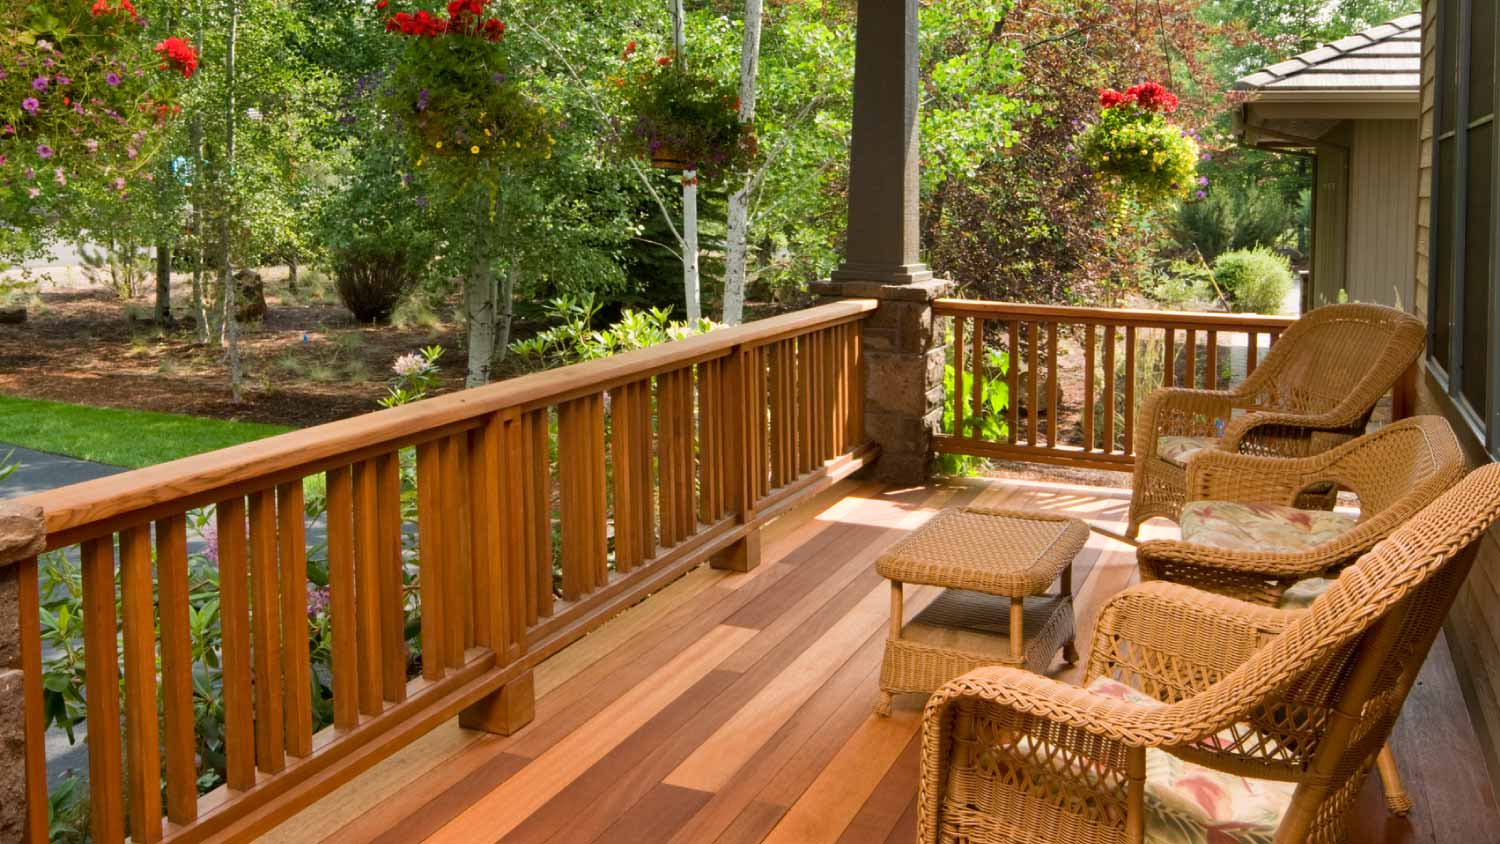
You’ve finally built the deck of your dreams, but now you're ready to add the final touches to complete the look and keep your family safe. Learning how to build a deck gate on your next day off is just what you need to keep children and pets from wandering down the steps. Here are 11 steps to building a deck gate and elevating your yard.
Before you start building a deck gate, you’ll need to check local building codes for any requirements. If you are enclosing a pool, the gate may need to meet certain building codes to keep your family safe.
Typically, you’ll need to ensure your gate is at least 42 inches high with no more than 4 inches of spacing between balusters. Many codes may also require the gate to be no higher than 4 inches from the surface of the deck. Check for specific deck gate requirements in your municipality before buying wood or breaking out your tools.
As an added safety check, inspect the wood of the deck for any signs of rot or pest damage. The deck needs to be in good condition before building and installing a deck gate, or the gate may begin rotting or sagging.

You’ll need to figure out what size you want the gate to be. Most gates will be about 36 to 48 inches wide. Measure the space where you plan to install a deck gate with the measurements required by local deck codes in mind.
Measure the width at the bottom, middle, and top of where the gate will be.
Account for a 1/2 to 3/4-inch gap on each side of where the gate will be, so it can open and close easily.
Measure how tall you’d like the gate to be.
Use a level on the deck surface and rail posts to adjust for any slight variations.
Write down all of your measurements, and keep that information handy when you shop for supplies.
Failing to plan is planning to fail for any project. Before you start sawing into your wood planks, draw some sketches of the gate. You may also want to use a template you can find online to guide how your gate will look as you build it.
Whether you use a template or your sketches, write out the measurements of each piece and show how they will connect to form the gate. Make note of essential gaps, including each side of the gate and the bottom of the gate, in your diagram.
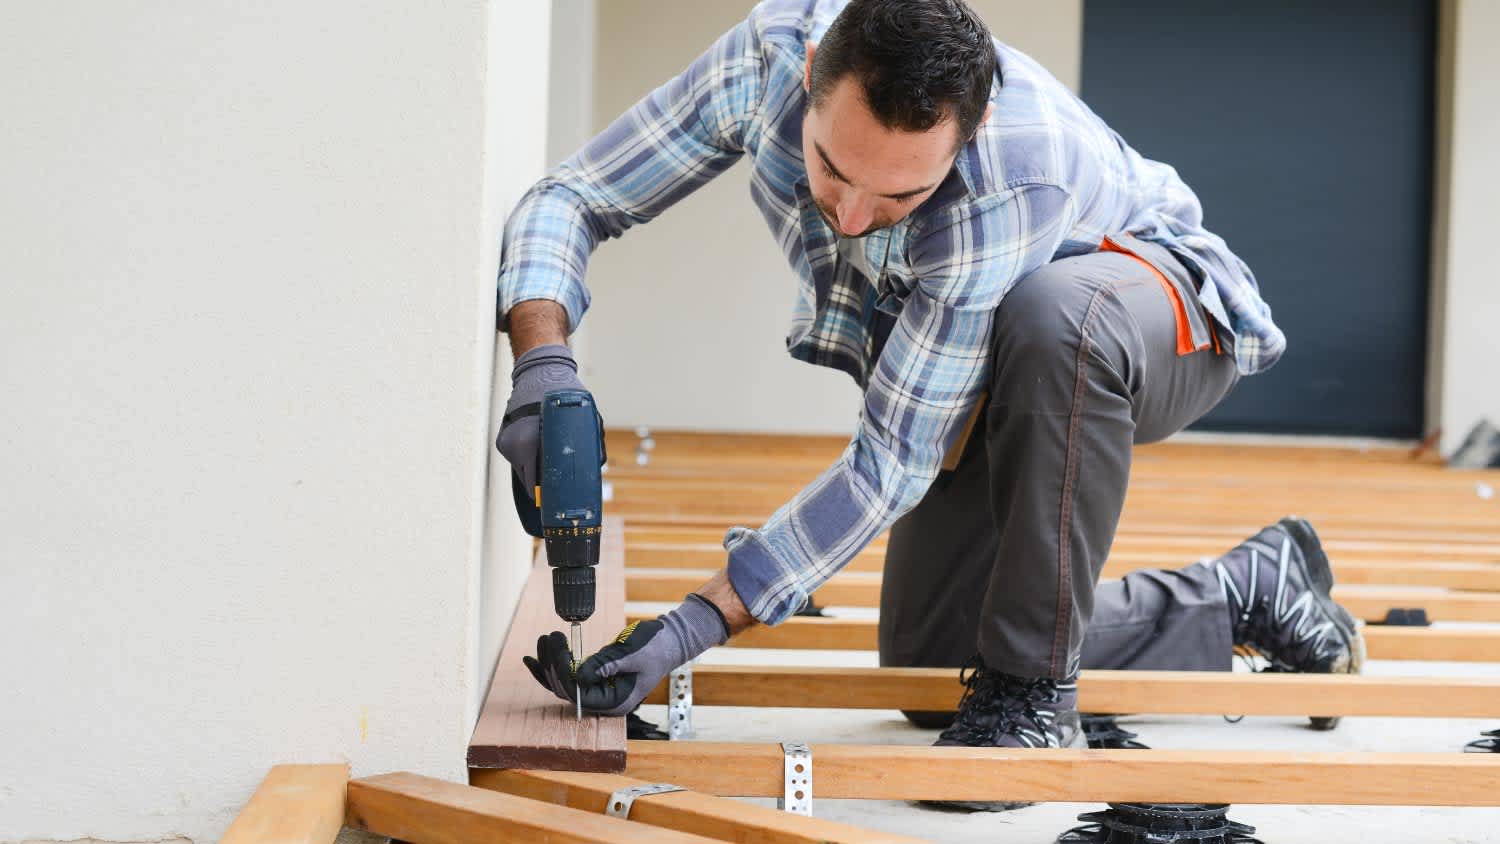
Most deck gates consist of pressure-treated wood, thanks to its resistance to rot and pest damage. With the right care, pressure-treated wood can last up to 40 years. But pressure-treated wood typically has a high moisture content and needs to acclimate to its surroundings before you can build with it. Otherwise, the wood may warp after you’ve built the gate.
Lay the wood out on a tarp or dry area with plenty of shade. Let it rest for at least 72 hours before proceeding.

Gate rails run horizontally at the top and bottom of the gate. You’ll want to turn to your measurements and gate diagram when it’s time to cut the rails.
Subtract about 1 inch from the measurement of the width of the gate opening. This will leave space for gaps and hardware. Cut a two-by-four wood plank into two pieces to match your measurements with a miter or circular saw.
The gate posts run vertically on each end of the gate, and along with the gate rails, establish the perimeter of the gate you’re building. Making the gate posts is similar to cutting wood for the gate rails.
Review your height measurements for the gate, which will be at least 42 inches tall but no more than 4 inches off of the surface of the deck. Use the miter or circular saw to cut another two-by-four according to your height measurements.
Now, it’s time to join the gate posts and rails to form the deck gate frame. First, you’ll use a miter saw to cut opposing 45-degree angles, so the rails and posts fit snugly when you screw them together.
Arrange the posts side by side, then lay the rails toward the top and bottom of the posts. The arranged wood will resemble a picture frame. Push the posts and rails together until the opposing 45-degree angled ends come together. Use a drill to screw 2-1/2-inch self-drilling exterior wood screws through the rails and into the posts.
Use at least two screws spaced equally apart for each corner of the gate. Feel free to use additional screws with equal spacing in each corner to help the gate better withstand wear and tear over time.
Balusters will fill out the center area of the gate. Space these out no more than 4 inches apart to prevent children or pets from slipping through. Determine the number of balusters you’ll need, keeping spacing requirements in mind.
Cut two-by-two pressure-treated wood boards to the same height as the gate posts with a miter or circular saw. At one end of each baluster, you can use your miter saw to cut a 45-degree angle to help the wood shed water. This is optional, though, and you can choose to leave squared ends.
Using a wood block cut to the desired spacing measurement as a guide, lay the spacer flush with one gate post. Lay the first baluster flush on the other side of the wood spacer, then use a drill and 2-1/2-inch self-drilling exterior wood screws to attach the baluster to the top and bottom rail.
Move the spacer to the opposite side of the baluster, making sure it’s flush. Then lay the next baluster and repeat until all balusters are attached.

The gate is now ready for some cosmetic upgrades and a few final touches. Sand down all surfaces of the gate with 120-grit sandpaper. You can use an orbital sander or manually sand until you have a smooth finish.
After sanding, you can paint, stain, or seal the gate to match the style of your deck. Make sure to let the finish dry before you finish building and installing the deck gate, or you could be left with visible drips or streaks.
Cut more scrap boards to the desired height—but no more than 4 inches—where you want the gate to sit off of the deck’s floor. Lay the scrap boards across the deck floor to help you position the deck gate into place for installation. (Alternatively, you can save yourself some sawing by asking for a friend to help you hold the gate in place.)
With the gate positioned into place, use a drill and the screws included with your hardware to attach the hinges to each gate rail and the deck post.
On the opposite side of the gate from the hinges, mark a spot a least 3 inches from the top of the gate to install the gate latch. Use the screws from the hardware or 1-1/4-inch self-drilling exterior wood screws to secure the gate latch in place.
Building an outdoor gate costs anywhere from $200 to $7,800. The cost range fluctuates according to the gate material—vinyl is much more affordable than wrought iron or high-end wood—and the size and height of the gate. Prefabricated gates are more budget-friendly than custom designs, especially when considering the reduced labor costs. Accessories like locks and handles also increase the price by $100 to $1,500.
You’ll spend about $30 to install a DIY deck gate, although prices may range from around $20 to over $100, depending on the hardware style and material. The wood for a single gate will cost about $20 to $30, but keep in mind that building material prices have been fluctuating in recent years and could be lower or higher when you are shopping.
In addition to the cost of wood and hardware, you may want to purchase paint, stain, or sealant to better match the gate to the deck. Paint or stain costs $0.30 to $2.50 per square foot, while sealant costs $0.25 to $1 per square foot for materials.
If you hire a gate installation pro near you, you’ll spend about $80 per hour, plus the cost of materials. A pro can build and install your gate in just a few hours, saving you the hassle of acclimating the wood or breaking out your power tools.
A reliable team for moves across state. My switch to a new place needed careful lifting through tight hallways. The movers checked the doorway first, then carried heavier pieces with slow, controlled movements. Their patience helped prevent damage, and I?d choose them again.
We have used Window Warriors many times with no issues. They arrived on time and were very professional . We have pets and Window Warrior team treated them very well, well trusted team.
We have bought and sold numerous times over the past 50 years. Sherman Hall and Top Line are top notch. Thorough and detailed, he explains every possibility, probability, and eventuality. High class and pleasant. The best.
 Top Line Home Inspections, LLC
Our homes curb appeal skyrocketed thanks to Custom Paint Jobs LLC s exterior painting.
Window Depot did an amazing job on my deck. I wasnt sure what I wanted to do, but their composite decking was affordable and will last a long time. I am excited to have family over, and I am no longer embarrassed by my backyard. Jeff and the ground crew were polite, respectful, and caring for...
Great job...edging and pre clean up went well with a great job with seal coat. Friendly, efficient and professional.
 All Star Paving and Sealing
Did an amazing job transforming my yard. Also installed sod in places, would recommend to everyone.
Manuel Calvillo is the best option in the area for roofing and you won't be disappointed.
We hired Andrew and the team from Midwest Lightscapes for a custom lighting design and installation on a Victorian Village home. The house had outdated low-voltage halogen outdoor lights and many of them were not working. Andrew designed and installed a new system including uplighting on the...
 Midwest Lightscapes
The work was completed in a day and a half. They cut small trees, pulled out an old swing set, pulled out railroad ties and left the place spotless when the job was complete. I am very happy with the fence and their efforts were above and beyond my expectations.
 Elite Fence
From average costs to expert advice, get all the answers you need to get your job done.
Thinking about adding a deck to your home? Explore this guide to learn about the average cost to build a deck based on factors like size, material, and labor.

For homeowners wondering how to build a deck around a tree, the first thing to remember is to keep the tree happy to protect your investment.
When you build a deck, you need to ensure it complies with local building codes. Here’s what you need to know about the most common deck building codes.
You can DIY a floating deck with the right layout, materials, and installation method. Here’s everything you need to know about how to build a floating deck.
Learn how to build a sliding gate for your deck or yard. It's a simple project perfect for beginner DIYers.
You may be wondering how to start a deck building business. Our guide outlines everything to know about starting your own deck building company.