
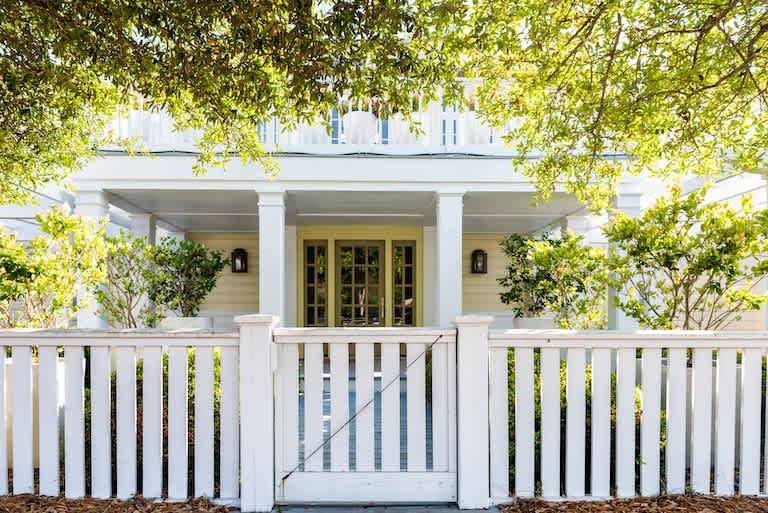
A new fence adds privacy, improves safety, and even boosts curb appeal. But how much does fence installation cost? Find out in this guide.
This extra step can make all the difference for your fencing

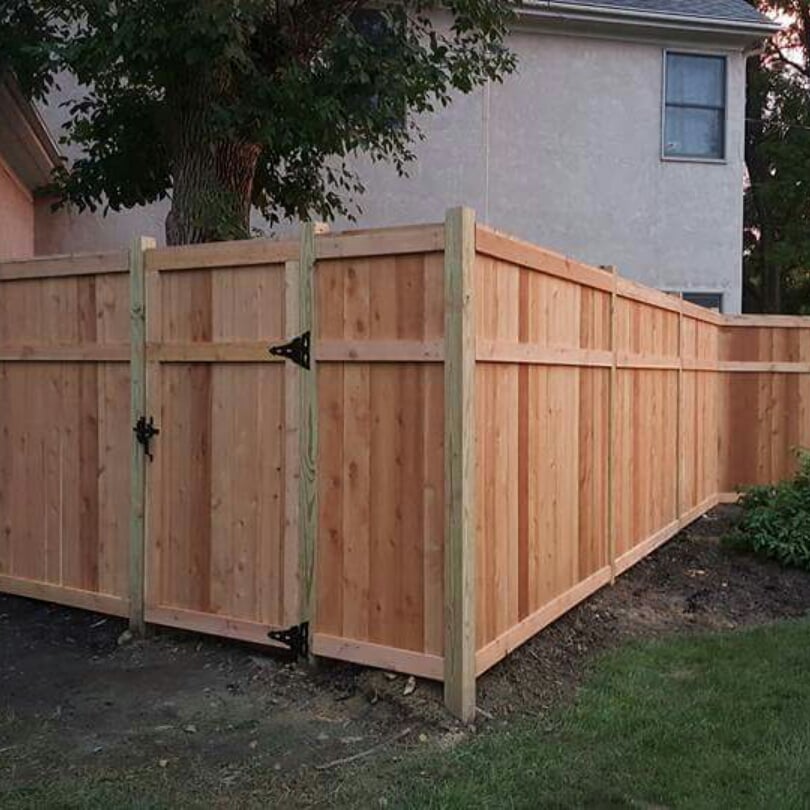
A fence is a major investment for your property, whether you’ve built it yourself or hired a professional. But eventually, the fence may start leaning or need a few post repairs. By learning how to brace a fence post properly, you’ll provide stability and sturdiness to your fence for years to come.
It’s important to have your utility lines marked before you start digging so you don’t accidentally drill or dig into one and cause a big issue. You may also need to check local building codes and your HOA if you’re making major changes to your fence, like adding height for extra privacy, although bracing a few posts for repair shouldn’t require too many inquiries.
Bracing a fence post is much quicker and easier if you have a helper, so you may want to ask a friend for help.
To ensure stability, fence posts should typically be buried 2 to 3 feet deep.


Over time, it’s not unusual for a fence post to start sagging. This can be due to soil erosion, the constant freezing and thawing of the ground, or rotting wood from exposure to all the wet conditions. You know it’s time to make repairs when you notice a post is leaning. Start by using your sharpshooter or other narrow shovel to dig around the sagging fence post.
Make sure the hole is deep enough that you have clearance for working. A general rule of thumb is to dig a hole about three times the width of the fence post. The depth should be around one-third to one-half of the height of the post. So, if you have a 6-foot post, you would make the hole close to 3 feet deep for the most stability.
The next step involves adding temporary support to hold up the sagging post while you’re working on it, which you won’t remove until later in the process. Pound your stake into the ground about 4 feet from where the fencepost sags. Attach the support boards between the stake and fence. Use your level to ensure the fence is upright, and then secure it in place temporarily with screws. You can use the 2x4 board to tamp the dirt around each post.

With the post in the hole and still supported by the temporary support, add about one-third of the gravel and tamp it down. Now it’s time to add the no-mix concrete made especially for post holes. Follow the instructions on the no-mix concrete and use it to fill the hole. Repeat for each fencepost you’re repairing.
Use your level to ensure your concrete mix is even, then adjust the amount if necessary. Once you have the area as even as possible, let the concrete cure. Keep misting the concrete mix with water, and use your trowel to neatly press in the mix around the posts.
Depending on how moist your soil is, you may need to add more or less water. If you run your trowel over the concrete a few times and it doesn’t smooth out, you will know it may be too dry. If your concrete is too wet, add more mix or wipe away the pooled, excess water with cloths.
Once the concrete has completely cured, you can remove your temporary supports. Finish off the look and support of the fence by adding soil over the post hole to hide the concrete.
You may find the effort required to brace a fence post isn’t worth it, or it requires more DIY know-how than you’re comfortable with. If this is the case, you may choose to have a local fence installation and repair company take on the job for you. While costs range widely and depend on the length of the fence and the materials needed, fence repairs typically cost from $300 to $925.
A reliable team for moves across state. My switch to a new place needed careful lifting through tight hallways. The movers checked the doorway first, then carried heavier pieces with slow, controlled movements. Their patience helped prevent damage, and I?d choose them again.
We have used Window Warriors many times with no issues. They arrived on time and were very professional . We have pets and Window Warrior team treated them very well, well trusted team.
We have bought and sold numerous times over the past 50 years. Sherman Hall and Top Line are top notch. Thorough and detailed, he explains every possibility, probability, and eventuality. High class and pleasant. The best.
 Top Line Home Inspections, LLC
Our homes curb appeal skyrocketed thanks to Custom Paint Jobs LLC s exterior painting.
Window Depot did an amazing job on my deck. I wasnt sure what I wanted to do, but their composite decking was affordable and will last a long time. I am excited to have family over, and I am no longer embarrassed by my backyard. Jeff and the ground crew were polite, respectful, and caring for...
Great job...edging and pre clean up went well with a great job with seal coat. Friendly, efficient and professional.
 All Star Paving and Sealing
Did an amazing job transforming my yard. Also installed sod in places, would recommend to everyone.
Manuel Calvillo is the best option in the area for roofing and you won't be disappointed.
We hired Andrew and the team from Midwest Lightscapes for a custom lighting design and installation on a Victorian Village home. The house had outdated low-voltage halogen outdoor lights and many of them were not working. Andrew designed and installed a new system including uplighting on the...
 Midwest Lightscapes
The work was completed in a day and a half. They cut small trees, pulled out an old swing set, pulled out railroad ties and left the place spotless when the job was complete. I am very happy with the fence and their efforts were above and beyond my expectations.
 Elite Fence
From average costs to expert advice, get all the answers you need to get your job done.
A new fence adds privacy, improves safety, and even boosts curb appeal. But how much does fence installation cost? Find out in this guide.
Fence posts are the foundation of any sturdy fence. Make sure your fence is straight and strong with this step-by-step guide on how to install a fence post.

How deep should a fence post be to keep your fence from falling over? Fence height, frosts, and more affect the depth. Learn more.

Removing fence posts doesn’t have to be next to impossible. With our guide, follow the steps for how to remove a fence post and check the task off your list.
Fence post sizes depend on the type of fence. This guide covers the most common post sizes for several kinds of fences, including wood and chain link.
A leaning or damaged fence post can make your fence unstable and look unattractive. Learn who to call to fix a fence post and prevent future damage.