
Venetian plaster can add depth and texture to your aesthetic. Learn how much Venetian plaster costs based on factors like square footage and whether you hire a pro to help.
Apply, burnish, seal, that's all it takes

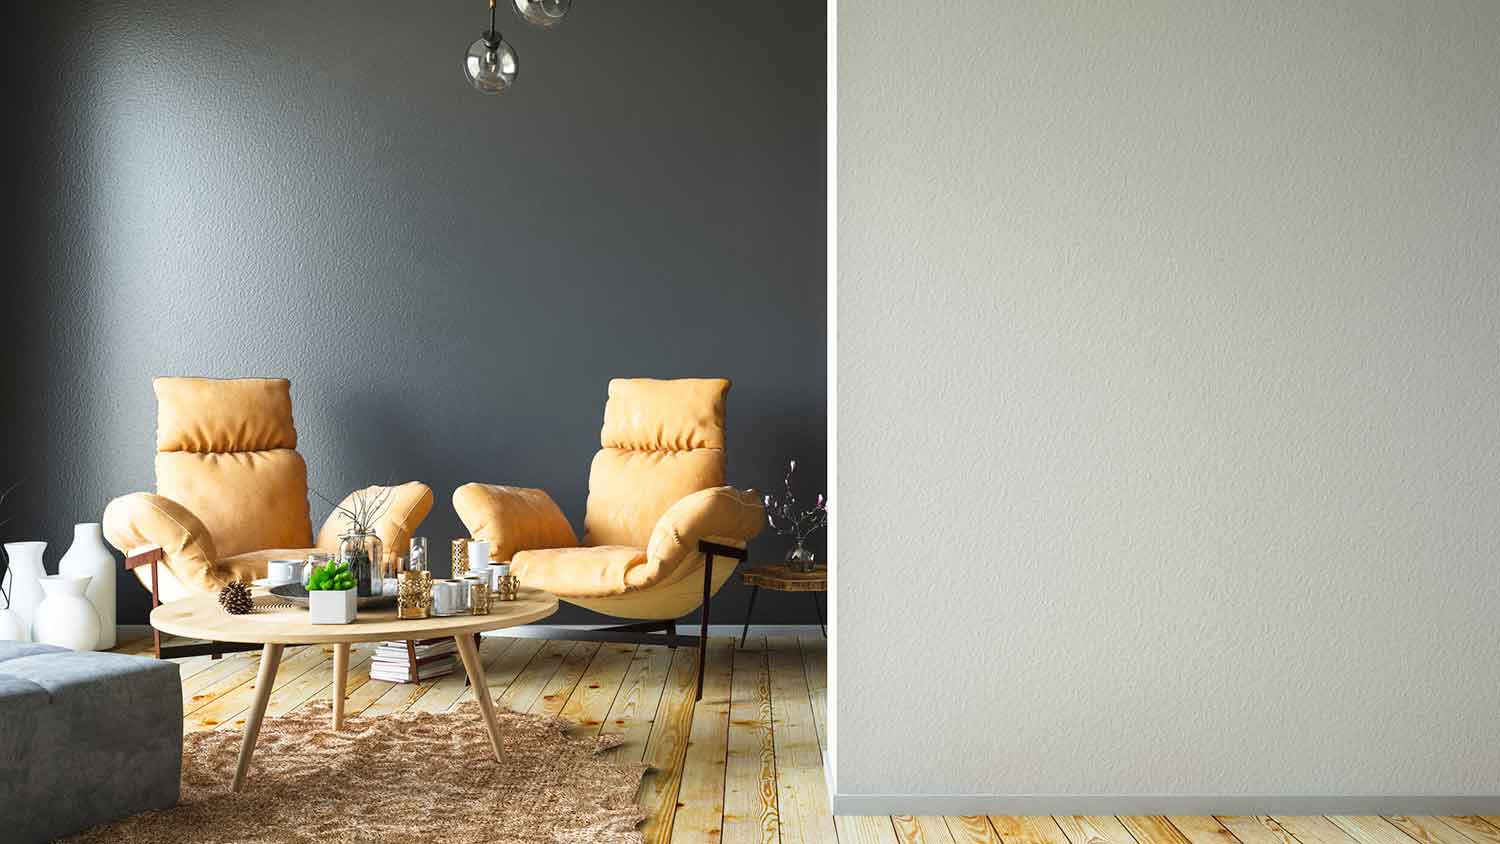
Venetian plaster is having a moment. A decorative wall coating that dates back to 15th Century Italy, Venetian plaster combines lime plaster with pigments and ground marble. It's usually polished with wax to give it a sheen and to seal it. If you want to enhance a room or wall in your home, here's how to apply Venetian plaster.
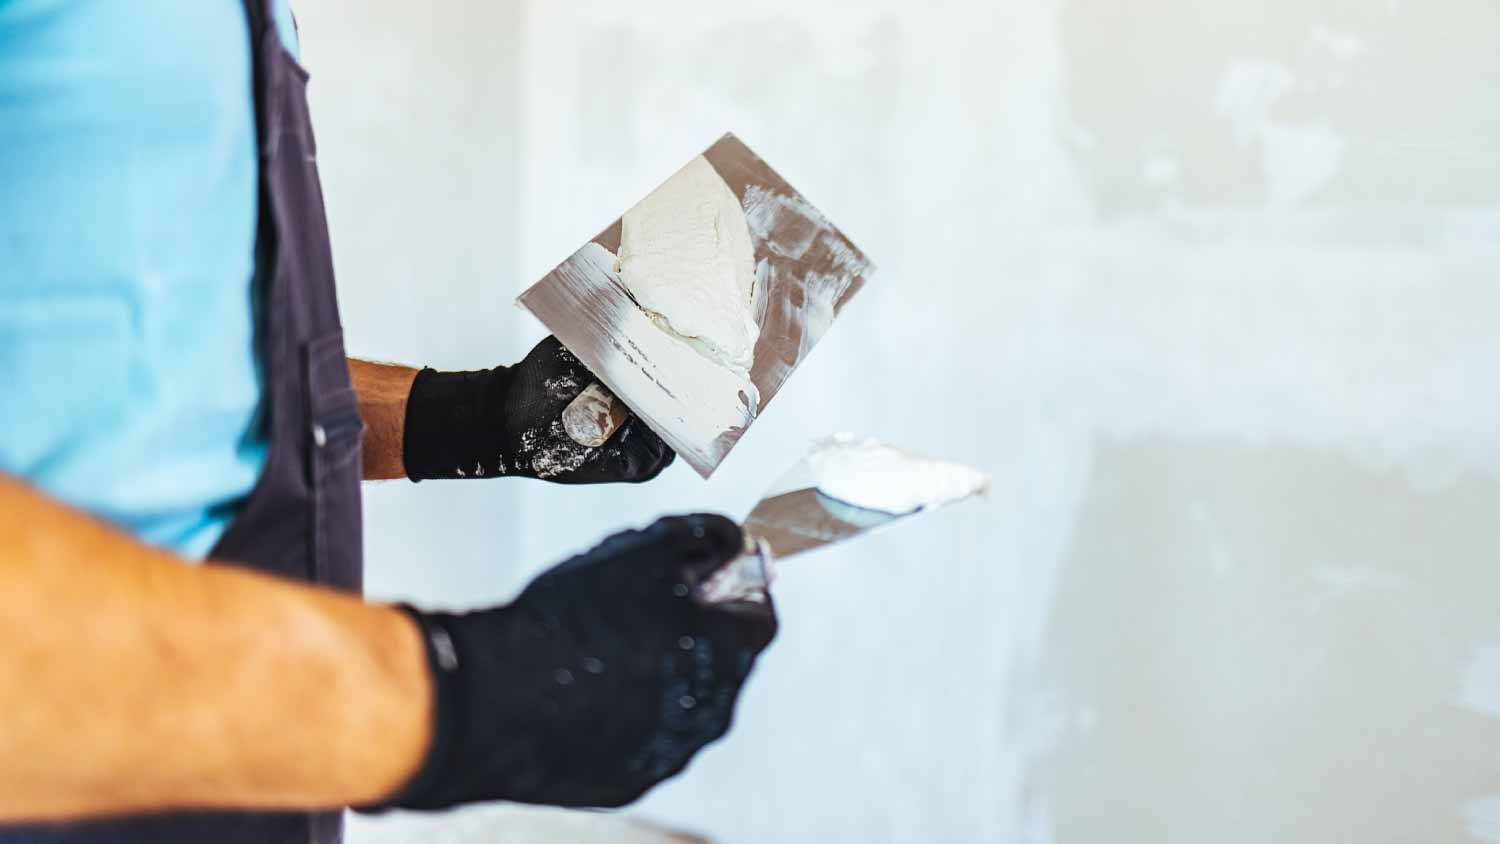
Before you apply Venetian plaster to a wall or walls, you must prep the surface. The wall needs to be clean, free of holes and other damage, and primed.
Fill in any holes with spackle, then sand smooth when dry. Apply a coat of primer to the walls, then sand it when dry to create a slightly textured surface. The texture will give the plaster something to grip and help it stick to the wall better.
Practice makes perfect—applying Venetian plaster isn't the same as painting, as the strokes are different. You may want to practice on a few scrap pieces of drywall before you tackle an entire wall.
Apply at least two coats of plaster to the wall. The first coat is the base coat. It lays the foundation for the Venetian plaster and helps ensure a smooth finish.
Open the can of Venetian plaster and give it a stir with a mixing rod. Spread a drop cloth over the floor of your work area, then put on your gloves and safety goggles. Use your putty knife to scoop up some of the plaster, then apply the plaster to the trowel.
The side of the wall you start at depends on whether you're left- or right-handed. If you're right-handed, start on the left side of the wall and work your way to the right. If you're left-handed, start on the right side of the wall and work your way to the left. Starting on the opposite side of the wall means you'll go over the plaster as little as possible as you work.
Hold the trowel at a 15- to 30-degree angle as you apply the plaster. Use circular motions to create texture on the wall. The smaller your trowel strokes, the more textured the wall will be. Use larger strokes if you want a smoother surface.
Don't worry about making the first coat perfect—some gaps in the plaster is ok and may be preferable. Also, don't overwork the plaster at this stage. You don't want to polish it to a shiny finish on the first coat.
Clean the trowel as you work, removing excess plaster from it.
Once the base coat is applied, allow it to dry for about six hours. As it dries, the plaster will become lighter. If there are any large lumps or bumps after it's dried, you can gently knock those off with a putty knife or smooth them down with sandpaper.
Next, apply the second coat of plaster. Put the plaster on the trowel, and holding it at a 60-degree angle, apply the plaster to the wall. Start on the opposite side of the wall from where you began the base coat (right side if you're right-handed, left side if you're left-handed).
This time, use large strokes to apply the plaster. You want plenty of overlap. Smooth the surface as you work.

Burnishing the plaster gives it a shine and removes any irregularities or rough patches. Start the burnishing process before the second coat has fully dried. You can either burnish as you go, apply plaster to a small section of the wall, then burnish it, or wait until the entire wall is coated with a second coat, then burnish.
Use a clean trowel or very fine grit (at least 400-grit) sandpaper to burnish. Start on the same wall side as you began the second coat. If you're using a trowel, hold it at an angle and use moderate pressure as you rub the surface. The friction from the trowel will remove any bumps.
If you're using sandpaper, use circular motions as you rub the paper across the plaster.
As you work, run your hands across the plaster to assess how smooth it is. If it feels rough, continue to burnish. Once the plaster is your desired smoothness, use a damp rag to wipe away any dust.
A wax top coat seals your Venetian plaster wall and protects it from moisture. A sealed wall is also much easier to clean. You can skip this last step, though, if you prefer, and if you're working on a wall in a room without a lot of humidity. In the kitchen or bathroom, a wax top coat is a must-have, though.
Let the plaster dry for about 48 hours. Pour the wax top coat onto a sponge, then use the sponge to apply the top coat to the wall. Use circular motions to put the wax on the wall, apply two or three thin layers.
If you want to expand your DIY-skills beyond basic painting, learning how to apply Venetian plaster can be a good place to start. When you go the DIY-route, the cost of Venetian plaster is a lot lower, since you only need to invest in supplies and tools, rather than labor.
But there are cases when hiring a local plaster repair contractor makes sense. If your walls have a significant amount of damage or you're not quite confident in your DIY-ability, a local plaster professional can take on the job for you and may even give you some tips and pointers.
Positive experience. As previously stated, the replacement/repair could not be completed (no fault of the plumbing tech) b/c misinformation was rec?d by property management maintenance. Thanks to the plumbing tech for your efforts. Appreciate you!
 The Waterworks
Carpet repair done well. Scheduling was easy. Showed up on time.
I would recommend this company to anyone! He showed up on time, was friendly, completed a very difficult repair on our dryer vent cover, was responsive, and pricing was extremely fair and competitive. I would have him back to do any of our repairs or cleanings without hesitation!
Everything from initial contact to completion was absolutely top notch. We contacted the business during off hours to leave a message, and the owner still reached out to feel out the issue within minutes. We were scheduled and repaired within 48 hours. I cannot say enough about the...
 Supreme brick & chimney
Ace Fireplace Services came to the rescue for my chimney repair. They were quick to pinpoint the issue and worked their magic to fix it. My chimney is now in excellent shape, and I'm a satisfied customer.
 Ace Fireplace Services
Great experience all together. Dog friendly, courteous, great results and honest with recommendations. Will certainly be using Cardinal in the future for any carpet repairs
Description says they handle window repair including rotten hardwood - they called me back right away but didnâ t leave a voicemail. I followed up 3 days later and they said they donâ t do that kind of work.
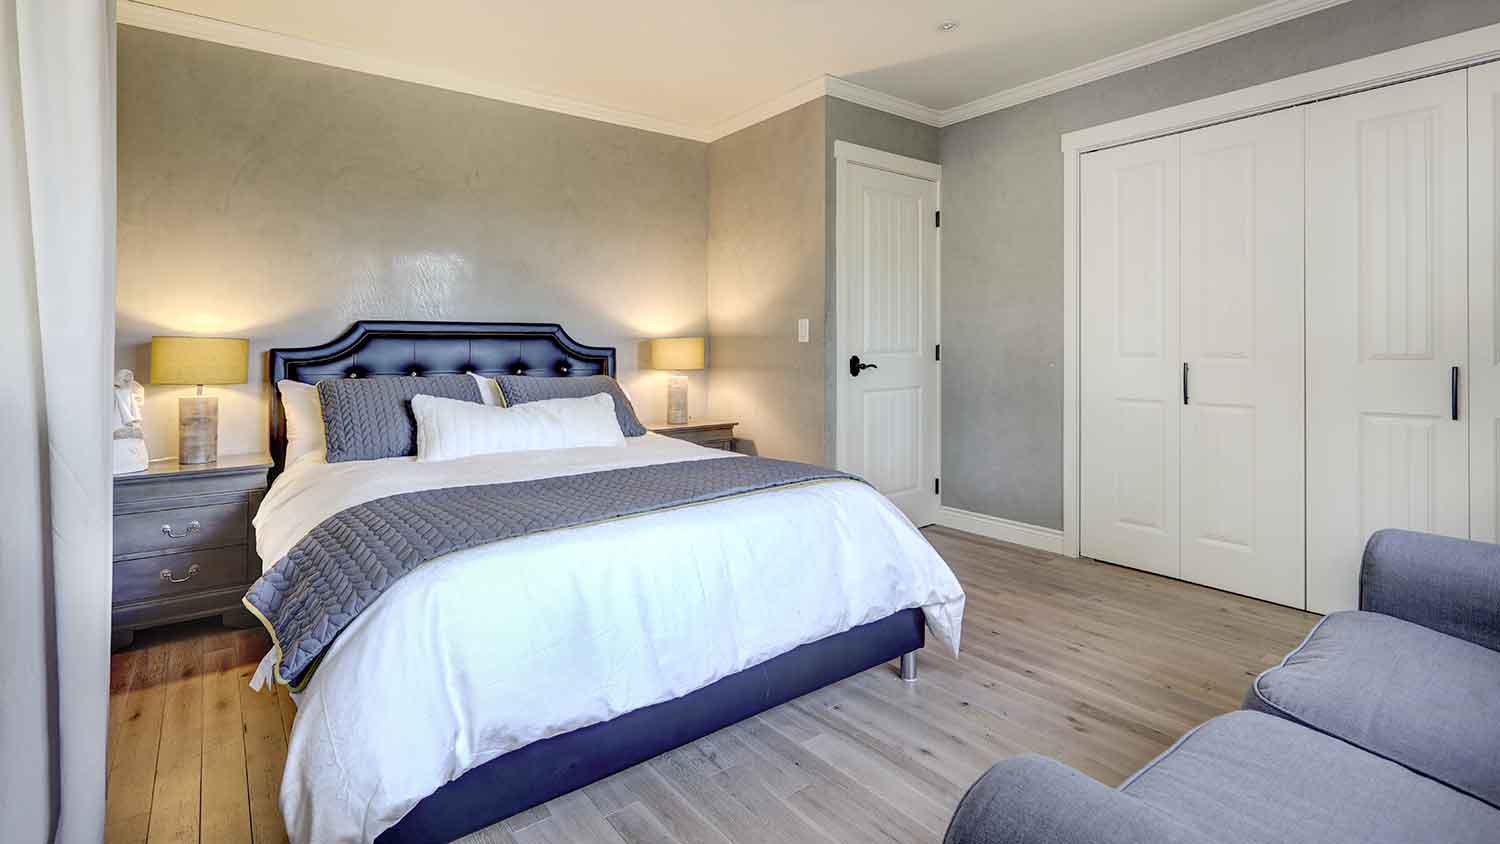
Very good experience. He even moved things around in my bedroom to get to the wall. I would highly recommend him for plaster. I plan to have him come back.
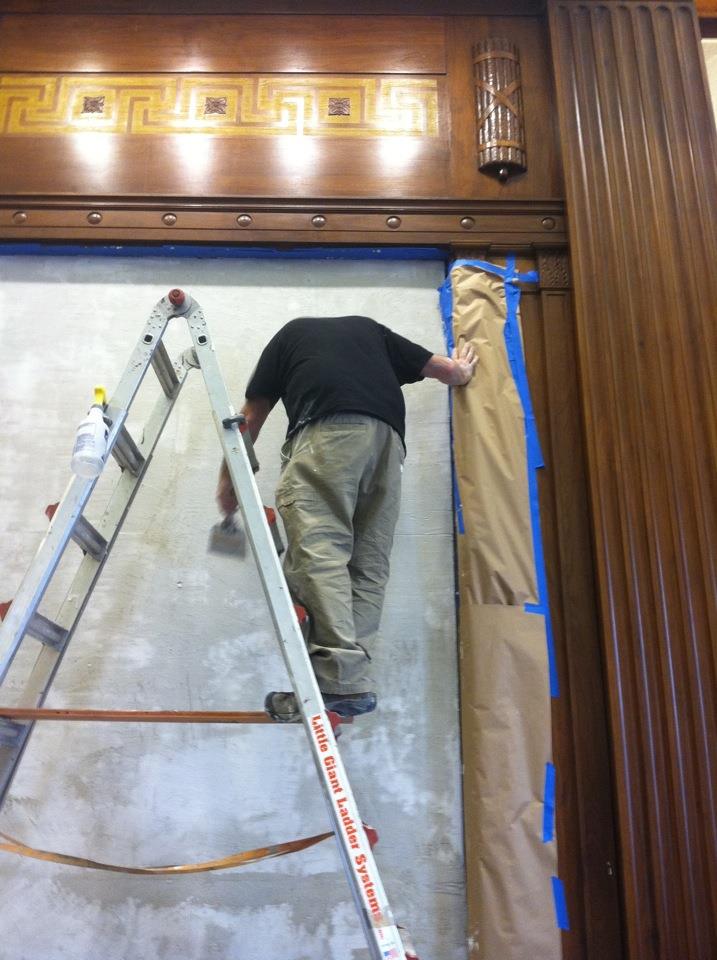 Peter J Grady
Great guys. Spend a lot of time repairing and prepping our walls before doing the new paint. Home looks great now.
They did an excellent job with the repair, took care of all communication with the insurance company and had car rental service also with a very reliable, quality care
 Three C Body Shop
From average costs to expert advice, get all the answers you need to get your job done.
Venetian plaster can add depth and texture to your aesthetic. Learn how much Venetian plaster costs based on factors like square footage and whether you hire a pro to help.
The cost of plastering walls and ceilings depends on the room size and ceiling height. Our tips can help you estimate an accurate cost.
Plaster repair costs are determined by the size and type of damage. Discover why some fixes you can DIY and why some require a pro’s help.
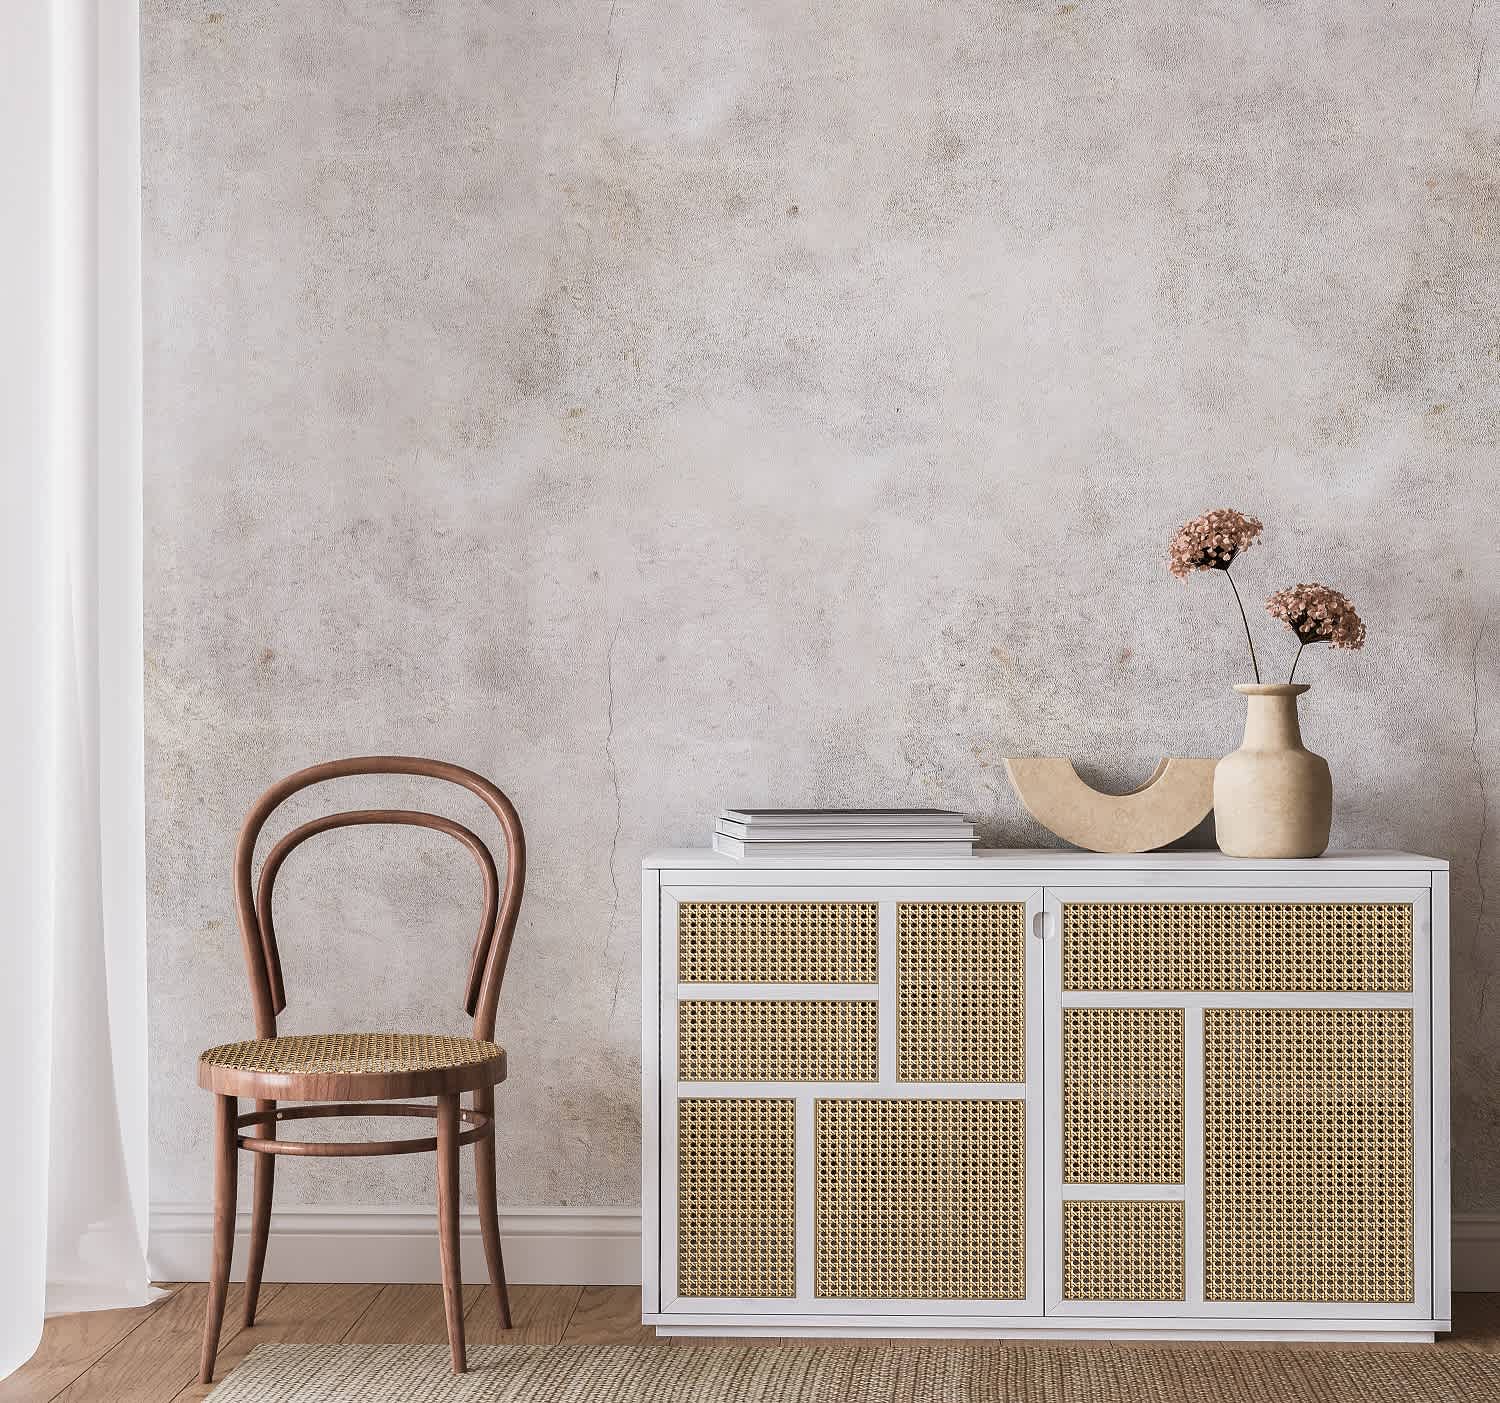
Venetian plaster is an elegant and timeless way to add aesthetic value to your home. It’s expensive, but read on and discover the many pros of Venetian plaster.
Looking to create a stunning statement with your wall design? Choose from popular types of plaster finishes for your walls to create the perfect atmosphere.
A faux wall finish done correctly can transform an entire room. Discover the pros and cons of 15 of the most popular faux painting techniques with Angi.