
Whether you're planting your flag with a new build or upgrading a leaning or crumbling mailbox, get an idea of brick mailbox cost with this guide.
Turn your old mailbox into the talk of the neighborhood with an easy DIY project

Building a mailbox yourself involves cutting a post-mounted design with a half-lap joint, which creates a sturdy vertical and horizontal connection for your mailbox.
Professional mailbox installation costs around $210 for labor and materials, while your DIY mailbox build runs $25 to $50 for supplies and tools you need.
You can customize your mailbox post with water-resistant paint, decorative designs, or house numbers before setting it in the ground with tamped soil or concrete.
Hiring a local mailbox installation professional saves you time on woodworking and ensures your post meets USPS height requirements while lasting for years.
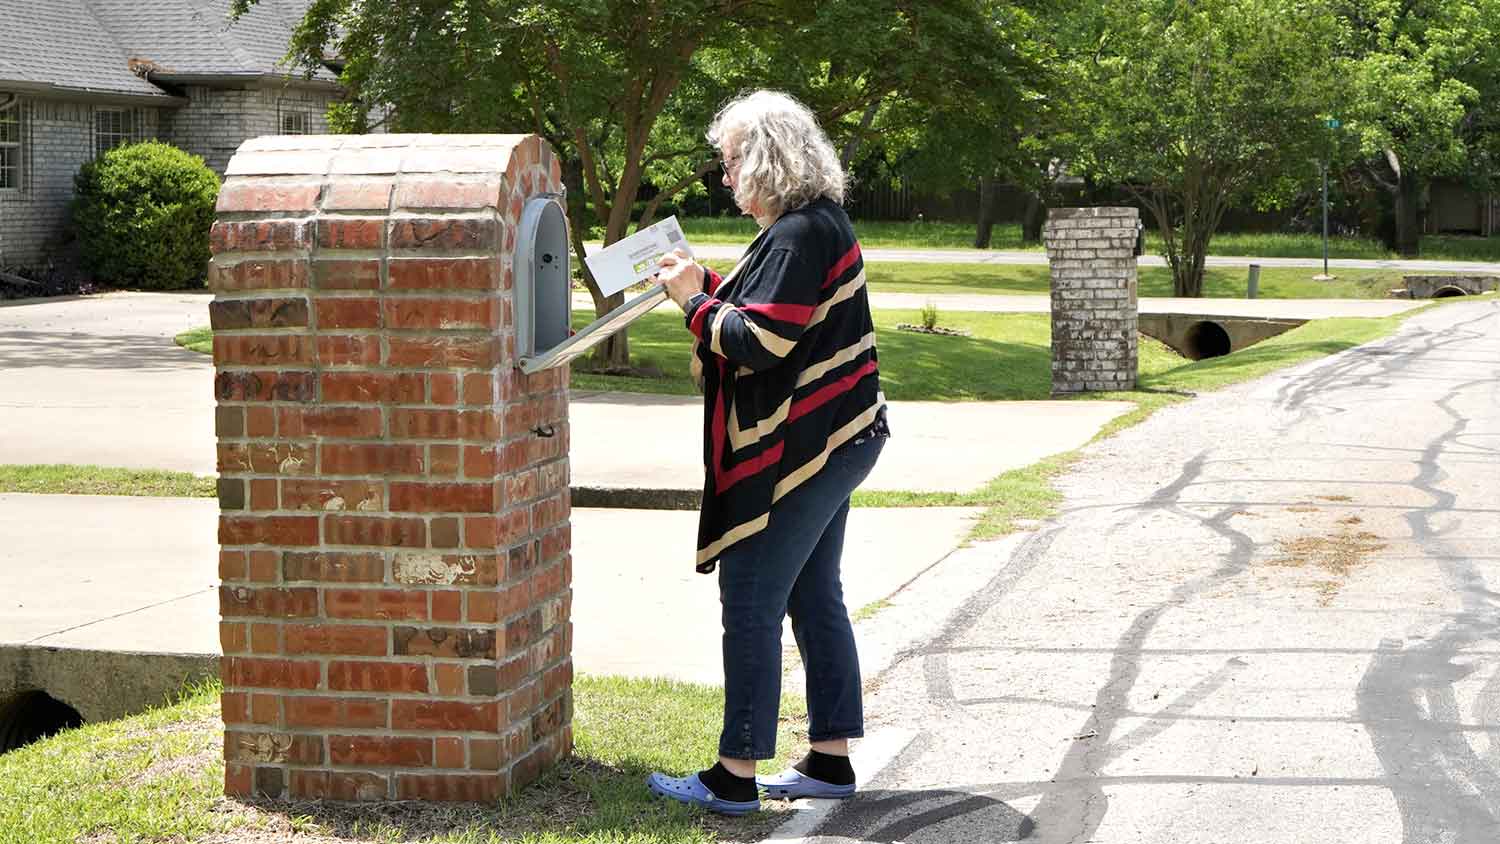
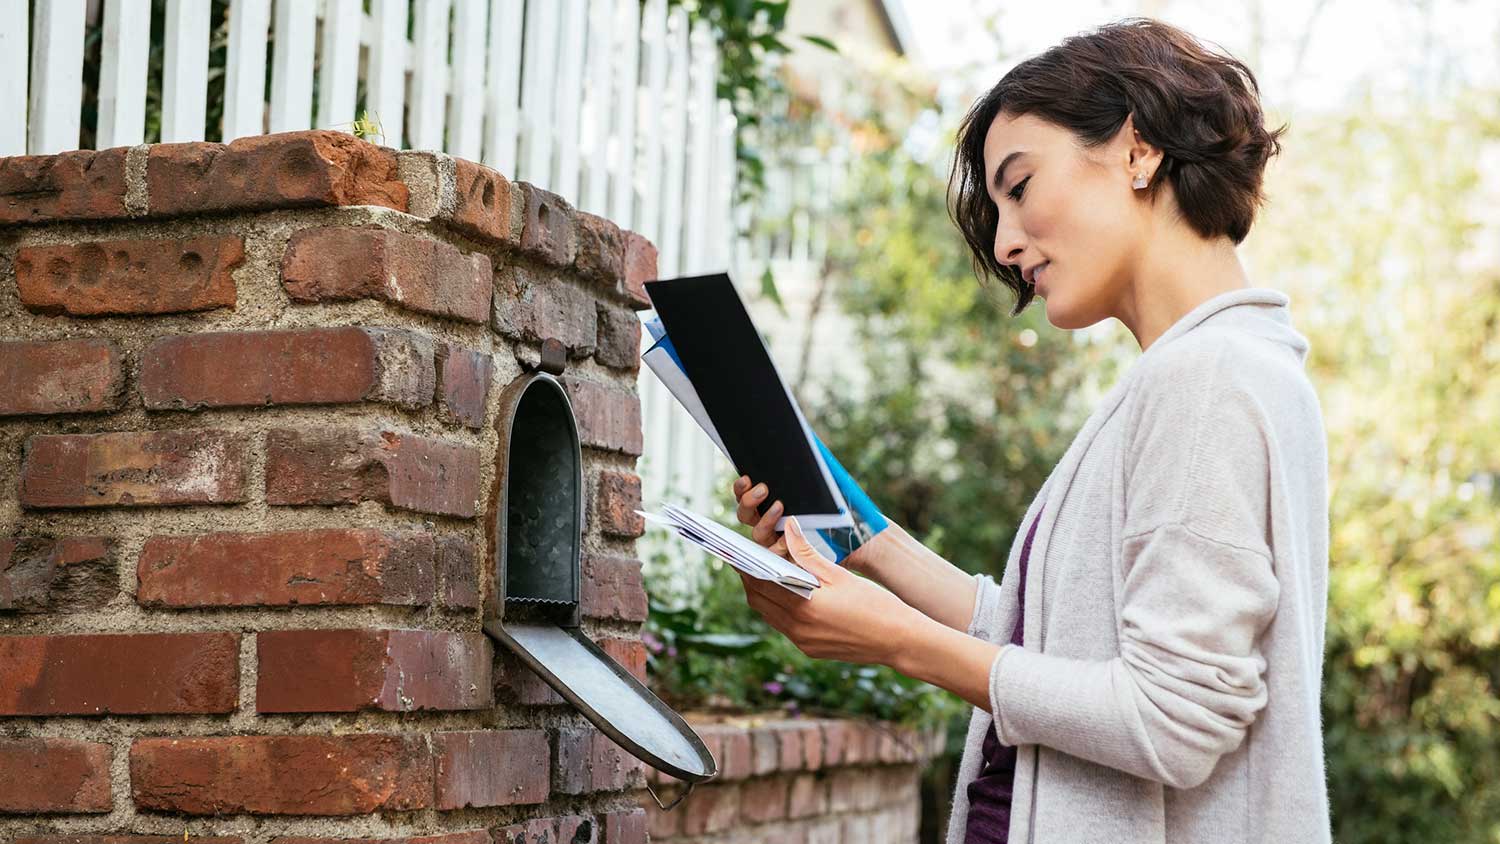
If your old mailbox looks a bit worse for wear, you can spruce it up or replace it entirely with this simple DIY project. A fresh coat of paint can add personality to your mailbox and boost your curb appeal. Meanwhile, a properly built and installed mailbox post can last you several decades. Follow our guide for how to make a mailbox in seven steps.
Your DIY mailbox will consist of two parts: The box itself and a mailbox post. Follow these steps to build and customize each component.
A post-mounted mailbox has a vertical post that sticks out of the ground with a horizontal base attached for the mailbox to sit on.
First, determine how long you want your horizontal piece to be, then measure and cut your 10-foot four-by-four post accordingly. Your horizontal piece should be long enough for the length of the box, the width of your vertical post, and a length of wood to stick out of the back. For example, with a 20-inch mailbox and a four-inch post, you can cut a 30-inch horizontal piece that will stick 6 inches out of the back.
Use your pencil, tape measure, and square to mark your desired length, then make the cut with your circular saw. Run your saw against your carpenter’s square for a straight cut. You may need to rotate the post to cut all the way through.
Decide where you want your two pieces to intersect, leaving enough room at the top for the height of your mailbox and a length of post that extends a bit higher. For example, if your mailbox is 10 inches tall, you can leave about 13 inches above where your pieces will intersect.
Line up your post pieces at your desired intersection, so they’re perpendicular and square. Use your pencil to mark lines on the vertical piece exactly the width of the horizontal piece. Set your circular saw to half the width of the post, and make cuts every eighth inch between, but not on, your pencil marks. Avoiding the pencil marks will help ensure a tight fit.
You’ll be left with thin pieces of wood between your marks that can be gently tapped out with a hammer. Run your circular saw sideways to smooth the surface between your marks. Ensure that your horizontal piece fits snugly in the notch you’ve created—if needed, widen the notch in tiny increments with your saw.
You’ll repeat this process with your horizontal piece so that when you join both pieces at the notch, they’ll fit together flush at a perfect 90-degree angle. Tap them together with a hammer, then use a few grooved nails to secure them in place.

Before attaching your mailbox to the post, you can touch it up with a custom paint job. If your existing mailbox is in good shape and you want to reuse it, you should be able to unscrew it from your old post easily. Otherwise, you can purchase a new plain mailbox for as little as $20 to $30 at a home improvement store.
Choose whatever color spray paint you want for the base. If you want to add an artistic touch, you can hand-paint an additional design using water-resistant acrylic paint. You can also purchase decals or house numbers to affix to the sides.
If you’ve chosen pressure-treated wood or hardwood such as cedar for your post, water damage likely won’t be an issue. However, you can add a coat of water-resistant paint for weatherproofing or decorative purposes.
Start by patching any cracks with wood filler, then sand the whole post down and apply a coat of primer. Add primer to the bottom of the post as well. Even though it won’t be seen, the primer helps with waterproofing. Sand between coats and add another coat of primer if recommended by the manufacturer’s guidelines.
Once your primer has dried, apply two coats of water-resistant paint in a color of your choosing. Allow it to dry fully before moving to the next step.
Using a shovel, clear out a roughly two-foot-wide hole for your mailbox. If you find any large rocks while digging, set those aside for later. The vertical length of your post will determine the depth you need.
According to USPS, the bottom of your mailbox should stand between 41 and 45 inches above the road. Place your post in the ground to ensure you’ve got the right amount of height, tamping down any loose soil at the bottom. If your soil is particularly soft or loose, you can also add a six-inch layer of all-purpose stone to create a solid surface for the post to stand on.
Place your level on the horizontal part of the post to ensure that it is standing straight vertically. Begin to fill the hole back up with soil, tamping it down firmly as you go. Any large rocks should be placed in front of the post to help brace it. When your hole is about halfway full, place a brick in front of the post horizontally for additional support.
Check again that your post is level both horizontally and vertically, as well as pointed toward the road in the exact direction you want. Make adjustments if needed before filling the rest of the hole, continuing to tamp the soil down firmly.
If you’d like, you also have the option to secure your mailbox post using concrete. To do this, mix two bags of concrete in your wheelbarrow according to the instructions on the package. Rather than fill your hole up with soil, fill it with your concrete. At the top, form your concrete into a rounded mound so that rainwater will slide away from your post. Cover the rest with topsoil.
Many mailboxes have a recess underneath, meaning they won’t sit flush with your mailbox post as-is. To solve this issue, use your circular saw to cut a mounting board out of a three-quarter-inch piece of dimensional lumber. Cut it to the length and width of the recessed area so it fits snugly into the recess, making it easier to attach the box to your new mailbox post.
Be sure to test your mailbox door with the mounting board in place. If the door doesn’t open properly, you may need to shorten the length of your mounting board to give it enough space.

Separated from your mailbox, center your mounting board on the horizontal part of your post where you’d like the mailbox to sit. Nail it down with a row of stainless steel nails. Your mailbox should be able to sit snugly on the mounting board. Using stainless steel screws and a power drill or screwdriver, attach the mailbox firmly to the mounting board.
With that, you should have a sturdy, beautiful new DIY mailbox that will last you many years. You can get even more creative with your project with other DIY mailbox ideas. For example, you can affix a simple hanging house number sign to the bottom of the horizontal post using screw-in hooks. You can also design a small garden around the base of your post.
Professional mailbox installation is about $210, in comparison to the $50 or so that you’ll spend on your DIY. The job can be done by a local handyperson, and the cost includes both the labor and materials required.
While this project can be a simple DIY, you may wish to hire a pro if you don’t have access to all the woodworking tools required to construct a proper post. Hiring a pro will save you time and ensure that your mailbox is built to last and meets all USPS requirements.
Custom Paint Jobs LLC made our home feel like a piece of art. Thank you for your creativity!
Window Depot did an amazing job on my deck. I wasnt sure what I wanted to do, but their composite decking was affordable and will last a long time. I am excited to have family over, and I am no longer embarrassed by my backyard. Jeff and the ground crew were polite, respectful, and caring for...
First of all, the gentleman I dealt with (Cam?) was very responsive to my many questions and concerns throughout the project, which is a huge plus to me. From the first time I met him for the estimate all the way til the completion of the job, he and his crew were professional and respectful....
 All Star Paving and Sealing
We had a 20+ year old landscape lighting system that needed replacement. Midwest Lightscapes worked with us to design a much improved lighting system, lighting the exterior of the house and the back yard. Installation of the 45 light system took one and one-half days, and went very smoothly....
 Midwest Lightscapes
Another great success for me on home advisor. This company did an awesome job on my landscaping and stayed within my budget. The best part, the work was complete within 2 days of my initial request. Professional and responsive. I highly recommend!
The company no showed on me twice. The 2nd time was no call no show. They were responsive to set up the first appointment to perform the "landscape cleanup". 3 hours after their initial scheduled appointment time they called me to let me know they had some "problem" with the truck and their...
 Ruby Home and Hauling Services
Received ideas for future landscape plans...quote to do the work seemed a bit high but I did not have any other quotes to compare it to, so perhaps that is the going rates. <br />
 Landscapes By Terra, Inc
All around they have done a really great job. <br /> I have used JL Landscapes for the past 8 years. I own and operate my own commercial/residential real estate company where we own, operate, and maintain our own properties. JL Landscapes has been our exclusive landscaper for both our...
 J.L. Landscapes
Bought a half a cord of firewood from Pitzer with stacking last month. I waited to report so I could see how the wood burned. <br /> <br /> I have three pet peeves regarding landscapers, but Pitzer scored "A"s regarding all three. First, rather than having customers "leave a message" and...
 Pitzer Landscaping
I left a message on Sunday requesting to schedule a time to obtain an estimate/walk-through and received a return call in the morning of the following Monday. Mark worked with me and agreed to schedule the estimate/walk-through for the following Saturday. When Mark arrived for the...
From average costs to expert advice, get all the answers you need to get your job done.
Whether you're planting your flag with a new build or upgrading a leaning or crumbling mailbox, get an idea of brick mailbox cost with this guide.
Learn how to choose between different types of mailboxes using this comparison guide. Consider the style of your home, your climate, and what’s allowed.

It's surprising how much a cleaned-up mailbox can add to your home's exterior look and feel. Here's how to spruce up yours.
The best mailbox material comes down to your preferred look, budget, and local climate. When comparing a plastic vs. a metal mailbox, here's what you should know.

It doesn’t take all day to transform your yard into a winter wonderland. These quick and easy outdoor Christmas decorations will add some instant holiday cheer.

House your best hardcovers on a DIY bookshelf made by hand. Here are seven ways to do it and all the tips you need to make it strong and sturdy.