

A main water shut-off valve controls water flow for your entire home. Here we break down the cost to replace a main water shut-off valve.
Avoid turning your yard into a water park


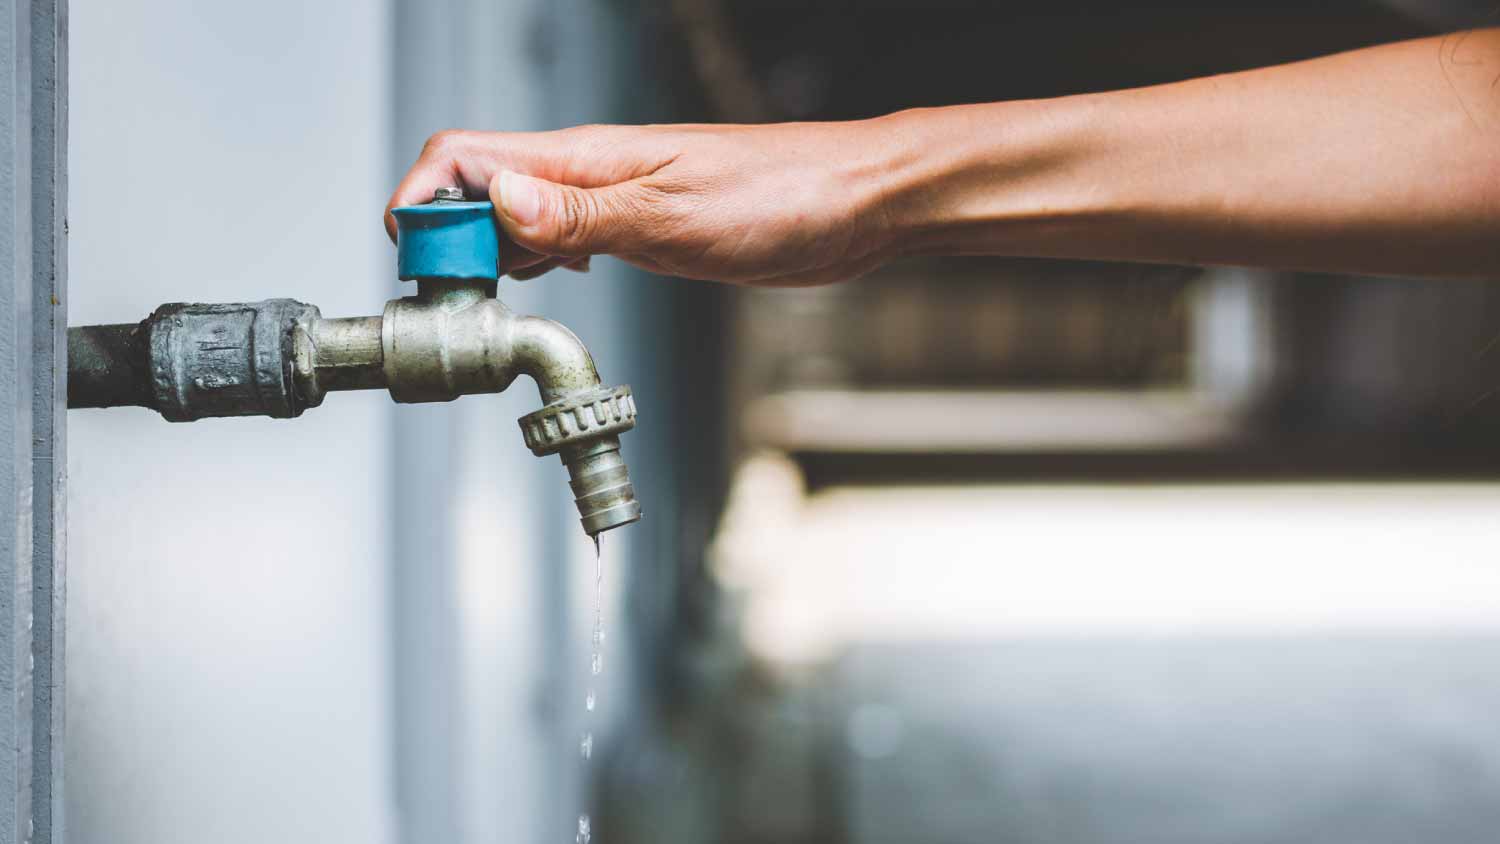
It’s a pleasant summer weekend and you’re spending it leisurely washing your car. But when you finish, you try to shut the spigot off, and it won’t stop gushing water, no matter how hard you turn the handle. Your first instinct is to panic in this situation, but we’re here to calm you down and help you find a quick solution. Let’s discuss what to do when your outdoor faucet won’t turn off.
The good news is that when your outdoor faucet won’t turn off, it’s usually a mechanical problem rather than a plumbing problem. Parts wear out over time, so you probably have a worn-out washer or anti-siphon valve that has stopped working. This makes it impossible for your faucet to differentiate if it's in the on or off position.
Numerous cracked, leaky pipes and other plumbing issues can also be culprits, but faucets that keep running can be fixed with simple tools and replacement parts.
Stopping water from coming down that faucet is your utmost priority. Leave the faucet in an open position rather than attempting to close it.
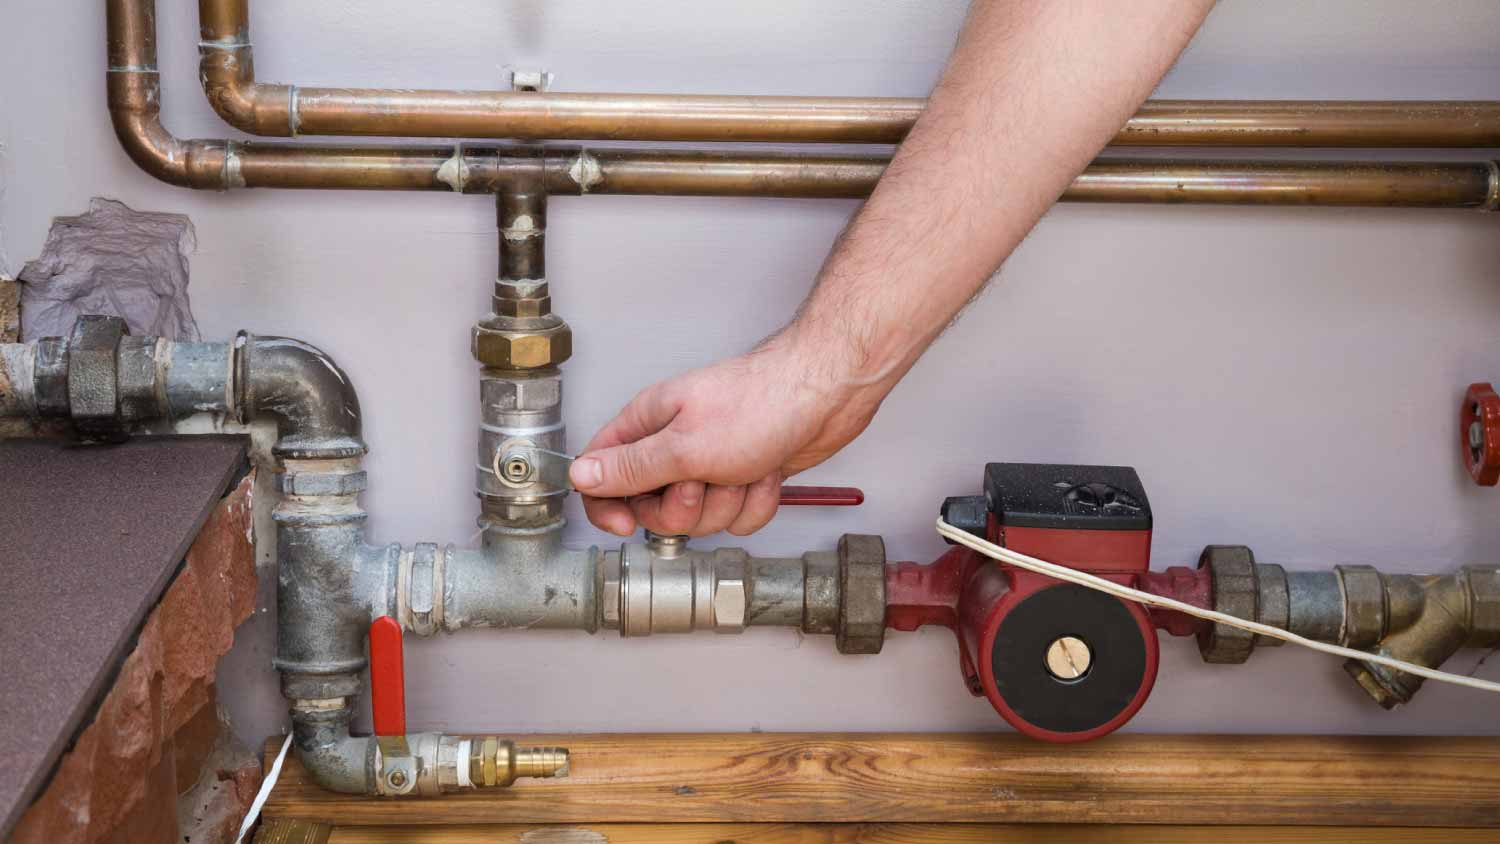
Open the faucet all the way and immediately head to your shut-off valve. If you’re unsure how to find your water shut-off valve, it’s located outdoors in most modern homes. You’ll likely find it somewhere along the perimeter of the house where it's accessible by street level. Turn this valve clockwise immediately so that water stops flowing to the outdoor faucet.
The shut-off valve could also be inside a utility box alongside your municipal valve. If it is, contact your local water department if the valves aren’t labeled. A neighbor might be able to help you determine which valve is the correct one as well. Knowing which valve is which is important because there may be legal consequences if you turn the municipal valve and accidentally take out your neighbors’ water as a result. If you’re panicked about a flooding yard, you might turn the wrong one in a frantic effort to make the flow stop.
If your home is older, the shut-off valve is likely to be indoors. Check your basement, utility closet, or crawlspace. The valve controlling the outdoor spigot should be labeled, and that's the one you want to close so that the rest of your plumbing is unaffected. Older valves that don't have handles might require some solid pliers or a wrench to turn.
With older homes, however, you may need to shut the water off for your entire home. Bear in mind that you won't be able to have a bubble bath or grab a glass of water until after this ordeal is in the rearview mirror. But doing this will prevent costly, devastating water damage to your yard and your house.
Once you've closed the valve and gotten water to stop gushing out of the spigot, drain the remaining water from the outdoor faucet. This aims to reduce the risk of a pipe bursting later. Enough water poured out to fill a couple of aquariums by now, causing water to get trapped in the faucet and pipeworks. If you don't drain the faucet now, it can compound a simple mechanical problem of the present into an expensive problem in the future.
Find the safety valve on your faucet. Pull the handle or turn the knob so that the trapped water drains.
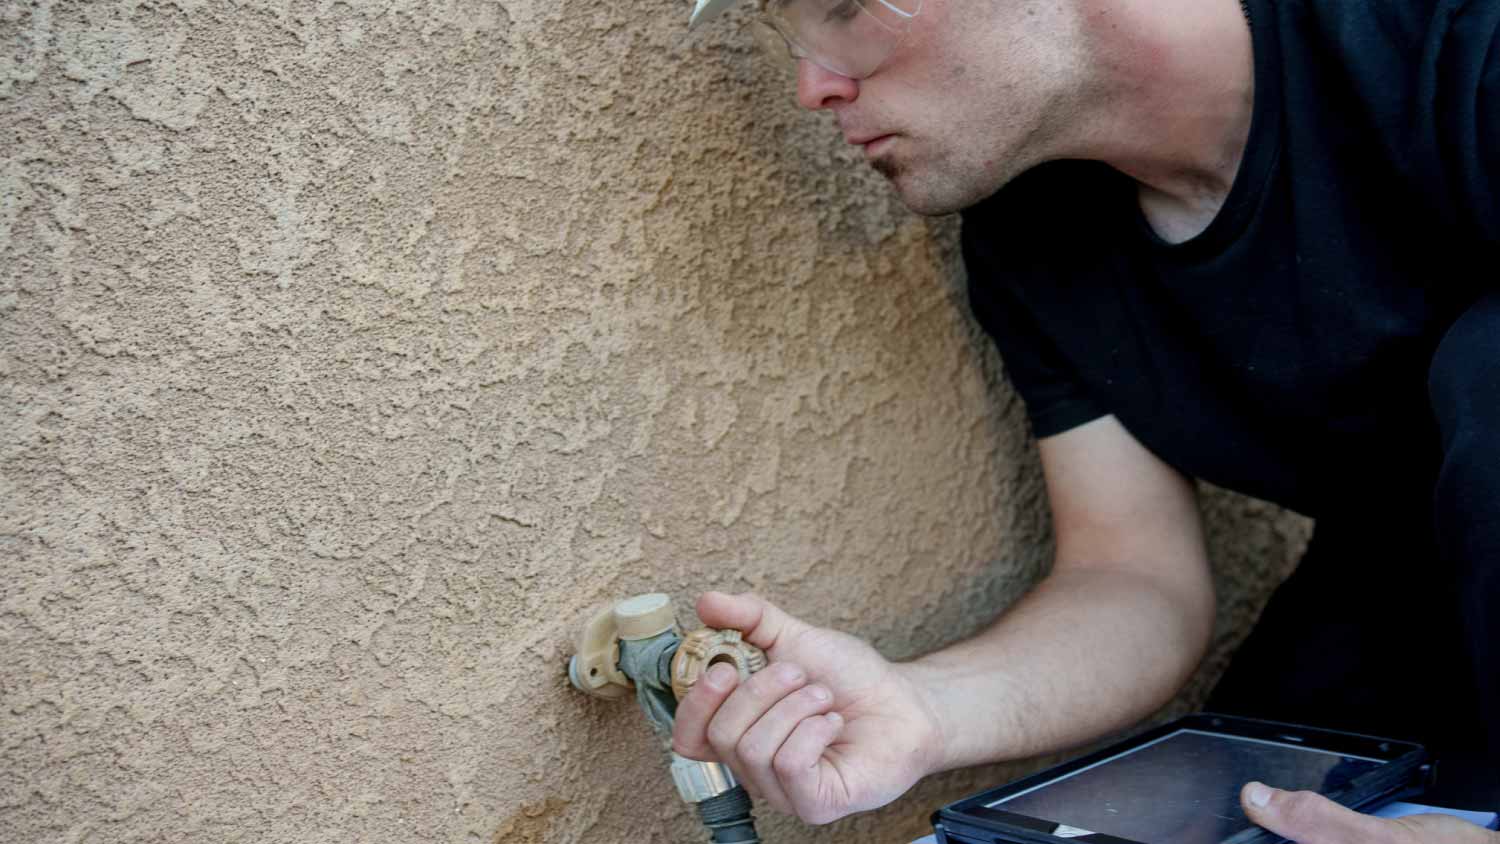
With the water cut off and drained from the faucet, it's safe to disassemble your outdoor faucet so that you can inspect it more thoroughly. Get an adjustable wrench so that you can remove the packing nut that’s inside the valve assembly behind the spigot handle.
Turn the wrench counterclockwise to loosen the valve assembly. You might need a clamp or another wrench for the faucet connection so that it doesn't jostle while you do this. With the faucet firmly held in place by the clamp or extra wrench, take the entire valve assembly out with your hands.
Remove the faucet handle fastener with the adjustable wrench, wiggle the handle upwards to remove it, then unscrew the packing nut and remove it by sliding it up the stem.
If the valve assembly or packing nut stubbornly stays in the same place, spritz some WD-40 or penetrative oil on these parts and give it a few minutes. That should loosen up the valve assembly and packing nut, so you'll be able to remove them with the wrench.
Does the packing nut look like it's seen better days? Is it too tight or loose enough to fly right off? If so, the packing nut could be what’s causing the faucet to create a lake in your backyard. If not, it might be another part that needs replacement or a more serious problem like a leak.
Use the pliers to hold the pipe steady, then flick the washer out from the valve stem with the flathead screwdriver.
Look at the washer and O-ring. If they look corroded or damaged, these were the parts that were causing the deluge.
Make a note of the parts that are clearly broken or worn out. Snap a picture with your phone or bring them with you to a local hardware store to get replacements.
Once you've sourced the correct replacement parts, it's time to reassemble your faucet:
Put the new packing nut over the valve assembly, turning it clockwise with the adjustable wrench to tighten it. Be careful not to turn it too tight so that this problem doesn't happen again.
Take the corroded washer off of the valve stem. Put some plumber's grease on the new washer before placing it on the valve stem. With the O-ring in place, replace the old screw that was on the washer with a new one.
Follow the exact same steps as replacing a washer to replace the O-ring. This means replacing the washer, screw, and O-ring for a total of three new parts.
After the broken or corroded parts have been replaced, it's time to close the faucet and put the valve assembly back where it belongs. Pop it back into the faucet and tighten it with a wrench. Try not to tighten it too much so that the seal doesn't break.
Confirm that the faucet is in closed position and go back to your outdoor shut-off valve or water supply valve to turn the water back on. Head to the outdoor faucet and turn the faucet on and off, testing if the water is flowing properly.
If the water is still uncontrollably flowing, or you’ve done the inverse and now it won’t turn on at all, call a plumber for help.
Fortunately, an out-of-control outdoor faucet isn’t a regular occurrence. But in order to prepare for it in advance, these tips are a good rule of thumb so you know what to do if this emergency strikes.
Learn where your outdoor shut-off valve is located.
Keep spare washers and other parts on hand in a place where you can easily find them.
Keep bottled water on hand, enough for each household member plus pets for about two weeks. Have backup dishes and filtering solutions if your pet’s water needs are complex, like many exotic pets.
Make a list of nearby bathrooms and showers: friends, family, neighbors, 24-hour stores, gyms, any place that can meet your basic hygiene needs until the water comes back on.
Get to know your home insurance policy regarding water emergencies, and what they will and won’t pay for so you aren’t unexpectedly saddled with another massive bill on top of the repairs.
If you know where your water shut-off valve is, you may not need a local plumber to fix this problem, depending on whether the issue is mechanical or a leak. Shut the water off first, then figure out if there’s a leak or other plumbing issue before you hire a pro.
Hiring a licensed plumber costs $150 to $600 to replace an outdoor faucet. However, this can also carry emergency fees of $100 to $150 if they need to come immediately. If it turns out to only be a mechanical problem after their inspection, you may still have to pay a service call fee of $100 to $250.
From average costs to expert advice, get all the answers you need to get your job done.
A main water shut-off valve controls water flow for your entire home. Here we break down the cost to replace a main water shut-off valve.

Repairing a main water line is an urgent matter, so use this guide to get an idea of how much main water line repairs cost to act fast.

Here's a look at how much you can expect to pay to replumb your mobile home with new pipes that meet all local code requirements and environmental regulations.

Read how to properly vent your toilet, sink, and shower and learn the importance of effective plumbing ventilation to ensure a well-functioning and odor-free bathroom.

Whether your outdoor spigot is leaking, damaged, or has unusual water pressure, learn how to replace a spigot valve in an hour or less.
Discover grey water system cost details to learn about installation, maintenance, and ways to save on your home’s grey water system.