
Whether it’s paintings, photos, or brilliant neon, add some personality to any room with a gallery wall that’s uniquely you.
Bring your favorite art, photos, and mementos together in style

Hanging pictures on the wall works best when you plan your layout first by measuring the space and arranging pieces on the floor or using cardboard templates.
Your gallery wall design stays cohesive when you choose a repeating color palette across frames and artwork, keeping the overall look intentional and curated.
Spacing your pieces with consistent gaps between frames helps create visual balance, and you can fill awkward spaces where needed with small decorative objects.
Hiring a local picture hanging professional ensures every piece stays perfectly leveled and spaced, giving you a polished gallery wall without the guesswork.
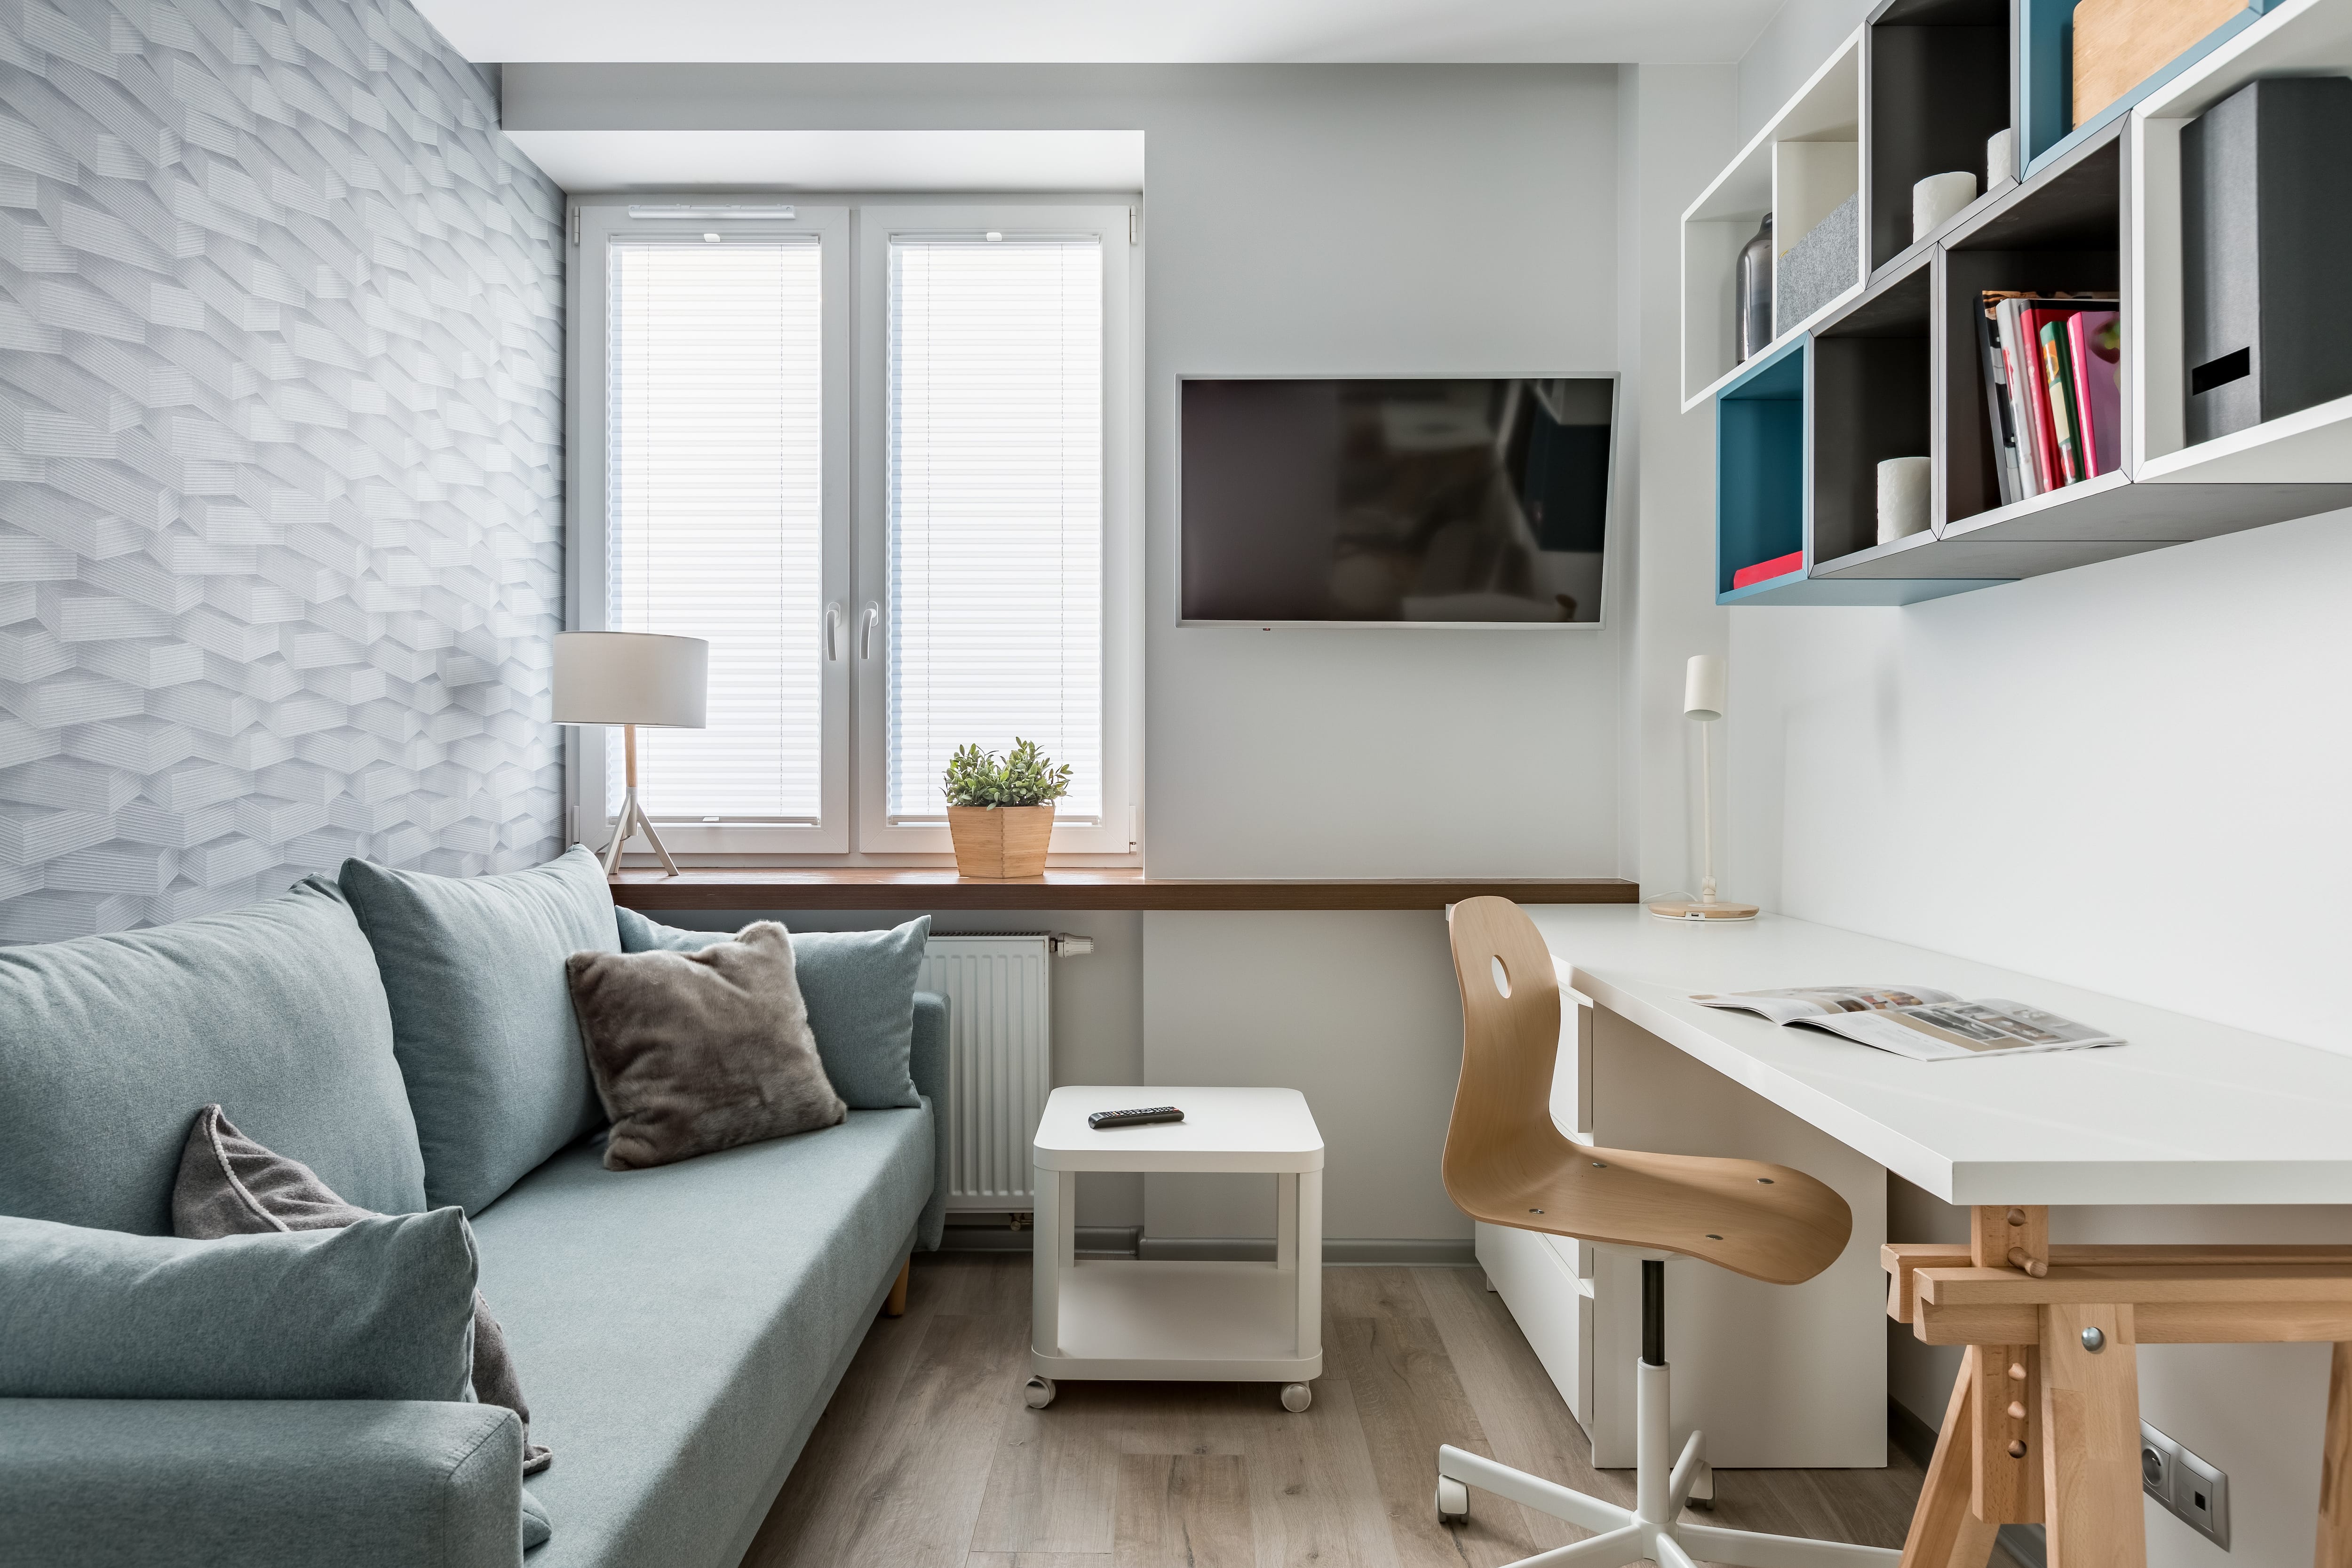
Maybe you’re staring at an empty wall that needs something to make it pop, or perhaps you have a huge collection of art that you want to display. No matter your situation, a gallery wall can bring it all together and become a conversation starter in your space. Displaying many pieces cohesively can be daunting, but these nine gallery wall ideas and tips can help you find your perfect design.
You can arrange a gallery wall any way you choose, but one of the easiest ways to keep things interesting and incorporate a variety of pieces is with an asymmetrical layout. This type of layout allows for varied spacing, sizing, orientation, and style.
Mix vertical and horizontal pieces by alternating orientations, pairing them, or creating small mini-galleries of three to four pieces within the larger layout.
To create a curated look, choose a palette of colors that repeats throughout the wall. This will allow you to mix multiple styles of art, photography, and other items while keeping everything cohesive. You can also stick to matching or complementary frame colors.
There are no strict rules when choosing a palette for a gallery wall, so if a wide variety of colors and styles best suits your vision, go for it!

Frames are often an afterthought, but their style can impact the feel of each piece and the whole gallery wall. When choosing frames, keep the following in mind:
Stick with just a few colors, styles, or finishes for a more cohesive wall
Frame photos with a wide mat to make them feel more like art
Try putting multiple photos in a single frame
Float-mount photos, art, and objects to elevate their look
Not everything needs a frame, especially three-dimensional objects
Few things are more frustrating than nailing holes in a wall only to decide that you want to change your layout. Avoid this frustration by planning your layout in advance. Measure the height and width of the space you want to fill with your gallery wall, then use one of the following methods:
Lay large sheets of paper or a tape perimeter on your floor, and lay your pieces inside
Cut out cardboard pieces to match the size of each art piece and tape them to your wall
Use digital software (such as PowerPoint) to lay out images of each piece
Once you have assembled your layout, rearrange pieces until it's perfect.

Spacing in an asymmetrical gallery wall design doesn't have to be perfectly even, and it helps to have some variation. However, you may wish to choose a standard spacing to use as a starting point. This could be as simple as finger-widths or a more precise distance like three inches.
Don't be afraid to have negative space or gaps on the wall—you can fill awkward margins with small objects.
Gallery walls don't need to be made exclusively of photos and art prints. Anything can be hung on your wall, and adding personal items and other decorative objects can fill awkward negative spaces and give your design more dimension. Some examples of items you might want to incorporate include:
Ceramics and plates
Polaroids
Wedding vows
Charms
Embroidery hoops
Mementos
Ultrasounds
Mirrors
Sconces
Neon lights
Shelves
Planters
These objects may require a visible fastener such as a hook or nail, so ensure you have a stylish option you won't mind seeing.
One of the most useful tips for hanging pictures is to start with your largest pieces. When you’re creating a large gallery wall, place your largest piece slightly off-center in the middle. For a smaller gallery collection, place it in one of the four corners. Place your next largest piece diagonally from the first. As you continue to arrange your layout, spread out pieces of similar size, color, and style.

Laying out and hanging a gallery wall is much easier if you have a helping hand. Have your partner hold up each piece against the wall before you hang it so you can see how it looks and make adjustments as needed. You can also mark where the nails or hooks should go while they hold each item for you.
If you want to ensure that every picture you hang is perfectly spaced and leveled, hire a local picture hanging pro to assist you.
You don't have to put your entire gallery wall together at once. If you only have a few pieces to start with, hang them now and keep your eye out for more items to add to your design later.
I recently moved to another state and chose United Trust Van Lines after comparing several companies. Their team was punctual, professional, and extremely careful with my belongings. I was especially impressed with how they handled my home office setup and fragile items. Everything arrived on...
Showed up on time and cleaned carpets well, but didn?t move furniture.
A reliable team for moves across state. My switch to a new place needed careful lifting through tight hallways. The movers checked the doorway first, then carried heavier pieces with slow, controlled movements. Their patience helped prevent damage, and I?d choose them again.
**Would rate a 0 if i could** NEVER USE THIS COMPANY!!!!! They shattered my tv console and dresser, lost a mirror, and never finished the move. The broken furniture cost me over $600 to replace. They left me with 6+ hours of personal labor moving my 1BR apartment, when I was quoted a FULL...
 All My Sons Moving & Storage
I could not have moved without the help of Jen Stover! I was in my house for nearly 20 years, so the thought of clearing it out while working full time was overwhelming. Jen takes great joy in sorting and organizing while asking the hard questions with patience and compassion. Jen is...
Couldn't have been a worse experience. 3 of my belongings were lost and 5 belongings were damaged. My furniture was clearly dragged across the ground. The movers couldn't move the furniture I paid extra heavy weight fees for so I had to help them move my own furniture. The manager gave me...
 US Interstate and Rail
Excellent experience for me! They helped me a lot with my move. very reasonable price. Good communication with the office manager is excellent.
I was concerned about my possessions safety throughout the move but Bridge View Van Lines took all necessary security measures to make sure everything arrived in mint shape I am really appreciative of their effort and commitment They made my long distance move seem simple
This moving company is the best in Columbus, Ohio! They rescued me when my movers didnâ t show up. Do not ever use Plane Movers! They never showed up for my move, claiming that I never signed the contract. They didnâ t call me to follow up, communication was awful. The people that work for...
Ozie and Tyquese were great and worked fast. It was a good move
From average costs to expert advice, get all the answers you need to get your job done.
Whether it’s paintings, photos, or brilliant neon, add some personality to any room with a gallery wall that’s uniquely you.
If you want your home to look like the glossy pages of an interior design magazine, take inspiration from these gallery walls with floating shelves.
Hanging pictures on the wall is harder than it seems. This guide explains everything you need to know in eight quick tips for hanging pictures.
When it's done right, a feature wall can add style, personality, and depth to your space. Check out these aspirational feature wall ideas.
Redecorating, refreshing, or otherwise changing up the look of your living room can transform your home and your mood. If you want a change but don’t know where to start, here are 12 ideas for livening up your living room in 2021 and beyond.
Adding an accent wall to a space doesn’t automatically mean you need to reach for paint. Opting for wallpaper can be just as easy to put up and interesting at that.