
Hanging a picture doesn’t have to be complicated. Here are several ways to do it—including a few ways to hang a heavy picture.
These tricks make every room in the house picture-perfect
 - Derek Rose.png?impolicy=thumbnail)
Hanging pictures on sheetrock works well for lightweight frames, but you need wall studs for heavier pieces over 20 pounds to prevent damage.
Measuring your wall space before hanging helps you avoid misplaced holes and ensures your picture arrangement looks balanced and properly spaced throughout the room.
Using the painter's tape trick makes marking nail placement easy, and checking with a level after hanging ensures your pictures stay straight and professional-looking.
Hiring a local picture hanging professional takes the guesswork out of wall material challenges and ensures heavy frames stay securely mounted with proper anchors.
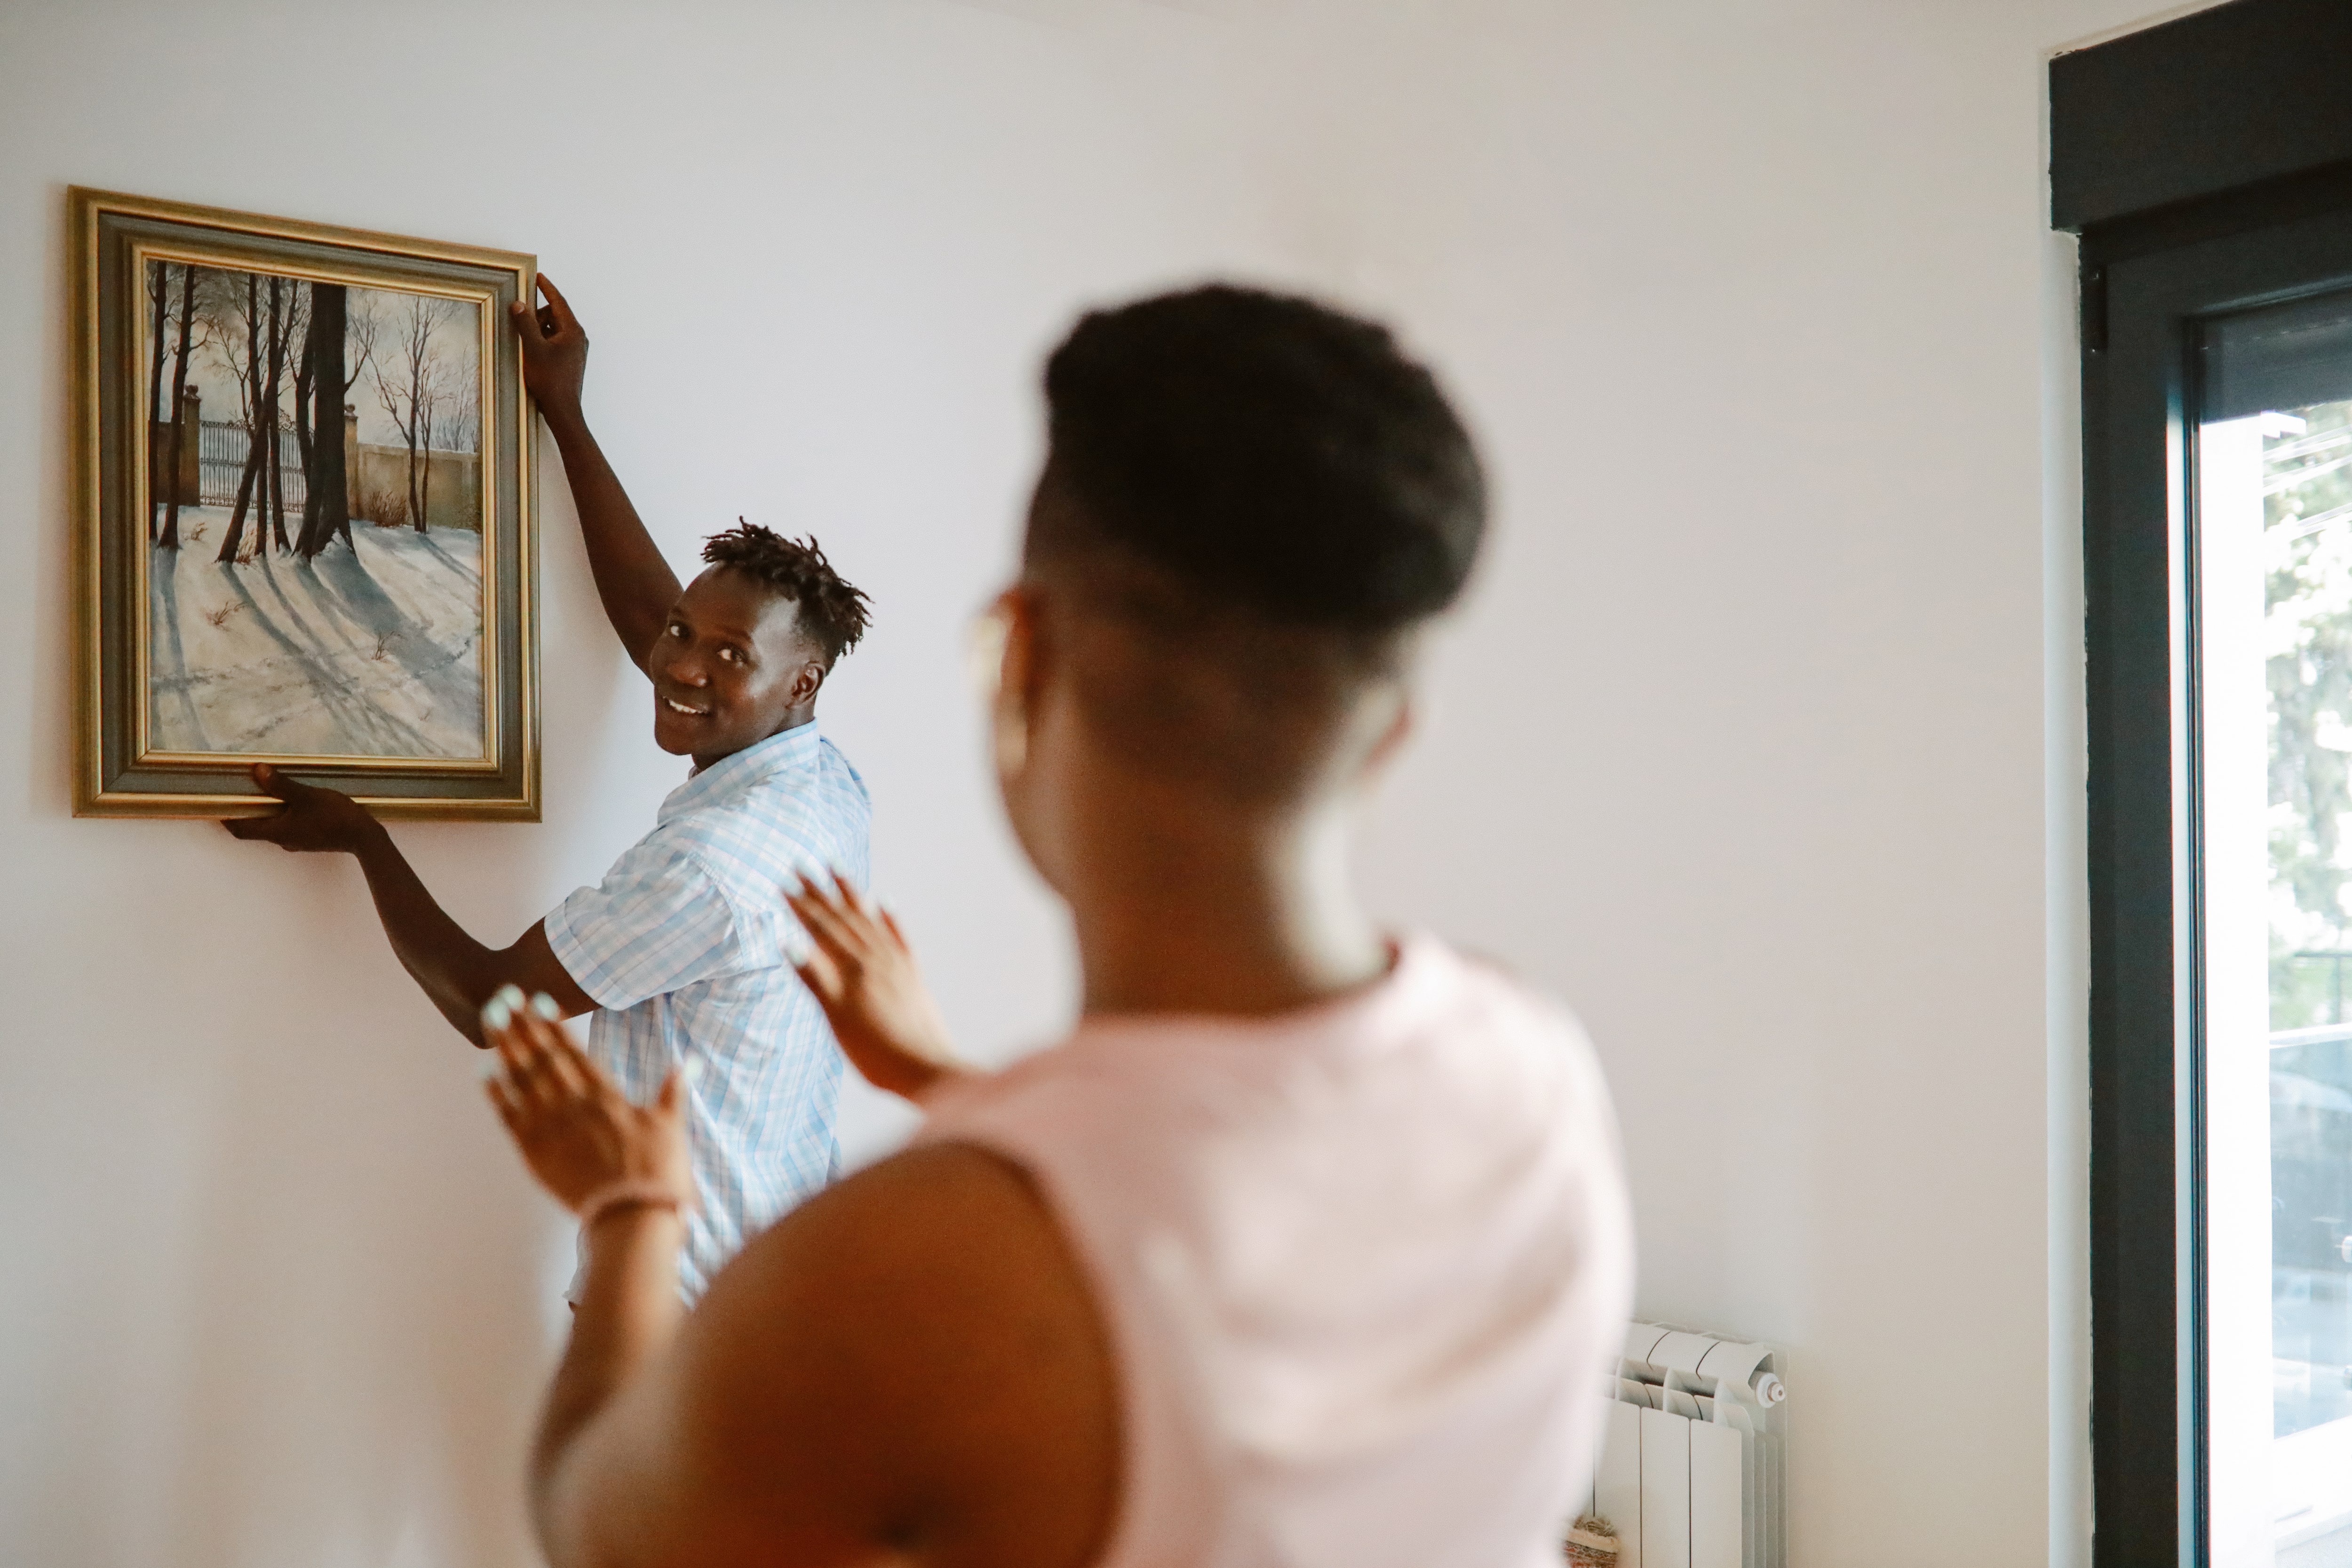
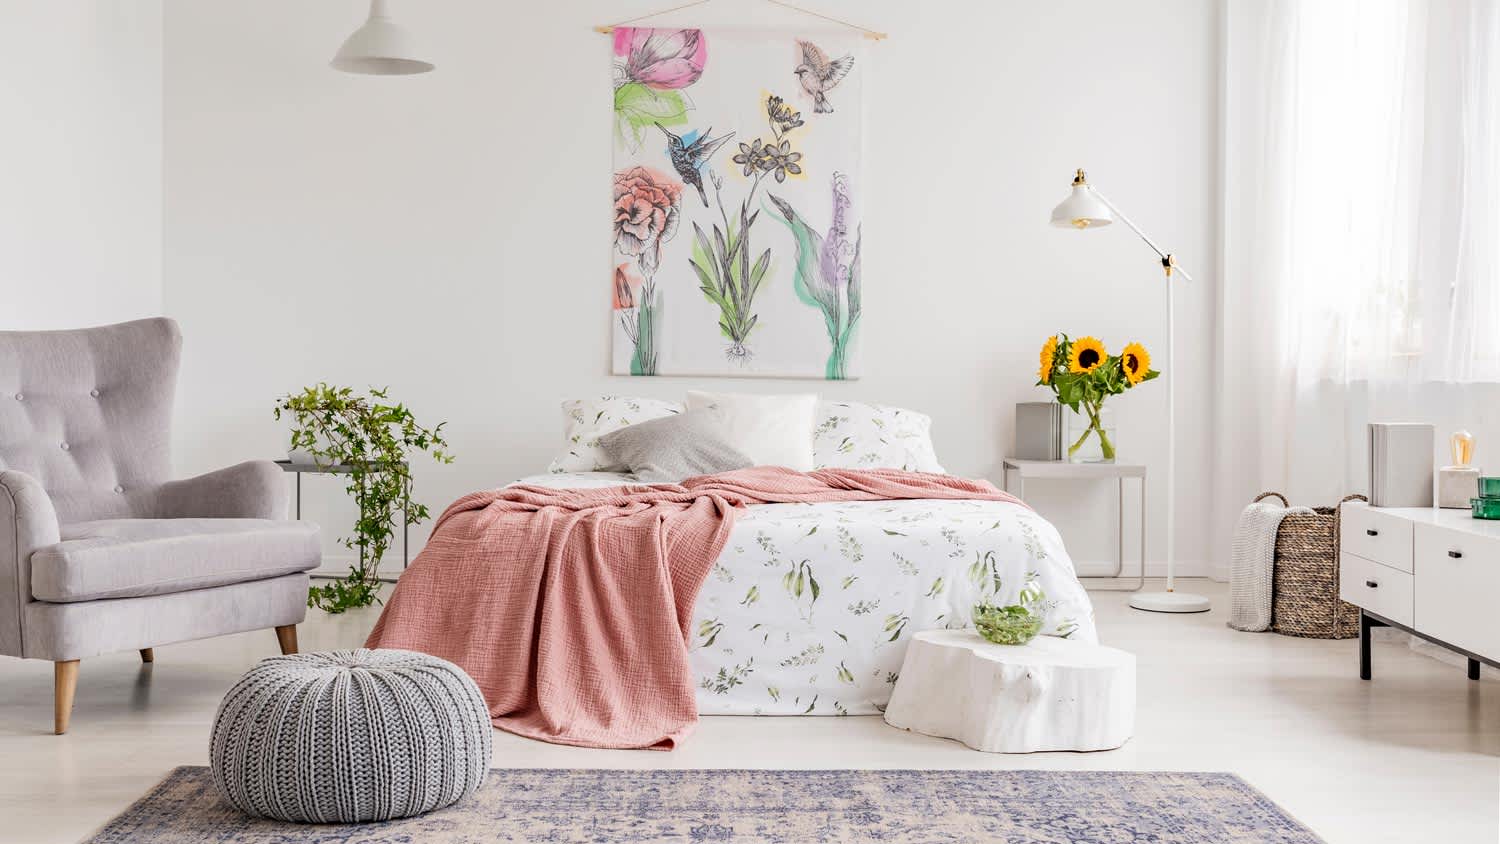
Whether it’s cherished family photos or brand new artwork, hanging pictures on the walls is a timeless way to spruce up a living space and make it feel like home. However, one small mistake will leave you patching misplaced holes, rearranging picture frames, and staring at a level over and over again. We’ve put together eight handy tips to help you hang pictures with all of the style and none of the stress.
Before hanging your pictures, it’s best to figure out the size of the wall you’re working with. Use a tape measure to find the length and width of the hanging area. This should prevent mistakes, especially if you’re hanging multiple pictures at once or a frame that takes up a lot of space.
You can safely hang lightweight pictures on drywall alone, but you must mount heavy frames (generally anything over 20 pounds) from wall studs for proper support. Wall studs are vertical pieces of wood that run from the floor to the ceiling and frame your home, spaced 16 or 24 inches apart.
There are several ways to locate the wall studs in your house. Using a stud finder is easiest, but you can locate them simply by knocking against the wall with your knuckles until you hear a solid, higher-toned sound.

After measuring the wall and locating the studs, you have all the information needed to plan the picture arrangement. Sketching the layout on grid paper or laying all the picture frames on the floor is a great way to visualize the final look. While you should always feel free to follow the image inspiration in your head, here are a few design tips from the pros:
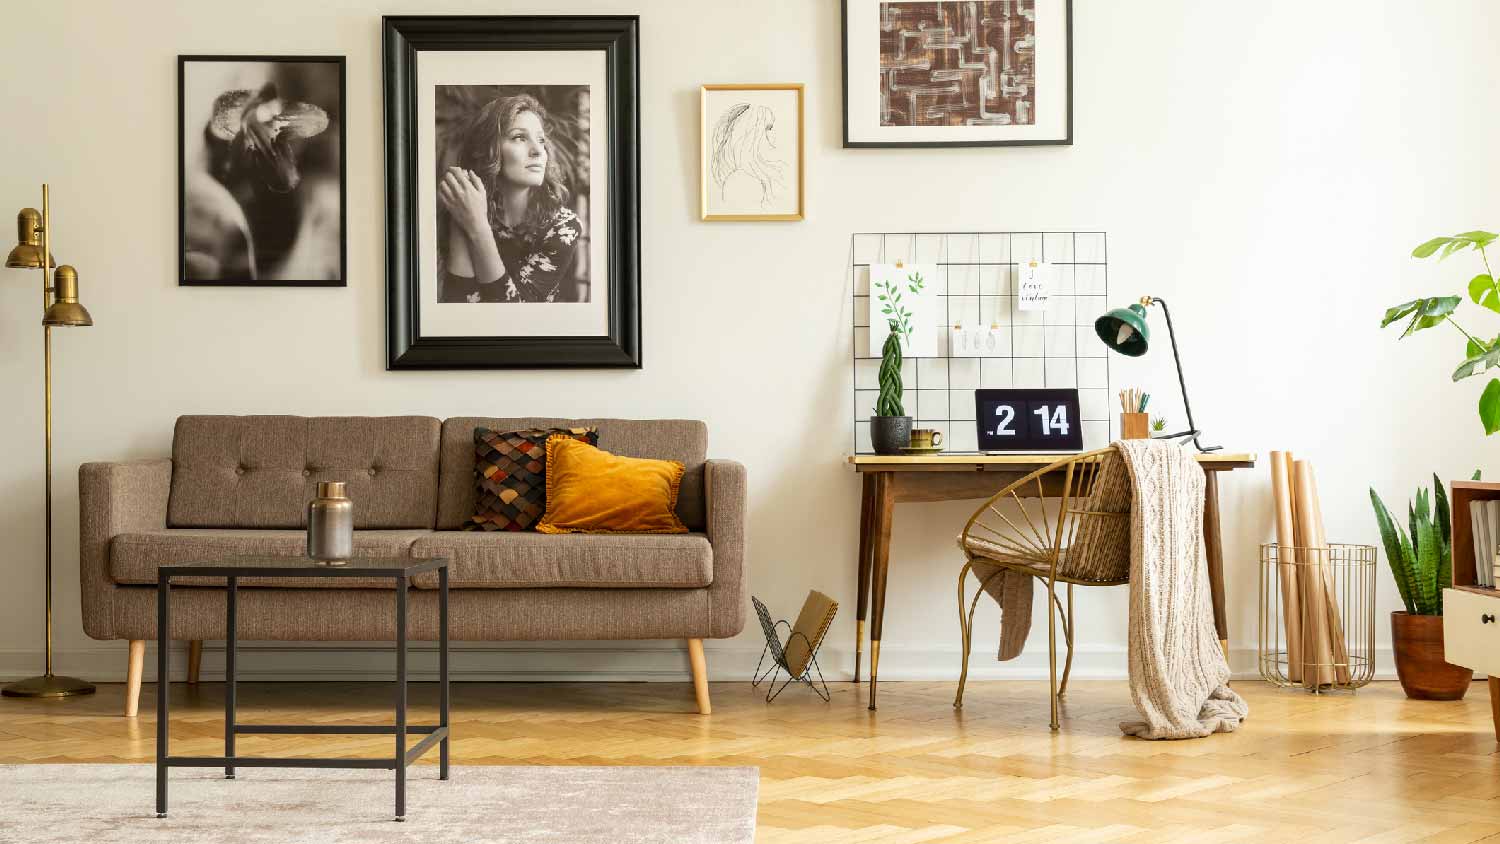
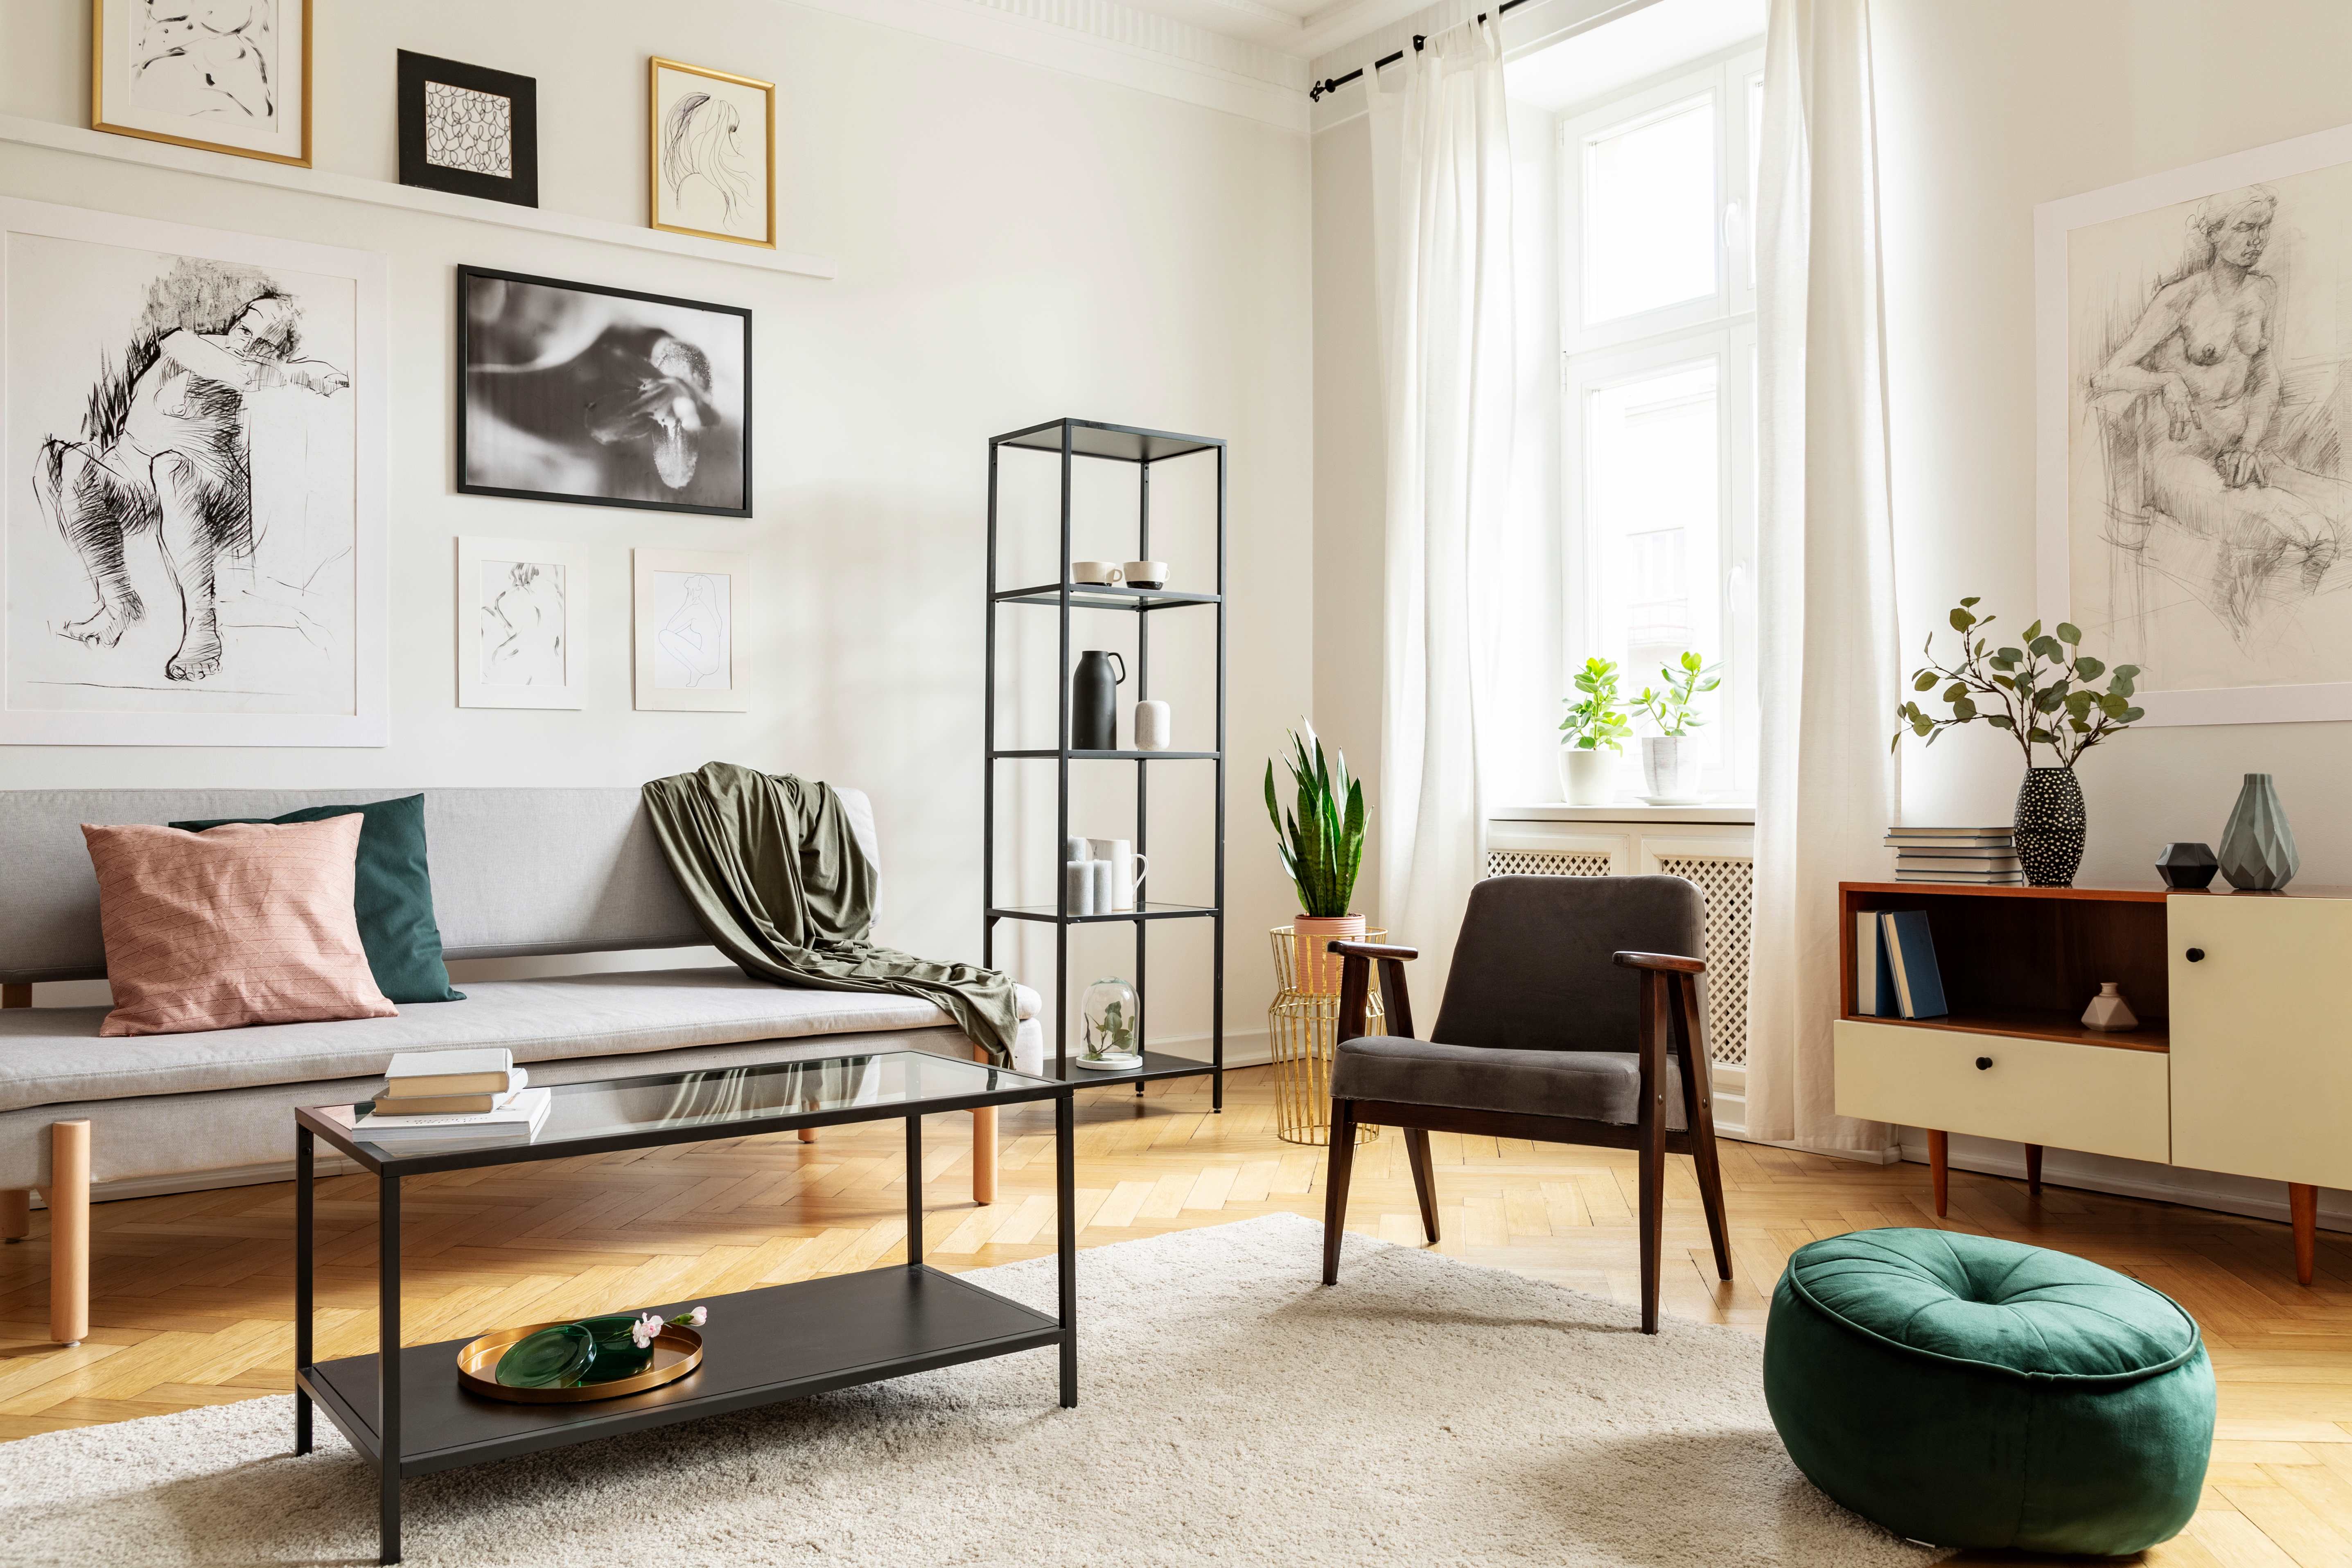
Hang pictures roughly at eye level, around 57 to 60 inches above the floor.
Place larger pictures in the middle when setting up a gallery wall.
Leave 2 to 5 inches between frames, and keep the spacing consistent.
Hang pictures 6 to 8 inches above furniture.
The 2/3 Rule is a design principle that suggests an ideal ratio between furniture and any wall art hanging above it. For aesthetic balance, wall art should be two-thirds the width of the furniture beneath it. If your couch is 90 inches wide, the picture or group of pictures above it should be 60 inches wide.

Some pictures are light enough to hang with nails, but heavier ones (over five pounds) require wall anchors. There are many kinds, including molly bolts, toggle bolts, threaded drywall anchors, and more.
If a picture frame has a sawtooth hanger on the back, it’s safe to use nails or screws. If a frame has D-rings, you may be able to use picture wire to secure it. Some frames even rely on adhesive materials for hanging.
When in doubt, hire a picture hanging expert in your area to ensure the wall decor turns out exactly how you want.
The wall material in your house may pose different challenges when hanging pictures. Fragile materials like plaster and drywall are versatile and receptive to various hanging supplies. However, you must carefully mount the pictures, as the anchors are more likely to come loose in these materials.
It’s worth mounting on the studs behind plaster or drywall when possible. In contrast, it’s harder to secure nails or screws into masonry walls made from brick or concrete, but these sturdy stone materials offer more support.
Place a strip of painter’s tape across the back of the picture frame, covering the hanging hardware. Use a pencil to mark the spots where the nails or wall anchors need to go. After that, remove the painter’s tape from the picture frame and place it on the wall where you want the picture to hang. From there, all you have to do is install the hanging equipment through the marks you made on the painter’s tape before hanging the picture.

After hanging the frame, it’s worth checking that everything is straight using a level. You can use a laser level, which projects vertical and horizontal lines across a wall for easy comparison. A traditional carpenter’s level does the trick, too. When using the latter, place the carpenter’s level at the center of the picture frame and slide it right and left to see if the bubble moves. If it does, reposition the picture frame as needed.
I recently moved to another state and chose United Trust Van Lines after comparing several companies. Their team was punctual, professional, and extremely careful with my belongings. I was especially impressed with how they handled my home office setup and fragile items. Everything arrived on...
Showed up on time and cleaned carpets well, but didn?t move furniture.
A reliable team for moves across state. My switch to a new place needed careful lifting through tight hallways. The movers checked the doorway first, then carried heavier pieces with slow, controlled movements. Their patience helped prevent damage, and I?d choose them again.
**Would rate a 0 if i could** NEVER USE THIS COMPANY!!!!! They shattered my tv console and dresser, lost a mirror, and never finished the move. The broken furniture cost me over $600 to replace. They left me with 6+ hours of personal labor moving my 1BR apartment, when I was quoted a FULL...
 All My Sons Moving & Storage
I could not have moved without the help of Jen Stover! I was in my house for nearly 20 years, so the thought of clearing it out while working full time was overwhelming. Jen takes great joy in sorting and organizing while asking the hard questions with patience and compassion. Jen is...
Couldn't have been a worse experience. 3 of my belongings were lost and 5 belongings were damaged. My furniture was clearly dragged across the ground. The movers couldn't move the furniture I paid extra heavy weight fees for so I had to help them move my own furniture. The manager gave me...
 US Interstate and Rail
Excellent experience for me! They helped me a lot with my move. very reasonable price. Good communication with the office manager is excellent.
I was concerned about my possessions safety throughout the move but Bridge View Van Lines took all necessary security measures to make sure everything arrived in mint shape I am really appreciative of their effort and commitment They made my long distance move seem simple
This moving company is the best in Columbus, Ohio! They rescued me when my movers didnâ t show up. Do not ever use Plane Movers! They never showed up for my move, claiming that I never signed the contract. They didnâ t call me to follow up, communication was awful. The people that work for...
Ozie and Tyquese were great and worked fast. It was a good move
From average costs to expert advice, get all the answers you need to get your job done.
Hanging a picture doesn’t have to be complicated. Here are several ways to do it—including a few ways to hang a heavy picture.
Follow these simple, affordable steps to hang pictures on plaster walls without worrying about the plaster cracking.
Hanging a picture on a brick wall is a job that you can safely do yourself, as long as you follow the proper steps and have the right tools.
Combining standalone art and photos in one design can be challenging. Follow these gallery wall tips to choose and arrange pieces for the perfect gallery wall.

The pictures in your home can be high-value items—money- or sentimentality-wise. Learn how to pack pictures for moving to avoid frame or glazing damage.
Tapestries are oft-overlooked, but they’re one of the most versatile types of wall art. These tips will show you how to hang a tapestry with creativity in mind.