
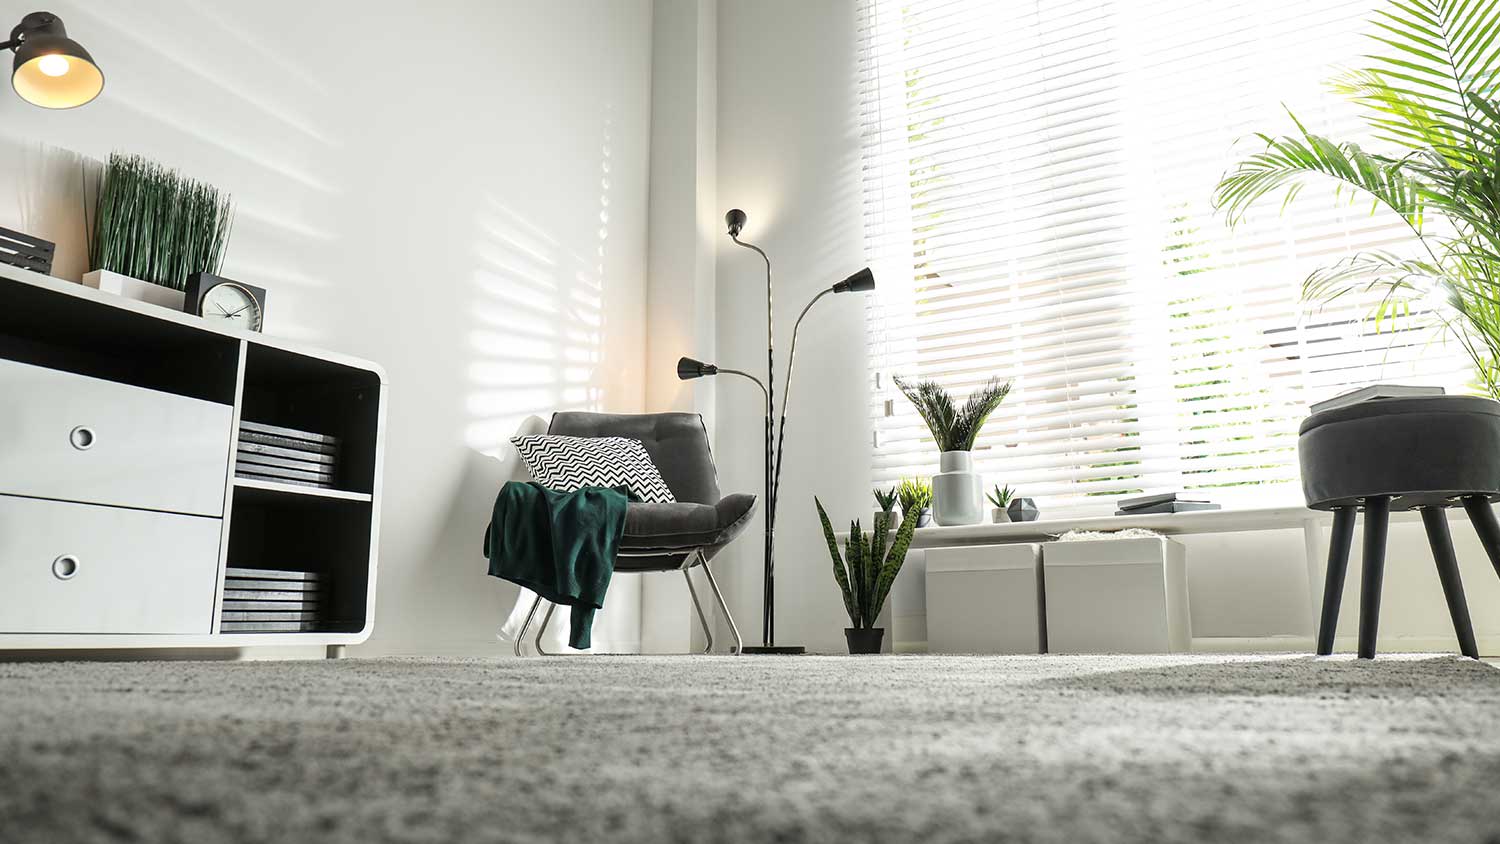
If you need to know how to get wax out of your carpet in a hurry, we've got you covered. Check out six easy ways to clean up the mess in a few minutes.
Wax on, wax off! Take your floor from dingy and dull to clean and gorgeous.

Waxed floors show wear and tear over time, and you should strip and rewax every six months to two years based on foot traffic.
Professional stripping and waxing addresses wear early, helping you protect hardwood floors and avoid time-consuming repairs from buildup and damage.
You need to thoroughly clean your floor, apply stripper in small sections, vacuum up the old wax, and let everything dry completely before rewaxing.
Hiring a local wood floor installation professional removes the guesswork from stripping and waxing, ensuring proper chemical application and buffing.
Think of everything we put our floors through—dirt and water tracked in on our shoes, pets and toddlers making messes, the inevitable spills and splashes of food and drinks. It is no wonder that floors need to be cleaned, swept, and maintained regularly.
If you have hardwood floors, learning how to strip and wax floors will help to keep them in great shape. Use our step-by-step guide to stripping and waxing floors to maintain long-lasting shine and protection.

Preparing to strip and wax floors requires gathering a few supplies and doing a thorough cleaning. Supplies include:
Wax stripper
Wet-dry vacuum
Clean cloths
Steel wool
Mop and bucket
Dry mop
Face masks
Putty knife
Rubber gloves
Electric floor buffer (optional rental)
After gathering your supplies and tools, remove all furniture and decor from the room and clean the floor thoroughly.
Stripping and waxing a floor can be a time-consuming process, but it is worth it to protect wood floors and keep them looking great for years to come.
To strip the floors, start by reading the manufacturer’s instructions on the floor stripper container. Put on a face mask and apply the wax stripper in a three-foot-square area. Start in the back corner of the room to make sure you are not boxed in. After applying the wax stripper, use the wet-dry vacuum to remove the stripper and floor wax. If there are difficult areas with stubborn wax, you can use steel wool to scrub the remaining wax from the floor.
After removing, use the wet mop to clean the floor and remove all residual stripper and wax. Finally, dry mop the area to remove any lingering dust and let everything dry thoroughly. To accelerate the drying time, open windows and use a fan.
When the floor is dry, work in three-foot-square sections and apply the floor wax. If you choose a solid wax, use a putty knife and microfiber cloth, smoothing it as you go. If you choose a liquid wax, apply about a teaspoon to the section you are working on and spread it with a floor mop around the area.
Liquid wax is typically easier to apply than solid wax, but the finish may not last as long. Solid wax is more difficult to apply and should be done by hand rather than using a mop, but the finish tends to last longer. Regardless of what type of wax you choose, allow it to dry before determining if you need to apply additional coats.
Wearing a face mask can protect you from hazardous smells, and knee pads will make it more comfortable to work on the floor. Note: Always read the manufacturer’s instructions before starting.

Once you have allowed time for the wax to dry completely (check the manufacturer’s instructions for recommended drying time), it is time to learn how to buff wood floors. Using a soft towel or mop, buff the floor in a circular motion. If you want to save some time and energy, you can rent an electric floor buffer. Wait at least eight hours before walking on the floors or replacing the furniture.
Wood flooring is incredibly durable and a popular choice for both its appearance and ability to hold up to daily wear and tear. That said, wood flooring will show wear and tear eventually in the form of dull spots, scratches, and scuffs. If your floor was finished with wax (you can tell by gently scraping the surface with a coin or fingernail to see if a waxy substance builds up), then stripping off the old wax and applying new wax will give it a beautiful refresh.
In some cases, you can strip and wax your flooring every six months to two years, which allows you to restore hardwood floors without sanding them, but the actual time between waxing will depend on the amount of activity in the home. Empty nesters likely will not need to refinish their hardwood floors as often as families with small children and pets.
Follow these tips to keep your freshly waxed floors looking great:
Enforce a “no-shoe” policy in your home.
If areas of the floor start to fade or look dingy, use a dry cloth to complete a spot-buff.
Re-wax your floors every six months to two years, depending on the floor wax manufacturer’s suggestions.
Most contractors charge by the square foot to strip and wax wood floors. You can expect to pay anywhere from $0.50 to $1.75 per square foot for professional services. This breaks down to $63 to $188 to hire a flooring professional to wax and strip 125 square feet of wood flooring. Be aware that some contractors will charge a minimum service call fee, even for small jobs.
With the right tools and equipment, reinvigorating your floors is a doable DIY project. If the floor stripping and waxing process seems too complicated or time-consuming, contact a local hardwood floor refinishing company to complete the project for you. Before hiring a pro, get project price quotes from multiple local companies to find the best deal possible.
This company does it right. Firstly, I want to say that Landan was a joy to work with. He was so kind, transparent, and had everything under control. His entire team showed up ready to work and they were all very respectful of the fact that we were in an office space. A little backstory – we...
Terrible experience. Walls/trim/floors/cabinets/doors all have drip marks, overspray, etc. Tiling at the fireplace had to be redone by another vendor due to incorrect and shoddy install by Profect. Contractor had his children in our house while he was on site without prior authorization or...
 Profect painting & exteriors
**Would rate a 0 if i could** NEVER USE THIS COMPANY!!!!! They shattered my tv console and dresser, lost a mirror, and never finished the move. The broken furniture cost me over $600 to replace. They left me with 6+ hours of personal labor moving my 1BR apartment, when I was quoted a FULL...
 All My Sons Moving & Storage
Finished Basements Plus was wonderful from beginning to end! First, they came out quickly for an estimate. I had 4 estimates and theirs was by far the best. (2 of the estimates were more than $20K higher than for the exact same work). Beyond their fair pricing, the work was excellent. They...
 Finished Basements Plus Inc.
AFS was excellent from start to finish. Jess, the sales associate, was fantastic...very knowledgeable and very professional. The installation crew was excellent. I couldn't be more pleased with the process. Best of all, my new floor looks fantastic!
 America's Floor Source
It was wonderful working with Yordy and his team. They were very professional and are experts in what they do. They have completed the work on time, with better quality and with in fairly reasonable price. We just started with backsplash work , but liking his work, we went on to provide...
We were having 2”x 2” tile installed . There was a small installation error and the new additional replacement tile was from a different lot and the colors didn’t match. Joe assured us that he would rectify everything , which he did without hesitation. We decided to go with the 18” x 36” tile...
 CarifaTile
We hired Jim to replace our hardwood floors with new hardwood. He and his helper Jerry did a fantastic job. Their work ethic is impeccable!! We would highly recommend McColl Floors!
Description says they handle window repair including rotten hardwood - they called me back right away but didnâ t leave a voicemail. I followed up 3 days later and they said they donâ t do that kind of work.
Chaz, the owner, was very responsive and he communicated with us throughout the entire process. The overall cost was in the middle compared to the three estimates we received. The installation crew was very professional. Chaz was considerate enough to send a crew back to our home to repair...
 Unique Hardwood Floor LLC
From average costs to expert advice, get all the answers you need to get your job done.
If you need to know how to get wax out of your carpet in a hurry, we've got you covered. Check out six easy ways to clean up the mess in a few minutes.
Knowing how to maintain your floors is the best way to keep them looking great for years to come. Our guide shares cleaning methods for every floor type in your home.

Getting your floors to shine and sparkle is easy to do with a handful of surprising floor cleaning hacks. If your store-bought cleaner isn’t doing the trick, a handful of unexpected household items and smart tricks will get the job done.
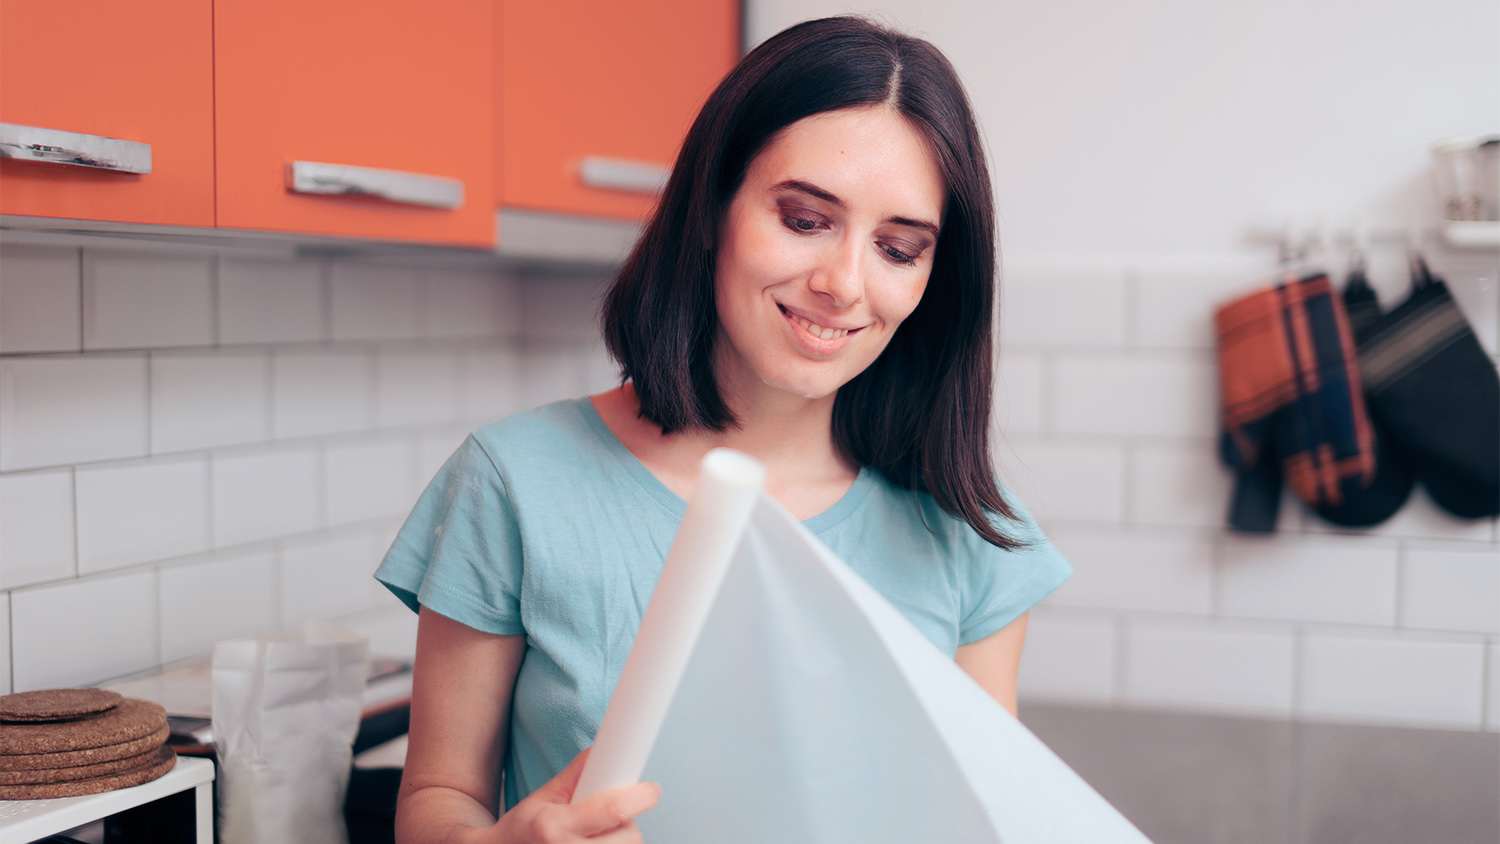
Wax paper can do more than press flowers or make dough-rolling easy. Check out these clever uses for wax paper in the kitchen and in all the rooms in your house.
Knowing the best way to sweep, vacuum, and spot-treat your flooring is key. Check out everything you need to know about how to keep your floors clean, from tile to hardwood.

Keeping tile floors tidy is as easy as following a few simple tricks. Here’s how to keep your tile floors clean (and what to avoid).