
How much a wood fence costs depends on the material, add-ons, and more. Read this guide to learn how each cost factor impacts the price of a wood fence.
Give your plants a unique place to call home

Building a DIY garden fence is one of the best ways to ensure your plants have all the room they need to flourish without any interference from unwanted visitors, like hungry bunnies or nosy cats. And building one is a relatively easy (and cost-effective) project to DIY.
Use this guide to figure out which type of fence is best for your garden, what materials and tools you’ll need to get the job done, and everything else you should know to learn how to build a garden fence successfully.
An important part of knowing how to build a garden fence is making sure you’re doing so safely at every step. Before you begin to measure or build anything, get in touch with your local utility company or call 811 to find out where the utility lines in your neighborhood are, including water, sewage, gas, and electric lines.
Because fences must be placed several feet into that ground, that means you’re going to have to dig. You need to know exactly where the utility lines are so that you can avoid digging in those areas during installation.
Do not skip the process of finding your utility lines, as doing so can be costly and extremely dangerous, potentially leading to serious injuries, including electrocution.
You should also reach out to a local land surveyor to check where your property lines are and avoid an awkward situation with your neighbors or city officials.
As the saying goes, “Measure twice, cut once.” Use a pen and paper to map out what your garden fence will look like, especially if you plan to expand your garden or shorten it.
The easiest way to map out your fence is to use measuring tape, twine, and stakes to precisely calculate the perimeter, and don’t forget to factor in a spot for a gate once you've drawn a blueprint. That way, you can calculate exactly how much material you need to complete the project, and you won’t have to make multiple runs to the hardware store.
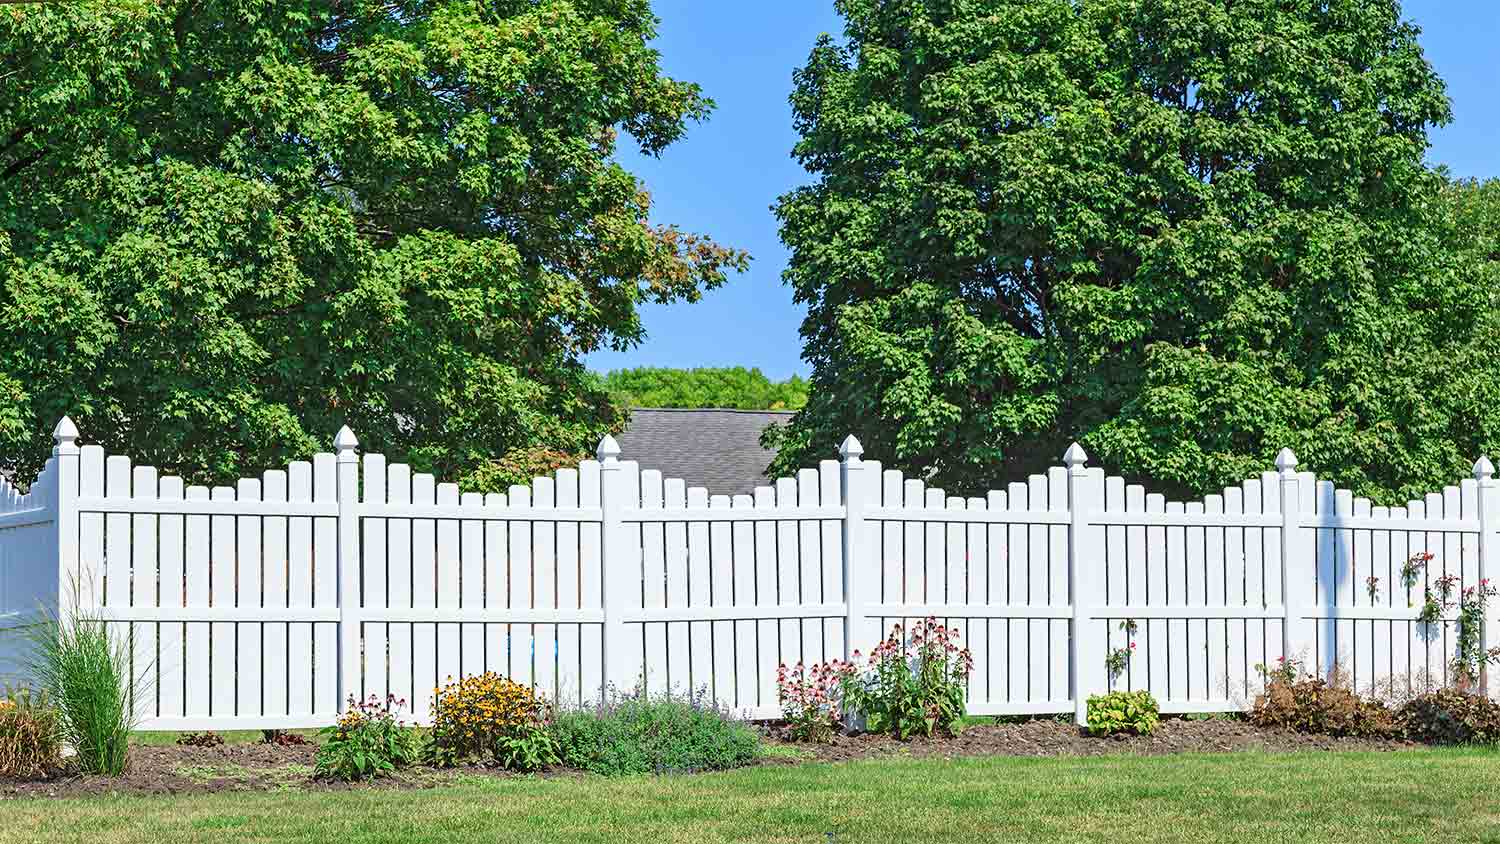
The type of fence you choose to build depends on what you’re trying to keep in or out of your garden. Here are some pros and cons of using popular options like wood, chicken wire, vinyl, and metal for your DIY garden fence.
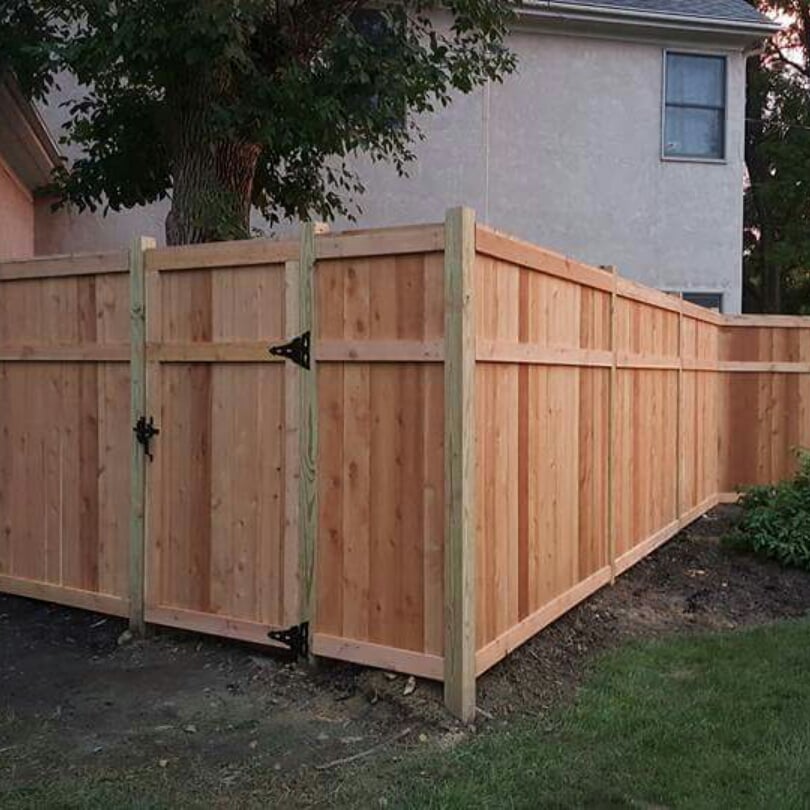
Installing a wooden fence around your garden is a great way to give your yard a classic look. These types of fences can last between 10 and 15 years with regular maintenance.
But because wood fences can’t always fully seal off your garden from the outside world, smaller critters like mice or rabbits can still make their way through to your plants. If your goal is to keep your garden as safe as possible, this might not be the best option for you. However, if your intention is simply to add more character to your garden, wood is a perfect choice, especially since there are so many varieties of wood available.
Along with being inexpensive at $2 to $4.50 per linear foot, chicken wire is easy to care for and even easier to repair. This type of wire fencing is great at preventing both big and small invaders from entering, so it’s among the best options for keeping pests at bay. And because it also happens to be see-through, it won’t block your view of the gorgeous garden you’re working so hard to maintain.
While slightly more expensive than wood at $15 to $40 per linear foot, vinyl is easier to clean and maintain. It’s also thick and sturdy, typically coming with thicknesses between .135 and .150 inches, making it great at withstanding any larger pest invasion.
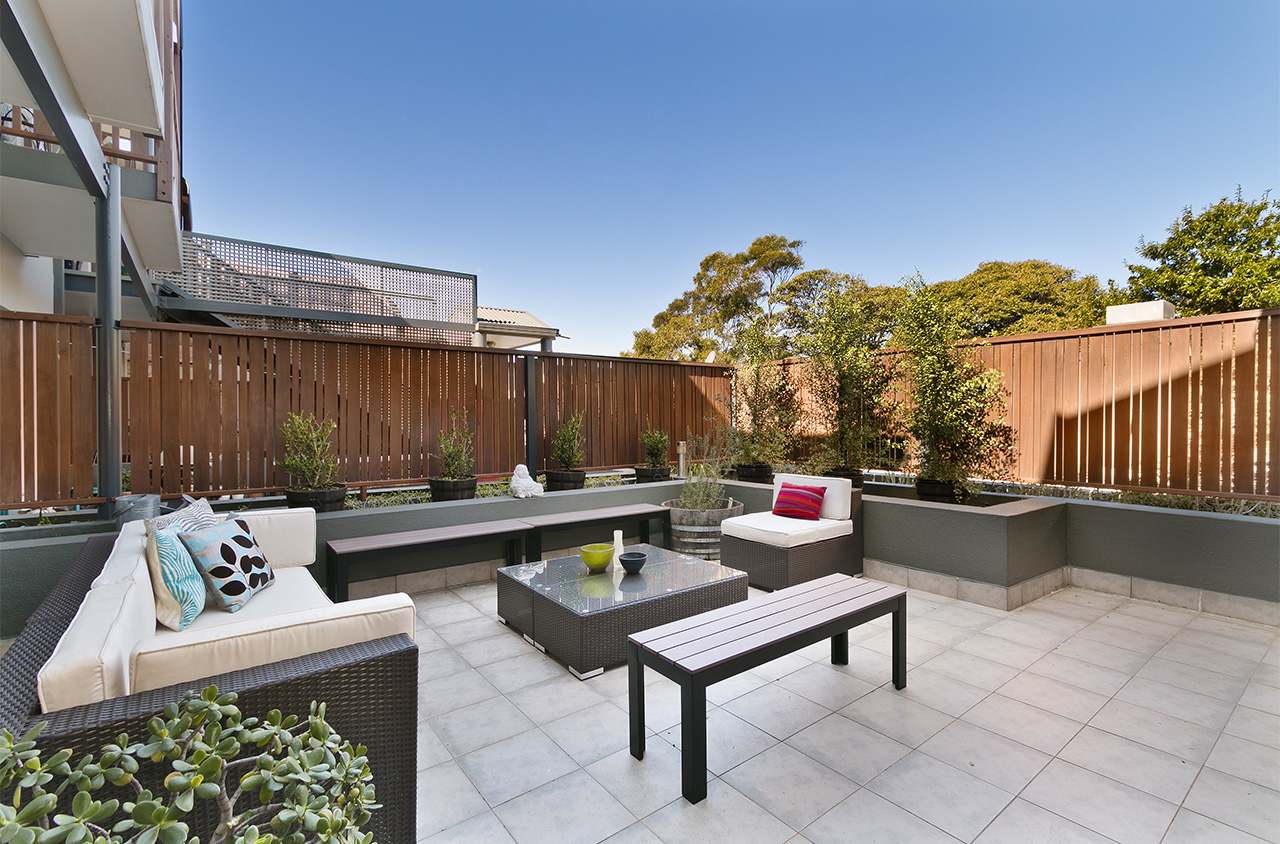
Aluminum, steel, and wrought iron fences are often stylistically intricate and provide a great way to amp up the decor of your yard. They’ll establish boundaries in your outdoor space without blocking your view of the garden, but they also aren’t as great at keeping out small pests for this same reason.

Before you can start building your garden fence, you’ll need to use stakes to mark where the fence will go, particularly where the corners should be. To do this:
Choose where you’d like the four corners of the fence to go. Mark these spots with stakes that are about 2 feet high.
Use string to mark the fence perimeter from corner to corner until you have an enclosed space.
Use flags, spray paint, or other markers to determine where the post holes will go. Fence posts should be no longer than 8 feet apart, but for a shorter garden fence, you may want to decrease that distance to about 4 feet.
With a shovel or rented auger (powered post hole digger), dig out the fence’s post holes. Here are a few important notes to keep in mind when digging your holes:
Your fence post should extend 1/3 of its length into the ground. For example, a 6-foot post should be 2 feet underground and 4 feet aboveground.
Leave extra room to add 6 inches of gravel to the bottom of the hole for drainage.
Make sure the diameter of the post hole is three times wider than the diameter of the post. For example, a hole for a four-by-four post should be 12 inches in diameter. You’ll need the extra space to allow room for concrete when setting the post, which will make the garden fence sturdier.
Working one at a time, place a post into a hole and use a hammer or tamping bar to secure it into the ground. Before pouring your concrete, use a level to make sure that the post is perfectly vertical. Otherwise, your fence may end up looking like the leaning tower of Pisa. Mix an 80-pound bag of concrete for each post.
From there, fill the hole with concrete and continue checking it with a level to ensure the post stays straight as you pour (you may need a second set of hands). Repeat until you’ve filled all the holes, then wait until the concrete has fully dried to continue building.
If you’d rather have a gap between the ground and the bottom of your fence, you can skip this step. But remember: Building a fence directly into the ground is a great way to keep pests from burrowing through.
When you’re ready to start, dig a 1/2-foot deep and 2-foot wide trench all along the border of the fence. The trench should go on the interior side of the fence.

When your trench is good to go, measure the distance from one post to the next and use a miter saw to cut one-by-four wooden planks that will fit between those spaces.
Place a rail into the trench and drill 2-inch exterior screws to attach it to the posts. Repeat until you’ve completely covered the bottom with rails in the trenches. Then, follow the same process, working all the way up the posts and attaching as many rails as you need (typically two for shorter fences or up to four for taller fences), taking extra care to ensure everything is perfectly straight.
You can use chicken wire or a fencing roll to make this step easy.
Measure out exactly how much fencing you’ll need to cover any empty space between the posts and the railing.
Use a brad nailer and 2-inch brad nails or a staple gun to fix the fencing roll or chicken wire to the wood, starting at one corner in the upper portion of the fence. Nail or staple the fencing about every 18 inches along the upper rail.
Once you reach the next corner, trim the excess wire with pliers and nail or staple it to the middle and lower rails. Repeat this process from corner to corner until you’ve reinforced the whole upper fence.
Then, you’ll repeat a similar process with the lower section of the fence in the trench, which is a crucial step if you want to keep burrowing critters at bay.
Start at a corner and nail or staple the chicken wire or fencing roll into the post and bottom rail, working your way to the next corner.
Make sure the fencing roll goes 1 foot into the trench and curves inward toward the posts to form a barrier.
After repeating all along the fence, cover the trench with soil.
Before installing a gate, be sure to leave a 3/4-inch gap between each post so that the gate has enough room to open and close.
Use a miter saw to cut the wood railing to fit within this space.
Assemble the railing pieces into a rectangle using 2.5-inch pocket hole screws.
With a jig, drill two holes into the tops and bottoms of each side piece.
Use a brad nailer and 2-inch brad nails or a staple gun to attach chicken wire to the gate.
Attach hinges and a latch to the gate and hang it from the posts.
Installing a gate, and especially keeping it level while doing so, can be tricky solo, so grab a buddy or a neighbor to help out.
Place the gate in the opening, and have your helper hold the gate in place.
Check that the gate is positioned correctly with a level.
Put the hardware in place, and use a pencil to mark where the screws need to go.
Use a drill to create pilot holes.
Attach the hardware to the gate and the fence post. The gate hinges should go on one side, and the lock and handle should go on the opposite side.
You’re now ready to enjoy your new garden fence.
Now that you know how to build a garden fence, you may be asking yourself, “Should I?”
The cost to install a garden fence will depend on both the size of the project and the materials you’re using. A wooden fence costs $7 to $15 per foot of materials on average, whereas a chicken wire fence will be much less at $2 to $4.50 per linear foot.
Hiring a professional contractor will speed up the process, but it will cost more. A pro can get the job done in a day or two, while the average DIYer typically needs more time. You’ll pay anywhere between $17 and $45 per linear foot of fence for labor.
And don’t forget about the tools. While you may already have a number of them in your shed (a hammer, drill, and measuring tape), the cost of what you don’t have can really add up. In some cases, it will be less expensive to hire a local fence company than it will be to invest in all the extra equipment. Hiring a pro may especially be the smart way to go if you’re not planning to do another outdoor DIY project any time soon.
Ben Kissam contributed to this piece.
A reliable team for moves across state. My switch to a new place needed careful lifting through tight hallways. The movers checked the doorway first, then carried heavier pieces with slow, controlled movements. Their patience helped prevent damage, and I?d choose them again.
We have used Window Warriors many times with no issues. They arrived on time and were very professional . We have pets and Window Warrior team treated them very well, well trusted team.
We have bought and sold numerous times over the past 50 years. Sherman Hall and Top Line are top notch. Thorough and detailed, he explains every possibility, probability, and eventuality. High class and pleasant. The best.
 Top Line Home Inspections, LLC
Our homes curb appeal skyrocketed thanks to Custom Paint Jobs LLC s exterior painting.
Window Depot did an amazing job on my deck. I wasnt sure what I wanted to do, but their composite decking was affordable and will last a long time. I am excited to have family over, and I am no longer embarrassed by my backyard. Jeff and the ground crew were polite, respectful, and caring for...
Great job...edging and pre clean up went well with a great job with seal coat. Friendly, efficient and professional.
 All Star Paving and Sealing
Did an amazing job transforming my yard. Also installed sod in places, would recommend to everyone.
Manuel Calvillo is the best option in the area for roofing and you won't be disappointed.
We hired Andrew and the team from Midwest Lightscapes for a custom lighting design and installation on a Victorian Village home. The house had outdated low-voltage halogen outdoor lights and many of them were not working. Andrew designed and installed a new system including uplighting on the...
 Midwest Lightscapes
The work was completed in a day and a half. They cut small trees, pulled out an old swing set, pulled out railroad ties and left the place spotless when the job was complete. I am very happy with the fence and their efforts were above and beyond my expectations.
 Elite Fence
From average costs to expert advice, get all the answers you need to get your job done.
How much a wood fence costs depends on the material, add-ons, and more. Read this guide to learn how each cost factor impacts the price of a wood fence.
Fences come in a variety of materials and serve many purposes in a garden. Discover some inspirational garden fence ideas to elevate your outdoor space.

If you need DIY temporary fence ideas, then you’ve come to the right place. We’ve researched several options providing semi-permanent fencing solutions for you.
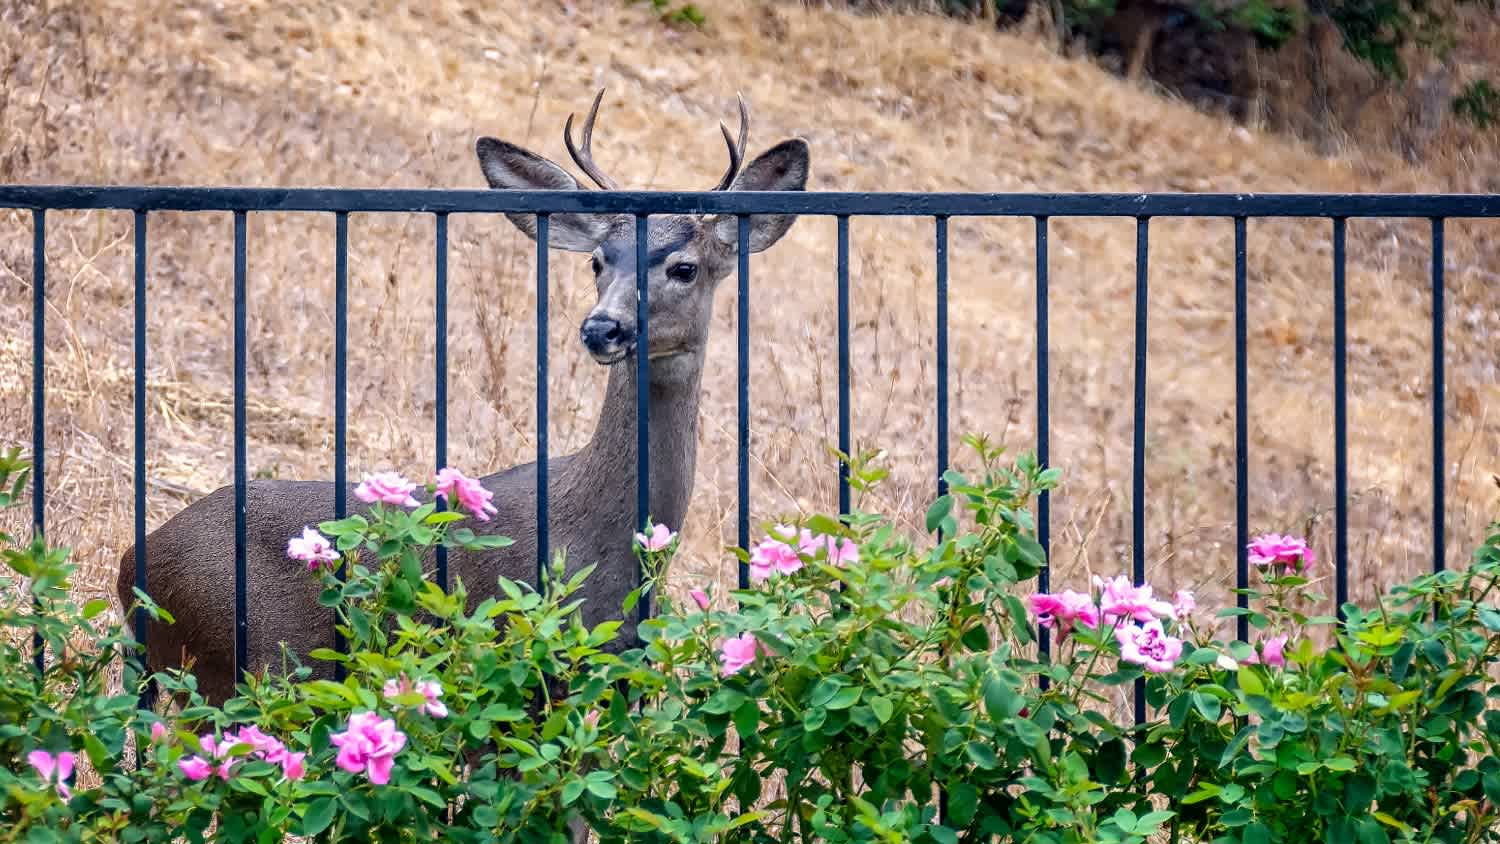
Building a deer fence for your garden can keep your plants safe from pests big and small. Learn about seven types of fences that can get the job done.
If you have a damaged or rotten fence post, you might need a replacement. This guide will show you when and how to replace a fence post in a few simple steps.
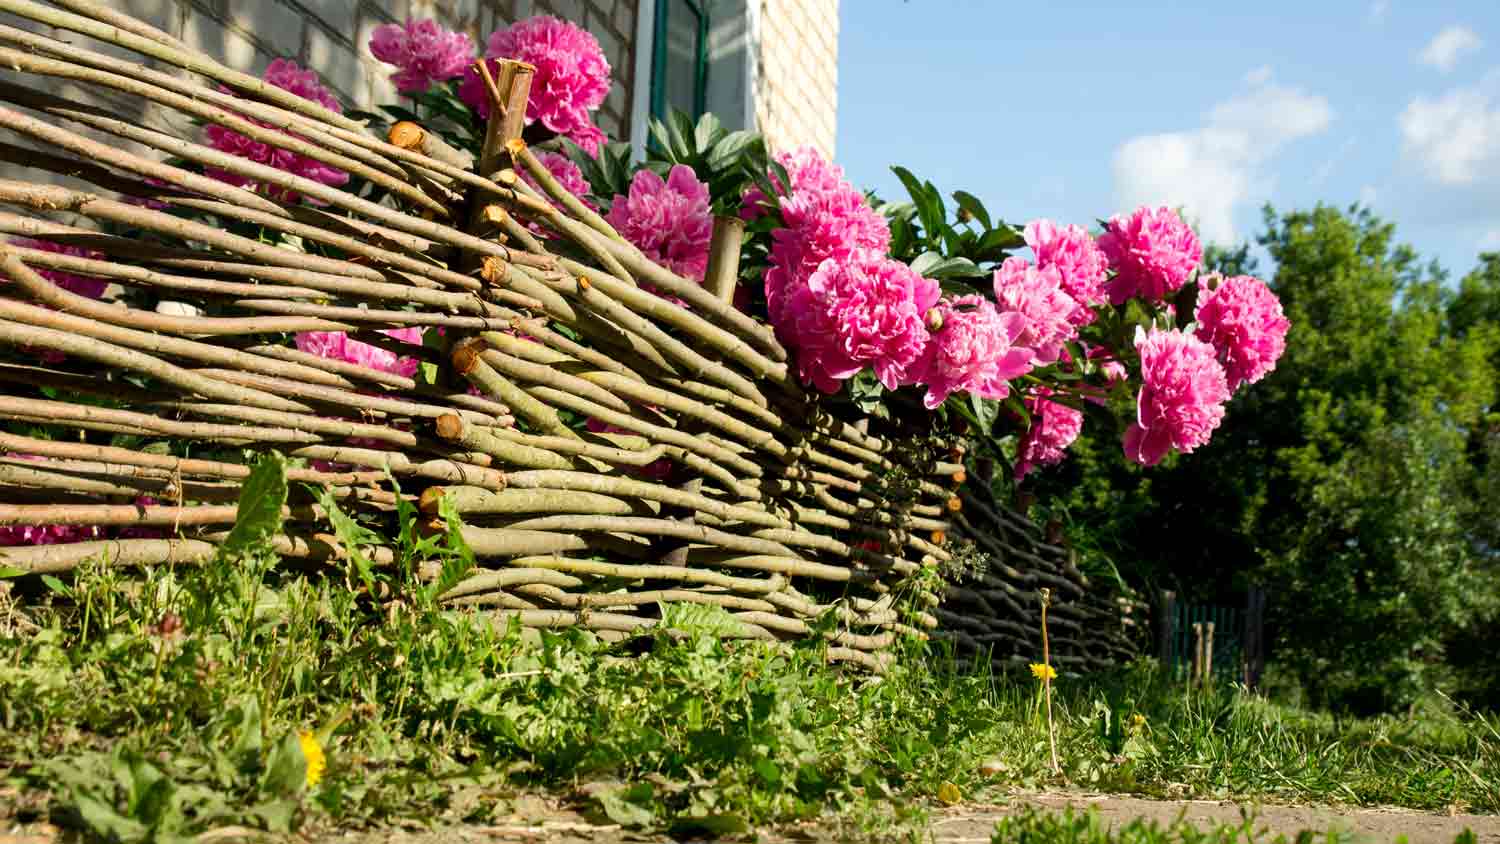
Wattle fences can add rustic charm to any garden. Use this handy guide to learn how to build your own wattle fence using natural materials and ancient weaving techniques.