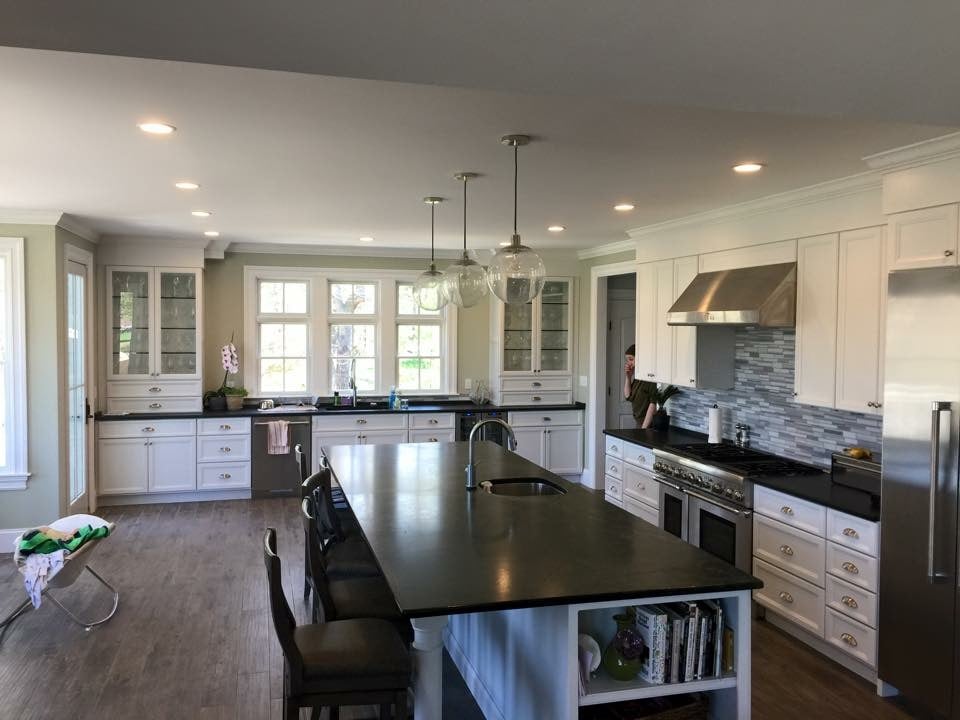
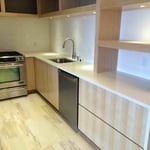
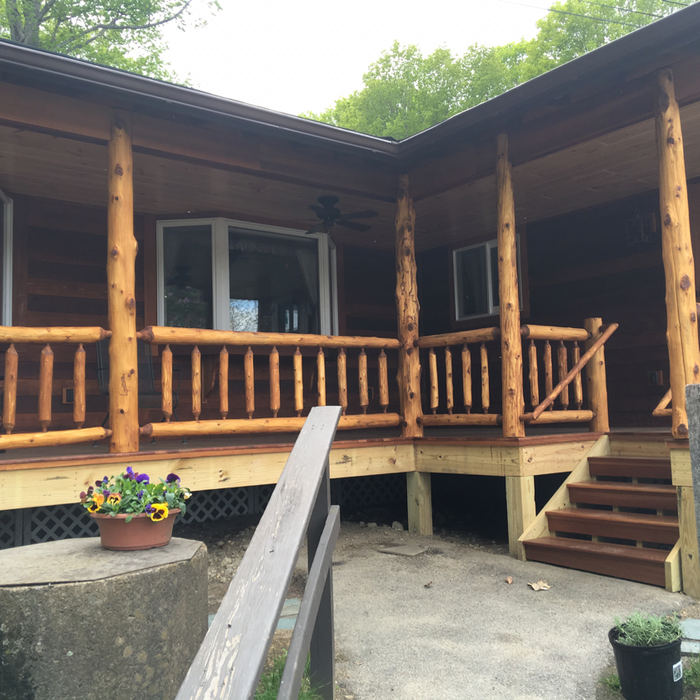
We pride our company on reliability, great communication, integrity, and quality work. We are experts in our trade and will do our best to keep you as educated as we can on your particular task or project. We look forward to earning your business!
"Very well. If you use a sink that is not purchased from Pacific Tile (stainless only), be sure it is available early on in the installation process, to ensure it can be installed."
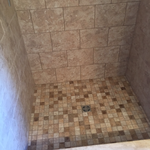
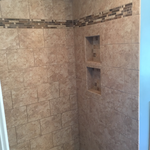
"We did a split project with Kurt and his team. We had a mother-in-law suite and we wanted to turn it into a full size bedroom with half bath instead since we are expecting our second child. They were recommended to us from a friend and I couldn't have been happier. To start, they were able to beat the price of another contracting group in the area by a pretty decent bit, and on top of that, were willing to do more as well. I demo'd the wall, but they took over after that. They moved all of the wall positions and rebuilt the walls to make the smaller bathroom and bigger bedroom. The drywall job was fantastic. John (or Jon) was the one who handled most of that. He hung the walls and smoothed out the mud. He was absolutely meticulous about it too. I haven't seen a smoother drywall job thus far. Kurt also tiled the bathroom which looks fantastic. Level as can be and the grout-lines are perfect. They installed the toilet (which I actually said I would do) as well as the vanity. When they ran electric through, they set me up with a line attached to a switch for a vanity light in case I wanted one and kept it behind the wall marked and ready for me. There are little details like that that make all the difference in there work, prepping for the future and making sure things will last. They left me a nice access hatch to the ceiling and made a nice molding for it which was an awesome addition for when I need to get up there. We said we would paint the rooms, but they wanted to at least prime them, and I'm very happy they did. They fixed a cracking ceiling and re-painted the whole thing too which is an amazing improvement over before. Overall, we aren't unhappy about a single thing. Kurt has been very responsive after-the-job about just questions on general things and that just shows the work ethics and quality of he and his group. Would I recommend them? Absolutely, without a doubt in my mind. Will I use them again? We already have asked and have two more projects for them later this year. If you have a project, HIRE THESE GUYS!"
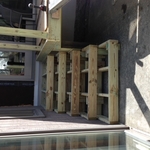
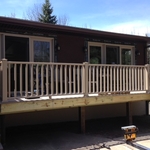
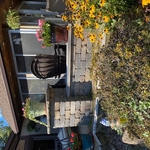
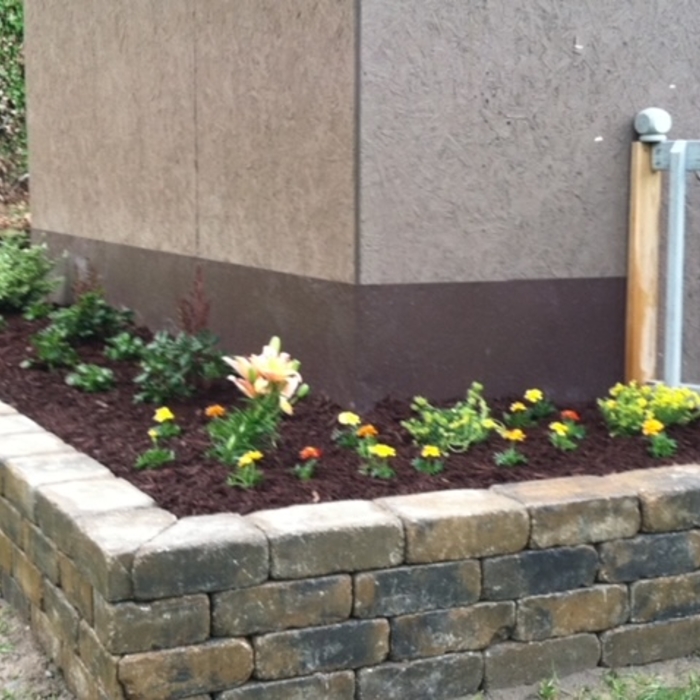
We specialize in all aspects of Building from foundations to roofing to Custom Cabinets ,Custom Bars , Docks , Decks , electrical . \nWe have over 30 years in this field I am a Master Carpenter , I also have 3 other employees that have an eye for detail as well .
"Excellent - I ended up hiring someone to help with shopping and finishing piece - waste of time and money. Jill's service was by far the most useful and best value in my decorating process. "
Backsplash Installation questions, answered by experts
Yes, you can tile over existing tiles in a bathroom, but it is not always recommended. For this method to be successful, the original tile surface must be clean, flat, and free of damage such as cracks, unevenness, mold, or mildew. While tiling over existing tiles can save time and money, there are potential drawbacks. The new adhesive may not bond properly, and the process adds extra weight to the wall or floor. Additionally, the increased height of the surface could interfere with door clearances. For the best and most durable results, removing the old tiles before installing new ones is generally the better option.
Tile shouldn’t be set tight against the tub. Bathtubs can expand when filled, and they can shift slightly with the weight of occupants. For this reason, it’s important to leave a slight gap between the bathtub and the first row of tile. Aim for a narrow gap of approximately 1/16 of an inch, filled with caulk, to allow for this expansion and movement while still allowing for tile shower waterproofing.
While you shouldn’t use thinset mortar on its own as a floor leveler, it can work alongside other products to help level floors. For instance, you could start with a self-leveling compound, let that dry, then apply backer board with thinset mortar to help fully even out the floors ahead of laying tile.
You can, in theory, tile your fireplace hearth with most tiles. However just because you can, doesn’t mean you should. For example, it’s much better to use unglazed tiles because glazed tiles are more resistant to cracking under extreme heat. Porcelain is more heat-resistant than ceramic, but you can still design the hearth as you like by putting the most heat-resistant tiles directly under the fire and, if it matches your style, add more decorative tiles further from the center of the fire.
Yes, it would be best if you waterproofed your shower walls before tiling. The cement backing board behind the tile is not waterproof; it’s only water-resistant. On top of your tile backing board, be sure to use a waterproof shower membrane before you start installing your shower tiles.
The Hammondsport, NY homeowners’ guide to backsplash installation services
From average costs to expert advice, get all the answers you need to get your job done.
When installing a kitchen backsplash, you’ll need the right tools, materials, and knowledge. Our guide will show you how to install a kitchen backsplash.