






"GFI kept tripping making all outlets down line unusable. Abe was able to track down the short to the ceiling light fixture which he was able to repair"

"The furnace took 4 days to get approved( not counting a Sunday) the others were quick but the water heater had to be ordered so without hot water for a week. One ceiling fan was easy but within a year their policy changed and They would not install the one I purchased and had to get a new one approved and then ordered online and took several weeks to get straightened out. Not sure who was at fault, AHS, installer or scheduling with renter. Fee is usually $75 per visit"
Taylor Home Renovations LLC is a locally owned remodeling company serving Lansing and the surrounding areas. We specialize in bathroom and kitchen remodeling, basement finishing, flooring, tile, drywall installation and finishing, painting, trim, siding, and general home repairs. We take pride in clear communication, dependable service, and quality craftsmanship on every project, large or small. Our goal is to provide honest pricing and results that are crafted right and built to last.
To determine if your ceiling box can support a fan, you must check if it is specifically fan-rated. Manufacturers are required to indicate this on the box itself. You may need to remove the existing light fixture to look inside the ceiling box for an inscription stating it is rated for fan use. If you do not see this confirmation, the box is likely not strong enough and must be replaced with a fan-rated junction box. For a proper and safe installation, you should also use a fan brace to secure the new box between the ceiling joists, which provides the necessary support for the fan's weight and motion.
A typical fan installation takes between two and six hours. The exact timeframe can be influenced by factors such as the home's structure, existing electrical characteristics, ease of attic access, and whether complex wiring or additional attic ventilation work is required.
The direction you want your ceiling fan to move in depends on the season you’re in. During summer, you want it to move counterclockwise to produce a cooling downdraft. During winter, you want it to move clockwise to circulate warm air throughout the room.
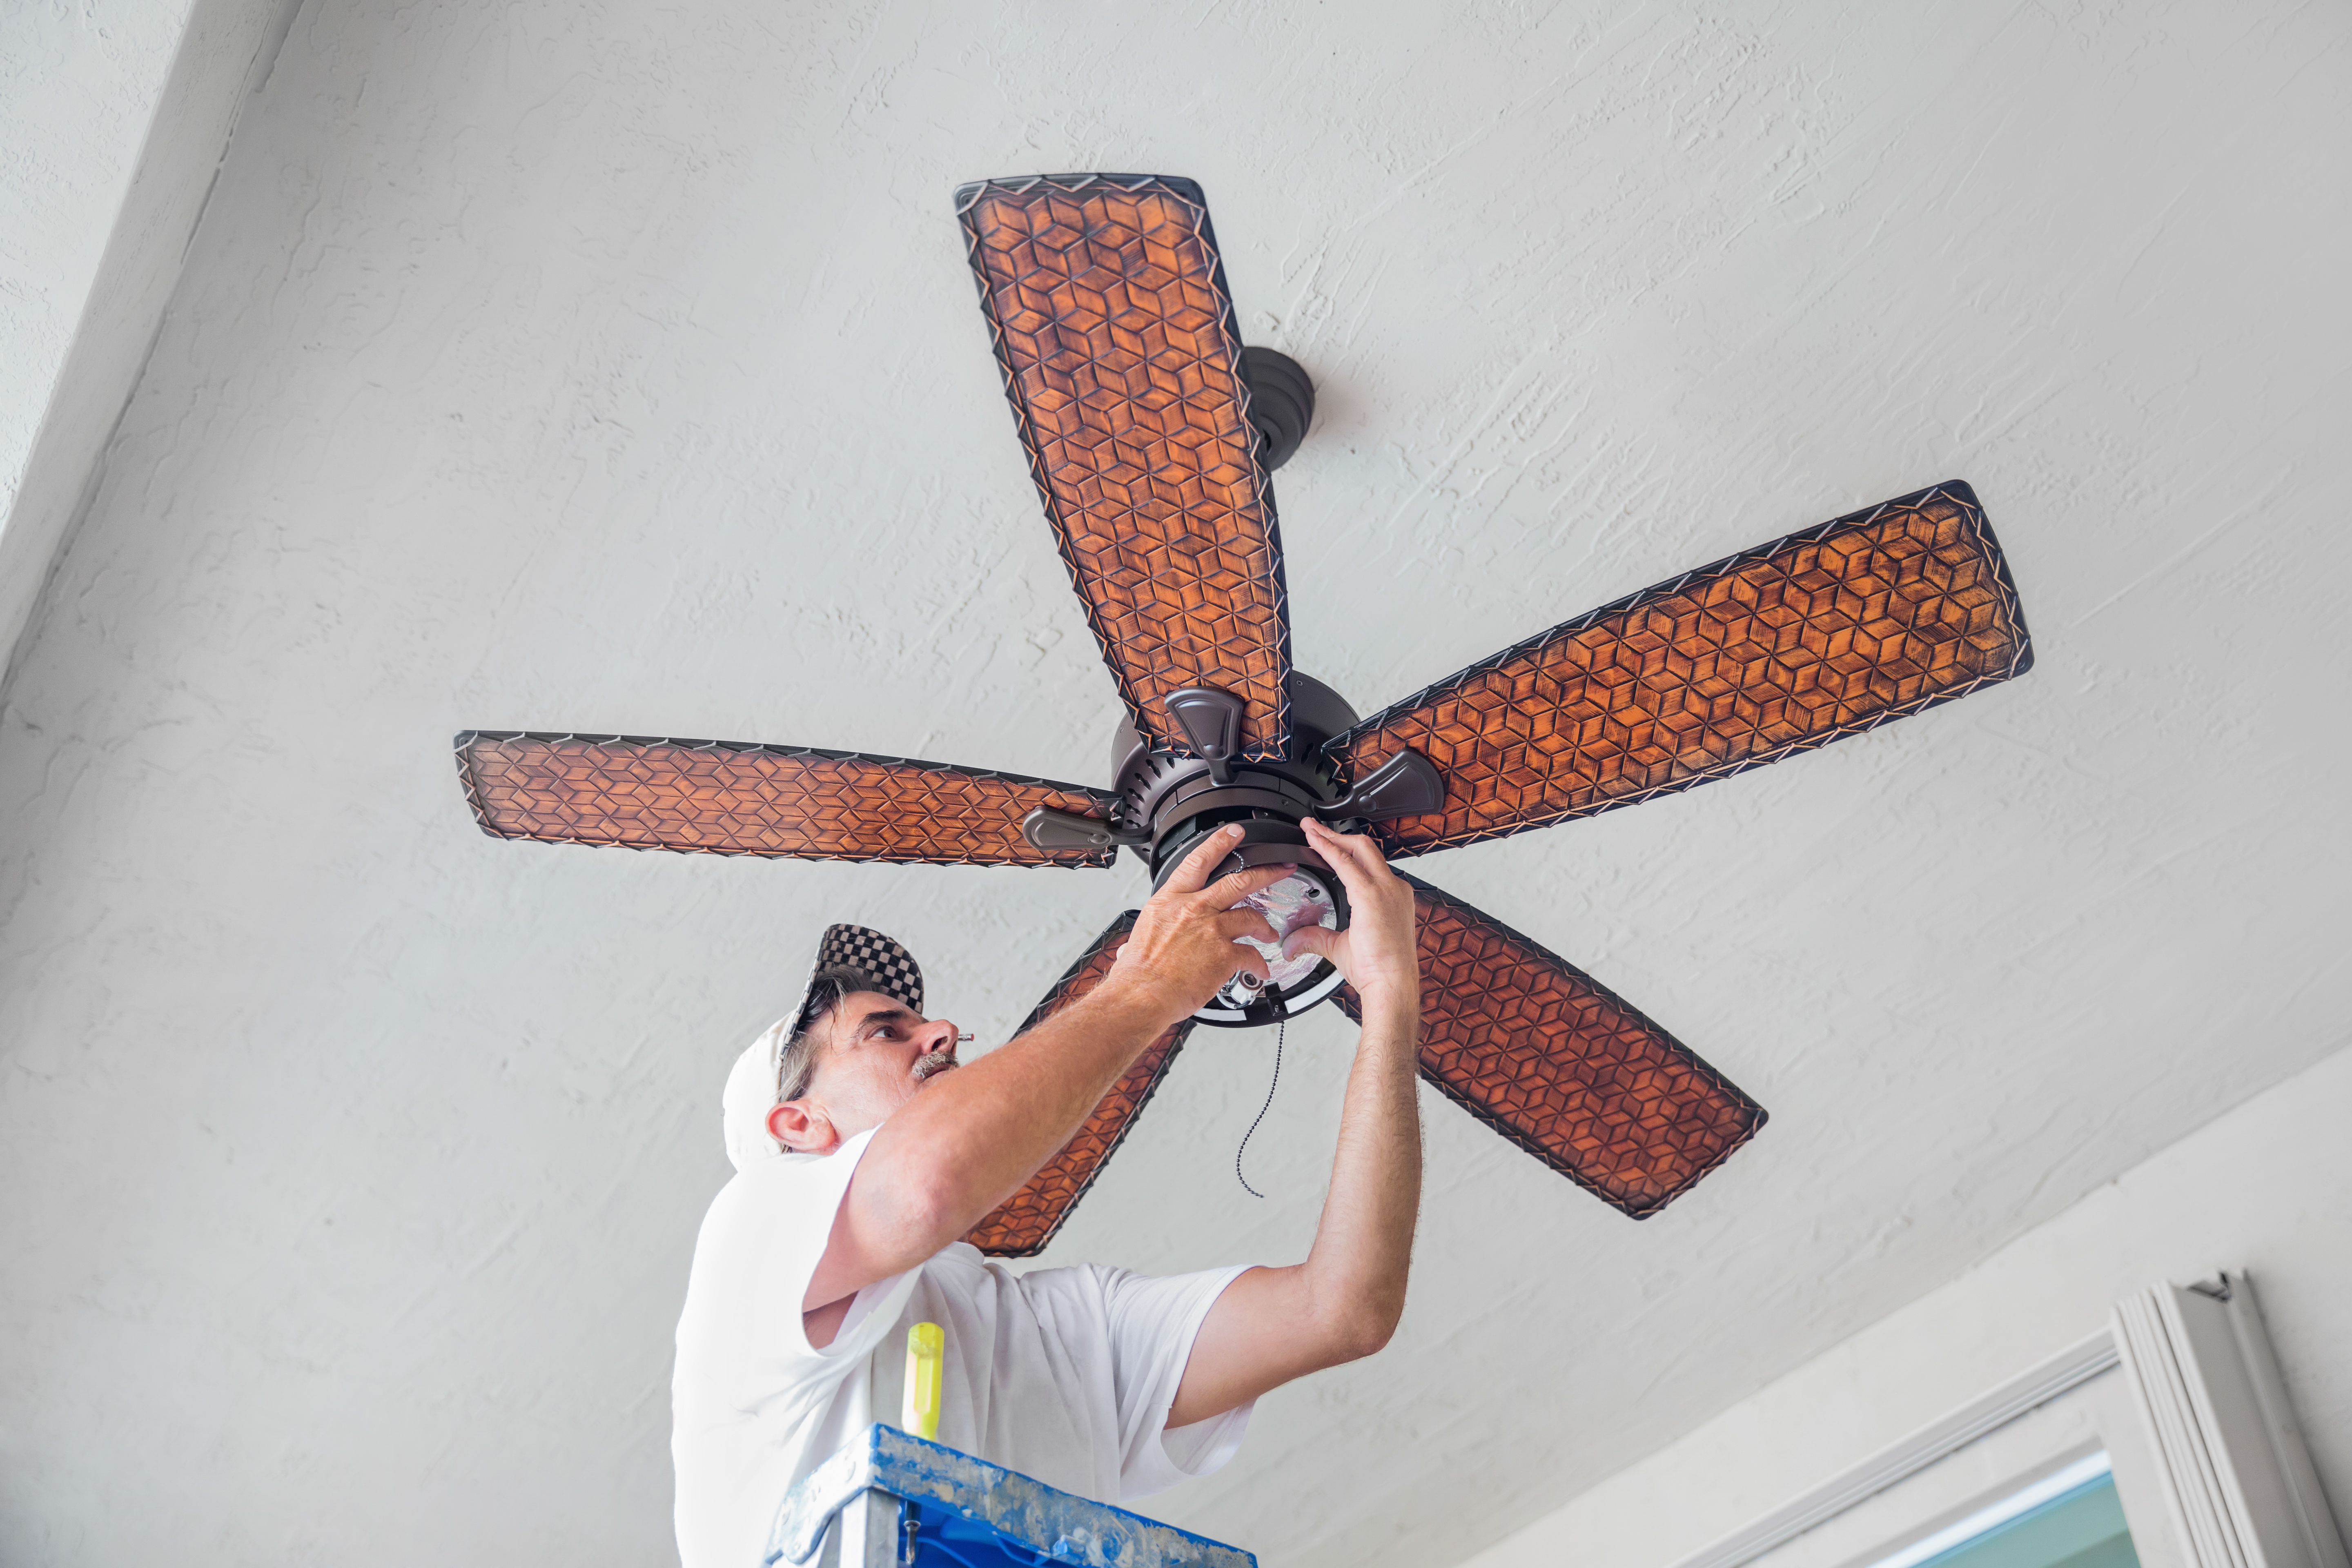
If you’re removing a ceiling fan without visible screws, start by locating the fan canopy—a round cover placed above the fan blades and motor. There should be a thin ring that can be turned counterclockwise to remove the canopy and reveal the screws. After unscrewing the fan, you can disconnect the wires and remove the entire fan from the mounting hardware. For safety, make sure the fan switch is turned off before you remove the canopy. It may be easier to remove the fan blades first, too.
Many ceiling fan mounts feature a design that can accommodate slight slopes by using a ball joint mechanism at the end of the downrod. If your ceiling has a steeper slope than your fan allows for, you can install a downrod that will allow your fan to safely hang below the slope.
The Alma, MI homeowners’ guide to ceiling fan services
From average costs to expert advice, get all the answers you need to get your job done.
Discover the cost to install a ceiling fan, including labor, materials, and tips to save. Learn what impacts your price and how to budget for your project.
Ceiling fans cool down your home while stylishly accenting your space. With a variety of types of ceiling fan on the market to choose from, you can’t go wrong.
Although the risk is low, there are a few telltale signs that a ceiling fan will fall off your ceiling. This guide explains when to worry (and when not to).