







Top-rated drywall pros.

Get matched with top drywall pros in Watseka, IL

Enter your zip and get matched with up to 5 pros

Need a pro for your drywall service project in Watseka, IL?

Select your specific project to find the pro for you.

Find Drywall pros in Watseka

Avatar for Blys Home Solutions
Blys Home Solutions
New to Angi
Drywall - RepairDrywall - Install

Serving Watseka, IL and surrounding areas

Approved

Free estimates

Emergency services offered

Warranties offered

Local handyman with a strong background in animal and pest control! I have multiple services listed that I am capable of providing but do not hesitate to reach out or ask for other or additional services if they are not listed. I may be able to still help!

4 neighbors recently requested a quote
Avatar for Adam Lerma
Adam Lerma
New to Angi
Drywall - InstallDrywall - Repair

Serving Watseka, IL and surrounding areas

Approved

Free estimates

Emergency services offered

Warranties offered

I recently moved from the state of Florida to Indiana in 2024, I've been doing masonry work for a little over 6 years now and the previous work I did before that I was a carpenter for 8 years a roofer for 6 years you can say I am a jack of all trades I love the work that I do and I'm hoping I will have the opportunity to work with some you lovely people of Indiana. I live in the Lafayette area and will to serve its surrounding cities.

2 neighbors recently requested a quote
Avatar for AOM Remodeling and Restoration
AOM Remodeling and Restoration
4.6(
52
)
Drywall - InstallDrywall - Install - For BusinessDrywall - Repair+1 more

Serving Watseka, IL and surrounding areas

In business since 2012

Free estimates

Emergency services offered

"Our house had a water damage that ruined much of the drywall and floor on the first floor and the basement. For such a big repair job, I carefully looked up the reviews and recommendations from Angie's list and talked to 3 contractors that have the highest ratings. AOM was one of the three. David, the owner of AOM, quickly came to our house, assessed the damage, explained to me what need to be done, showed great empathy to our loss and current situation (having to stay in hotel waiting to go back to our house), and put a very competitive bid (about 2/3 the bid of another contractor). We picked them and signed the contract. AOM uses Trello, a cloud-based project tracking system that software companies often use, to effectively and promptly communicate task description and updates to all workers and house owners. AOM workers are professional, hard working, and friendly. For such a big project, expectedly there were some hiccups and AOM had to juggle ours with their other on-going projects. David kindly explained to me various aspects of the repair work and promptly fixed any faults that we identified. I became to completely trust David's professional skill and that he would treat our house like his. Several nights and weekends David came to work late so that we could move back to normal life as soon as possible. In the end, we are very happy with our remodeled house. I sincerely recommend David and AOM for any house remodeling and restoration job."
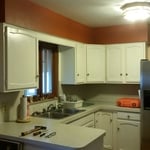
Kitchen accent
picture 1
picture 2
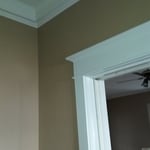
tan and white trim room
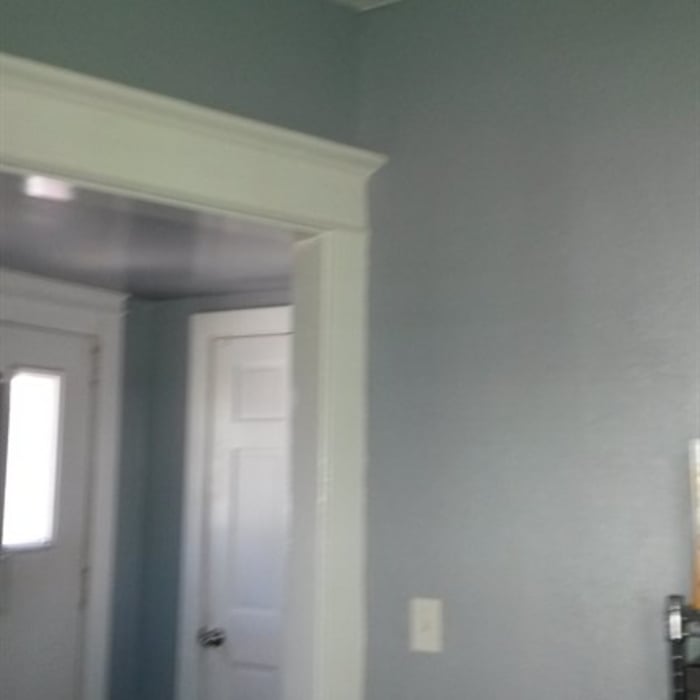
blue and white trim room

+5

Recommended by90%of homeowners
Showing 1-10 of 48
Drywall questions, answered by experts

There are six levels of drywall finish, from 0 to 5, that refer to the amount of work performed during the finishing process.

Level 0: Drywall is hung with no finishing work.

Level 1: Tape is placed over the seams between drywall sheets.

Level 2: A thin layer of mud is applied over the tape and screw holes. This level is common for utility rooms or walls that will be covered.

Level 3: A full coat of mud covers the screw holes and tape, but the surface is not sanded. This is often used in garages.

Level 4: This is the most common finish for visible interior walls. It involves applying two coats of mud over seams and screw holes, with sanding between each coat, creating a smooth surface ready for flat paint.

Level 5: This is a high-end finish for luxury homes. It includes full taping, mudding, and sanding, plus a final skim coat over the entire surface before painting.

Wet-sanding and dry-sanding each have pros and cons. Dry-sanding is less messy, so it’s a good option if you’re trying to minimize dust (for example, if you’re sanding an occupied home or working with particularly dry or dusty drywall mud). However, dry-sanding is quicker because you don’t have to keep rinsing a sponge or wait for it to dry before painting.

Although they have similar applications, spackle and joint compound are not the same. Their primary differences lie in their composition, consistency, and ideal use cases.

Spackle is composed of gypsum and binding agents, making it thicker than joint compound. It dries quickly and is easy to sand, which makes it ideal for small wall repair projects like filling nail holes or patching minor damage.

Joint compound, also known as drywall mud, consists of limestone and gypsum. It is primarily used for large-scale projects, such as taping and finishing the seams on newly installed drywall. It tends to shrink more than spackle and can be more difficult to spread.

While both products can be used to fill small depressions and cracks, spackle cannot replace joint compound for taping and mudding new drywall. Conversely, you can often use joint compound for small patching jobs typically done with spackle.

Depending on how much adhesive was used as well as the strength of the adhesive, you may have some drywall damage when removing a mirror. You can typically repair most drywall damage if it’s small by sanding the damaged area, applying spackle to smooth the damaged section so it’s flush with the rest of the wall, and repainting the area.

The easiest way to cut holes in drywall for electrical boxes is to use a spiral saw with a drywall router bit. Hang the drywall without cutting out a hole for the box, but make sure you measure and mark where the box is located on the wall. Once you screw in the drywall sheet, drill a small hole into the box void, insert the spiral saw bit, and move it around the edge of the box using the inside wall as a guide. You can also use an oscillating multi-tool with an electrical box cutout for fast, professional results.

The Watseka, IL homeowners’ guide to drywall services

From average costs to expert advice, get all the answers you need to get your job done.