"We called their 800 number, they made an appointment for the following week. Two people arrived on time. One worked inside the other outside. They moved whatever furniture necessary and replaced it and they were done in less than an hour. We have approx. 20 windows and a patio door."
"Sales process was good, courteous and helpful. Installation instructions were easy to follow. Did have a small issue with one sensor which was easily solved with a call. Control panel is easy to use and well constructed. Phone app is the best part. Not a big fan of a 2 year contract and the monthly rate feels a little high, but definitely a decent system. I had emailed them a question pertaining installing on double hung windows and never received a reply, but other than that their phone support prior to that was good."
2012 Maricopa Business of the Year. Arizona's premier home inspection company. Thermal imaging certified, no extra charges for pools. Statewide service. We schedule termite Inspections as part of our Inspections. A Rated BBB. 6 month warranty included with every inspection. 7 day per week service. \nwww.arizonainspections.com\nOffice 520-208-2590
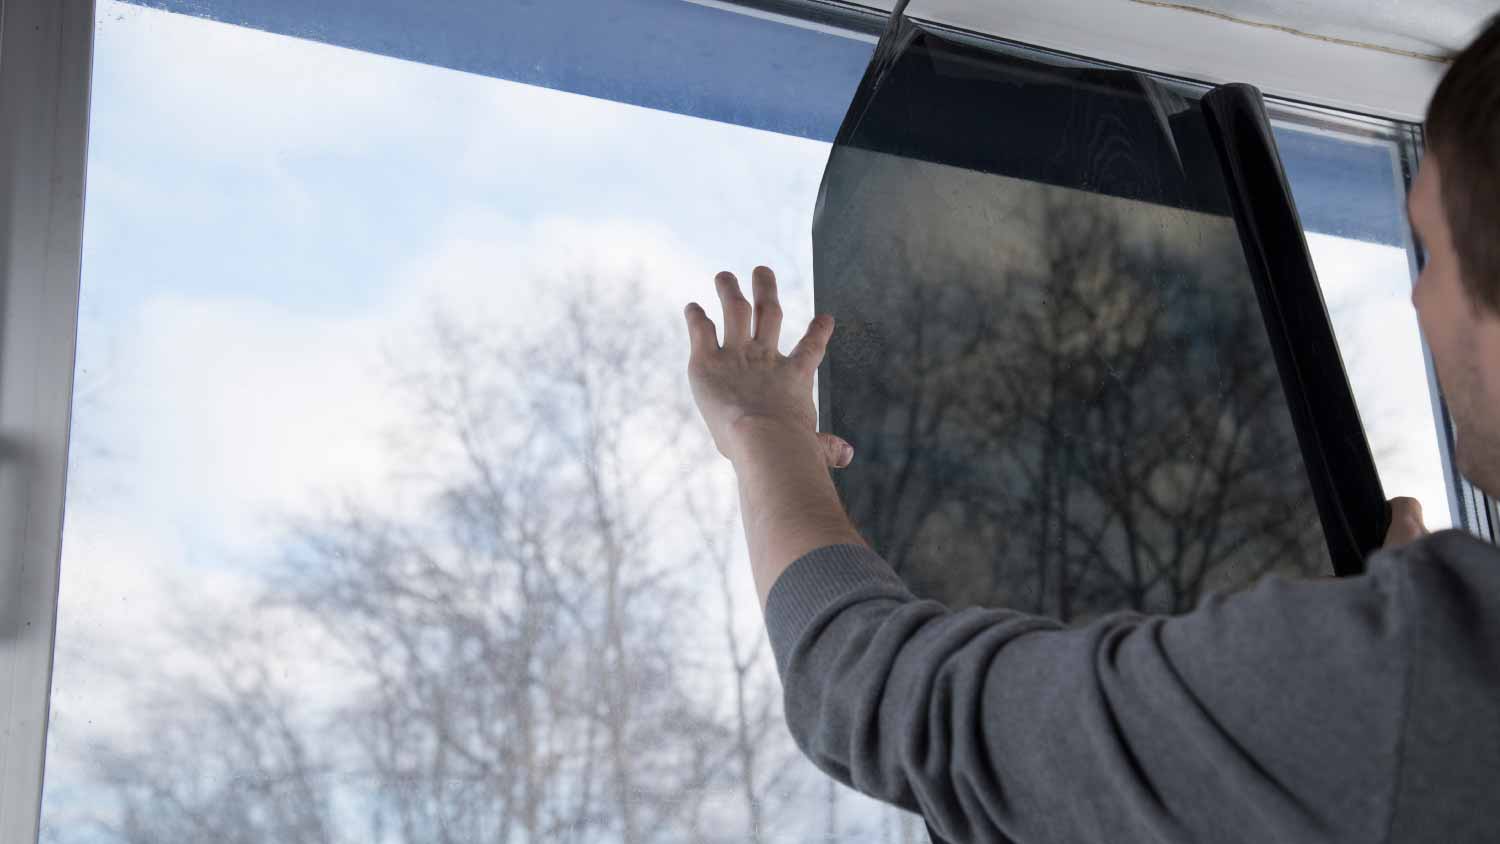
The lifespan of window tinting depends on several factors, but a high-quality, professionally applied tint can last anywhere from 5 to 25 years, with premium tints lasting at least 15 to 20 years. Key factors influencing longevity include the quality of the film, the professionalism of the installation, and the type of window. Some companies offer lifetime warranties, while others may only provide a one-year warranty or none at all, so it's wise to verify this with your service provider. To prolong the film's life, clean it gently with a microfiber towel and mild cleaning solutions. Avoid harsh, abrasive, alcohol-based, or ammonia-based cleaners, as well as sharp tools or scrubbers, which can damage the surface.
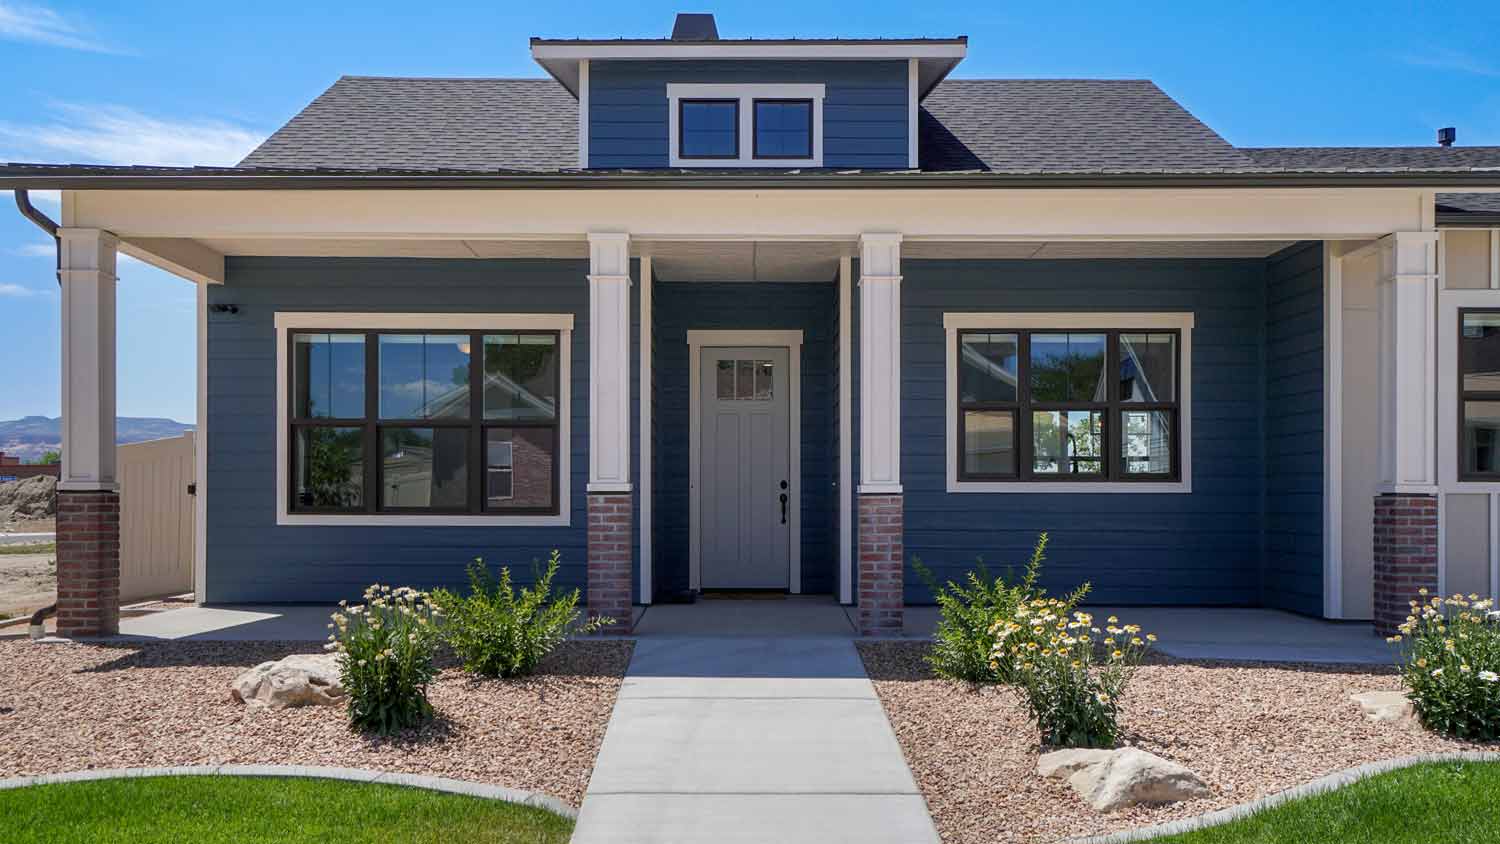
Energy-efficient windows are judged on their performance according to a few different factors, including heat transfer, air leakage, light transference, and condensation resistance. If you're unsure whether a window is energy-efficient, look for an ENERGY STAR® label from the U.S. Environmental Protection Agency (EPA). If various products, including windows, meet energy-efficiency standards set by the federal government, the EPA issues this label to help consumers identify energy-efficient products.
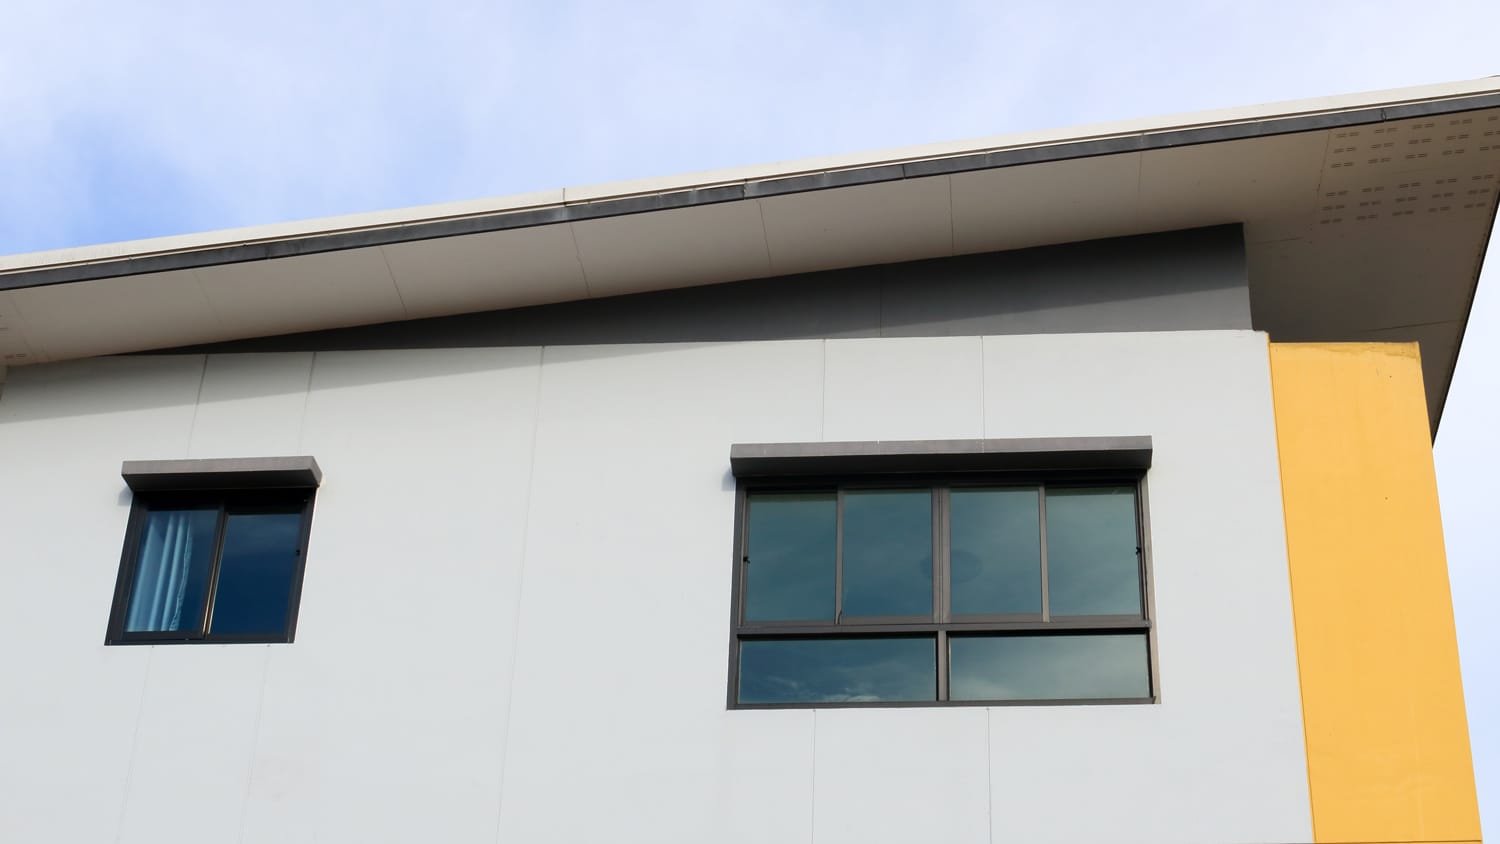
Some frosted glass sprays can handle the outdoors, but most of them aren't built for it. Sprays made for exterior use will say so clearly on the label. Anything marked “interior use only” can't hold up against rain, UV exposure, or changing temperatures without peeling, fading, or yellowing. Outdoor-rated sprays are typically more durable, but even then, proper prep and application matter. Before spraying anything outside, double-check the product instructions. If it doesn’t specifically mention exterior use, skip it.
If your window film doesn’t come with an installation kit and its own application solution, you can make your own—but don’t use soap! Instead, use 1 teaspoon of baby shampoo mixed with a gallon of bottled water. Make sure the bucket in which you mix this solution is completely clean.
ENERGY STAR®-certified windows are the most energy-efficient windows on the market. This certification means that the window meets strict efficiency guidelines set forth by the Environmental Protection Agency. While they might cost more upfront, they can save you money on your energy bills in the long run. ENERGY STAR®-certified windows lower household energy bills by an average of 12% annually.
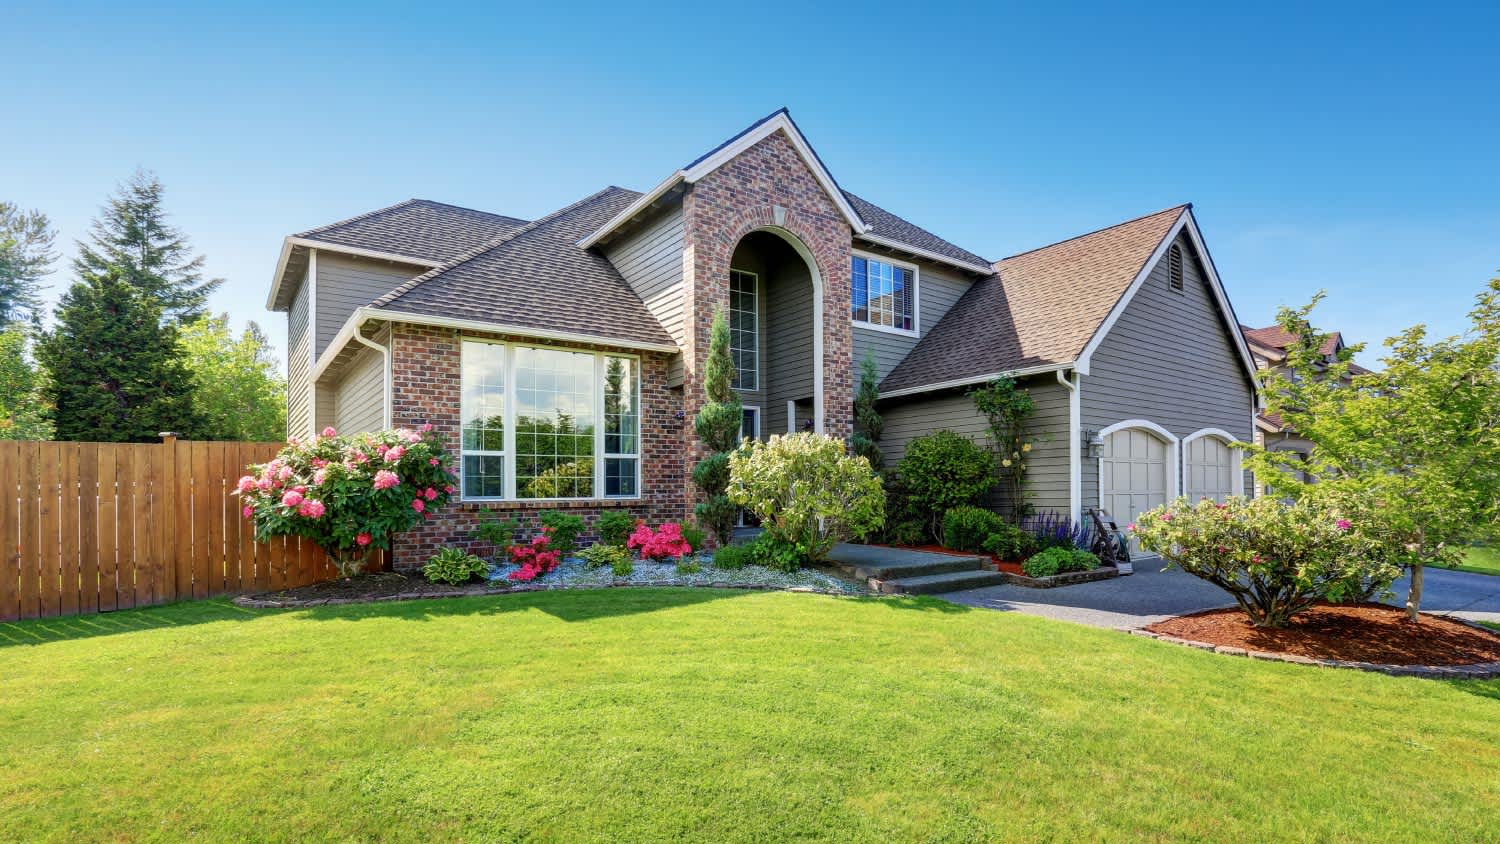
The Chambers, AZ homeowners’ guide to window tinting services
From average costs to expert advice, get all the answers you need to get your job done.
Can I tint my house windows? Home window tinting is a small upgrade that can yield major benefits. Here’s everything you need to know before taking the plunge.