

Knowing how to shovel snow properly will help you get the job done quickly, safely, and efficiently. Learn the best tips and techniques for shoveling snow.
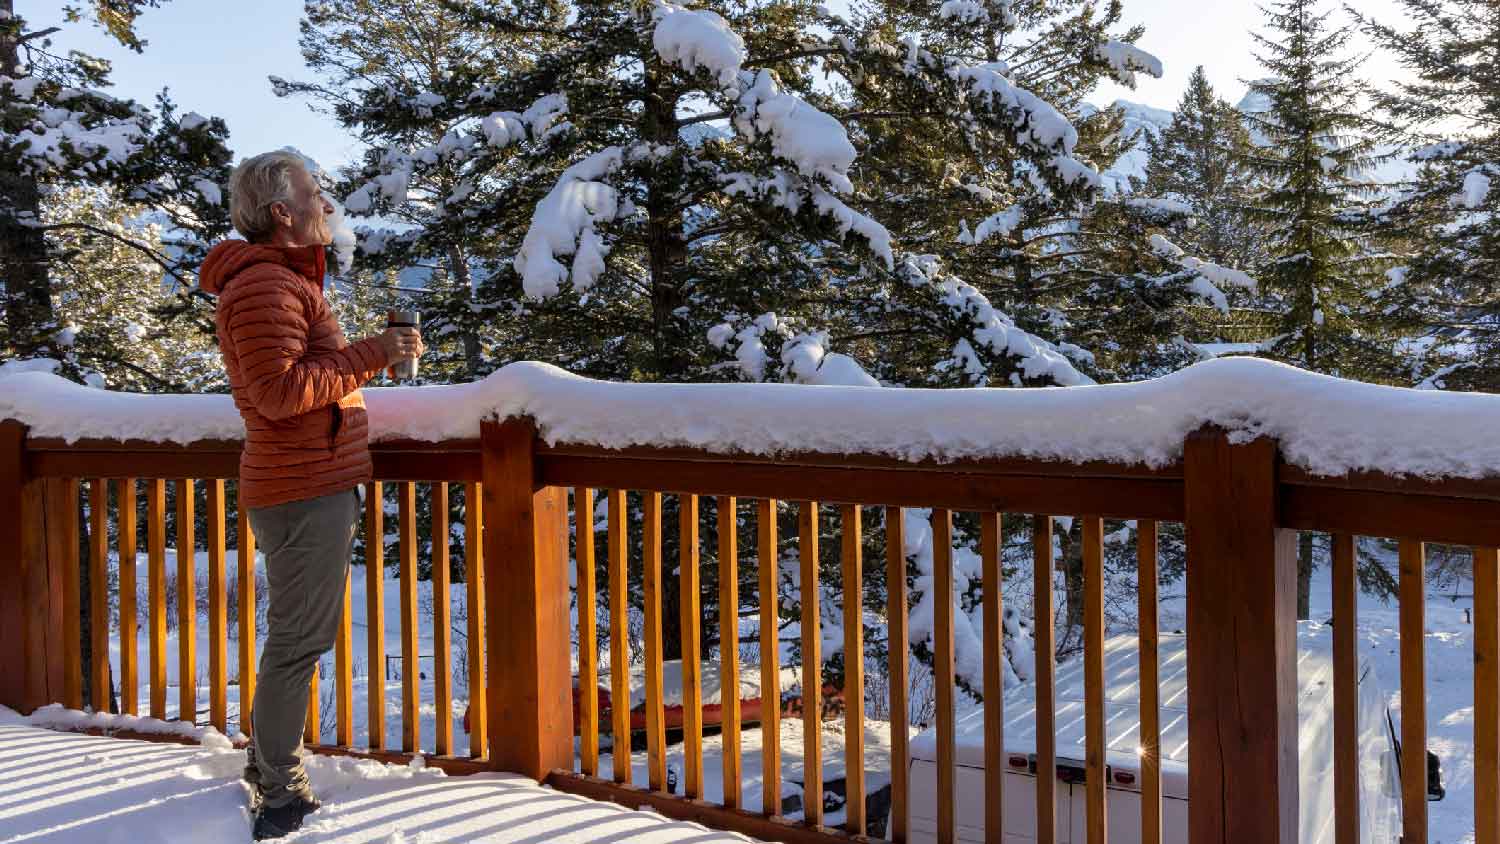
That fluffy white stuff will make a pretty awesome snow fort, but it won't do any favors for your deck

Removing snow on a deck protects your boards from moisture damage, mildew growth, and warping that can occur when heavy snow sits too long.
Expect to pay around $123 for professional snow removal, which helps you avoid the physical strain and slip hazards of clearing ice yourself.
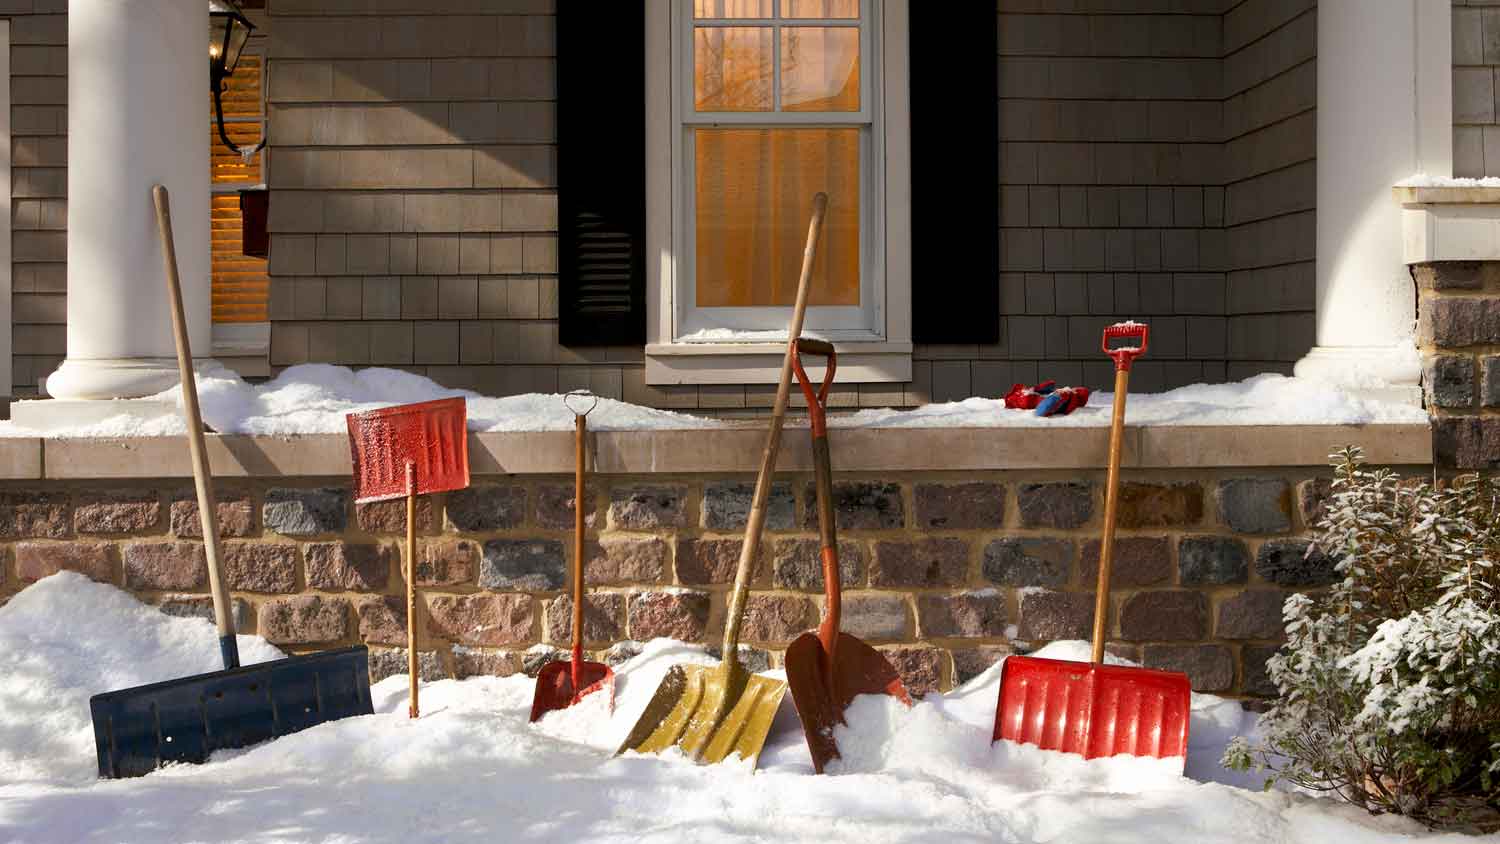
Use a plastic shovel with a rubber blade to clear your deck gently, shoveling in the same direction as your boards to prevent scratches.
Hiring a local snow removal professional keeps the job safe and thorough, especially when ice builds up and creates serious slip hazards on your deck.
Learning how to remove snow from your deck is an essential winter skill. The best method is using ice removal chemical solutions and deicers to melt ice off your deck boards, but avoid any made with dye. Here are eight ways to remove snow from your deck successfully.
No matter what material your deck is made of, you’ll prolong its life if you don’t leave heavy, wet snow and ice piled up on it all winter long. Mildew can grow underneath snow piles that linger for long amounts of time, and wooden decks occasionally stain from moisture. Nothing will ruin your spring thaw more than splintered, warped, or faded deck boards that winter got the best of.
Don’t wait until the first heavy snowfall to start thinking about your deck. Prepare ahead of time during the first weeks of winter or the final weeks of fall. This will limit moisture buildup and eliminate any pre-existing problems that would otherwise go undetected under a blanket of snow. Here are a few preparation steps you should take:
Sweep away any dirt or debris before the first snowflakes fall. Make sure you remove any leaves, pine needles, or other organic materials that have accumulated between your deck boards.
Remove any planters or pots. These typically have drainage holes that leave moisture trapped between the pots and the deck’s surface.
Wash the entire deck and clean off any mildew. Kill the mildew on your deck using a mixture of water, oxygen bleach, and liquid soap. For best results, use three cups of water to one cup of bleach and a few squirts of soap. Put the mixture into a spray bottle and spray any affected areas. Wait 20 to 30 minutes, then rinse with water. Repeat as necessary, using a plastic bristle brush for the most stubborn mildew patches.
Have your gear ready. Keep shovels, brooms, ice-removal chemical solutions, and snow blowers in a readily accessible area of your home.
For a light snowfall, opt for a broom instead of breaking out the shovel. The soft bristles will remove the snow gently without scratching your deck.
Additionally, brooms will not accidentally remove nails and screws from the deck, which occasionally occurs while shoveling.
When the snow is deeper than four inches, it is time to break out the shovel. Most decks can handle around three feet of snowfall before prompting concerns regarding structural integrity, but the sooner you shovel, the easier it will be on your body.
Use a plastic shovel with a plastic or rubber blade. Shovels with a metal blade can easily scratch or gouge your deck. Shovel in the same direction as your deck’s boards to avoid nicking them.
Be especially gentle shoveling if your deck is made of cedar or redwood. They are soft woods and most likely to scratch by shoveling.
Purchase an approved de-icer or ice-melting agent and use it to remove ice from your deck boards. Exercise caution during this step, as some chemicals, including lye and chlorine, can damage or discolor the boards. Pick a chemical solution that is safe for your deck board materials and only use enough to melt the ice. A little goes a long way with this stuff.
Also, avoid salt, as it causes metal nails, screws, and joist hangers to rust, which leads to structural instability.

If you are wary of using a chemical solution to clear ice away from your deck, try hot water. Wait for the warmest part of the day to boil some water and pour it over the ice. Work quickly, as boiling water can adhere to the ice and freeze fast if not removed. Allow the ice to weaken and then sweep or shovel off the water and melting ice. You can also use a towel to soak up the water.
Note: This method works best for small patches of ice and not large swaths that could potentially refreeze before you have a chance to clear them.
Another option is to go for snow melting mats. These mats are on the expensive side but can help keep a walkway or exit path clear from snow and ice. Snow melting mats are easy to install and moveable throughout the season. Plus, you can use them to keep snow off various surfaces, including wooden deck boards, pavement, asphalt, concrete, and stone.
If you want to remove large amounts of snow quickly, efficiently, and without bodily harm, a snowblower is your best friend. Snowblowers make short work out of significant snow accumulations and are a good option when your deck is totally covered.
Even better, a snowblower will not damage your deck in any way because the blades will never touch the boards as the auger turns. That said, a snowblower is undoubtedly a more expensive investment than a corn broom or a rubber shovel.
If you like the look of icicles in the winter, opt for the Christmas light variety, as real icicles are sharp and dangerous to you, your deck, and your roof. Remove icicles from your roof as soon as possible to prevent ice dams, but do so carefully. Use a long broom to knock the icicles off the roof and away from your deck. You can help slow their speed and guide the direction they fall by placing wood planks under them before knocking the icicles loose.
Also, try not to hit the icicles too hard during the removal process, as that can cause your gutters to come crashing down.
The best way to keep snow off of your deck is to use a tarp to act as a shield from the snow and ice. Purchase a tarp from your local hardware store and attach it to your deck flooring before the snowy season to keep the boards safe from moisture, snow, and ice. All you have to do is shovel or sweep the snow off of the tarp to clear the space.
You can also try a snow melting mat to keep your deck clear of snow and ice. It’s a pricier option but requires little to no effort once installed on your deck.
If you want the job done quickly, efficiently, and with minimal risk of damage, hire a snow removal specialist near you. These contractors have all the right tools for the job, so you won’t have to buy anything once the storm hits. They will also recommend any deck repair specialists you may need once spring arrives, just in case your deck experiences moisture rot, termite damage, or warping during the winter.
One of my old tall evergreen trees was suddenly leaning toward the busy street in front of my house. I submitted a request for an emergency tree inspection, and Alejandro, owner of Cajete Tree Service, contacted me immediately and arrived to look at it just 20 minutes later. We agreed the...
Wonderful. I am going to have them remove and replace my driveway in the spring.
 All Star Paving and Sealing
Lyle did a great job removing asbestos shingles from our front porch roof. They worked together with our roofer to make sure that the new roof was able to be installed on the same day that Lyle removed the asbestos shingles.
 Lyle Environmental
Involved an extensive bathroom remodel, including removing tub & installing walk in shower, new drywall, custome tile work to ceiling, plumbing, etc. Overall, job was done on time and on budget. Nick & his team were very professional and had high attention to detail. Quality was great. Highly...
 Stamos Flooring and Remodeling LLC
Extremely well. Ohio Tree Care is my go to company for all tree care and snow removal services. they are professional, knowledgeable and affordable. I manage five camps in 33 counties and Ohio Tree Care has serviced every one of our properties. Highly recommend.
 Ohio Tree Care Inc
A team of 2 spent 5 hours, cleaning top to bottom (removed all light fixture and cleaned.... impressive!!!)
 Luzia's Cleaning
Great Job!!! Martin called me after I requested a estimate on Home Advisor. He was very professional and actually went the same day and looked at the tree I needed removed gave us a estimate and I felt it was very aggressive so I did not even call for any other bids. I asked him how soon he...
Mike and his crew did a great job working through a very challenging task. The job required a full demolition of our ceiling, removing the blown in insulation and removing all the material from the site daily. It involved multiple inspections from the city and many challenges to get the...
 Rising Height Unlimited
Removed various items (furniture, lamps, other junk) from my home. They were on time, personable, professional, etc. I can't say enough positive things about this company. <br />
The task proved more difficult than anticipated. When they arrived the first day, they had no tools with them at all, and had to make a run to purchase appropriate tools. It was quickly determined that the paper had to be steamed off, and neither the workers, nor the company itself, had...
 ABS Interiors of Mid-Ohio LLC
From average costs to expert advice, get all the answers you need to get your job done.
Knowing how to shovel snow properly will help you get the job done quickly, safely, and efficiently. Learn the best tips and techniques for shoveling snow.

If you’re wondering how to remove snow from driveway without a shovel, you have plenty of options. Consider these tips to create a no-snow zone.
Clearing snow from patios, walkways, and driveways can be a daunting task. Try these top snow removal tips to simplify the process and make your life easier.
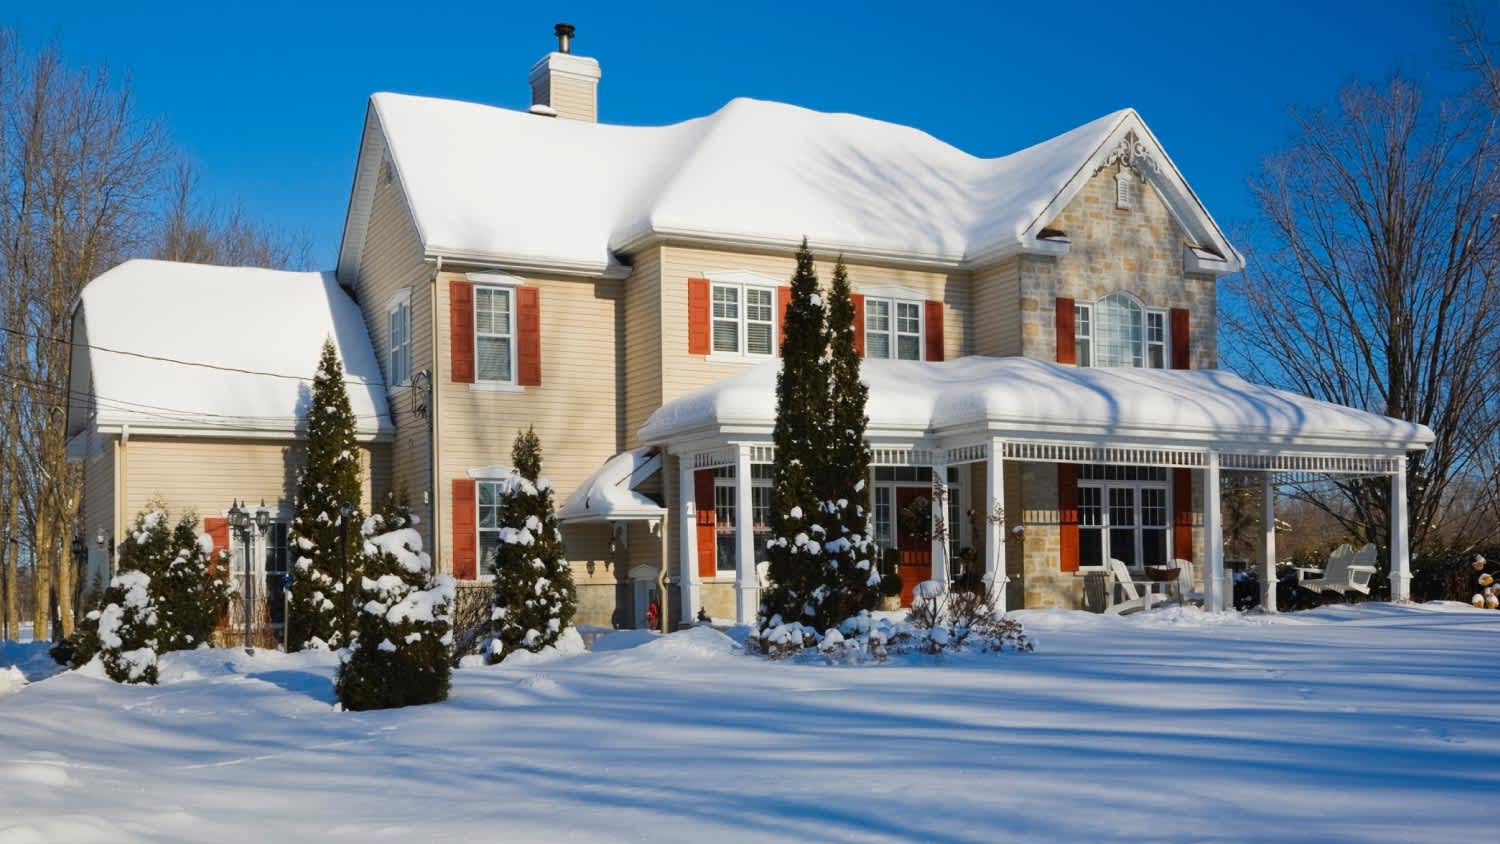
Learning how to winterize a deck can protect your outdoor space from harsh weather. Here’s how to do it properly so you can enjoy a fresh deck next summer.
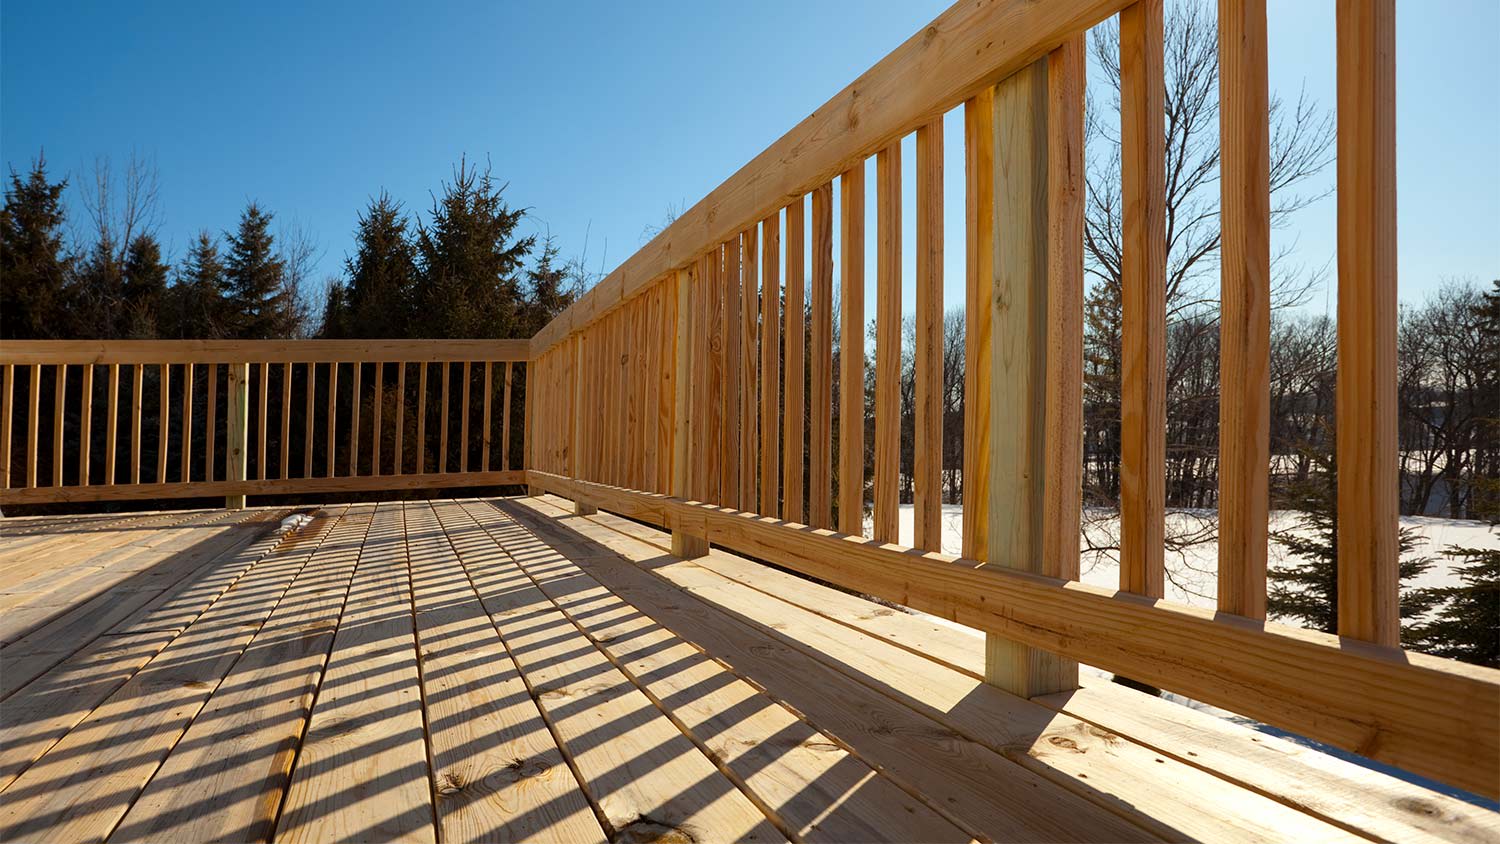
You may not realize it, but the cold season is a great time to begin working on your new deck project. Read on for all the reasons winter is the best time to build your dream deck.
Take these steps to help winterize your roof this season. These preventative maintenance tips could save you tons of time and money.