
If your laminate is damaged, it’s time for repairs or replacement. This guide will show you everything you need to know about laminate floor repair costs.
Sometimes a single-board swap is all your floor needs


Your beloved hardwood floor’s aesthetic can be easily upended by a rogue board with water damage, cracks, or grooves. But try not to fret—you can replace individual wood planks on your own without having to replace the entire floor. Learning how to replace hardwood floor planks requires you to understand your current hardwood flooring system, gather the right tools, and protect the rest of your undamaged boards. Let's jump in.
The process of learning how to repair hardwood floors begins with a diagnosis of what is going on. Without identifying the issue behind the wonky floorboard, the problem could keep coming back, even after the fix.
Some common problems with hardwood flooring include bowing and buckling, scratches, fading, and warping. Cosmetic issues caused by furniture or traffic gouges or scratches are clear candidates for replacement.
Warping and bowing, on the other hand, could be a sign of underlying issues like loose floor joists, a damaged subfloor, or even foundation issues. In these cases, it is best to contact a professional to take a look at the bigger picture.
If you are ready to take on the task of replacing hardwood floor boards, the most important step is properly measuring and identifying the ones in need of removal. The majority of boards, both old and new, have some sort of interlocking system—either a tongue-and-groove or a click-wood floor. Depending on its age, the floor may be held down using glue, fasteners, or nails.
When in doubt about the exact measurements or type of flooring, we recommend calling in a pro to help with this step of the process.
To choose the right replacement board for your floor, you will need to know:
The type of wood or laminate
The interlocking system used in other boards
The color or finish of your current boards
The depth of the board
What lies beneath the board (concrete, subflooring, etc.)
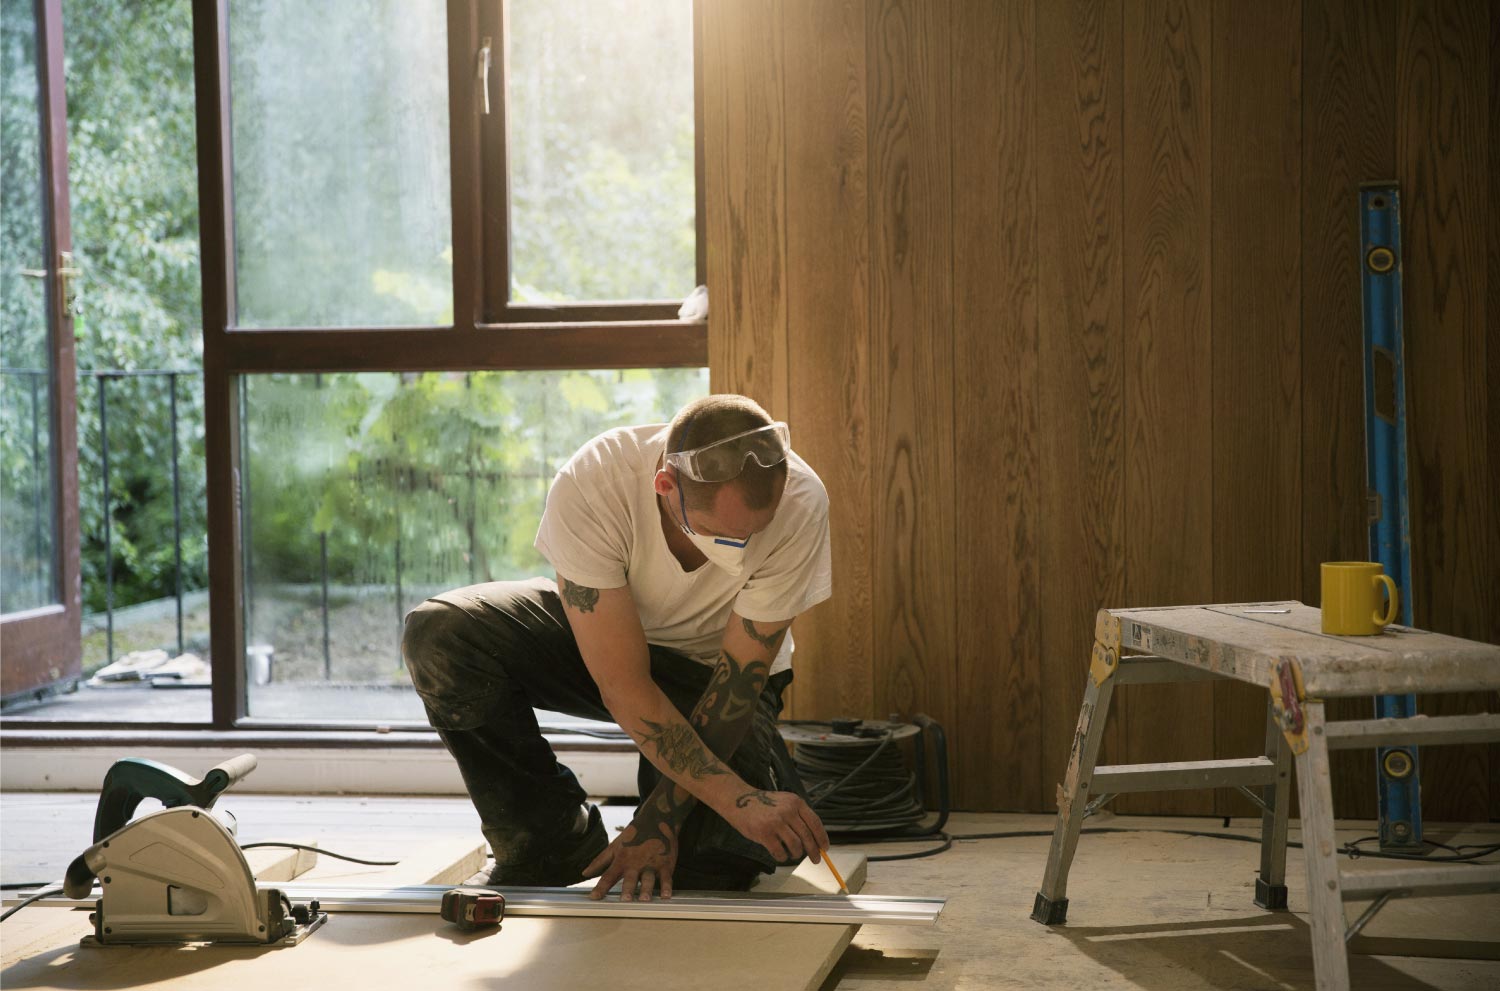
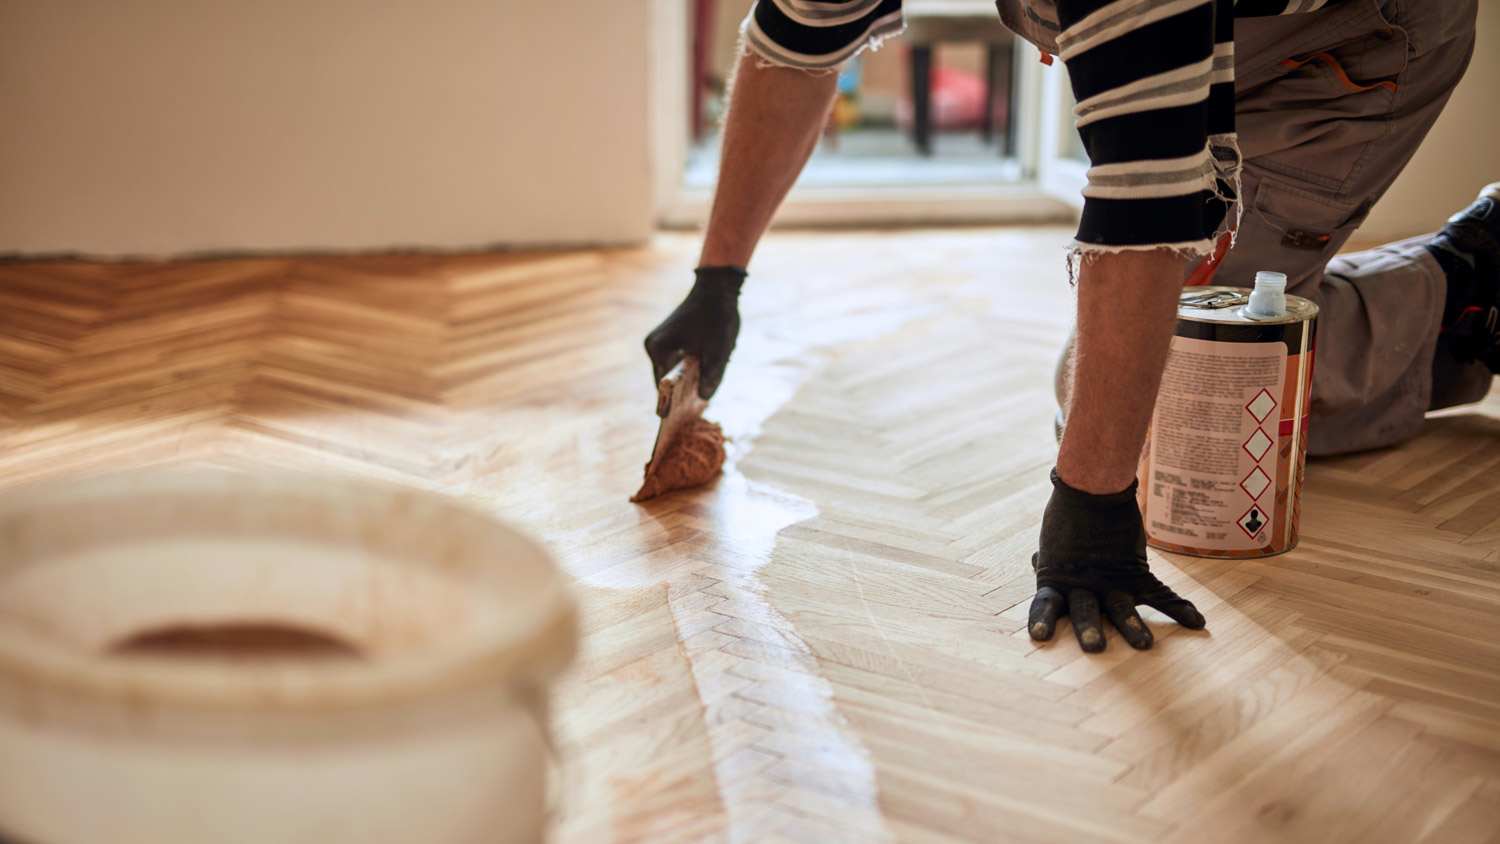
Before turning on any power tools, cover the rest of your floor with a protective layer of painter's plastic or paper. Dust will be an issue when sawing into the wood, so be sure to have proper ventilation or a ventilation feature on the saw itself.
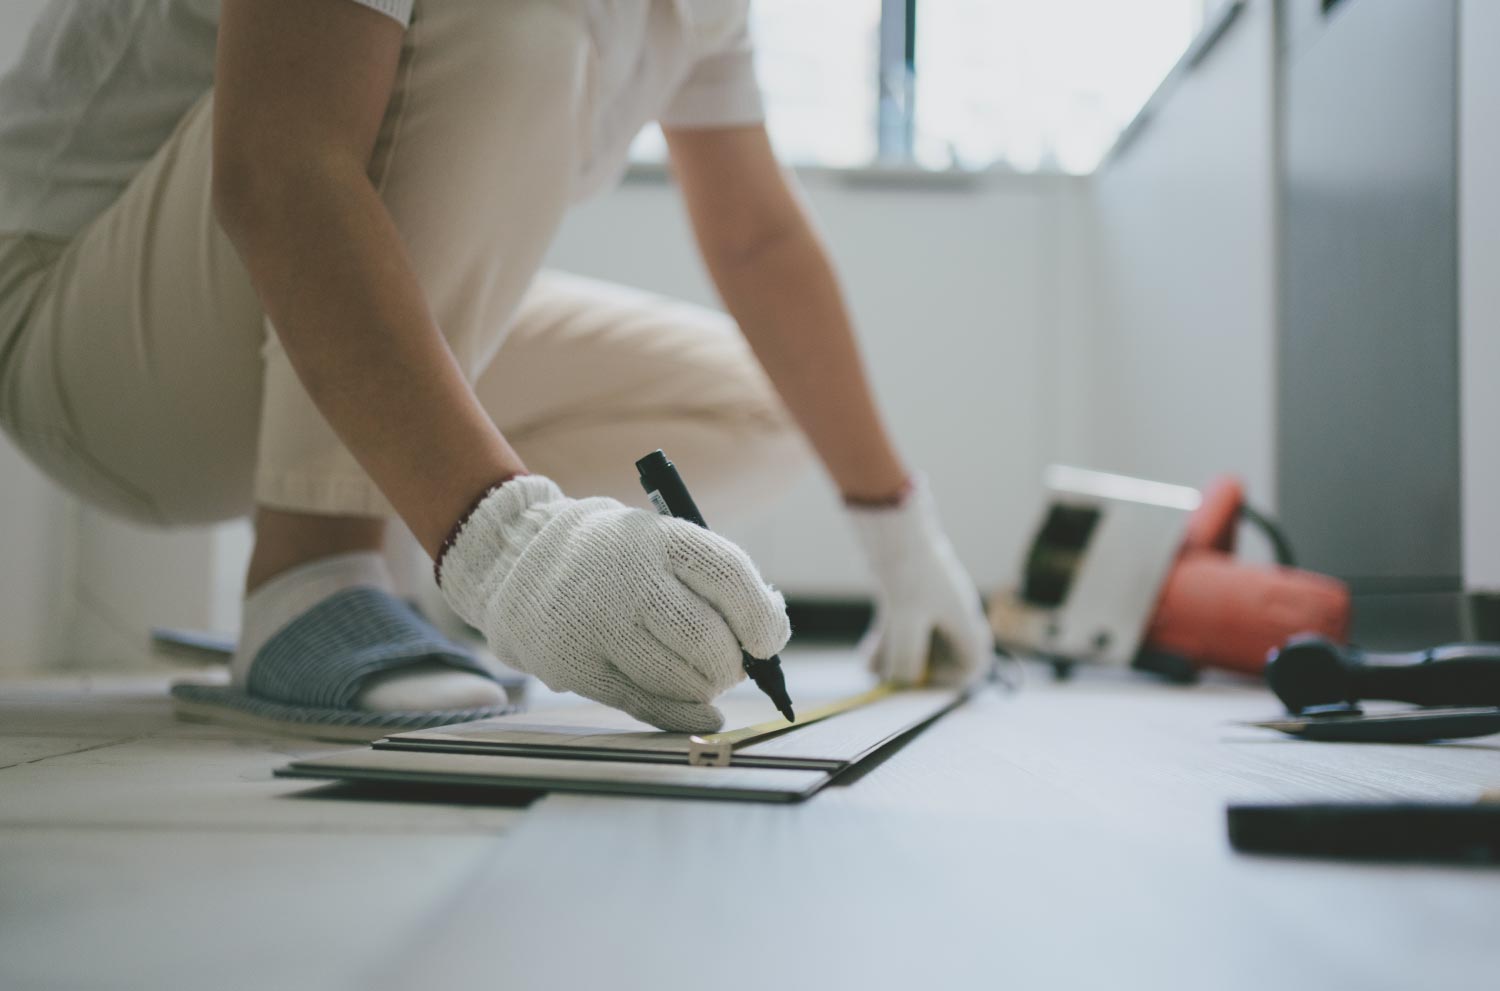
Get your tape and mark the outside edges of the boards you are replacing.
Next, you need to set the depth of your circular saw. If you do not know the depth of the hardwood flooring, you may need to remove a transition strip to find out. Old flooring is usually ½ inch to one inch thick, but you won’t know for sure until you make a measurement.
Set your circular saw depth to the thickness of your board to avoid accidentally cutting into the underlayment or subfloor.
Now it is time to start making the first cuts into the first board you want to remove. To do this, make a cut ½ inch inside the length of the board. Do the same for the other side of the board. Then, make a perpendicular cut to join the two cut lines. In the end, your cuts will look like an “H”. Put your circular saw away, and use your oscillating multi-tool to go over the same cuts one more time.
To remove the old board, start by inserting a flathead screwdriver into the center cut. Hit the screwdriver with a rubber mallet until the opening is large enough to fit a pry bar. Next, wiggle the pry bar and remove all the pieces of the old board.
Once you are done with this step, use a vacuum to clean up any loose debris and dirt. Tape up your underlayment if you accidentally made cuts into it.
Before you install new hardwood flooring, allow it to acclimate to your home for at least 48 hours before installing.
To prepare the new floor board, take exact measurements of the hole in the floor. Then cut the length of the board on the groove side and trim the tongue side at a seven-degree angle. Cut the new board to the exact length with a miter saw.
Tap the fresh board into the empty space with your rubber mallet before adding glue or nails. If it is not the right fit, now is the time to adjust the edges by sanding or reshaping.
Remove the board and add one line of glue along each edge and through the center in a crisscross pattern. Place the new board into the slot and secure it lightly with the wooden mallet. If your board includes nails, add these now with a nail gun. You can cover these spots with wood putty later on to match the finish.
Avoid walking on your new boards for at least 12 to 20 hours after gluing to ensure they do not shift. Once the glue dries and nail holes are nicely covered, your like-new flooring will be good to go.
Not every damaged hardwood plank needs a full replacement. Sometimes, a simple repair can save you time and money while restoring your floor to its original condition.
Repair is usually enough when you’re dealing with:
Light scratches from everyday wear and furniture movement
Small dents that don't go all the way through the wood
Minor scuff marks or surface-level damage
Fading that can be fixed with refinishing or touch-up stain
For these issues, you can often sand down the problem area, apply wood filler to small dents, or use a matching wood stain to even out color differences.
However, you should replace the plank when you see:
Deep gouges that go through multiple layers of the wood
Cracks that split the entire board
Water damage that has caused warping, cupping, or soft spots
Boards that are loose, squeaky, or separating from the subfloor
If the damage affects the structural integrity of the board or can't be sanded out, replacement is your best bet. But you can always try a repair first and see if it holds up.
While the cost of tools will range based on what you already have in your toolkit, you could save between $400 and $1,400 by repairing the floor yourself. On the other hand, if you are new to using a power saw or have a historic home, call in your local floor repair team for an expert eye.
Whether you want to DIY or call in a pro will depend on your experience level and if you have time to do the job. A poorly repaired floor may require further repair later down the road, so if you are at all unsure, save yourself time and money by hiring a pro.
This company does it right. Firstly, I want to say that Landan was a joy to work with. He was so kind, transparent, and had everything under control. His entire team showed up ready to work and they were all very respectful of the fact that we were in an office space. A little backstory – we...
Terrible experience. Walls/trim/floors/cabinets/doors all have drip marks, overspray, etc. Tiling at the fireplace had to be redone by another vendor due to incorrect and shoddy install by Profect. Contractor had his children in our house while he was on site without prior authorization or...
 Profect painting & exteriors
**Would rate a 0 if i could** NEVER USE THIS COMPANY!!!!! They shattered my tv console and dresser, lost a mirror, and never finished the move. The broken furniture cost me over $600 to replace. They left me with 6+ hours of personal labor moving my 1BR apartment, when I was quoted a FULL...
 All My Sons Moving & Storage
Finished Basements Plus was wonderful from beginning to end! First, they came out quickly for an estimate. I had 4 estimates and theirs was by far the best. (2 of the estimates were more than $20K higher than for the exact same work). Beyond their fair pricing, the work was excellent. They...
 Finished Basements Plus Inc.
AFS was excellent from start to finish. Jess, the sales associate, was fantastic...very knowledgeable and very professional. The installation crew was excellent. I couldn't be more pleased with the process. Best of all, my new floor looks fantastic!
 America's Floor Source
It was wonderful working with Yordy and his team. They were very professional and are experts in what they do. They have completed the work on time, with better quality and with in fairly reasonable price. We just started with backsplash work , but liking his work, we went on to provide...
We were having 2”x 2” tile installed . There was a small installation error and the new additional replacement tile was from a different lot and the colors didn’t match. Joe assured us that he would rectify everything , which he did without hesitation. We decided to go with the 18” x 36” tile...
 CarifaTile
We hired Jim to replace our hardwood floors with new hardwood. He and his helper Jerry did a fantastic job. Their work ethic is impeccable!! We would highly recommend McColl Floors!
Description says they handle window repair including rotten hardwood - they called me back right away but didnâ t leave a voicemail. I followed up 3 days later and they said they donâ t do that kind of work.
Chaz, the owner, was very responsive and he communicated with us throughout the entire process. The overall cost was in the middle compared to the three estimates we received. The installation crew was very professional. Chaz was considerate enough to send a crew back to our home to repair...
 Unique Hardwood Floor LLC
From average costs to expert advice, get all the answers you need to get your job done.
If your laminate is damaged, it’s time for repairs or replacement. This guide will show you everything you need to know about laminate floor repair costs.
Find out the average vinyl floor repair cost, key price factors, and ways to save. Get accurate estimates to plan your vinyl floor repair project.
Your floors deal with a lot, and they may occasionally experience damage that requires your attention. Learn floor repair costs for your project.
Unsure who to hire to repair laminate floors? See which pros to call, who can repair laminate floors, and how to get it done.
Finding a qualified wood flooring repair pro? Learn who to hire, what to ask, and key qualifications to restore your floors beautifully.

Knowing whether to replace or repair hardwood floors comes down to the type and extent of the damage. Use our guide and learn what to do with your floors.