
A fireplace remodel cost depends on the extent of the remodel and the materials you choose. Use this guide to calculate your costs and budget accordingly.
Warm up to the hottest design trend

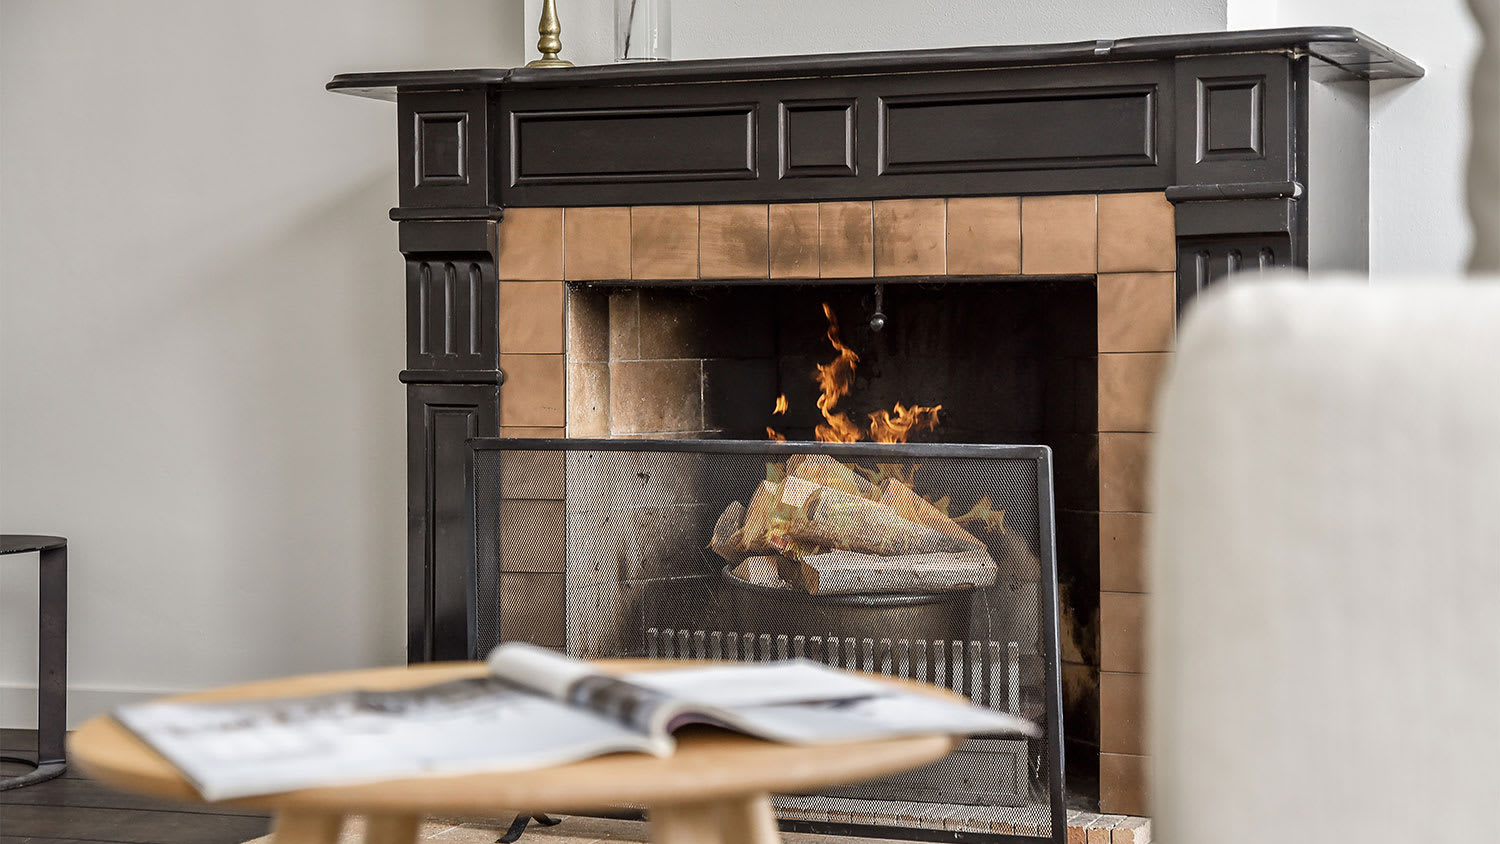
Maybe your living room has an empty wall that’s begging for a refresh, or perhaps you have a stone-clad fireplace that you want to bring into modern times. When combined with a fireplace, shiplap can make any room feel fresh yet timeless. Transform your living room in a weekend by installing a DIY shiplap fireplace with this guide.

Before you start building your shiplap fireplace, you’ll need to determine how much shiplap to buy. You can do this by measuring the length and width of the area you plan to cover, then multiplying the two numbers. Then, divide that number by the width of your preferred shiplap planks to determine how many planks you need.
You can expect to spend around $2.50 to $7 per square foot for shiplap planks. Buy 10% to 20% more shiplap planks than you calculated. This will cover you in case of miscalculations or mistakes during construction because even the most experienced DIYers make mistakes every now and again.
First, you’ll need to mark out where the shiplap will go. If you’re installing an electric fireplace, you’ll also need to mark where the fireplace will go. Use a stud finder to mark where the studs are located in the wall (and the rafters in the ceiling if you are building a frame all the way up the wall). Use a measuring tape and pencil to detail where you’ll install the frame.

Shiplap is a type of wood plank that needs a sturdy frame to nail into for stability. The frame should be installed so that the two-by-four wood boards of the frame are attached to the studs and rafters you marked previously. The size of the frame will depend on how far out you want to extend the shiplap. Use a miter saw to cut the two-by-four wood boards as needed to fit into your design.
Install the frame by using a hammer or nail gun and common nails or framing nails to attach the wood boards to the studs and rafters as marked. If you’re installing an electric fireplace rather than covering an existing fireplace exterior in shiplap, make sure to frame out a space for the new fireplace.

With the frame in place, you can start preparing for shiplap installation. Shiplap is characterized by long wood planks rather than shorter pieces, so measure the width of the fireplace frame to determine how long to cut the shiplap planks. You’ll need shorter planks to surround the fireplace opening and the sides of the frame. Use a miter saw to cut the shiplap planks to size.
With the shiplap cut to the right sizes, you can use a hammer or nail gun and brad nails to attach the shiplap to the wall at the stud marks or the frame. Start from either the top of the fireplace or the bottom, working from left to right until each board is attached to the frame or wall and ceiling. Use a level to make sure the first plank you establish is evenly aligned with the wall.
When you get down to your last shiplap plank, you may find that the entire plank is too tall to fit the remaining space. If that’s the case, measure the amount of space you need to fill, then use the saw to cut along the plank horizontally to that size. Use brad nails to attach the final plank.
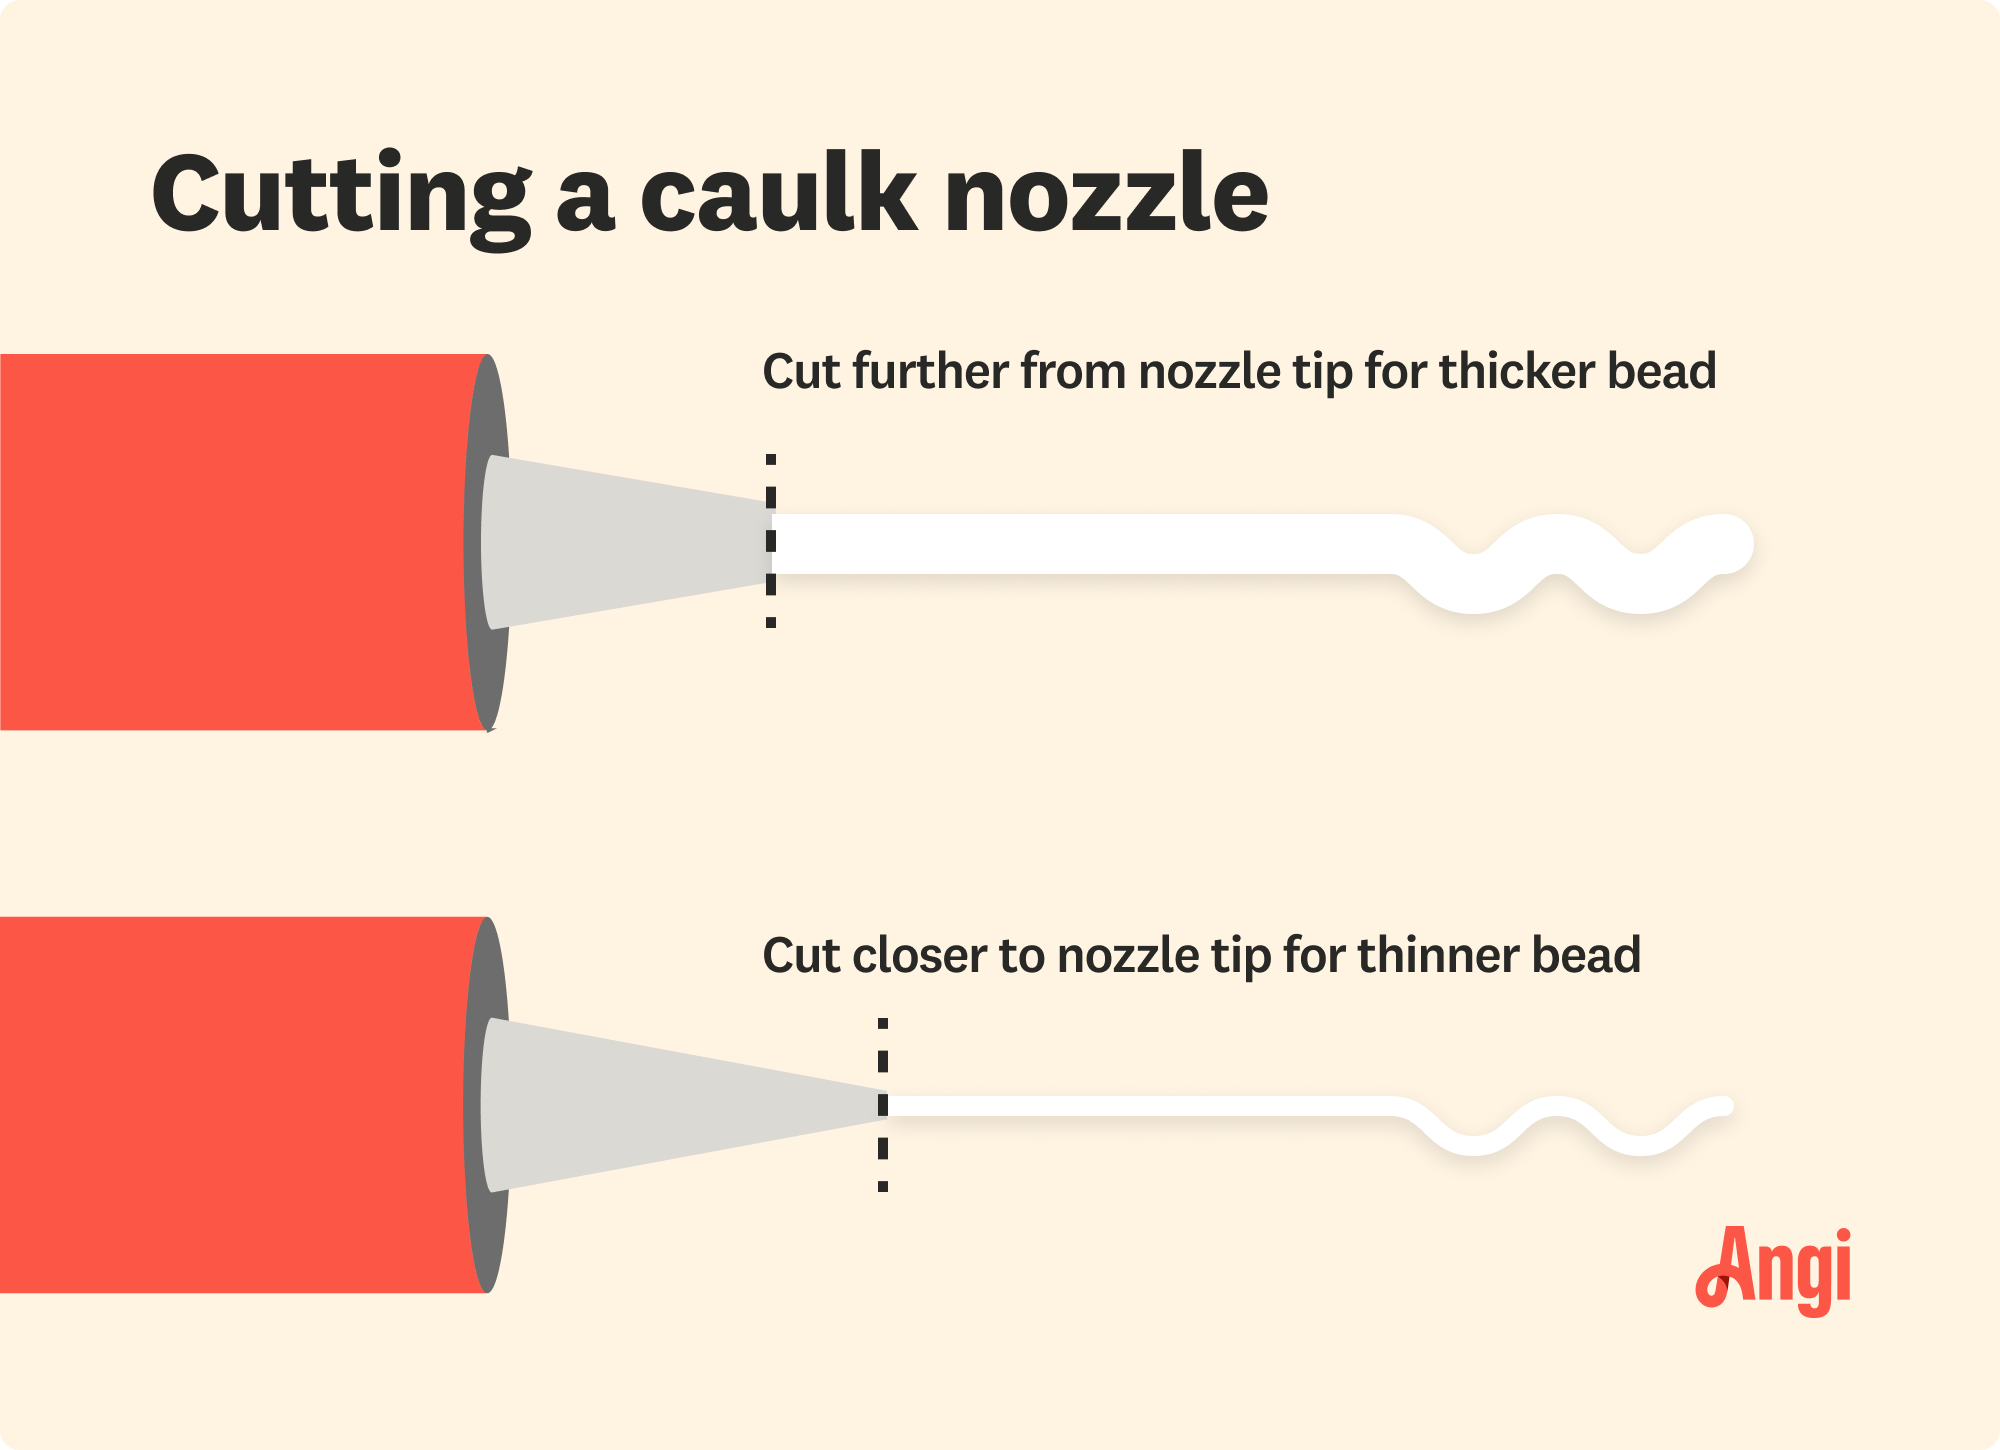
If you want the classic, seamless look of shiplap, use caulk between the boards. Give the caulk time to dry, which could be as little as 30 minutes for silicone or acrylic latex caulks or up to 24 hours for polyurethane-based caulk. Always follow the manufacturer’s instructions.
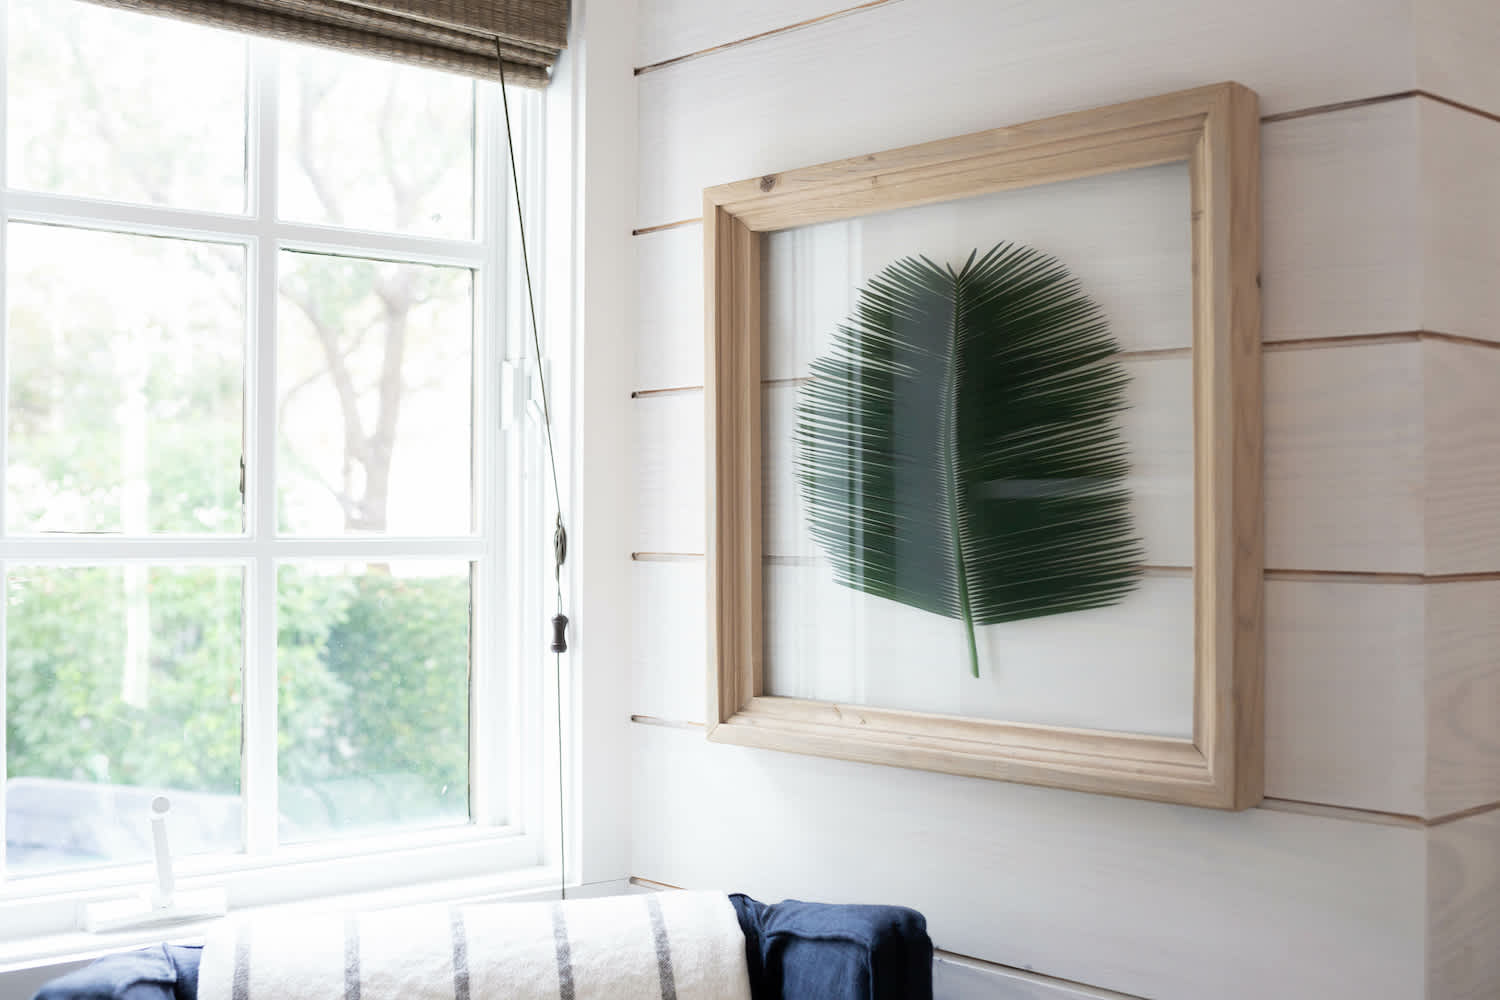
Maybe you want a chic, black shiplap fireplace, or perhaps you’re looking for the perfect shade of creamy, off-white. If the natural color of your shiplap isn’t to your taste, you can use a paint roller and a small paintbrush to apply primer and a paint of your choosing. If you’re installing an electric fireplace, which doesn’t generate as much heat as open flames or gas, you can use standard paint. Otherwise, opt for heat-resistant paint.
Let each coat of primer and paint dry for at least two to six hours before applying a new coat or moving on to fireplace installation or trimming.

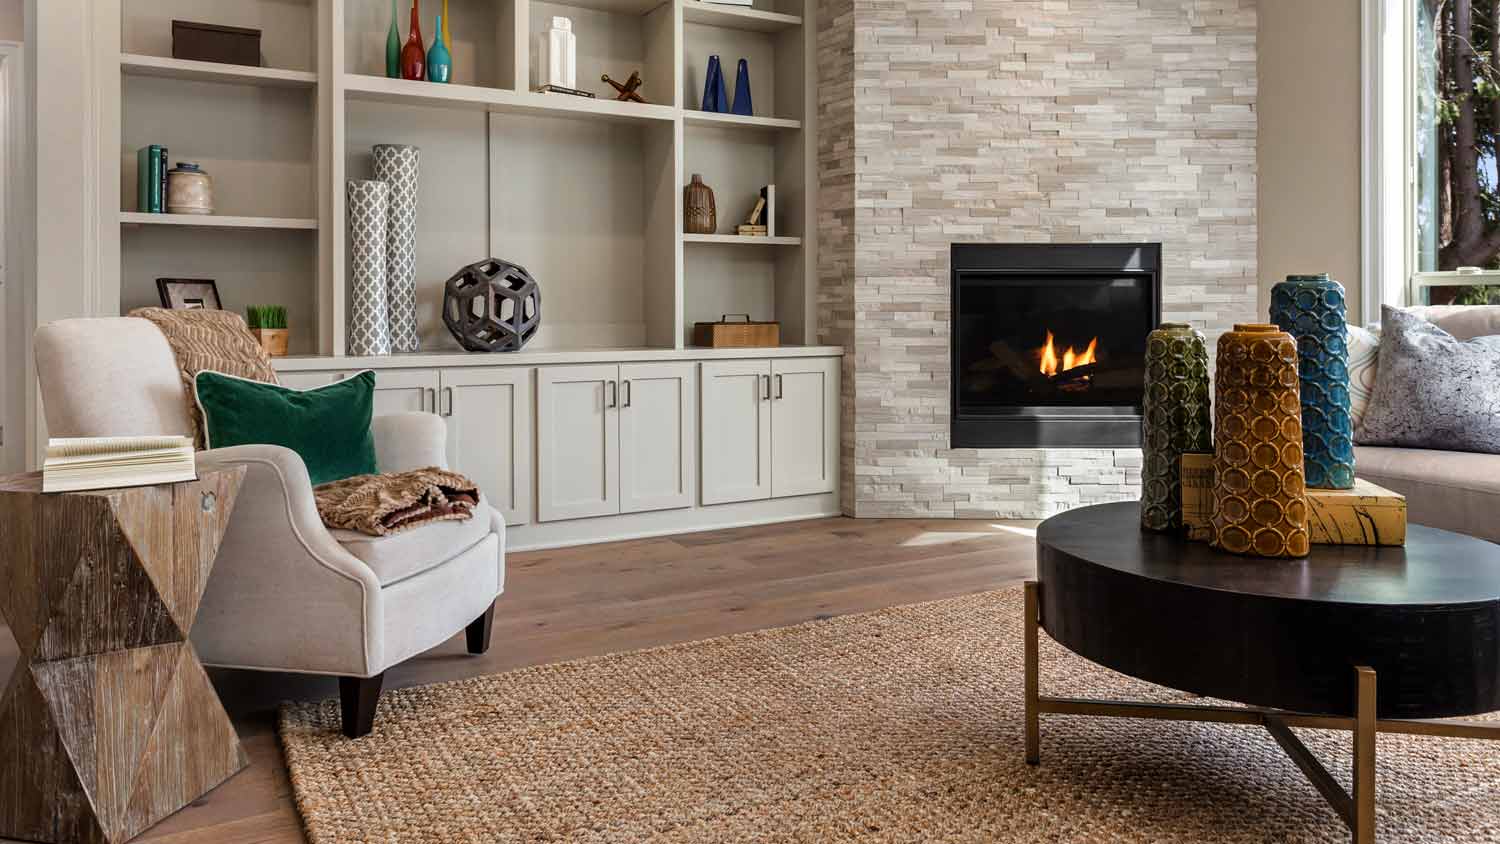
If you don’t already have a fireplace that you’re surrounding in shiplap, you may opt to install an electric fireplace to create a cozy centerpiece in your living area. If so, you should have established a wood frame within the larger fireplace frame for the electric fireplace to sit. Following the electric fireplace instructions for installation, set the fireplace into the frame you built, and make sure you can easily access the power cord. You may need to build an additional panel or cut into the shiplap for easier access to the power cord.
If you get confused about the installation or need help with the power for your electric fireplace, take a break from the project and call an electrician for help before moving forward.
The shiplap is installed and perhaps painted, but it may not look complete just yet. You’ll need to add trim around the base, edges, and top of the fireplace. You can use finishing nails on the trim for a seamless look.

For a finishing touch, consider installing a mantel. You can use floating shelf brackets if you don’t want to see the supports, or you can use metal or wood brackets for an industrial or rustic look. You can buy a prefabricated mantel to save extra time and effort or choose new or reclaimed wood boards or beams that you cut, sand, and stain for a unique, custom appearance.
Hiring a local fireplace installer is the best option for creating a shiplap fireplace. A pro can achieve a sleek, even, and attractive appearance, so you won’t have to spend several days’ worth of labor on the project. Not only will the pros make sure the project looks great and is done quickly, but they can also confirm that your updated fireplace meets local building and safety codes.
Terrible experience. Walls/trim/floors/cabinets/doors all have drip marks, overspray, etc. Tiling at the fireplace had to be redone by another vendor due to incorrect and shoddy install by Profect. Contractor had his children in our house while he was on site without prior authorization or...
 Profect painting & exteriors
Supreme Brick & Chimney did a great job with a cleaning and inspection of the fireplace! He was efficient, on time, and very pleasant. The space was kept very clean, and the fireplace was spotless when he was done. He also performed a thorough inspection, and did a great job talking us...
 Supreme brick & chimney
Ace Fireplace Services came to the rescue for my chimney repair. They were quick to pinpoint the issue and worked their magic to fix it. My chimney is now in excellent shape, and I'm a satisfied customer.
 Ace Fireplace Services
Custom Paint Jobs LLCs custom murals brought life to our childrens rooms. They love it!
Storms Mobile Welding was great to work with. They were prompt, professional and did an overall excellent job on the project. I highly recommend.
On time, clean and finished fast. Windows seem sturdy and the finish is good. Caulking was done with no smudges. Would recommend.
The team is awesome!! I can generally pick up and clean throughout the week, but they CLEAN! Windows, stair rails, microwave. All the things I can’t ever seem to get to regularly. The house looks and smells great after they leave.
Bought a half a cord of firewood from Pitzer with stacking last month. I waited to report so I could see how the wood burned. <br /> <br /> I have three pet peeves regarding landscapers, but Pitzer scored "A"s regarding all three. First, rather than having customers "leave a message" and...
 Pitzer Landscaping
We decided to update our partially finished basement, with a budget. Gerald worked with me on the lighting and chair rail selections, and produced an end product that was everything we wanted and within our budget. The work was done quickly, and he and his crew were always prompt and...
Outstanding! The granite and the installation went so well that we had the remaining slabs of the granite put into our new house. The 2ND kitchen/wet bar installation went as well as the 1ST, so we had them put granite on our master bath counter top, shower seat, ledge and kick plate for...
 LIND STONEWORKS
From average costs to expert advice, get all the answers you need to get your job done.
A fireplace remodel cost depends on the extent of the remodel and the materials you choose. Use this guide to calculate your costs and budget accordingly.
Bioethanol fireplaces are a chimney- and vent-free way to enjoy a real-flame fire in your home. Keep reading to find out how much ethanol fireplaces cost.

Use our guide to estimate your fireplace repair costs, based on the type of fireplace you have—and what part is broken.

Breathe life into your living space with these fireplace remodel ideas that increase your home’s cozy appeal while engaging your aesthetic.
From modern farmhouse to just plain modern, these shiplap wall ideas prove shiplap works with any decor style. Get inspired now.

What is shiplap? The answer might not be in line with what you’ve heard. Read on as we cover everything you need to know, including exactly what shiplap wood is, what its pros and cons are, and how you can capture its rustic look in your home.