

The cost to install shiplap siding or wall surfaces in your home depends on several factors, including the material type and the size of your project.
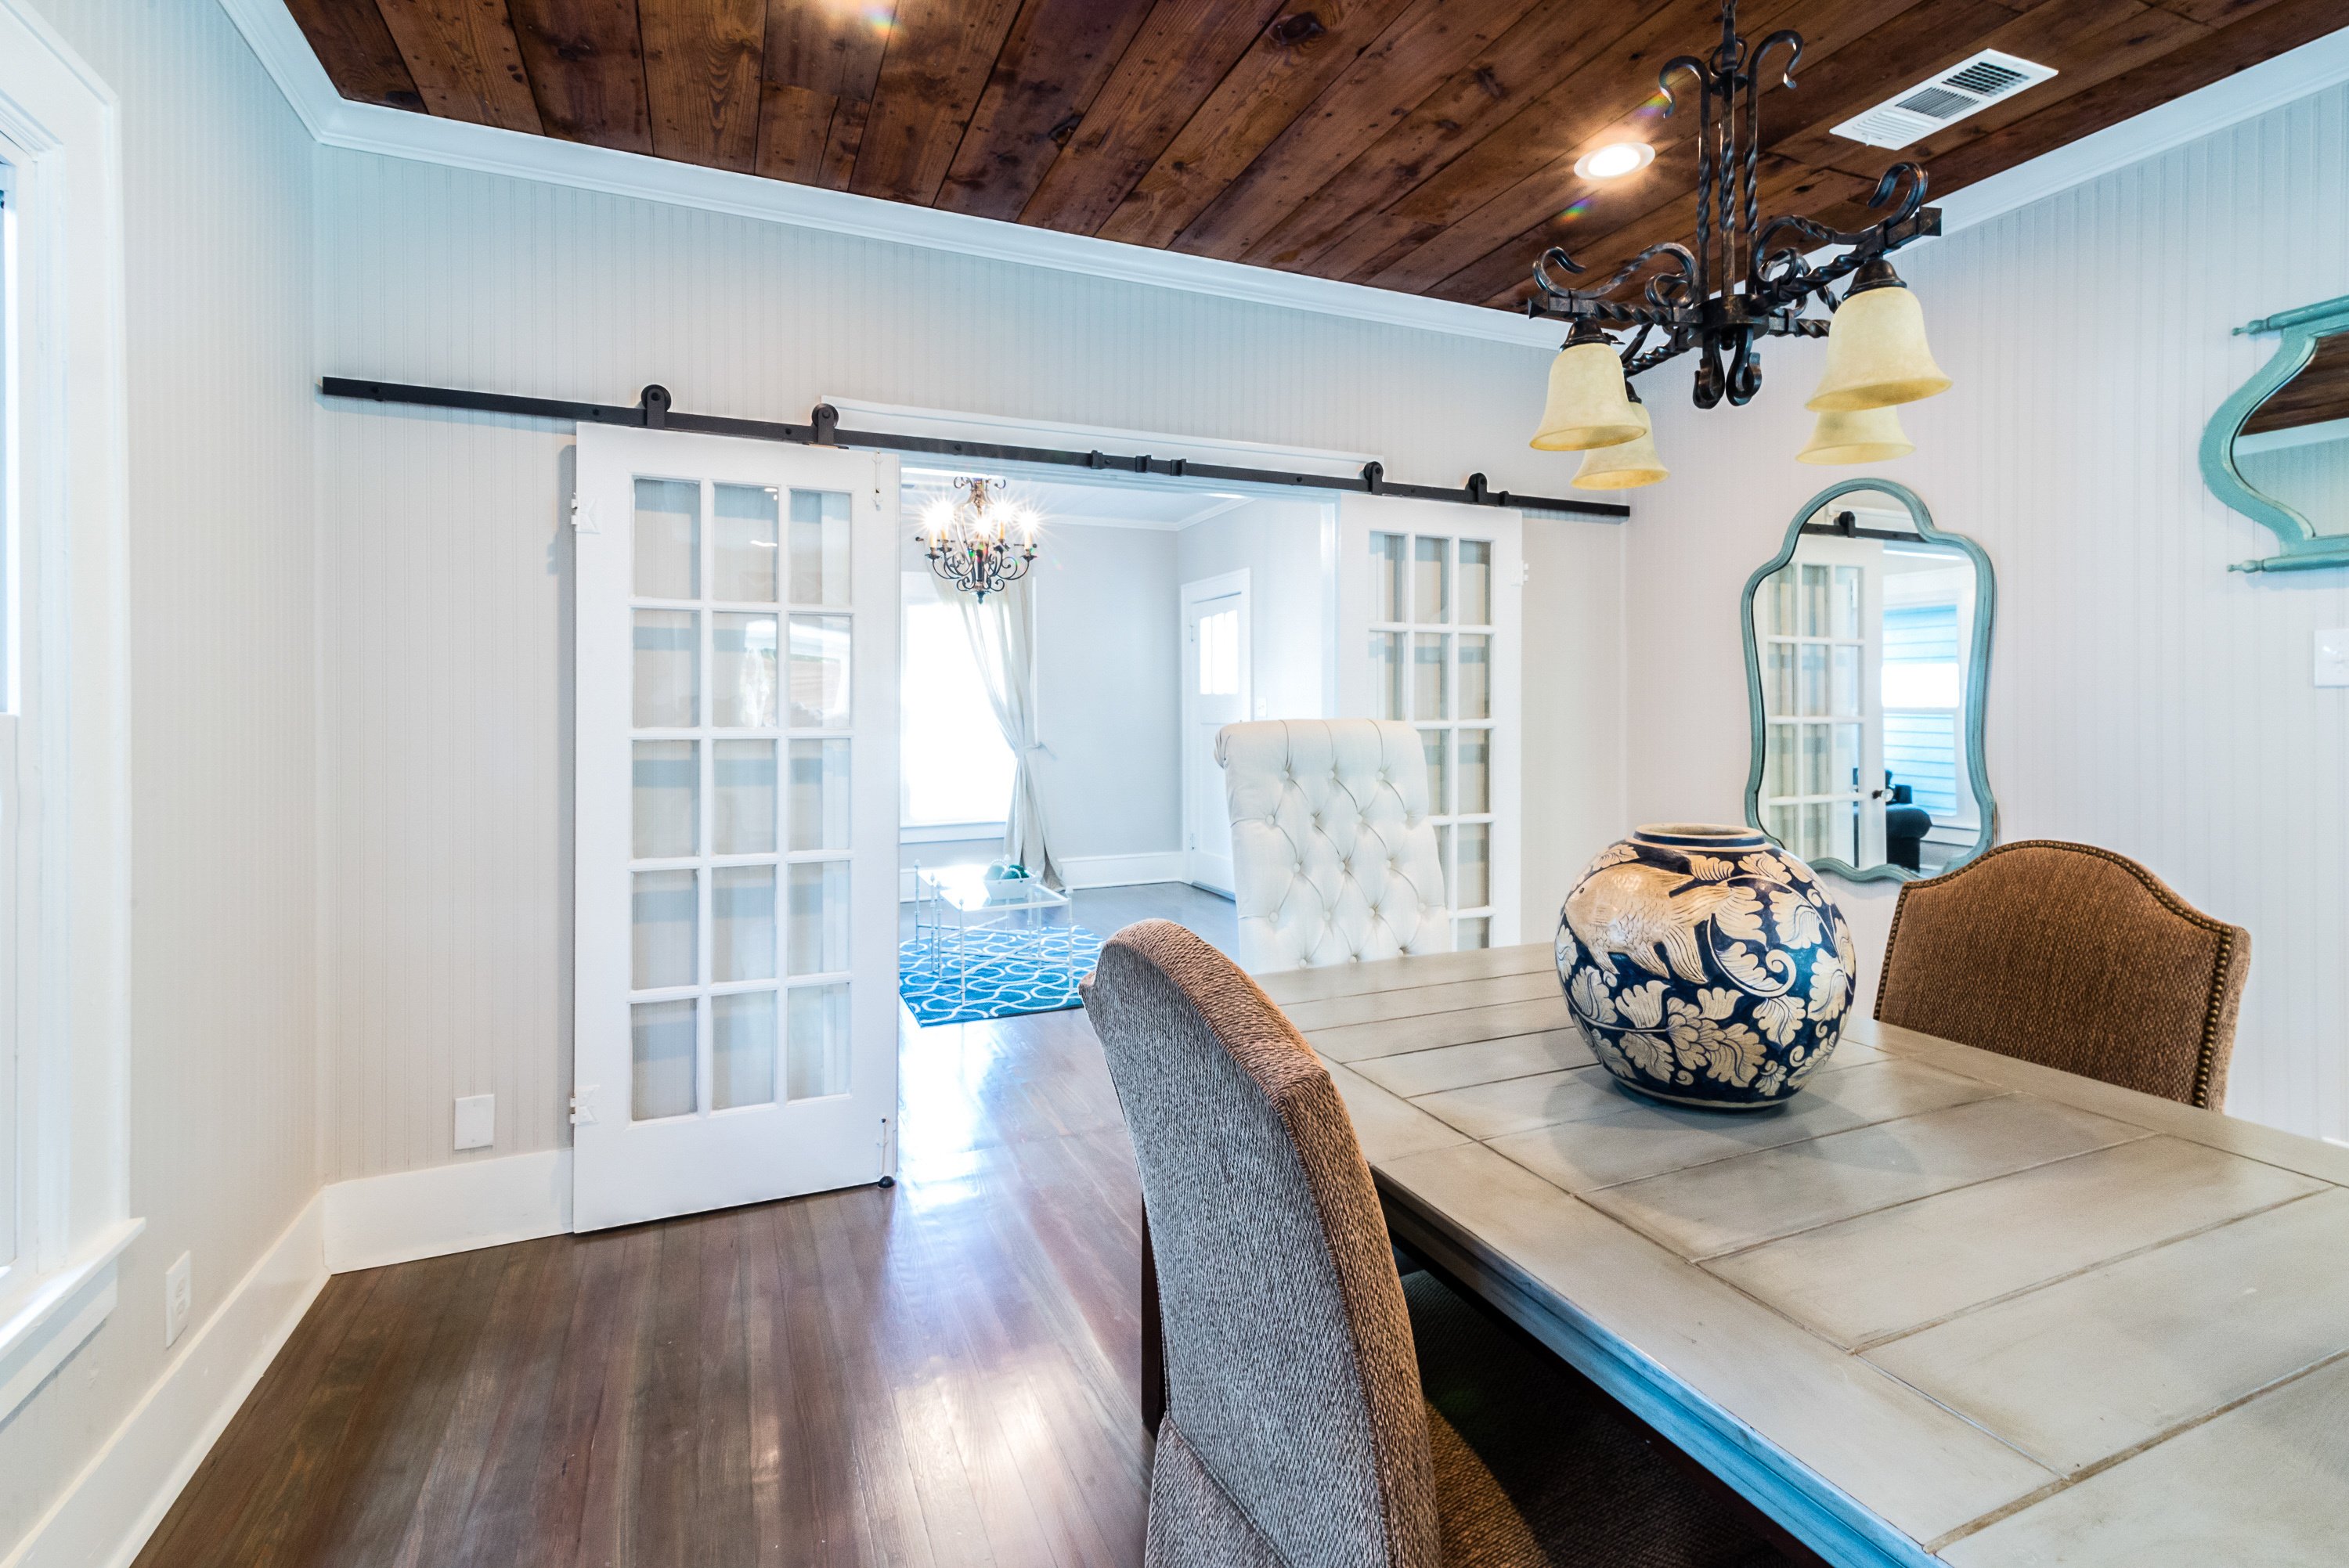
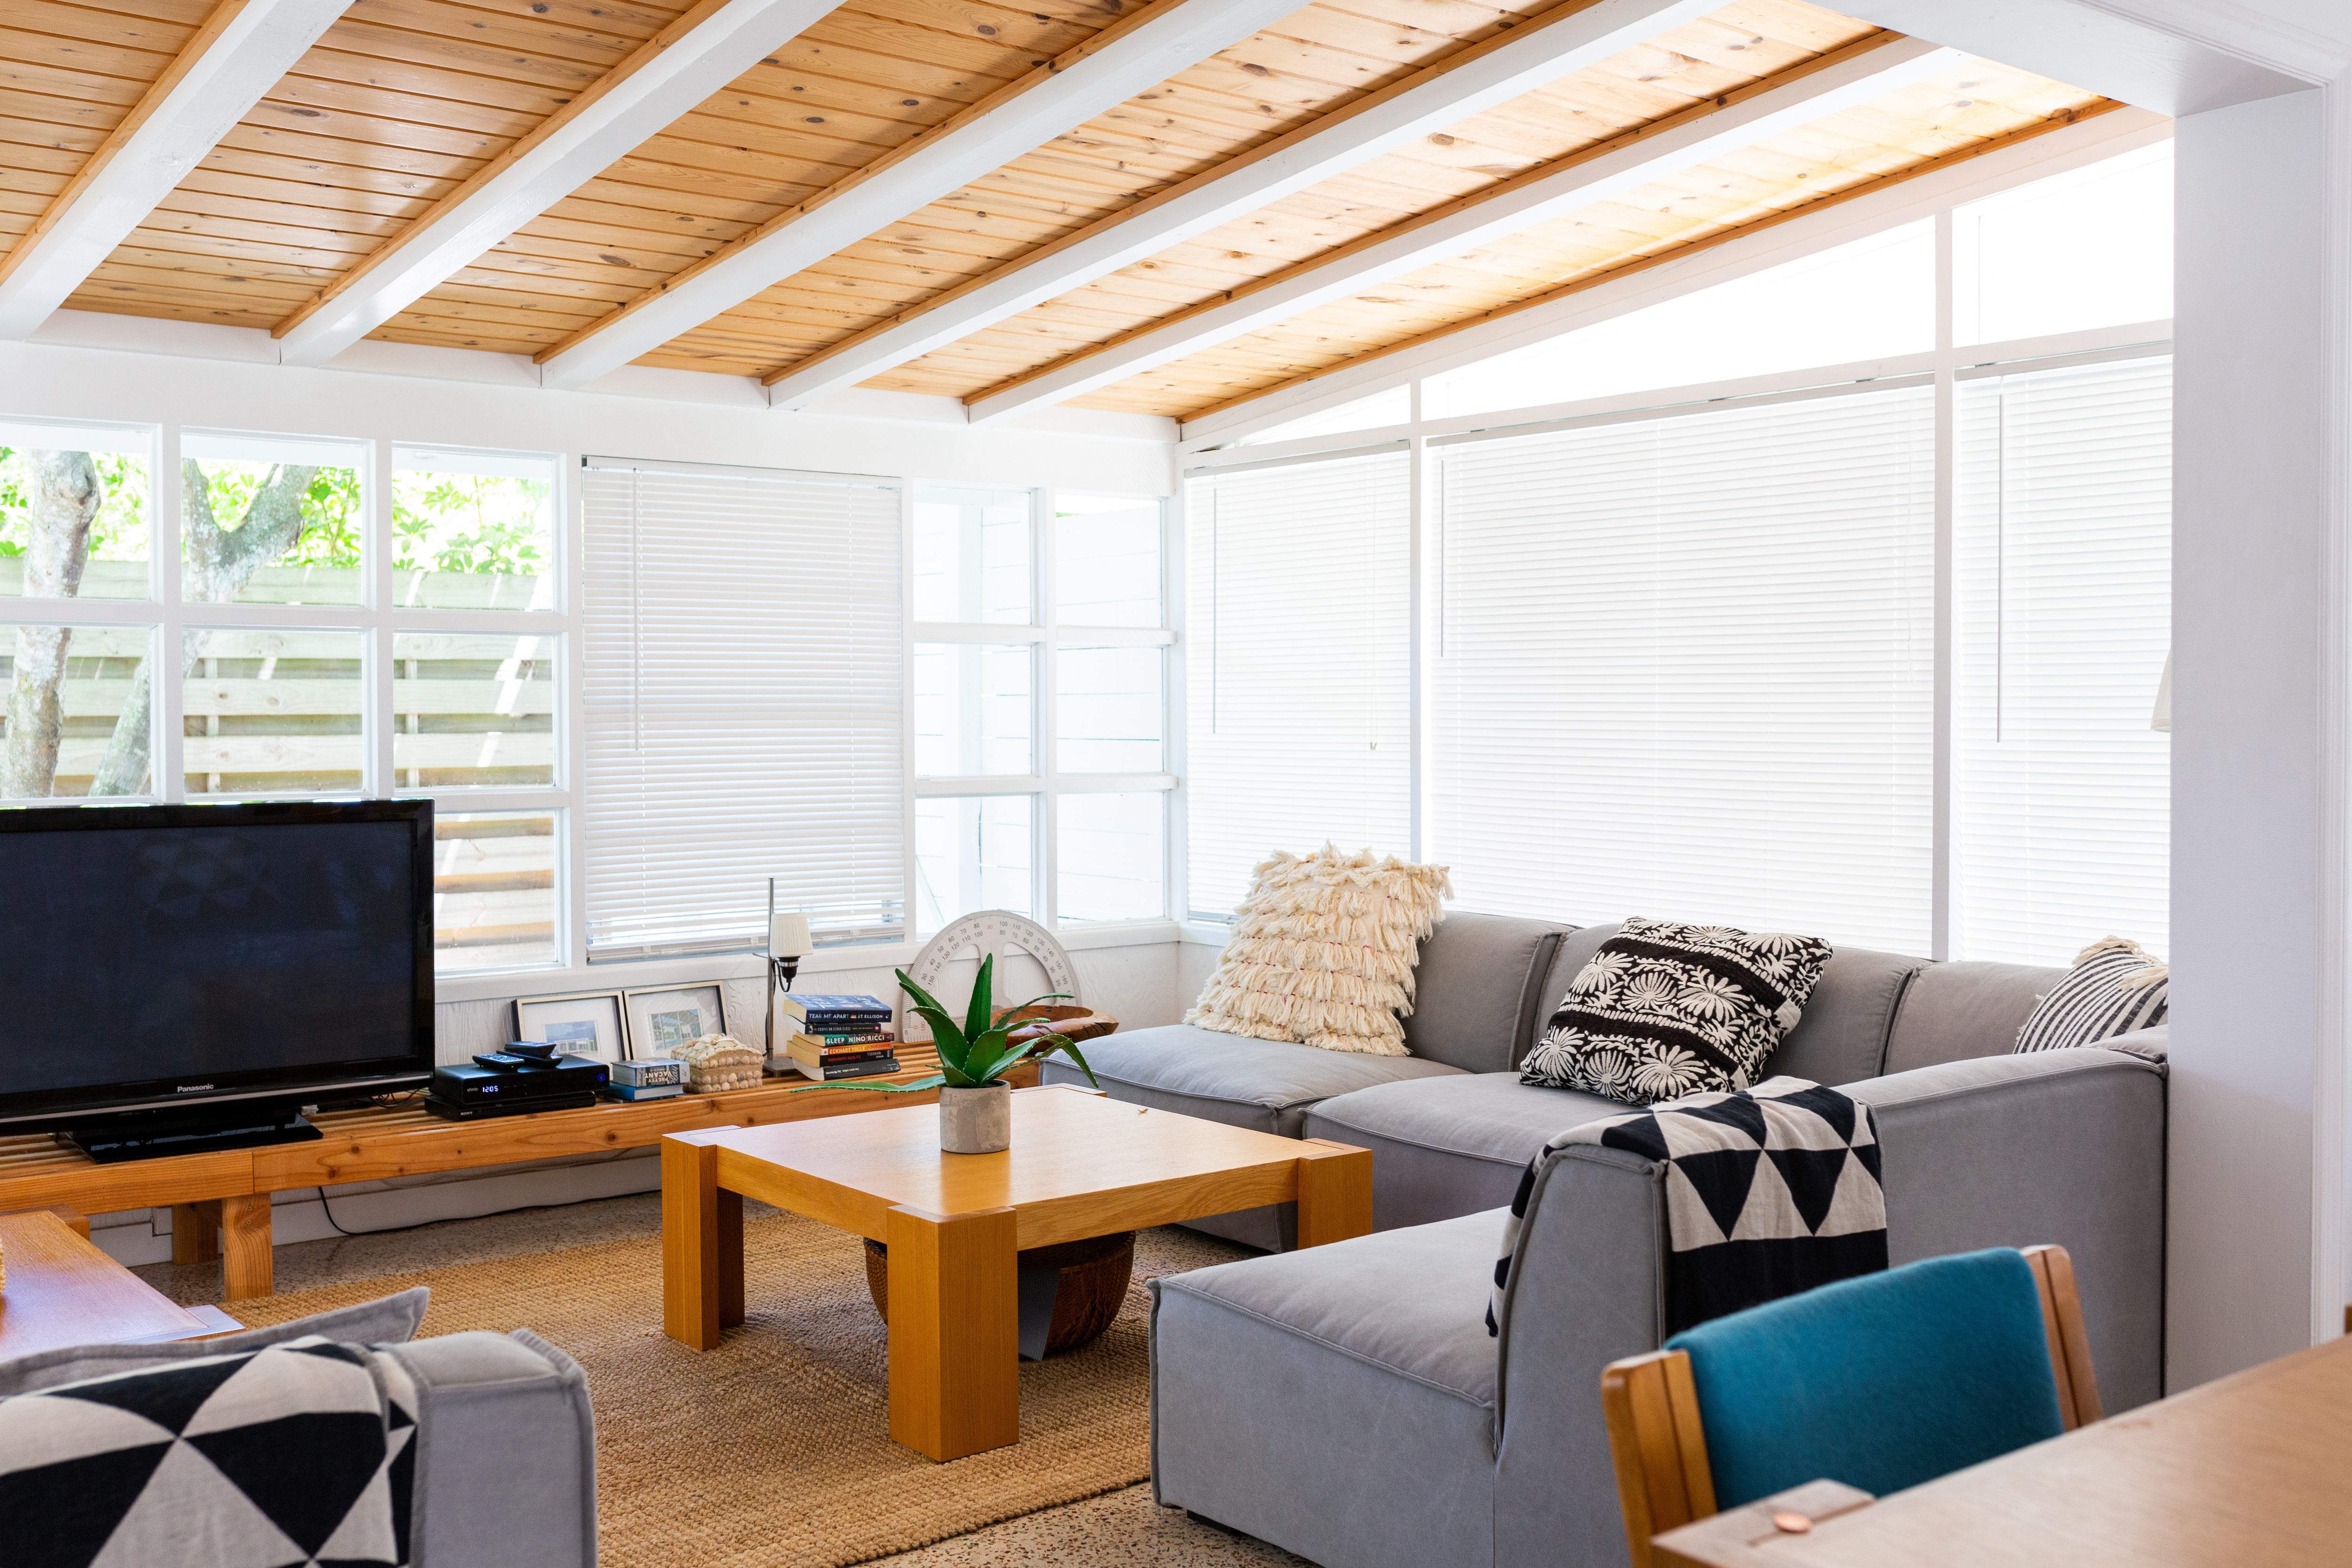
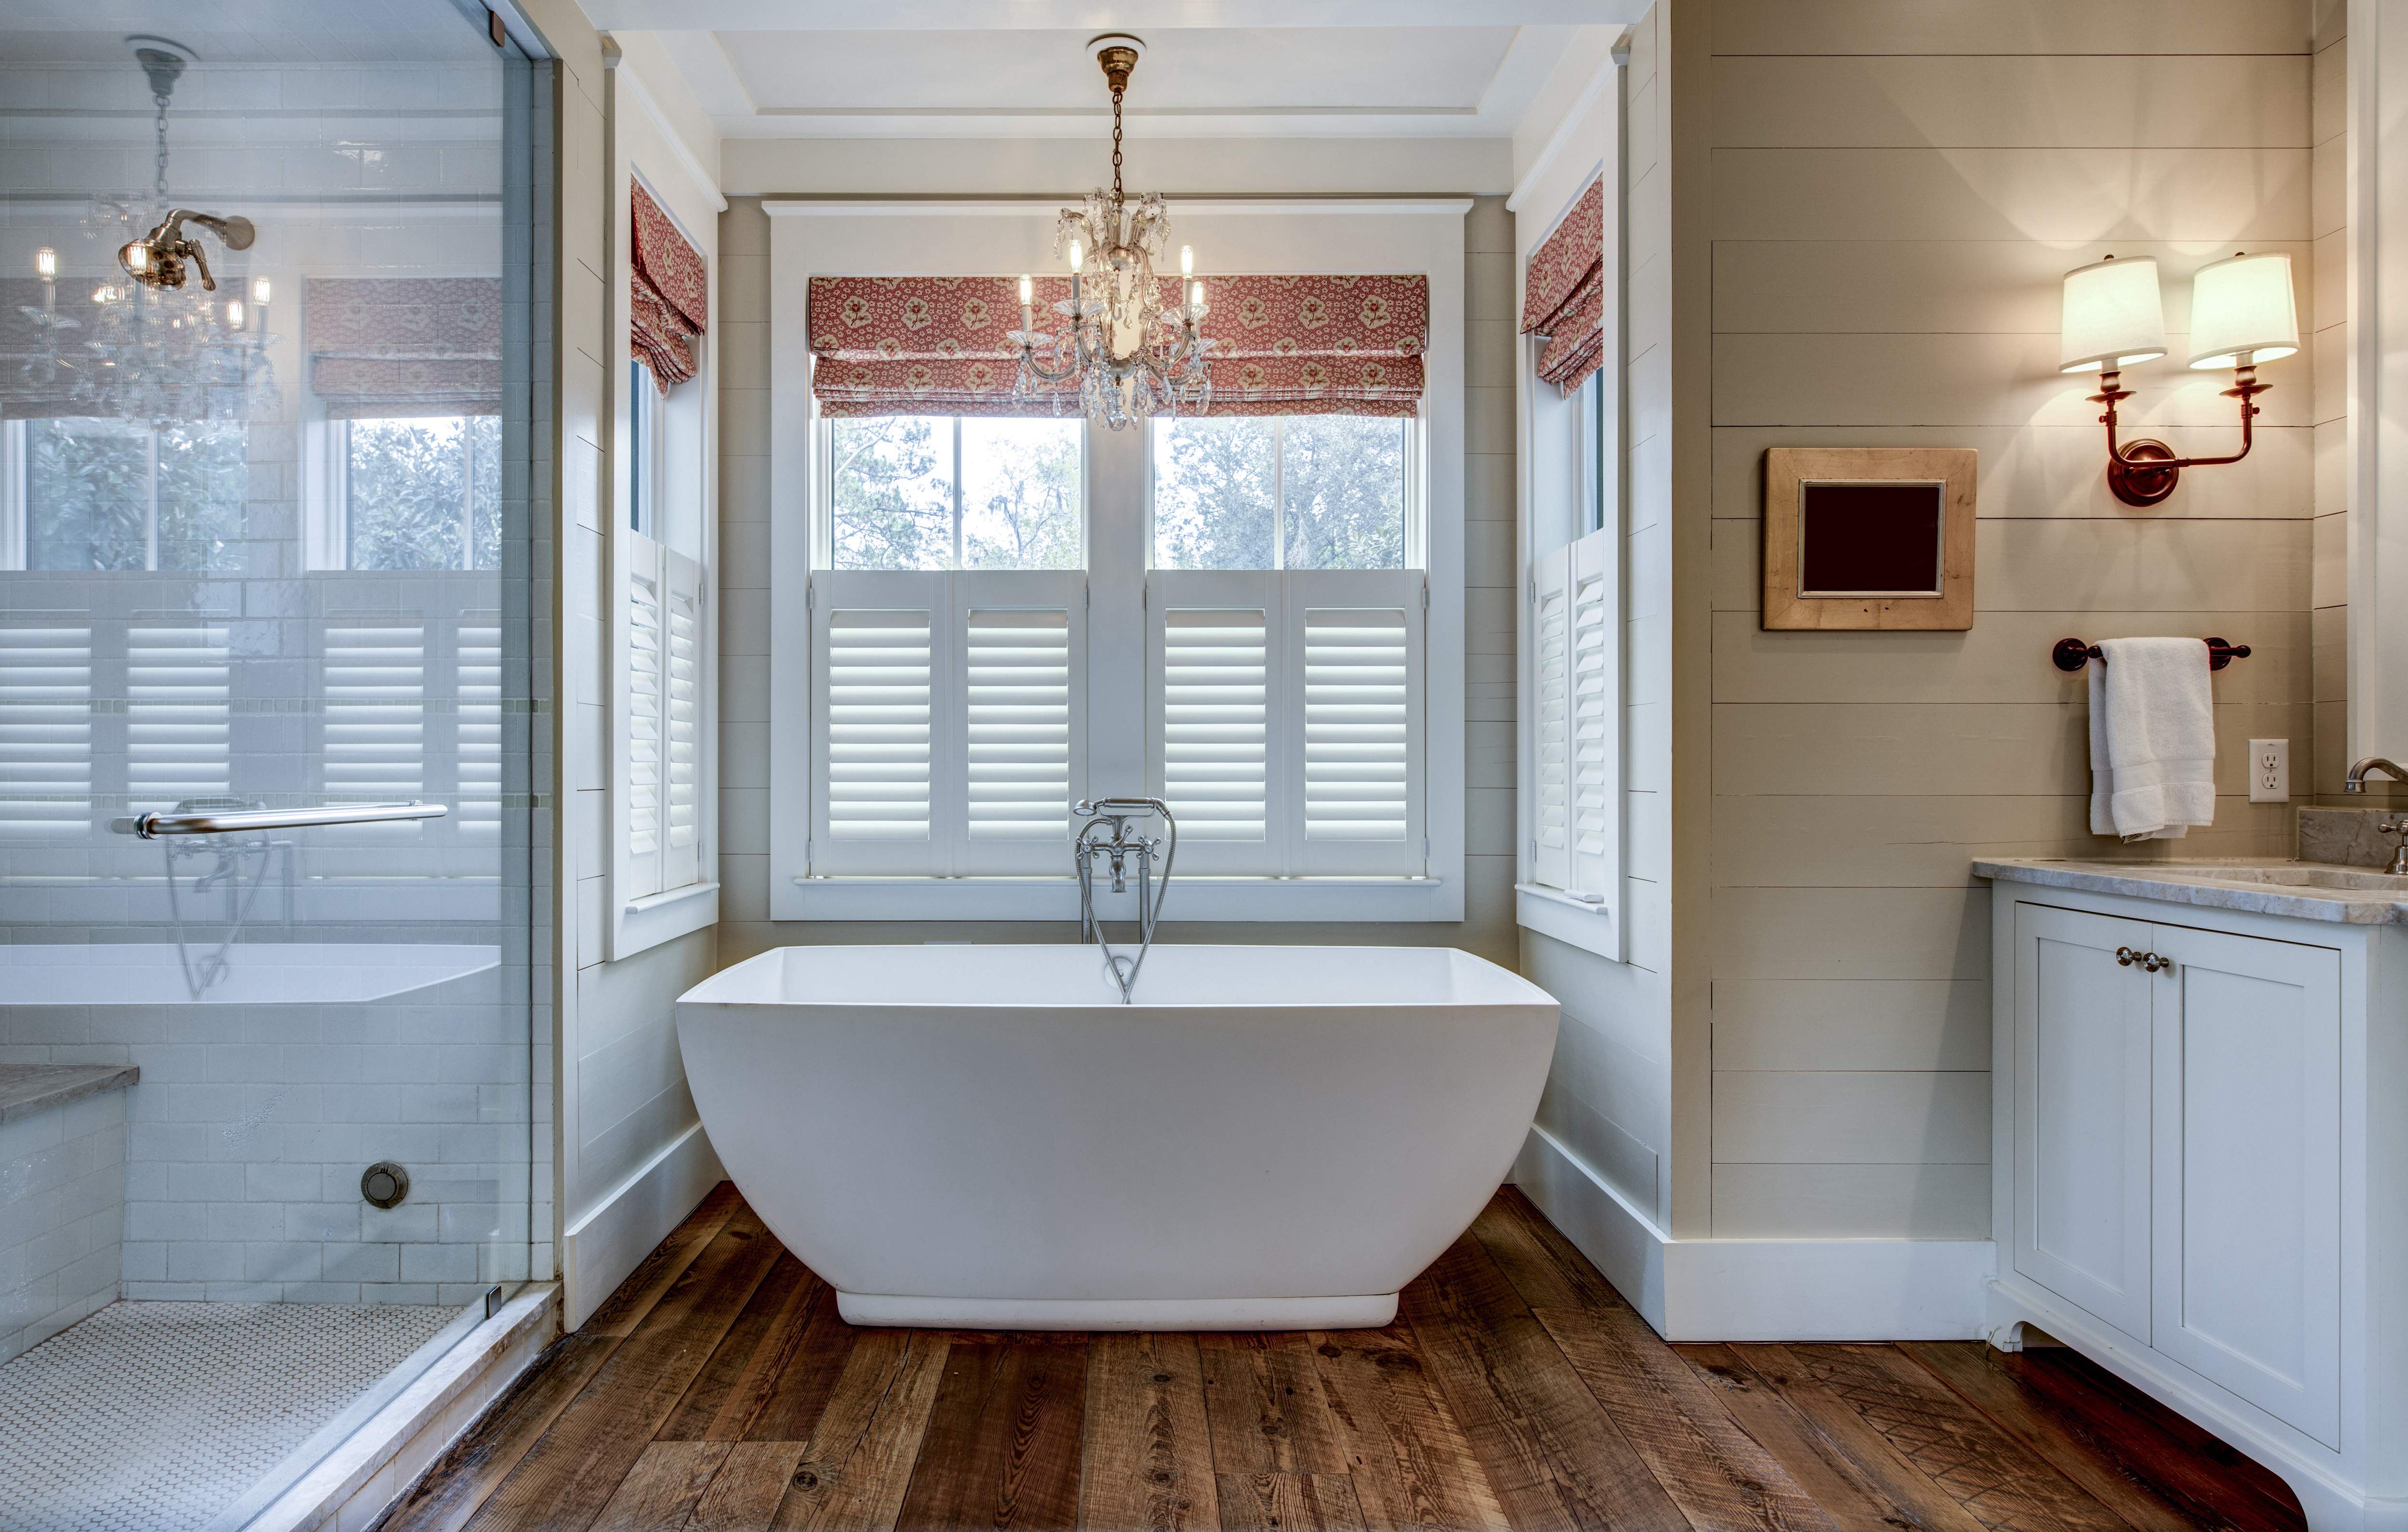
A shiplap ceiling can really elevate your space

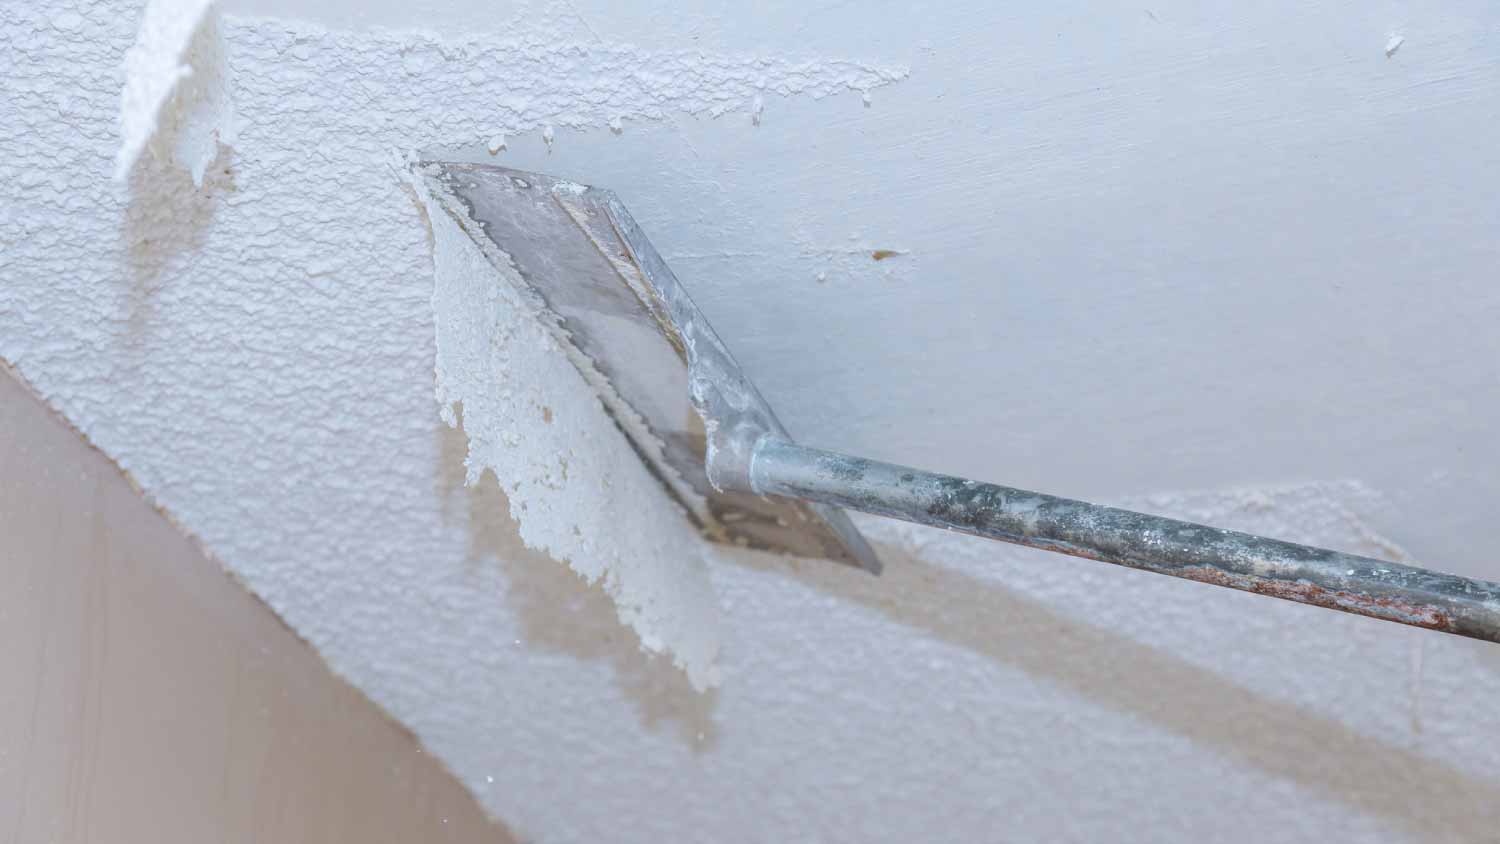
Installing a shiplap ceiling in your basement creates a dramatic focal point while hiding existing ceiling cracks, holes, or popcorn texture with rustic charm.
Shiplap is an affordable way to refresh your room, and you can keep your budget steady by installing it yourself.
You should run shiplap perpendicular to your ceiling joists, apply construction adhesive, and nail into joists at a 45-degree angle.
Hiring a local carpentry professional helps ensure precise cuts and a level, secure installation, especially on vaulted ceilings with tricky angles.
Shiplap may be more commonly seen on accent walls, but we can’t help but love a shiplap ceiling. We love how it creates a dramatic focal point for a living room or bedroom, adding texture and rustic charm to a space that’s often overlooked. We also love how it hides any ceiling cracks or holes—or even the dreaded popcorn ceiling.
What’s more, because shiplap is affordable, it instantly updates a room without the high cost of other renovations. To further keep costs down, you can install a DIY shiplap ceiling. Here’s what you need to know.
Difficulty: Intermediate 3/5
Installing a shiplap ceiling is possible as long as you have the required tools, the know-how to make saw cuts, and the leg strength to go up and down a ladder a lot.
Total Project Time: 2 days
It will take one day to measure, cut, and install your shiplap boards and one day to fill nail holes, sand, and paint.
Cost: $350–$1,000 depending wood type
Shiplap planks*
2-inch finishing nails
Construction adhesive
Furring strips (optional, use if you want the shiplap to run parallel to your joists)
Caulk or spackling paste (optional)
Paint, paint roller, and paint tray (optional)
Scaffolding/ladder
Nail gun (16-gauge air compressor)
Miter saw and table saw
Hole cutter and jigsaw or multitool (for ceiling lights and vents)
Tape measure
Chalk line
Level
Stud finder
* To find how many planks you need, measure the length and width of the room in inches. Multiply those numbers together, then divide by the width of the planks. Buy 10% extra in case of mistakes.
Remove all your light fixtures, vent covers, crown moulding, etc.
Use the stud finder to find the joists below your drywall, plaster, or popcorn ceiling. Joists are basically the same as wall studs, just in your ceiling. They are typically spaced 16–24 inches apart.
Mark where the joists are across the ceiling using your chalk line. Because drywall and plaster cannot hold a lot of weight, you’ll need to make sure you’re nailing your shiplap into the joists.
Once you know which direction your joists run, you can figure out which direction to run your shiplap. It should run perpendicular to the joists, with each side of the shiplap board able to be nailed into the joist.
If you want your shiplap to run parallel to your joists, install furring strips perpendicular to your joists that you can nail the shiplap boards into instead.
Measure the ceiling length to determine where you will cut your shiplap boards. Cut them with a miter saw.
If you want to install crown moulding, cut your shiplap boards a little shorter after measuring how far out your moulding will extend.
Apply construction adhesive to the back of your first board.
Glue the board to the ceiling, making sure it is level and perpendicular to the joist.
Nail the board into the joists and into the ceiling where needed. Hold the nail gun at a 45-degree angle to help prevent the boards from shifting against each other.
Repeat this process with your next board.
At some point, you will probably come across a light or vent in the ceiling and will need to cut a hole out of your shiplap to accommodate it.
Hold a shiplap board up to the fixture and mark where you need to cut the hole. Use a hole cutter for circular cuts (can lights) and a jigsaw or multitool for straight cuts (air vent). Depending on how big and where your fixture is, you may have to cut a hole into two shiplap boards.
When you get to the last board, you will likely have to make a rip cut, which means cutting the board parallel to the grain to make it narrower.
Measure the width of the remaining gap between the wall and the rest of the shiplap ceiling. Cut the board to this width using a table saw. A jigsaw can also be used if you are using crown moulding because it will cover up the cut edge.
If you are doing a wood-colored shiplap ceiling, you can skip filling the nail holes as they won’t be visible. If you’re doing a white shiplap ceiling, you’ll probably want to fill the nail holes. You can do this with white caulk.
If you want to paint your shiplap a different color, fill the nail holes with light spackling before painting the entire shiplap ceiling using a paint roller with an extension pole.
There are a bunch of tricks you can try when installing a shiplap ceiling that can make a big difference in your finished project:
1. Allow the wood to acclimate to the temperature and climate of the room in which it will be installed. Leave it in the room for a few days before starting your project.
2. Paint the ceiling behind the shiplap the same color as the shiplap boards. As the wood expands and contracts, a slight joint may open up, exposing the ceiling.
3. Enlist the help of a partner to hold the glued shiplap against the ceiling while you nail it up.
4. Use crown moulding. It will make installing your shiplap ceiling easier because you won’t have to make sure your shiplap boards are cut perfectly to size. Crown moulding will also help hide any rough edges.
5. When you cut holes for ceiling fixtures, don’t worry about creating perfect holes. The light and vent covers will hide any rough edges.
6. If you want to do shiplap on a vaulted ceiling, call a professional local carpenter.
1. Install the shiplap up to the beams, using rip cuts if necessary when you get close to the beam.
2. If some of your joists lie directly under your beams, preventing you from being able to nail your shiplap into the joist, place furring strips next to your beams and nail the shiplap into the strips.
1. Avoid areas that are frequently exposed to water, such as a ceiling inside a shower.
2. Seal the boards with a wood sealant to protect them from moisture.
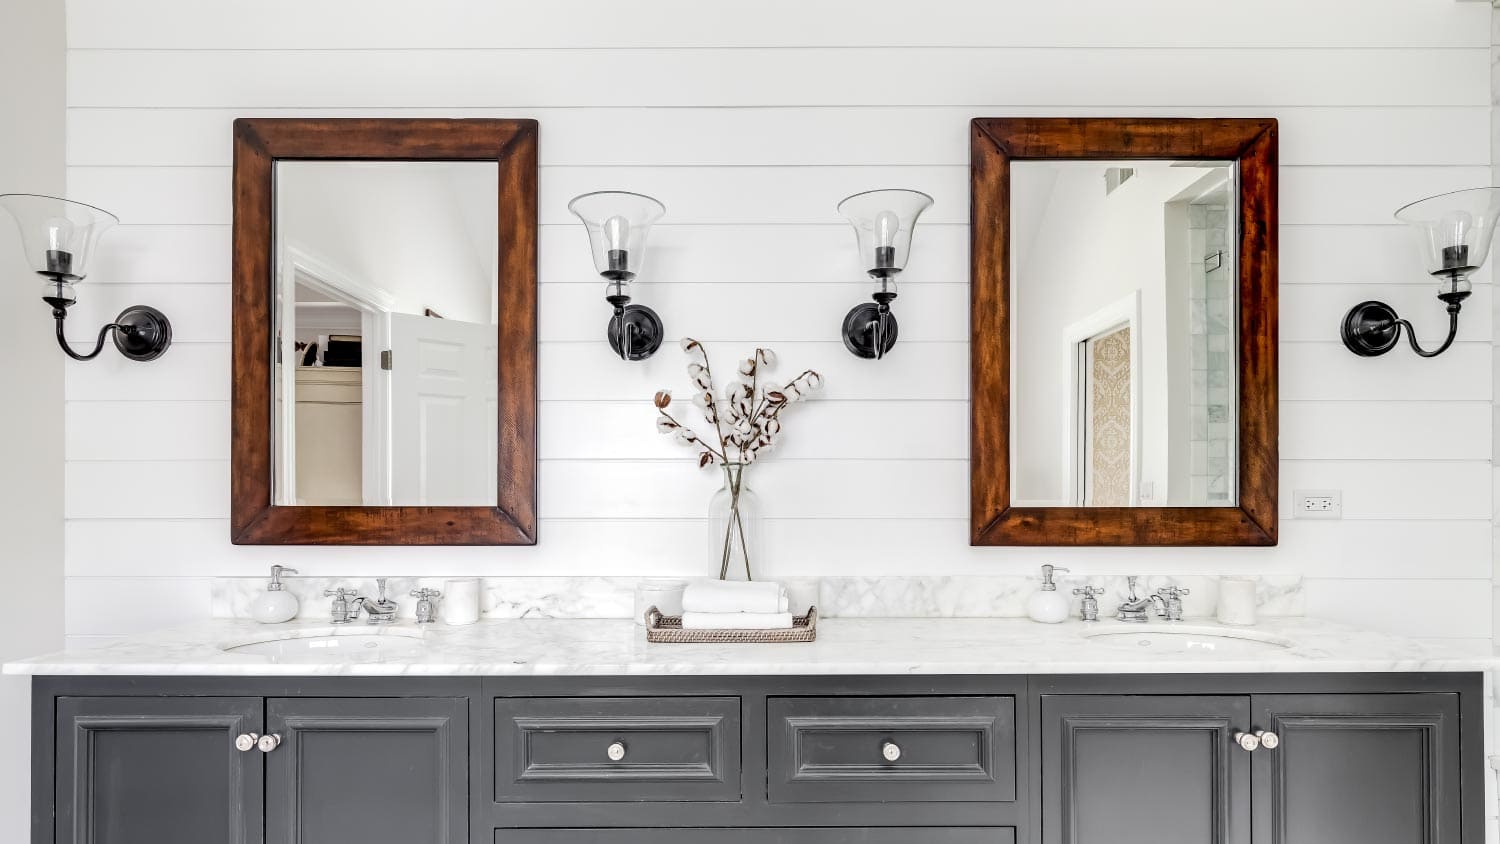
Learn more with our guide to creating a shiplap bathroom.
We have bought and sold numerous times over the past 50 years. Sherman Hall and Top Line are top notch. Thorough and detailed, he explains every possibility, probability, and eventuality. High class and pleasant. The best.
 Top Line Home Inspections, LLC
Supreme Brick & Chimney did a great job with a cleaning and inspection of the fireplace! He was efficient, on time, and very pleasant. The space was kept very clean, and the fireplace was spotless when he was done. He also performed a thorough inspection, and did a great job talking us...
 Supreme brick & chimney
Custom Paint Jobs LLC is the go-to choice for all your painting needs. They painted both the interior and exterior of my house flawlessly. Their work speaks for itself!
They were very helpful with design, very quick to respond, good quality work, and competitive pricing!
On time, clean and finished fast. Windows seem sturdy and the finish is good. Caulking was done with no smudges. Would recommend.
If I could give 10 stars for Kitchen Tune Up, I would. I cannot say enough good things about my experience with Kitchen Tune Up and the entire team involved in the process of my kitchen project. They went above and beyond as far as service and quality with my cabinets, paint, countertops, and...
Beginning with the estimate, Larry and Peyton were super helpful in getting my new condo's interior re-painted. Not only was the job well done, but also done in a super timely manner as promised.
 Five Star Painting of Plain City and Powell
Great job...edging and pre clean up went well with a great job with seal coat. Friendly, efficient and professional.
 All Star Paving and Sealing
We were having 2”x 2” tile installed . There was a small installation error and the new additional replacement tile was from a different lot and the colors didn’t match. Joe assured us that he would rectify everything , which he did without hesitation. We decided to go with the 18” x 36” tile...
 CarifaTile
We live in a condo and had space to add a tall cabinet. The problem was the space was already occupied by our catsâ litter box. We needed to still keep the litter box in that same corner. Beiler Custom Cabinets was able to work with our need and design request. What was created was an...
From average costs to expert advice, get all the answers you need to get your job done.
The cost to install shiplap siding or wall surfaces in your home depends on several factors, including the material type and the size of your project.

Drop ceilings are an affordable way to finish your room while maintaining access to utilities. Use this drop ceiling cost guide to estimate your project total.
Wondering how much it costs to remove an acoustic ceiling? Get cost estimates, key factors, and expert tips to help you plan your ceiling update.
From modern farmhouse to just plain modern, these shiplap wall ideas prove shiplap works with any decor style. Get inspired now.
Adding shiplap to your bathroom can enhance your home’s charm. However, there’s a right way and a wrong way to do it. Use this guide to learn more.
You may consider shiplap versus tongue and groove panels for your dream home. Learn the differences of these materials, from cost to installation and more.