
•
Get transparent wallpaper removal cost info to learn average prices, key cost factors, and tips to save on your wallpaper removal project.
Spoiler alert: Don’t overthink it

Your peel and stick wallpaper application tips start with cleaning the wall thoroughly and allowing 24 hours to dry before applying wallpaper.
Starting your first wallpaper panel in the middle of the wall with a level keeps your pattern straight and aligned throughout the project.
Peel off the backing 6 to 8 inches at a time while smoothing gently as you go to avoid bubbles and misalignment.
Hiring a local wallpaper installation professional provides expert help with pattern matching and seam alignment, ensuring your walls look polished and professional.
Peel-and-stick wallpaper offers an easy way to totally rejuvenate your interior—or at least, it’s supposed to be easy. But when faced with the daunting task of perfectly aligning a pattern, many decorators freeze. Fortunately, with these nine tips for peel-and-stick wallpaper applications (and just a little bit of planning), it really is as easy as peel, stick, and enjoy.

The first step to a great wallpaper experience has nothing to do with actually applying the wallpaper and everything to do with the wall itself.
After turning off the power and removing the outlet covers and light switch plates (which you’ll need to do to get the best coverage with your wallpaper anyway), clean and dust the walls with a soft, damp cloth. Then, give the walls a full 24 hours to dry. This step can also stop peel-and-stick wallpaper from damaging your walls.
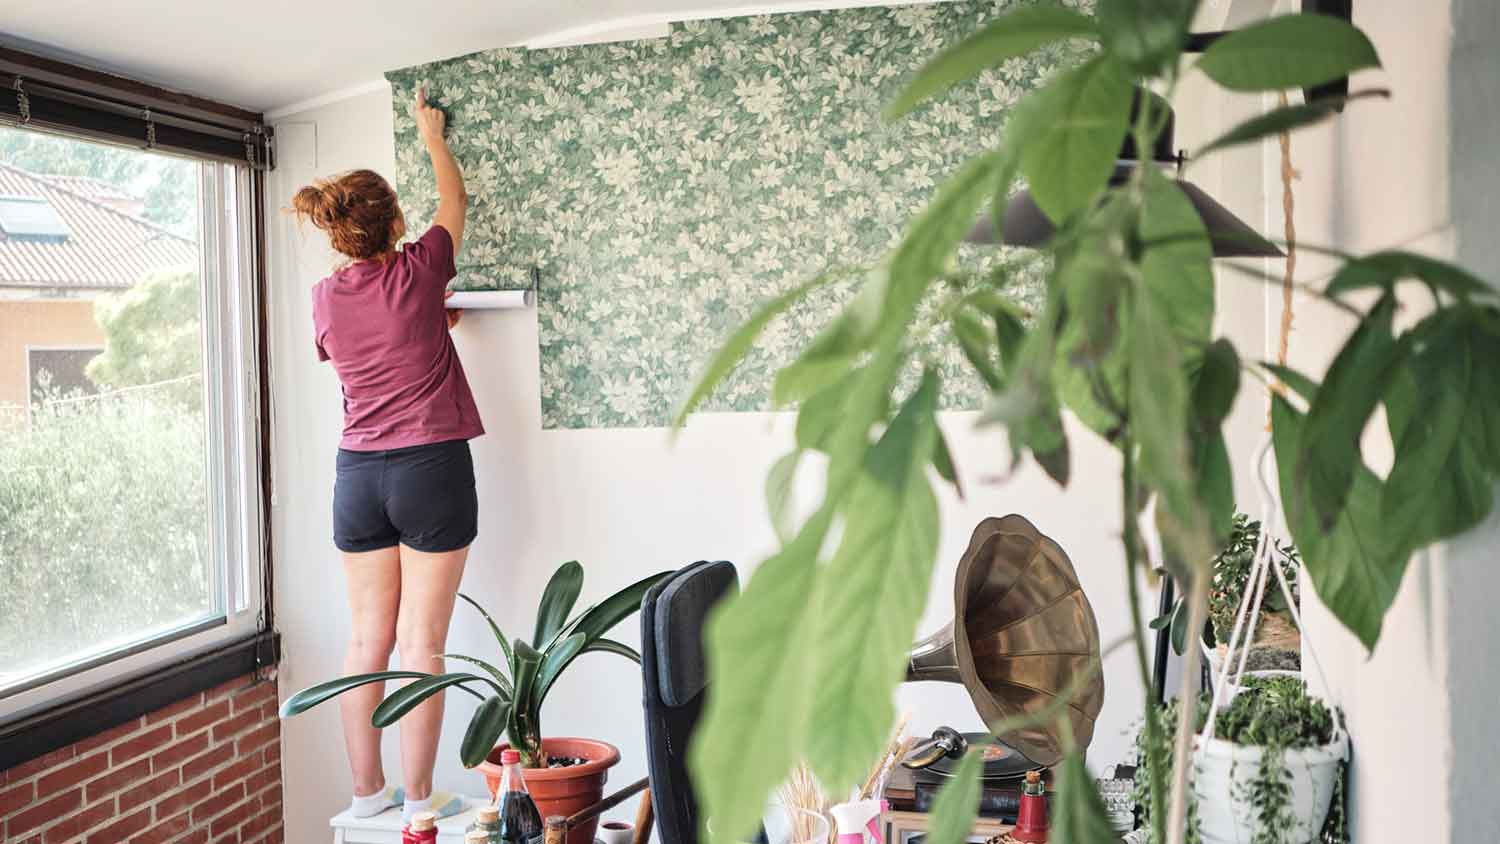
Although it might seem like a good idea to start at a corner or edge, it’s often easier to line up your pattern if you start in the middle of your wall instead. It can also make it easier to keep your wallpaper straight as you go.
Here’s the caveat, though: That first panel you stick needs to be perfectly straight, which means it’s time to get out your level and a pencil. Before you peel and stick, you should place, level, and trace. Then, you can move forward with confidence. Consider using a laser level if you have access to one.

If it’s taking you half an hour to get your first wallpaper panel perfectly aligned, you may find yourself despairing about how long the entire project is going to take. But don’t worry: The first panel is supposed to take the longest, and investing enough time in this step can help make the rest of the project flow much more quickly.
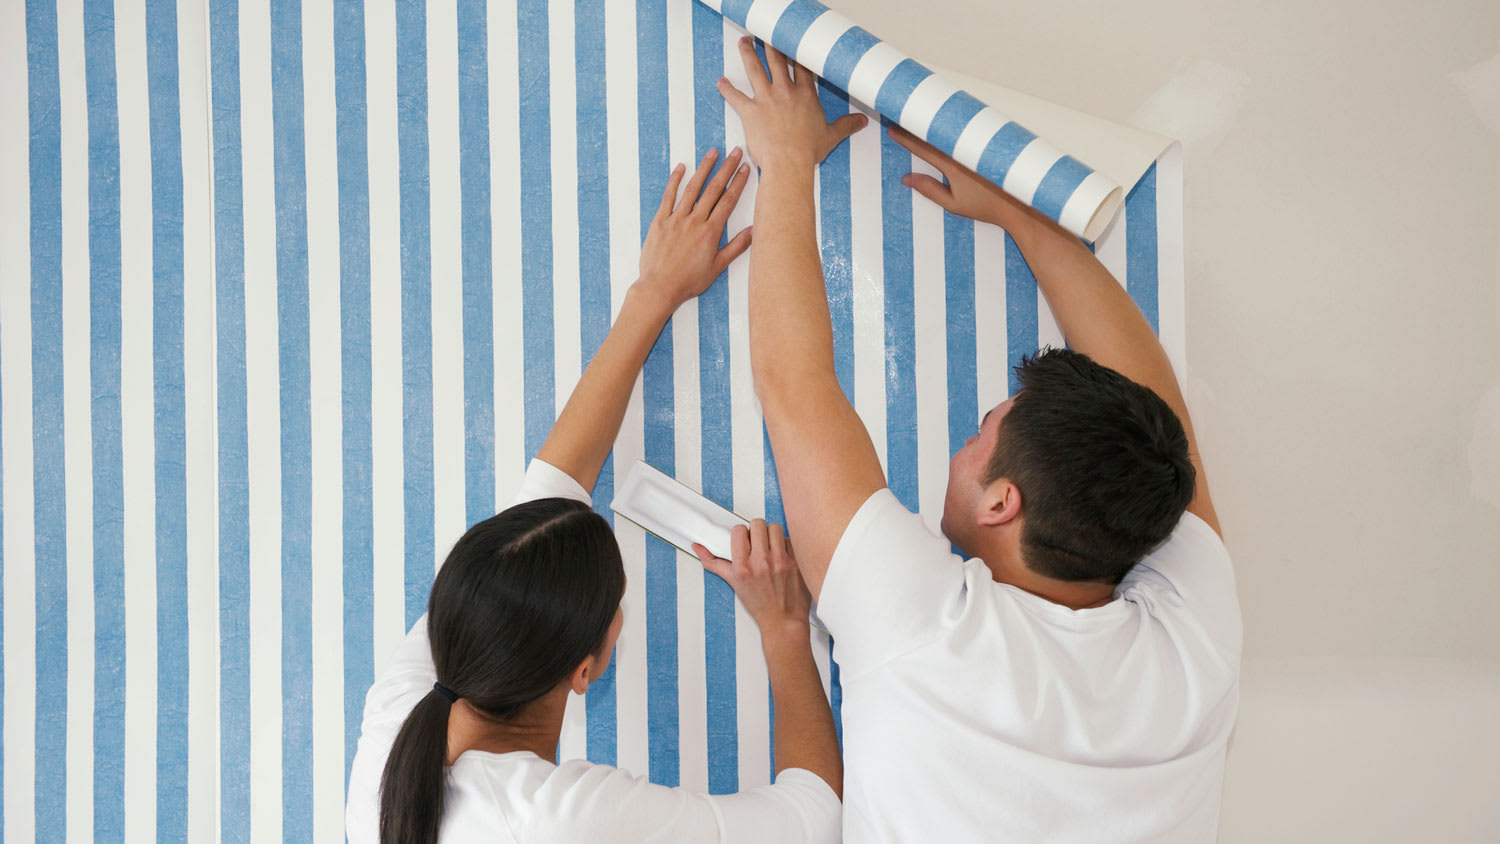
If you peel off the entire backing of a panel of wallpaper at once, it’s a lot easier to accidentally stick the bottom somewhere it’s not supposed to go while you’re trying to work very delicately with the top of the sheet.
Instead, peel back 6 to 8 inches, begin sticking, and peel off the backing as you go. That way, you’ll be less likely to accidentally wind up with crooked paper. Many peel-and-stickers find their projects turn out best when they start at the top of the sheet rather than the bottom. And don't start right at the edge of the ceiling or crown molding.
Along with peeling off a little bit of backing at a time, you’ll want to slowly smooth down your wallpaper panel as you stick it, but beware of using anything too strong or forceful to do so.
Scraping down your wallpaper with a wooden rod or credit card could cause tears, exacerbate bubbles, or mess up the pattern. Instead, you can use a wide plastic tool designed for this purpose, or even just an extra roll of wallpaper. Once you get to the edge of your floor or molding, use a utility knife to cut off the excess.
It happens even to the most careful decorators: the dreaded bubble. Fortunately, you can safely pop small wallpaper bubbles without affecting the pattern in a way that will be noticeable. Use a utility knife, pin, sewing needle, or another very sharp edge to poke a tiny hole in the center of the bubble. Smooth it down and voila.
Once your wallpaper arrives, remove it from its packaging and leave it in the exact room you're installing it in for a minimum of 24 hours. This allows your wallpaper to acclimate to that room's environment, reducing the risk of shrinkage and potentially saving you money by not having to order more.

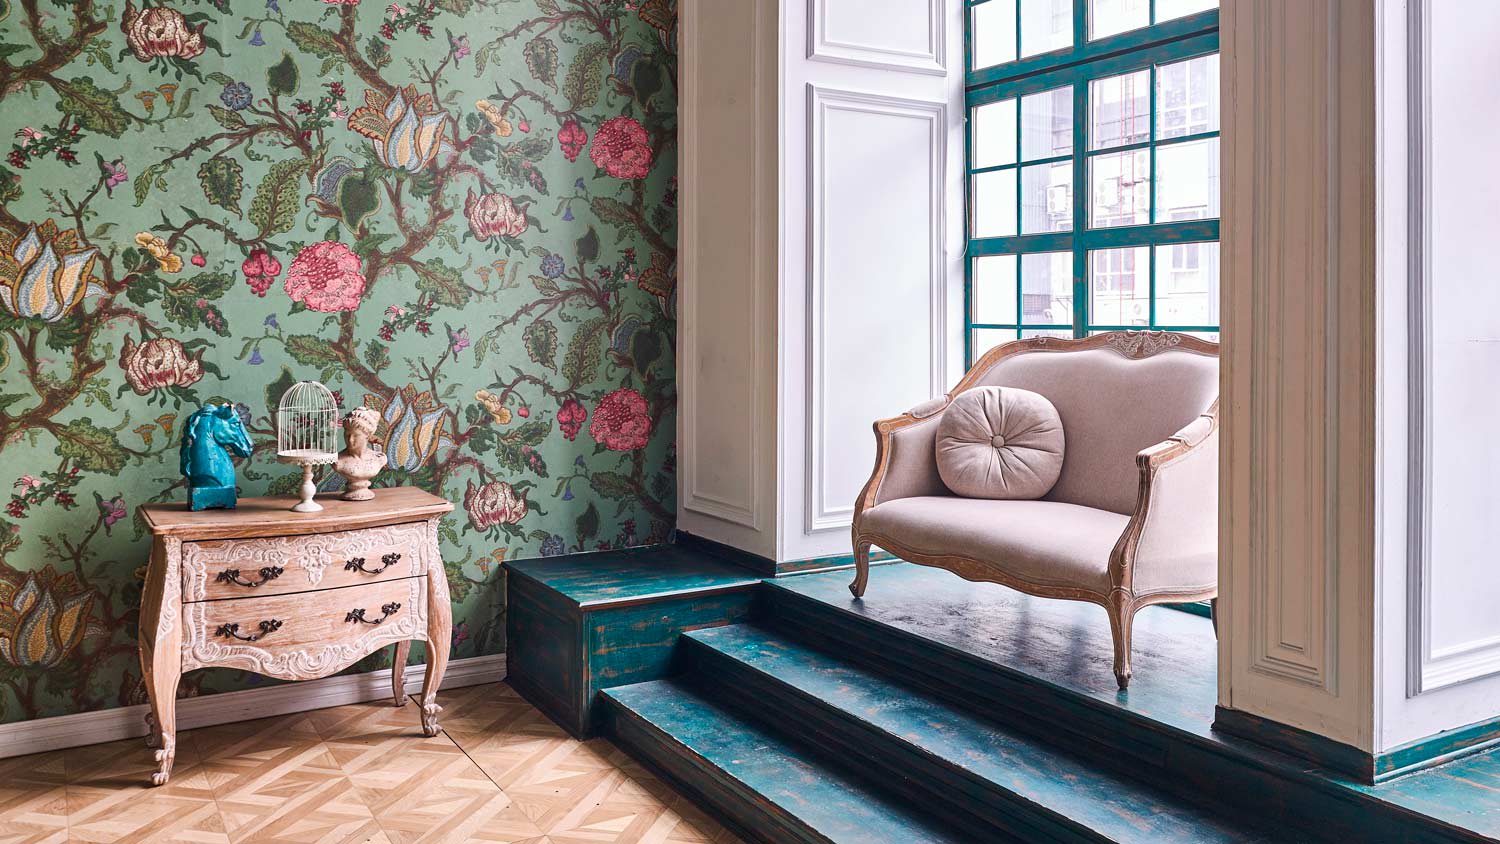
Matching up wallpaper seams is one of the hardest parts of the whole project—particularly if you’ve chosen an exacting pattern with a lot of straight lines. A busier pattern, such as a floral one, means that you (and visitors to your home) may not even be able to tell the difference if things don’t line up just right.
If you don’t want to settle for anything less than perfection, your local wallpaper pro can help make it happen—the first time.

Last, but not least: Make sure you buy more wallpaper than you estimate you’ll need to cover your wall. That way, if there is some major malfunction, you’ll have plenty left to use. If you end up with excess wallpaper, all the better. It’s great to use as a shelf liner, cabinet backing, or as part of kids’ art projects—or adults’ art projects, for that matter.
Custom Paint Jobs LLC is the go-to choice for all your painting needs. They painted both the interior and exterior of my house flawlessly. Their work speaks for itself!
Beginning with the estimate, Larry and Peyton were super helpful in getting my new condo's interior re-painted. Not only was the job well done, but also done in a super timely manner as promised.
 Five Star Painting of Plain City and Powell
From average costs to expert advice, get all the answers you need to get your job done.
Get transparent wallpaper removal cost info to learn average prices, key cost factors, and tips to save on your wallpaper removal project.
Is peel-and-stick wallpaper removable? Find out how to remove temporary wallpaper without causing damage to your walls.

Learning how to install peel-and-stick wallpaper doesn’t have to be a hassle. Figure out which steps you need to take to have a successful DIY installation.
Does peel-and-stick wallpaper damage walls? Ultimately, it depends on application, adhesive strength, and even removal techniques. Find out more in this guide.
How long does peel-and-stick wallpaper last? Learn more about the factors that influence the lifespan of removable wallpaper, including quality and material.
Ready to refresh your home? Learn how to apply peel-and-stick wallpaper for a temporary update to any room in your house.