
Attic fan installation costs vary based on location, fan type, and other factors. Get the cost breakdown for labor, materials, and additional extras so you can work out your budget for this essential home renovation project.
Defeat the heat with a solar attic fan

It’s easy to overlook, but like the rest of your house, your attic requires a bit of attention throughout the year so that it doesn’t get too hot in summer or collect too much moisture in winter. Adding a solar attic fan can help with both of these issues, keeping your attic well-ventilated and relieving pressure on your HVAC system. We recommend hiring a professional for this job, but if you’re curious about the steps involved, you can keep reading to learn how to install a solar attic fan.
Solar attic fans offer many advantages, including adding much-needed ventilation to the stuffiest area of your home and helping reduce your energy bills. However, to experience all these benefits, your attic must be sealed off from the rest of your house before you kick off your solar-powered attic fan installation.
Otherwise, the fan can suck cool, air-conditioned air from the rest of your home and push it out through your attic vents, wasting energy and potentially raising your cooling costs. If there are any gaps or cracks between your attic and the rest of your home, close them up before installing an attic fan.

When it’s up and running, your fan will move hot air out of your attic, replacing it with cool air from outside. For this to work, you must have adequate ventilation in your attic—specifically, about 1 square foot of ventilation per 300 square feet of attic space.
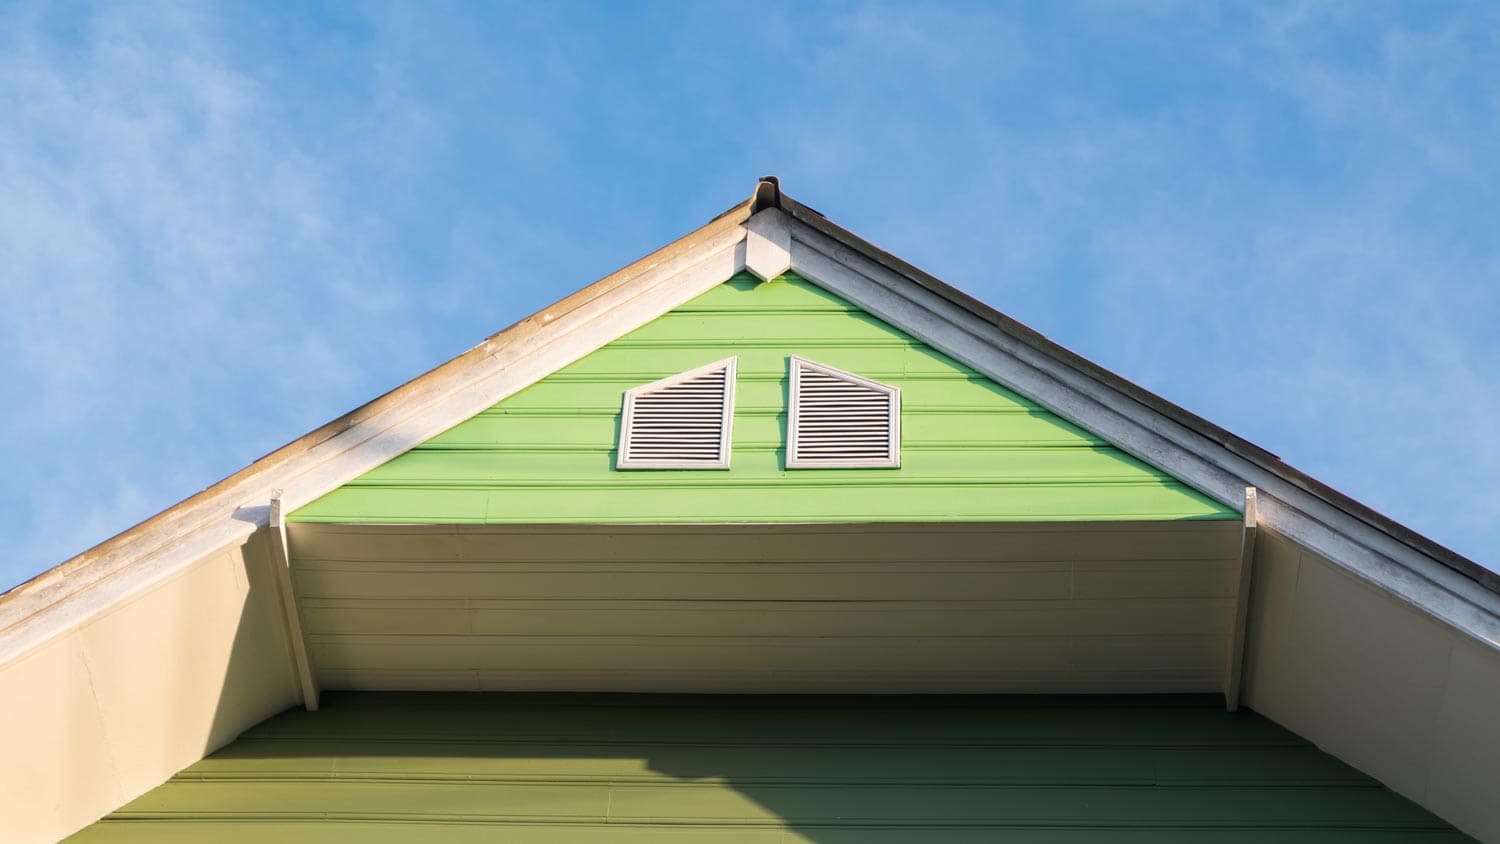
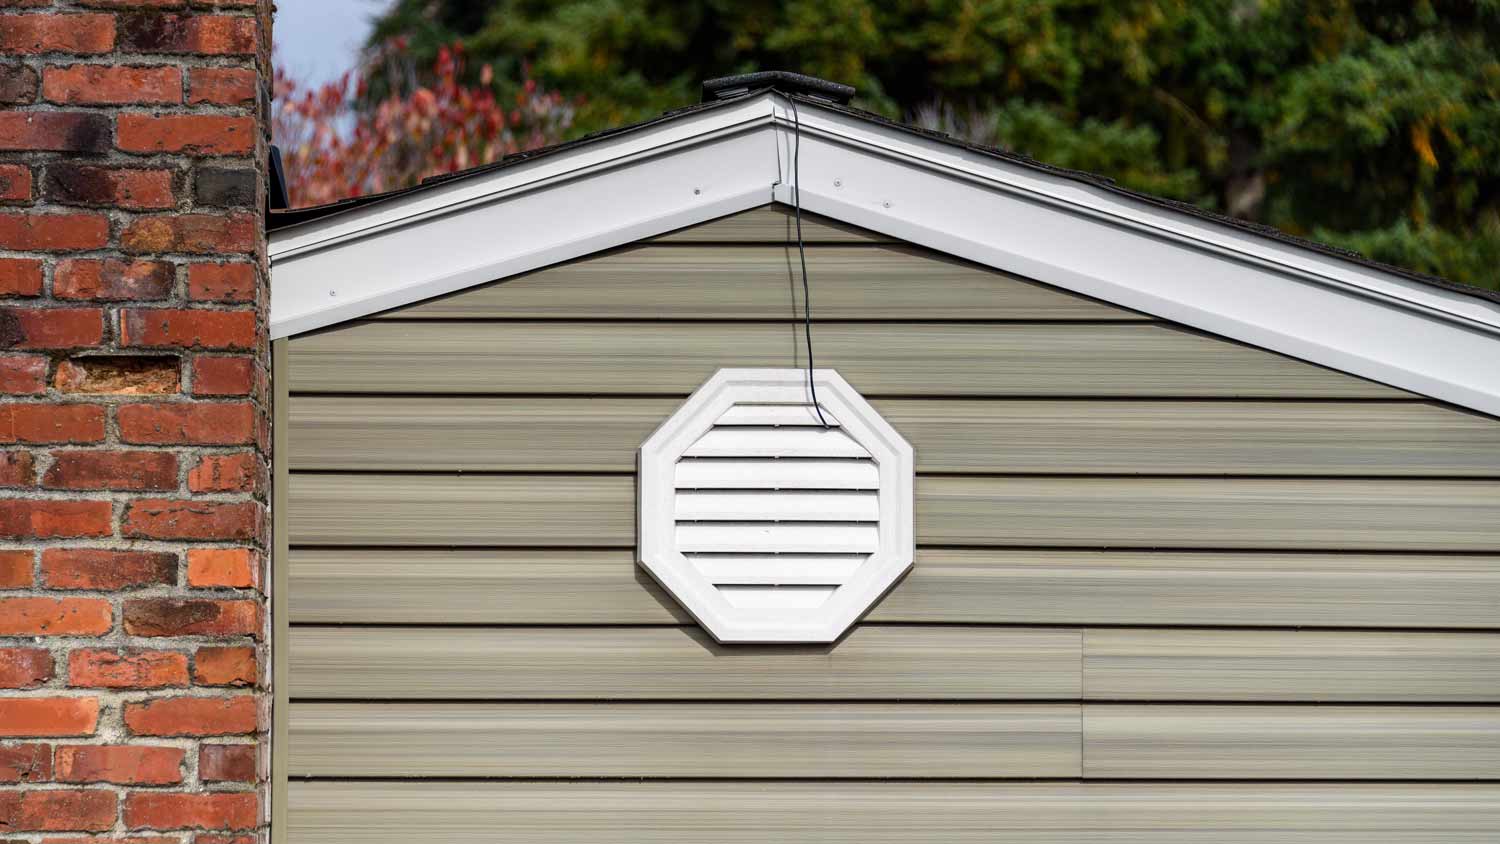
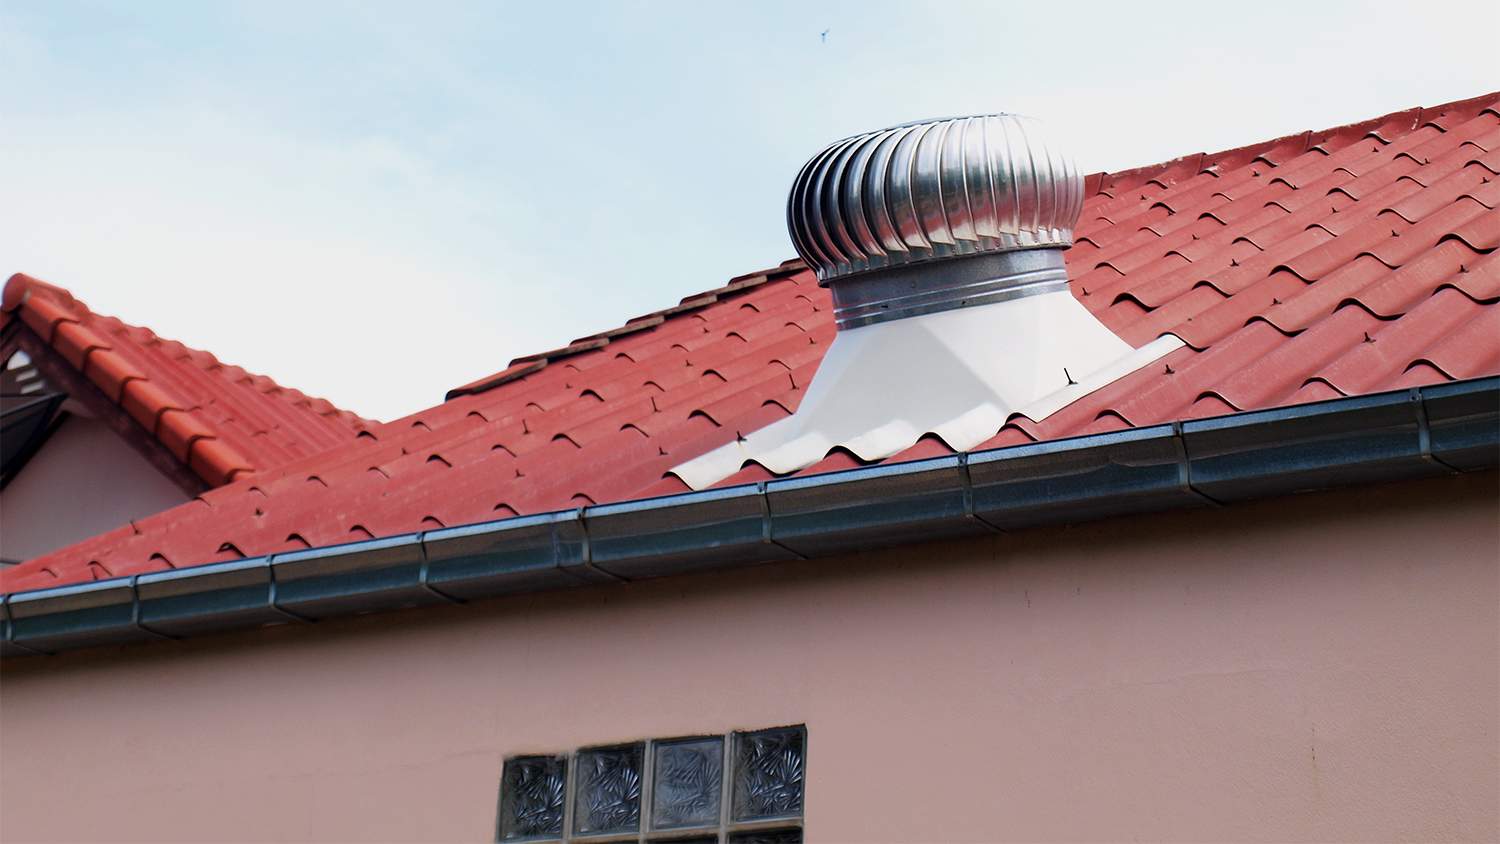
If your attic doesn’t meet this recommendation, there are several ways to increase its ventilation, such as inserting roof and gable vents.
There are a few factors to consider when deciding where to install your solar attic fan. For starters, because these fans run on sunlight, you’ll want to position yours on the part of your roof that receives the most sunshine. (If you live in the United States, the ideal spot is on the south-facing side of your roof.)
Then, head into your attic to pick a specific location. Generally speaking, you’ll want to choose a place between two rafters and a couple of feet (or more) beneath your roof ridge. However, every fan model is different, so it’s best to check your manufacturer’s installation instructions for specific guidelines on where to place your fan.

Use a tape measure to find the distance between the two rafters where you’ll install the fan, then mark the center point with a marker. With a hammer or drill, drive a nail or screw through that center point so that you can easily see it when you’re on the roof.
If your solar attic fan came with a circular template, grab it and head outside. If not, take a large piece of cardboard and set the fan on top of it. Trace the outline of the fan’s base with a marker, then cut out the template.
After inspecting your ladder (and following all other important ladder safety tips), climb up to your roof and find the spot you marked. Place the template on top (with the nail or screw in the middle of the circle), and use chalk to outline the diameter over your shingles.

With a reciprocating saw, cut along the chalk line to create a hole in the roof. Be careful not to cut through the rafters or any other structural elements.

Before attaching the fan to your roof, you’ll need to lift the shingles around the hole so there’s room for the flashing to slide underneath the shingles. The method for this will depend on the type of shingles you have, but you may need to gently loosen the shingles with a pry bar or pull out any nails or staples to remove individual shingles.
Test the fit by sliding the fan over the hole, making sure that the flashing goes between the shingles and roof sheathing. Remove the fan and apply weatherproof roofing sealant to the bottom side of the base (near the outer edge). Put the fan back into place over the hole, taking care not to get any sealant on the roof.
Secure your fan to the roof using the nails or screws that came with it. (If you aren’t sure where they go, consult your installation guide.) Add another layer of sealant around the flashing and nails or screws.

If you removed any shingles around the opening, put them back in place using a hammer and roofing nails.
If you’re on a budget, you might be tempted to save money by tackling this project without professional help—especially if you already have the tools for the job. Exact costs depend on the type of fan you buy, but in general, it will take a few hundred dollars and the better part of an afternoon to install it yourself. If you hire a pro, solar attic fan installation costs between $300 and $1,000 and generally only takes a couple of hours.
However, there are a few reasons why it’s better to let a local attic fan installer handle this job. For starters, adding a solar attic fan to your home involves cutting a hole in your roof—and if you make a mistake, repairing it can be quite costly. It’s also important to seal the opening properly; otherwise, you could end up with water damage in your attic.
I normally do not leave reviews, but my experience with Worthington Air was extremely frustrating and disappointing. About 30 days ago, I had a consultation done for an HVAC replacement and was quoted approximately $15,079. Based on that quote, I applied for financing through their company...
Great company! Price was competitive, technician showed up on time and completed the job (exterior electric Radon fan replacement) quickly. Would hire them again.
Raven and crew does absolutely fantastic job. They are very professional if any concerns were to occur with any of her work she always took responsibility and finished out with a great job. I have worked with her business for a year and have always been satisfied. Very trusted business and...
I would recommend this company to anyone! He showed up on time, was friendly, completed a very difficult repair on our dryer vent cover, was responsive, and pricing was extremely fair and competitive. I would have him back to do any of our repairs or cleanings without hesitation!
Ace Fireplace Services' chimney sweep service is truly exceptional. They used advanced technology to ensure a thorough cleaning process, and my chimney has never looked better. I highly recommend their services.
 Ace Fireplace Services
The technician was very professional and friendly. He answered all my questions and was very thorough. He left the fireplace area very clean . He inspected from the roof and advised me as to other work that might need to be done. There was no pressure there. I was very satisfied with the...
 Supreme brick & chimney
Excellent experience with hiring Tether House to Mount our 77’ Samsung TV in our bedroom. Fast, friendly, and knowledgeable. Highly recommend.
On time, clean and finished fast. Windows seem sturdy and the finish is good. Caulking was done with no smudges. Would recommend.
Great job...edging and pre clean up went well with a great job with seal coat. Friendly, efficient and professional.
 All Star Paving and Sealing
Good workers and they do a good job.
From average costs to expert advice, get all the answers you need to get your job done.
Attic fan installation costs vary based on location, fan type, and other factors. Get the cost breakdown for labor, materials, and additional extras so you can work out your budget for this essential home renovation project.

Get a clear estimate for attic fan repair costs to learn what impacts pricing, how to save, and whether to repair or replace your attic fan.

Whole-house fans can help reduce your electric bills by providing ventilation and cool, fresh air. Use this whole house fan cost guide to price out the project.
A new or replacement attic fan will help your home stay well-ventilated and cool. If you're sold on the idea, learn how to install an attic fan in this guide.
Asking and answering these attic fan questions will help you understand how a fan can help maintain your home’s temperature and protect against humidity.
Learn how to hire an attic fan installation pro. Find qualified electricians, HVAC specialists, and roofers for safe, efficient installation.