
Harvesting your own rainwater is surprisingly simple. A rain barrel costs very little compared to how much you’ll save—and Mother Earth will thank you, too.
This beautiful garden element is right as rain

A rain chain is a beautiful alternative to a traditional downspout and makes for a tranquil water feature in any garden. Rain chains function similarly to how downspouts work, guiding rainwater from your gutters and away from your home’s foundation—sometimes into a pot, rain barrel, or garden bed.
Here are nine steps to install a rain chain on your property.
Rain chains come in various styles, from decorative copper designs to simple brass chains. But before you buy your rain chain kit, calculate the distance from your gutter to the ground to figure out how long it needs to be.
Rain chains make a pleasant “tinkle” sound when the water hits them, so you may want to hang them near a window, patio, or deck. You’ll also need to decide what should be at the bottom of the rain chain to catch the rainwater. Some ideas include:
A stone-filled ceramic or terracotta pot
A planter pot with water-loving plants (you will need to adapt to ensure plenty of drainage)
A rain barrel
An existing garden bed with water-loving plants that is sloped away from the house
Remove the downspout from the gutter and place the rain chain into the opening. If you decide to install the chain where there isn’t already a hole, you’ll need to drill one. Follow the rain chain’s manufacturer’s instructions for how large a hole it requires (it will vary from kit to kit).
Measure the distance from the hole to the ground. Most rain chain kits have an adjustable length. You will have estimated this length before buying it based on the height of your roofline.

You can buy a rain chain kit at most garden centers, home improvement stores, or your local hardware shop. While there are a variety of styles, each kit should contain lengths of chain and small cups to slow the water down as it leaves the gutter. Check the measurements of your rain chain against the distance to the gutter, as each type of gutter is different. Once you’ve assembled the rain chain, set it aside temporarily.
Now that you know where your rain chain will hang, dig a hole that is a few inches wider than the pot or rain barrel’s width and about six inches deep.
Regardless of whether you’re putting it in a planter, a type of rain barrel, or a pot of stones, fill the hole with small pebbles or 3/4 inch stone.
Be sure any pot you use has plenty of drainage holes. Fill the pot three-quarters full of the same pebbles or stones you placed in the hole.
Pro tip: If you plan to plant water-loving plants, fill the pot with about one-quarter full of stones, but don’t add soil or plants yet.
Safely climb your ladder and hang the rain chain. Your kit will have either a gutter bracket or V-hook designed to fill the hole and allow you to attach the chain.

Your next goal is to center the chain in your container and anchor it with more stones. Here’s how:
Direct the chain to the center of the pot and fill the pot the rest of the way with pebbles.
Add larger, heavier stones on top to anchor everything in place.
If you are planting water-loving plants, instead of adding rocks to the top:
Direct the chain toward the center of the pot, and add a few stones to hold it in place.
Add potting soil to fill the pot three-quarters full. Keep the soil level lower than you would otherwise to avoid it all flooding back out.
Add your plants.
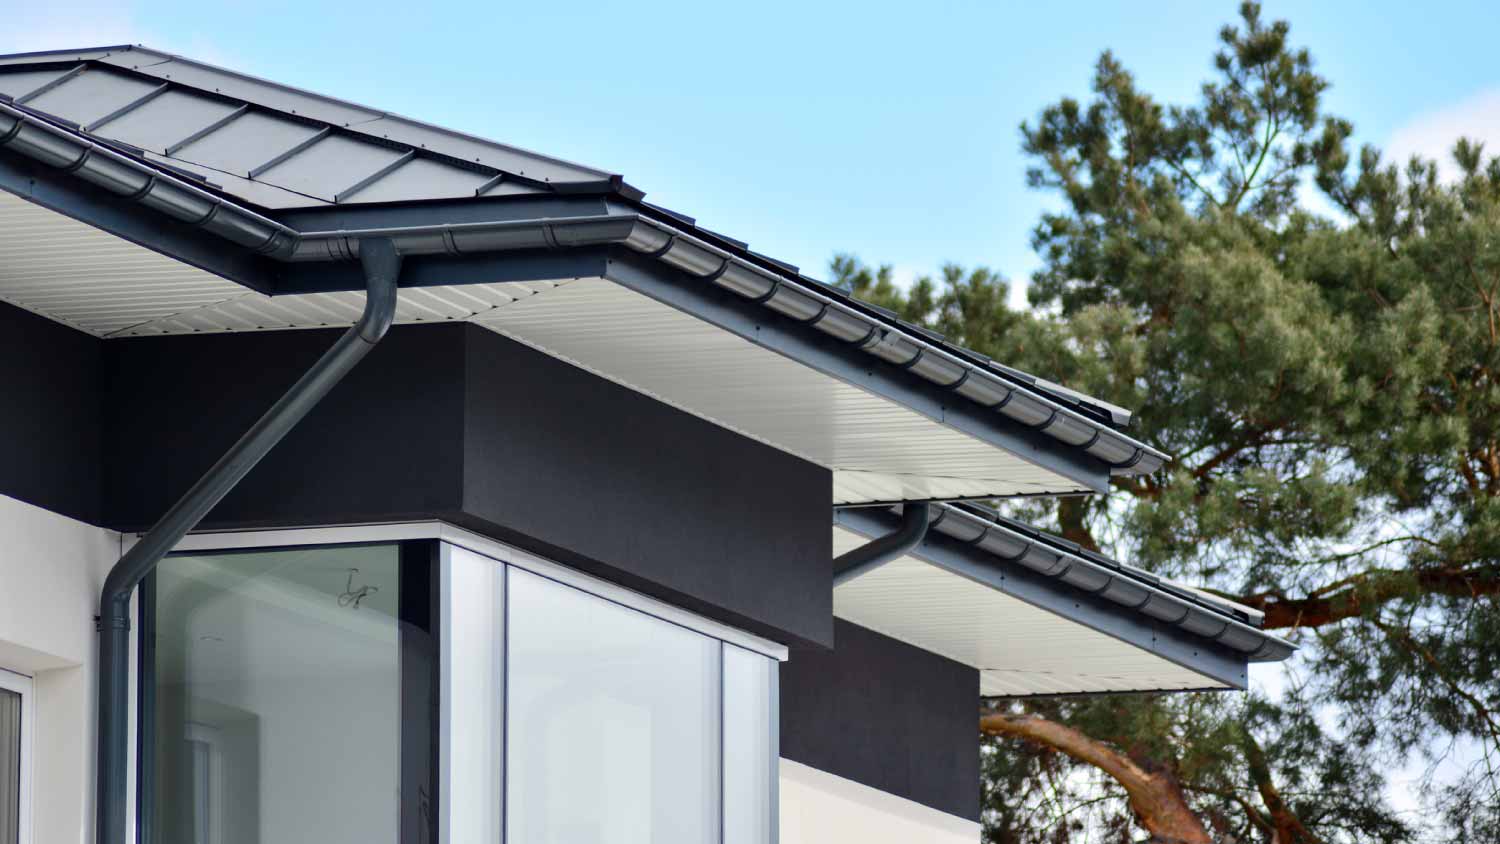
A gutter is a shallow trough that is attached under the edge of a roof to direct water away from the home. Meanwhile, a rain chain is composed of several decorative cups or small basins strung together to guide water from the roof to the ground in a cascading fashion. While a rain chain can be a great way to divert water from your home's foundation when looking for gutter alternatives, it won't always be the best solution. In some cases, a rain chain works better as a supplemental feature. People love rain chains because they are easy to install, provide aesthetic value, and offer an eco-friendly method of rainwater management that allows you to reuse water. However, rain chains do have their downsides.
In areas of high rain, gutters can be better than rain chains because they have much higher water capacity. A rain chain is more likely to overflow during an intense storm. Additionally, rain chains have more issues with splashing compared to traditional gutter systems with controlled and rigid downspouts. As a rain chain allows water to flow downward freely, water buildup can splash onto decks, siding, sidewalks, and other areas that can suffer from water damage.
A gutter system may be better in cold climates. Rain chains can underperform in areas with icing and freezing. Water that freezes while traveling down the chain can weigh down and break the chain.
In areas with high rain, a gutter can provide better stability. Strong winds have the potential to blow water off of the chain system. Additionally, the soothing sound of rain going down a rain chain during winds and heavy rains can actually be disturbing for some people compared to the more subdued sound of water rushing down a gutter.
While both gutters and rain chains require regular maintenance and cleaning, handling rain chains can be a more time-consuming task. In most cases, cleaning gutters with a pressure washer will be enough to keep gutters in top shape by clearing out debris. Rain chains require a slightly more personal approach that involves wiping every inch down by hand due to their delicate nature.
Installing a rain chain is a relatively straightforward project, as most rain chain installation kits come with everything you need. However, it almost always involves climbing a ladder. If this is not something you’re comfortable with, consider hiring a local handyperson to take care of it for you. Expect to pay about $50 per hour for a handyperson. You’ll want to buy the rain chain kit yourself in advance. Kits cost an average of $100 but can range from $50 to $150 or more.
Positive experience. As previously stated, the replacement/repair could not be completed (no fault of the plumbing tech) b/c misinformation was rec?d by property management maintenance. Thanks to the plumbing tech for your efforts. Appreciate you!
 The Waterworks
Carpet repair done well. Scheduling was easy. Showed up on time.
Cole has been handling plumbing and general contracting for our four properties over the past three years, and he’s always done a great job. Most recently, he installed a sink and countertop in our retail store where none existed before, and it turned out exactly how we needed. He’s...
 ANB Renovations LLC
I am highly satisfied with the window replacement service I received; the professionals from Savvy Exteriors were punctual and did an amazing job that exceeded my expectations.
I would recommend this company to anyone! He showed up on time, was friendly, completed a very difficult repair on our dryer vent cover, was responsive, and pricing was extremely fair and competitive. I would have him back to do any of our repairs or cleanings without hesitation!
Everything from initial contact to completion was absolutely top notch. We contacted the business during off hours to leave a message, and the owner still reached out to feel out the issue within minutes. We were scheduled and repaired within 48 hours. I cannot say enough about the...
 Supreme brick & chimney
Ace Fireplace Services came to the rescue for my chimney repair. They were quick to pinpoint the issue and worked their magic to fix it. My chimney is now in excellent shape, and I'm a satisfied customer.
 Ace Fireplace Services
On Sunday 2/26 I requested quotes via Angi from 4 refrigerator repair businesses. Northwest Appliance responded to me Monday morning (2/27) and my refrigerator was repaired by noon the same day. Great communication, they did everything they said they would. The technician had the parts on...
When we had the winter freeze, I called Quantum Waterworks Waterline & Drain Cleaning Services and within 1 hour I received an e-mail and he sent someone out the next day and he was on time, he was nice and did the job quickly and cleaned up after himself. We had a leak in our kitchen from...
Window depot replaced all 14 windows in my house, front door and added a new back door. They did a wonderful job with some tricky windows in this old house. They were quick but efficient and cleaned up everything inside and out. I have already passed their contact information on to my...
From average costs to expert advice, get all the answers you need to get your job done.
Harvesting your own rainwater is surprisingly simple. A rain barrel costs very little compared to how much you’ll save—and Mother Earth will thank you, too.
Chain-link fences are among the most affordable options available. Use this chain link fence cost guide to see what your fence installation will total.

Rain chains replace downspouts or gutter systems while adding beauty to a home. Keep reading to learn what a rain chain is and whether one is right for you.
Common gutter alternatives include rain chains, French drains, drip edges, and rain dispersal systems. Keep reading to see which gutter alternative is best.
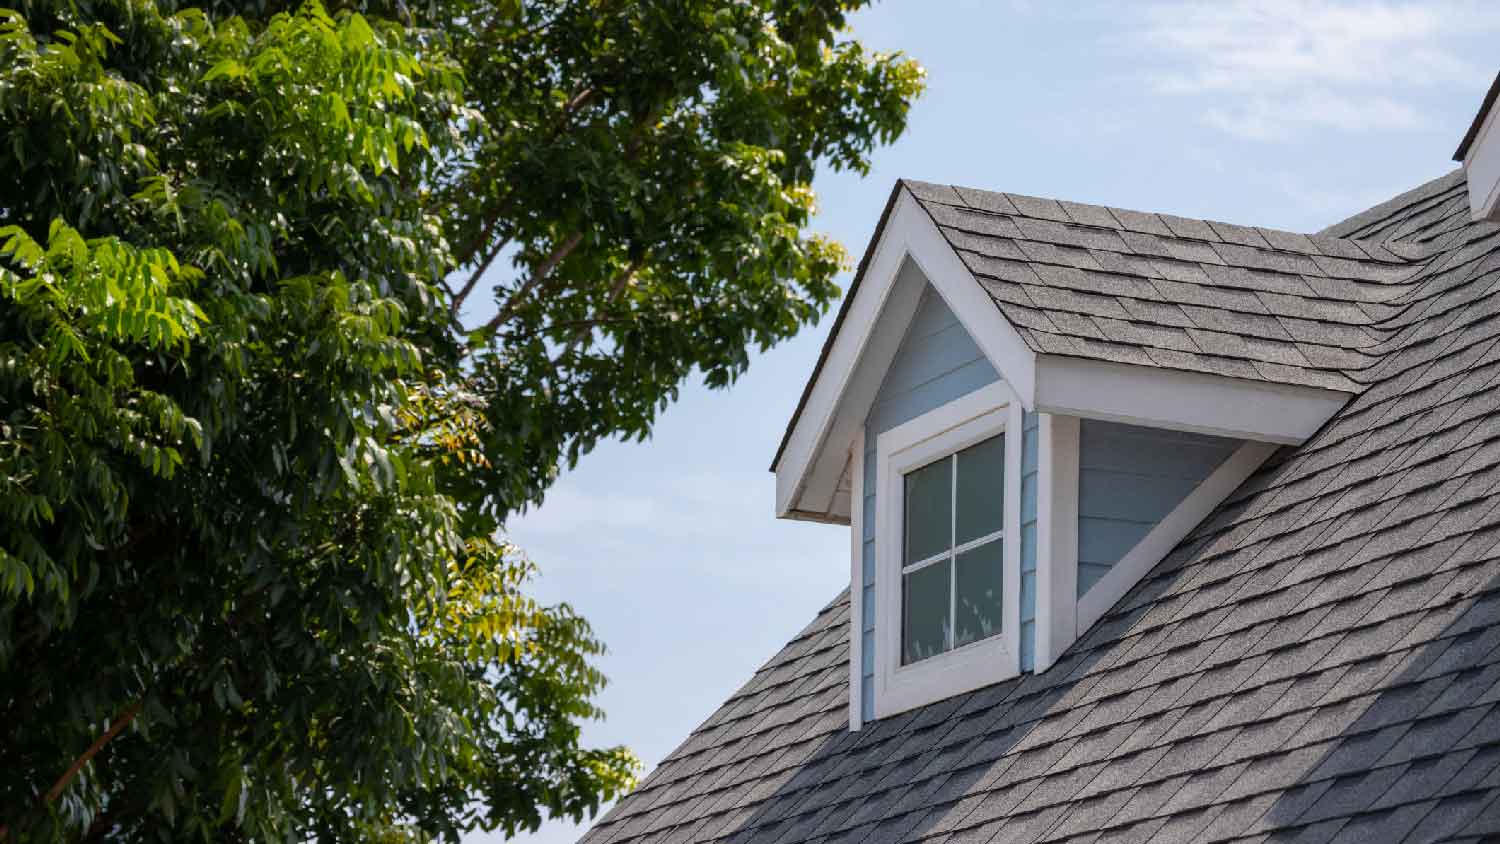
Installing shingles in the rain can be dangerous and damage your home. Learn why you should avoid it and what to do if it rains while you’re working.

Ease, availability, price, and effectiveness make rain barrels a great water conservation tool for your home. Check out these benefits of rain barrels.