
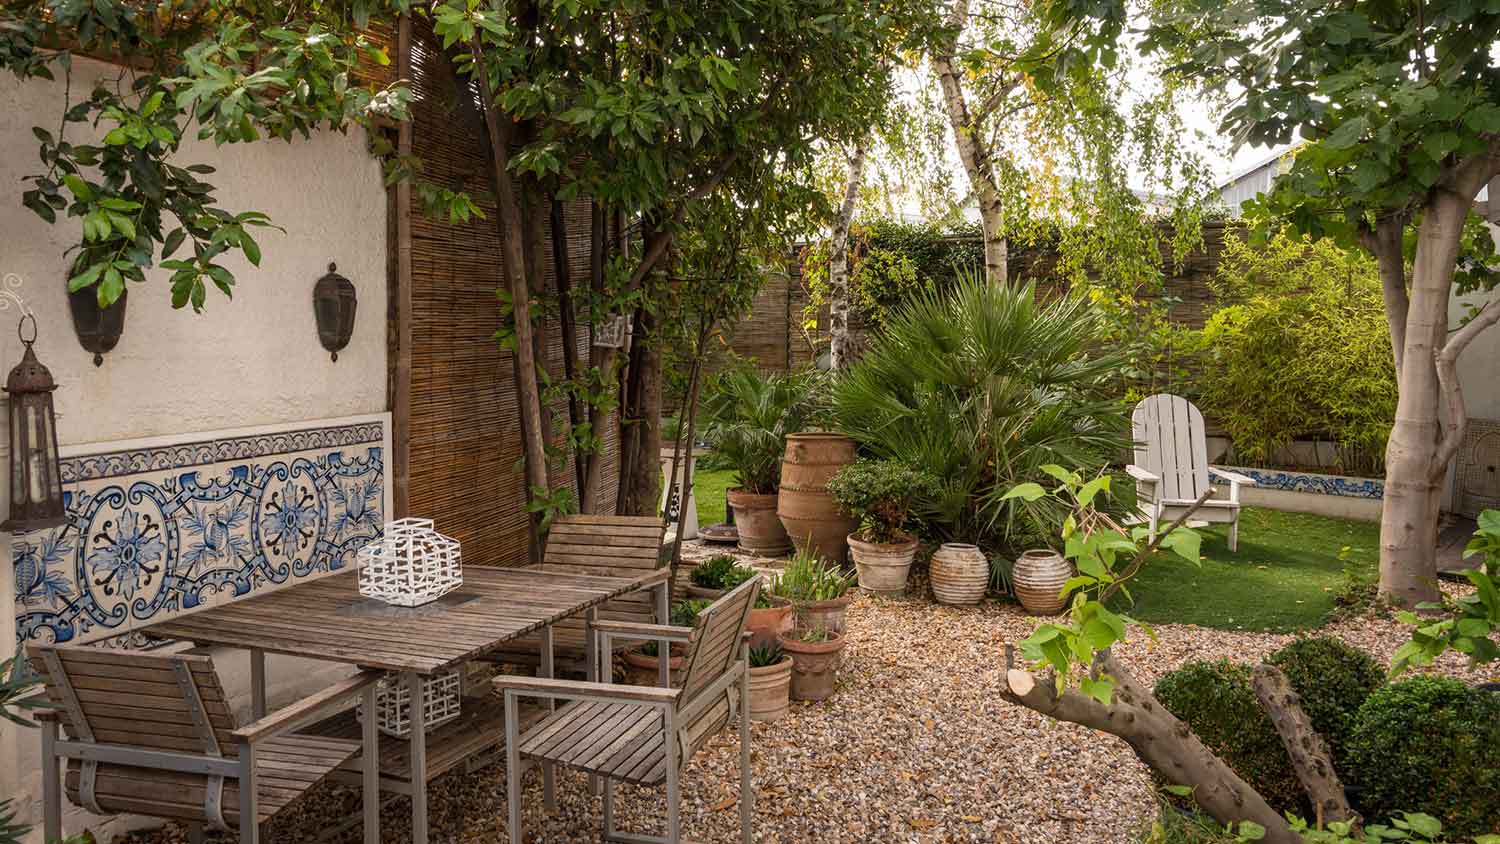
Looking to elevate your backyard aesthetic with a patio? Use this paver patio cost guide to help you estimate your total project cost before you get started.
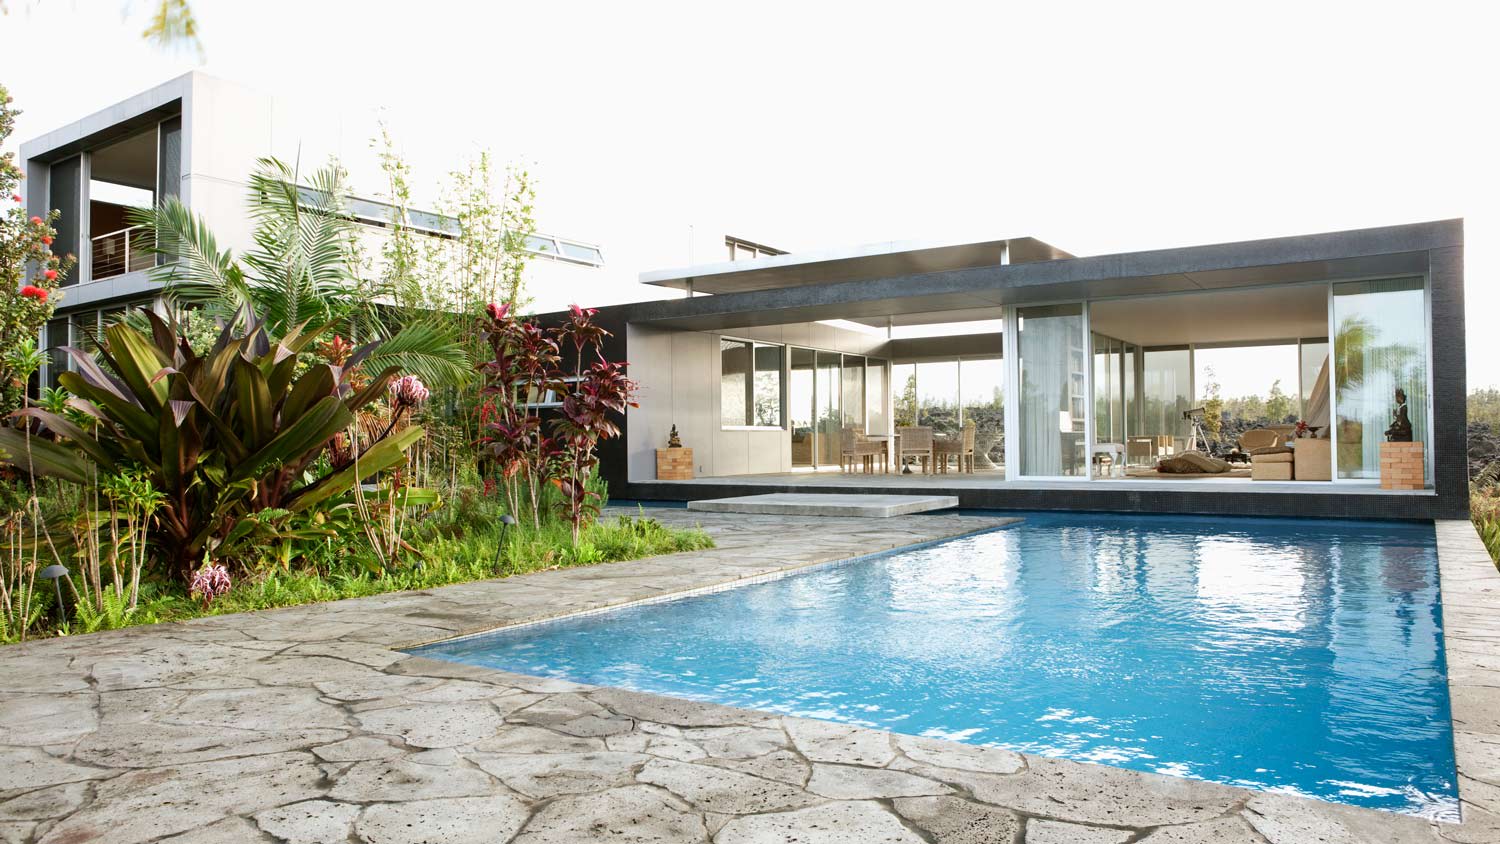
Pave the way to success in your yard space

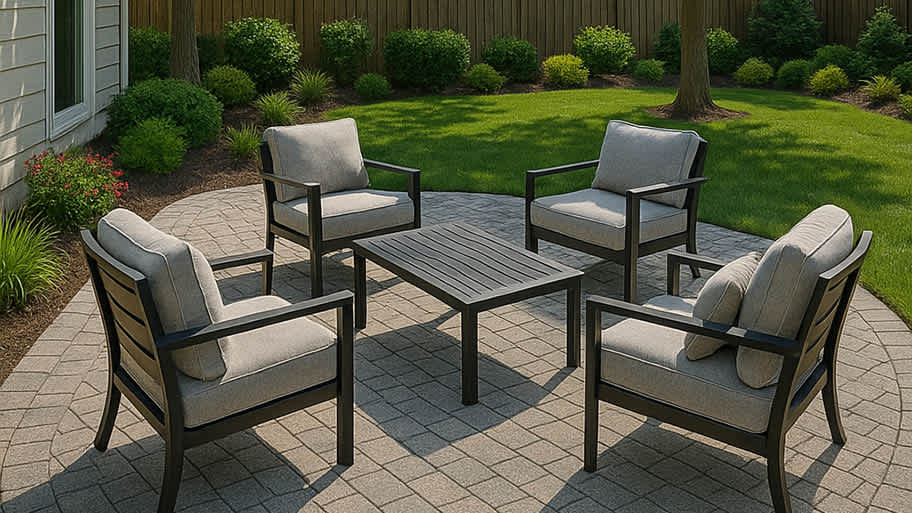
Patio pavers are a great choice for that one-of-a-kind outdoor landscape experience that will be the talk of the neighborhood. If you’re a handy homeowner who likes to take on projects like this yourself, it’s important to know all the steps involved to do it right. Here’s a guide on how to properly install a paver patio, including how much time it takes, how much you’ll spend, and the detailed steps you should take.
While most municipalities do not require a permit to build a paver patio because they’re not a permanent structure, some do. This is especially true if you plan on adding a wood structure, like a pergola, or advanced features to your living area, such as lighting and a fan.
It’s also a good idea to have a local home inspector come by and locate buried utility lines to avoid any surprises. This is especially true for older homes that may have hidden pipes or even a greywater system beneath the ground. You don’t want to hit a pipe or line. Call the national hotline 8-1-1, run by Call-Before-You-Dig, before you dig to avoid tapping into a natural gas supply pipe or other dangerous underground piping.
Get your sketchbook out to draw a rough draft of what you envision the paver patio to look like in your yard. If you’re having a hard time coming up with a design, you can hire someone to design your paver patio instead. Once you have an idea, you can measure the actual patio. Use a tape measure to determine the patio’s square footage.
After you finish, get your calculator ready, because it’s time to crunch some numbers.
Divide the size of your pavers of choice into the total square footage to determine how many pavers you will need. For instance, the average size patio is around 16 by 18 feet (288 square feet). The average brick paver is four by eight inches (32 square inches). This is roughly 4.5 bricks per square foot of space or 1,296 bricks. You can lower this number by choosing wider and longer pavers, designing a smaller patio space, or trying out some other paver patio design tips.
You’ll also need to calculate how much landscape fabric, gravel, and sand you’ll need. The landscape fabric will cover the bottom level of the patio’s base to keep weeds from popping up between the pavers.
Calculate the surface area of your patio to figure out how much material you’ll need. In the example above, you’ll need 16 by 18 feet of material (288 square feet), but you’ll want to plan for about eight extra inches to account for any potential overlap between the fabric pieces.
The gravel base should be four inches deep once compacted and level. Multiply the square footage of the base by 1/3 to determine how much gravel you’ll need. A 288-square-foot patio will need 96 cubic feet of gravel.
Once you’ve calculated the gravel, calculate the amount of sand. The sand is about 1/3 the amount of gravel, as it’s only a one-inch layer. Multiply 96 by 1/6 to get the sand measurement, which is 48 cubic feet of sand.
Typically, homeowners choose to edge their patio with different types of pavers than the ones they use for the main area. You’ll also need to calculate the perimeter of the paver patio to determine how much edging you need. Measure the lengths of all sides of your patio design and add them together to get the perimeter. In our example, this will be 16+18+16+18=68 feet.
*Note: Always buy a little extra of the hardscape materials in case you spill or are off by a small quantity.
With all of those calculations aside, it’s time to get your hands dirty. Mark your layout using marking paint and then—starting from the closest markers to your home—drive one stake into each corner approximately six inches beyond the perimeter. Use the string to securely fasten the layout to the desired height.
You want your paver patio to slope away from your home by one inch for every eight feet of paving material to prevent water from streaming towards your home and into your basement or foundation.
For example, if your patio will be 16 feet long, you’re going to want the two stakes furthest from your home to be two inches lower. Use a line level to make sure the stakes are properly sloped away from the house.
After you’ve completed the measurements, check the distance between the corners of your stakes by measuring diagonally. The measurements should be the same.
It’s crucial that you check the slope—otherwise, you may install a great-looking patio but wind up with a basement full of water. It's perfectly fine to attach a patio to your home or even install it adjacent to the house—just be sure to pitch the slope away from the basement or foundation. Read on to learn more about the slope.
Clear the site of grass, weeds, plants, and soil. You can do this faster if you use a sod cutter. Make sure you excavate a minimum of six inches into the ground, working from your house outwards. As you go, make the slope 1/4 inch for every foot you move away from the home.

Packing the base down ensures stability. If you’re not DIYing it, make sure the local patio builders installing the patio pavers take the necessary time to tamp the earth so there’s little chance the pavers will loosen or crack.
Either use a manual hand tamper or rent an automatic plate compactor from your local hardware store to do the job faster. Always use safety gear like gloves, respiratory protection, glasses, and hearing protection if you choose to use machinery.
Weeds have a way of growing in between the cracks of patio pavers, but they don’t have to. A landscape barrier between the soil and the paving stones should stop any weeds. Roll out landscape fabric across the base to prevent weeds from popping up.

Now it’s time to pour! Use the rake to spread the gravel across the area, making sure that the entire paver base stays at a consistent four-inch thickness. Any inconsistencies will result in pools of water when it rains.
Complete the base installation by lightly spraying it with a watering hose to make the gravel more solid. Construction that rests on a solid foundation will stand the test of time and avoid liquefaction—and patio pavers are no exception.
This next step will feel a little like you’re a kid playing with sand. With the conduit pipes laying about four feet apart and parallel on the stable foundation, pour in the paver sand. You might want a buddy to assist you as you drag the 2-by-4-foot board over the top of the pipes.
Remove the conduit pipes and fill the empty spots with sand before moving to the next section. You might have to repeat this process a few times to get the entire surface evenly layered with sand. This simple trick helps keep the sand even, but check all areas with a level once it’s complete.

Now for the moment we’ve all been waiting for: installing the pavers! Depending on your design, you’ll want to lay the pavers one by one. Choose a corner and line them up closely and flat on top of the sand. Do not drag the pavers over the sand, as this can create an uneven surface.
As you go, continue to check for uneven surface levels. You might need to add a little sand underneath pavers that look low or firmly tap one down that’s too high using a rubber mallet.
Edging stones or paver edgings keep your patio’s edges from shifting in place while also looking stylish. You apply either one of these options around the entire perimeter of your newly paved patio for extra reinforcement. Edging stones are secured using concrete, while paver edging is installed using stakes.

Lastly, sprinkle jointing sand over the entire patio to fill in any loose spaces between the pavers. The surface and joints should be dry before you do this, or else the sand won’t properly fall into the cracks.
Using a broom, sweep sand across the entire service and then finish off by pressing the pavers with a hand tamper or plate compactor to entice the sand to go into all crevices. You might need to repeat this step a few times to ensure the sand fully enters the joints.
This project is decently expensive and very time-consuming, so you want to make sure you do everything right the first time to avoid any costly repairs down the road. Here are a few of the most common mistakes homeowners make when building a paver patio:
Neglecting the foundation’s importance. Using cheap materials or speeding through the foundation laying process can significantly impact the lifetime of your paver patio. Take the time to do it right to avoid having to remove all your pavers and replace them in 10 years.
Focusing on leveling too much. While a flat patio is important, it’s more important that your base is slightly sloped to encourage drainage. For most sites, a perfectly level and flat patio actually ends up holding water and causing more issues.
Not removing trees. Any trees near your new paver, especially old ones with complicated and ever-growing root systems, could spell disaster for the stability of your patio in the future. Consider inspecting or removing them completely.
Using the wrong base material. Dirt is not a good choice for a base. Instead, use stone or gravel and make sure it’s compacted properly.
Installing a patio paver isn’t an easy project. It requires a lot of heavy lifting, plus quite a bit of math to make sure you get just enough of each material without overspending. Paver patios cost anywhere from $8 to $25 per square foot, though you will spend $50 per square foot if you choose a high-end natural paving stone rather than cost-friendly concrete pavers. Plus, you’ll need to get sand, gravel, edging, and more. Incorrect math on any of these materials could unintentionally add a heavy load to your budget.
If geometry and getting down on your hands and knees to apply hundreds of paving stones (and yes, we really do mean hundreds) doesn’t sound like fun, then you might be better off hiring a patio builder near you to install a new patio. A pro also has the ability to source materials at a lower cost, as they likely buy in bulk for other projects. This saves you money and headaches if math isn’t your strong suit.
Hiring a paver contractor to transform your outdoor space ensures the project goes smoothly without common mistakes that often befall the ambitious DIYer.
Supreme Brick & Chimney did a great job with a cleaning and inspection of the fireplace! He was efficient, on time, and very pleasant. The space was kept very clean, and the fireplace was spotless when he was done. He also performed a thorough inspection, and did a great job talking us...
 Supreme brick & chimney
Koby & team weâ re great! Moved our two bedroom apartment in about 4 hours, and weâ re super friendly, quick, and careful with are things.
We had our houses windows and back door replace this summer by Window Depot USA of Central. He gave us grate advise and saved my family lots money. The team did a fantastic job with installation. If you need help, they sure get job done right!
Wonderful. I am going to have them remove and replace my driveway in the spring.
 All Star Paving and Sealing
We were having 2”x 2” tile installed . There was a small installation error and the new additional replacement tile was from a different lot and the colors didn’t match. Joe assured us that he would rectify everything , which he did without hesitation. We decided to go with the 18” x 36” tile...
 CarifaTile
Did an amazing job transforming my yard. Also installed sod in places, would recommend to everyone.
Ed did a great job in installing stone to the outside of our house at a fair price
Manuel Calvillo is the best option in the area for roofing and you won't be disappointed.
All around they have done a really great job. <br /> I have used JL Landscapes for the past 8 years. I own and operate my own commercial/residential real estate company where we own, operate, and maintain our own properties. JL Landscapes has been our exclusive landscaper for both our...
 J.L. Landscapes
Outstanding experience! I needed my yard/garden/patio prepared for a party the coming weekend. I contacted Rick and he was able to schedule service that same week. He and his crew did a wonderful job removing the fall foliage, weeding, trimming back plants and hedges, even cleaning up the...
 Distinct Designs Residential Enhancements
From average costs to expert advice, get all the answers you need to get your job done.
Looking to elevate your backyard aesthetic with a patio? Use this paver patio cost guide to help you estimate your total project cost before you get started.
Porcelain pavers are a high-end option for your home’s hardscaping that can completely transform your outdoor space. Here’s how much porcelain pavers cost.
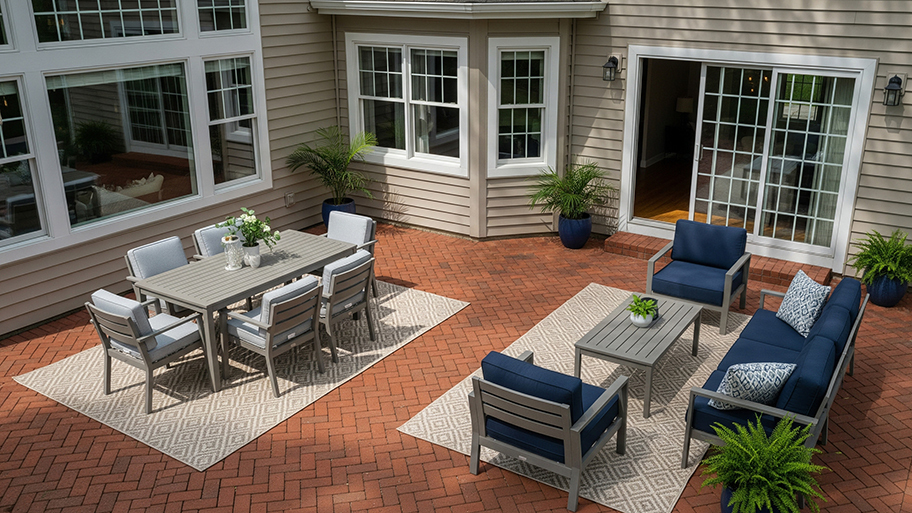
Looking to build an outdoor entertainment space? Use this patio cost guide to get an idea of how much your exterior project will come out to.
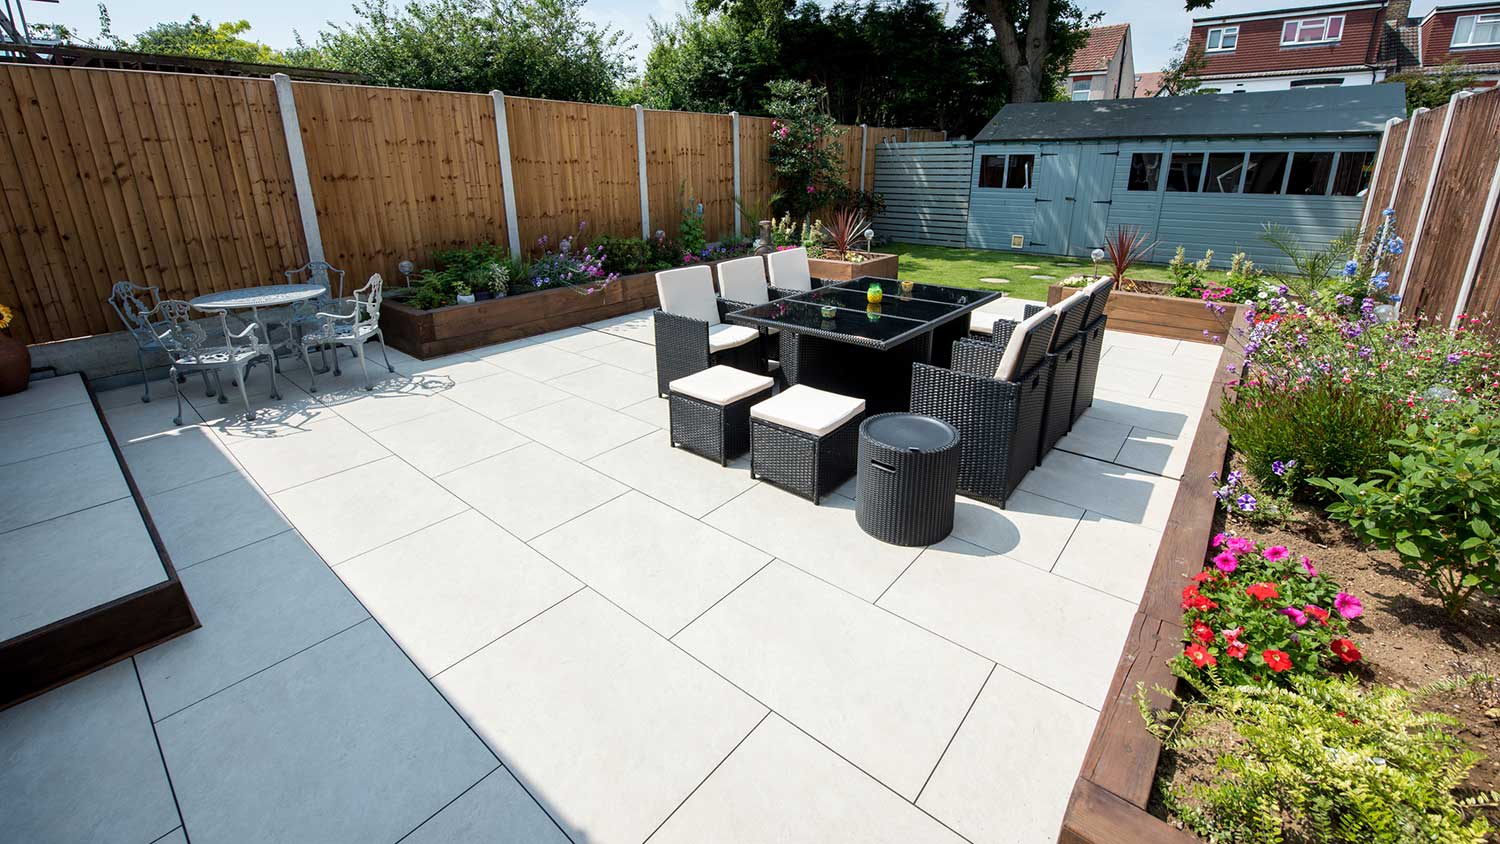
Planning a paver patio can go far beyond the bricks. Patterns and accents will make it one of a kind. Learn how to create a stylish and beautiful patio with these tips for using pavers.
Whether you’re ready to upgrade or want to try something new, picking the best pavers for your patio and driveway can help elevate your outdoor space. We share some things you’ll want to consider before you install your pavers.
Using brick or concrete patio pavers can transform your backyard into your own luxury getaway. Browse our paver patio ideas to get your creative juices flowing.