

If your outside electrical meter box has sustained wear and tear, it might be time for a replacement. How much it costs to replace an electrical meter box depends on labor, model, and box type.
Here’s what it takes to power up your home

Although it may seem like our homes are filled with electricity as if by magic, a main breaker box is the real reason we’re able to power up so easily. By contrast, installing and wiring an electrical panel is no walk in the park, and without the right knowledge, skills, or tools, it can be extremely dangerous. Unless you’re a qualified professional, outsource this type of project to an electrician near you to ensure all work is up to code and neither you nor your home face any hazardous consequences of an improper DIY.
But if you’ve always wondered exactly how to wire a breaker box, keep reading to find out everything you need to know. And if you're particularly handy and experienced with electrical work, you can follow our detailed steps on how to do it yourself.
Before installing an electrical panel, it’s important to take a couple of preparatory steps to ensure installation is smooth and successful. Keep reading to find out exactly what to do before you get started.

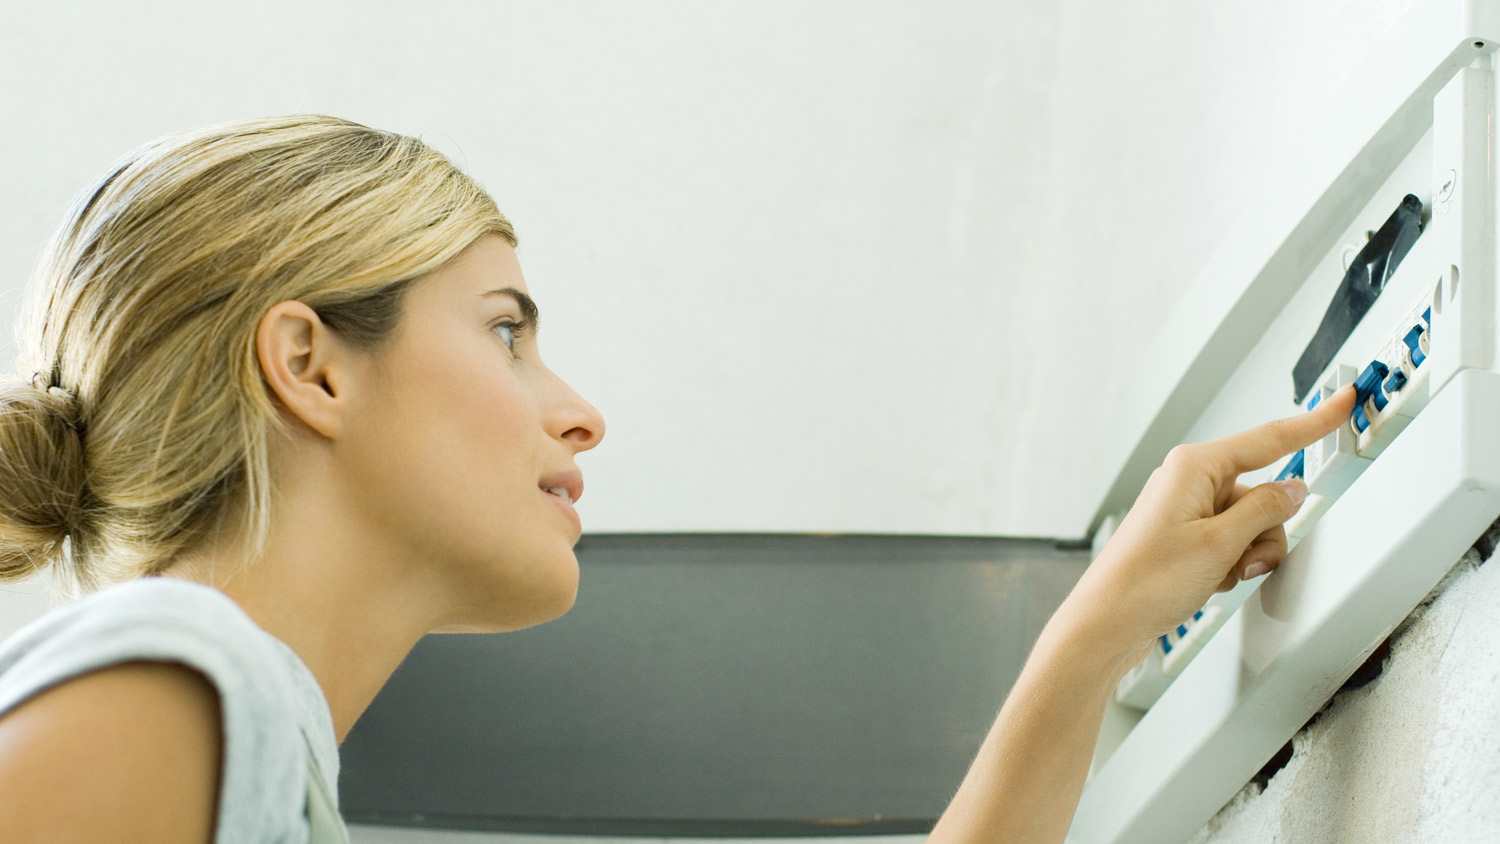
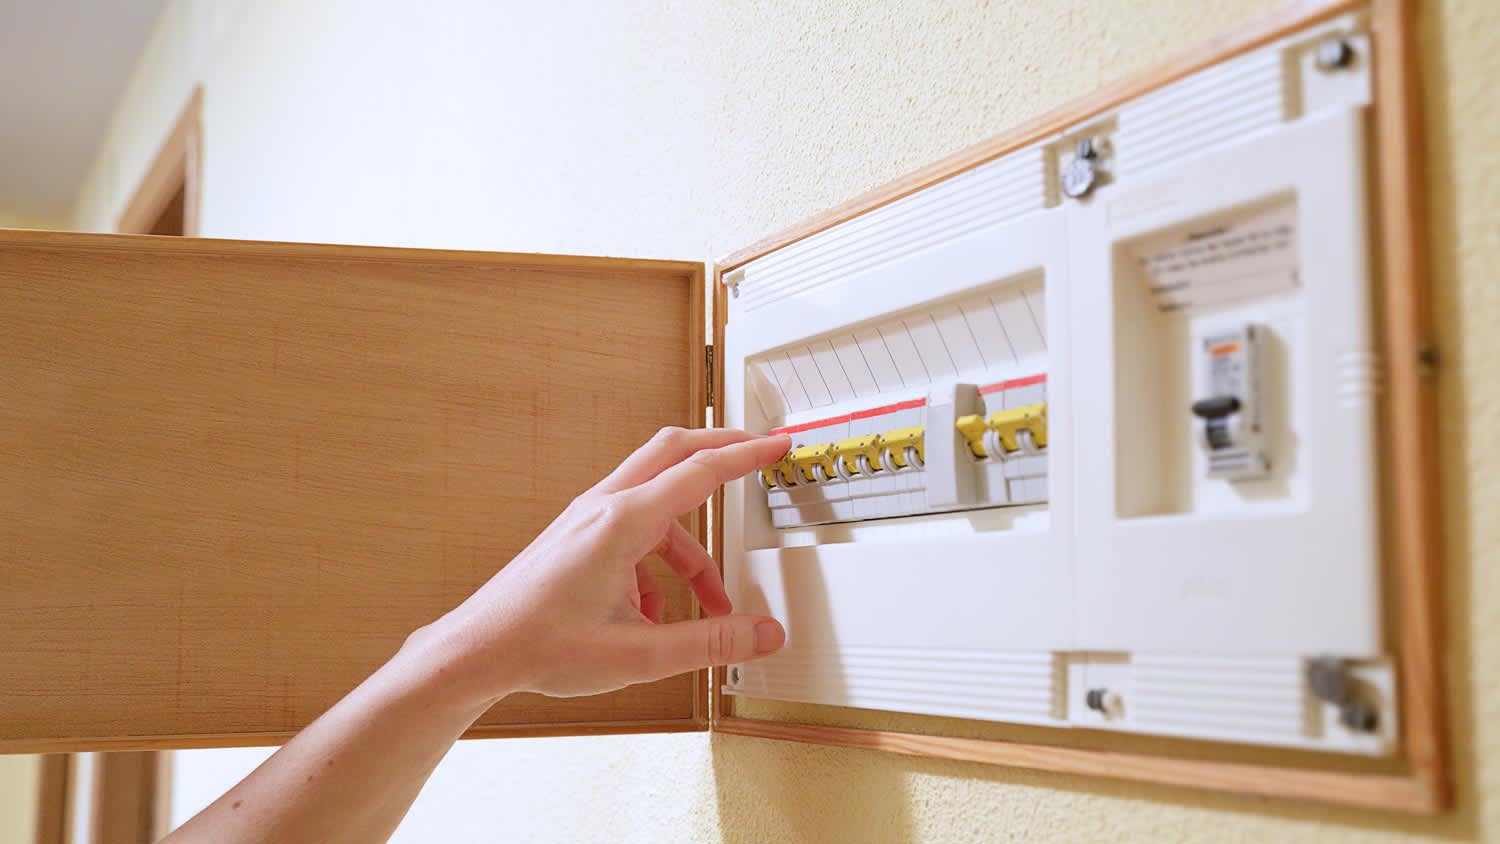
When you open up your breaker box, you might not know what exactly you’re looking at. Here’s a breakdown of your electrical panel’s basic anatomy.
Main breaker: The large switch that controls the amount of electricity distributed to the circuits. To turn off all the power in your home in case of an emergency, turn off the main breaker, but be advised that unless your utility company shuts off service, the electrical current is still live even if you shut off the main breaker.
Circuit breakers: The rows of switches that take up most of an electrical panel. Each one provides power to its designated breaker and ensures your home’s electricity flows smoothly.
Hot bus bars: Connected to service wires, these bars allow the electricity from your street’s utility lines to reach your electrical panel. They also let electricity flow from the main to the circuit breakers.
Grounding bar: This bar connects with the grounding copper wire so that electricity can travel into the ground if and when problems arise.
Neutral bus bars: These bars connect to the neutral wire and send electrical current back to the main grid after it’s done its job, like powering a light bulb. In some panels, the neutral bar also acts as the grounding bar.
Wires: Generally, hot wires are black, ground wires are green or copper, and neutral wires are white.
In this step, you are only orienting yourself with the panel by looking at it. Never touch the internal parts of a breaker box if the current is live or you could be electrocuted. The breaker switches are safe to use as long as there’s no damage to the wiring of the panel, but you should not touch the bus bars until you are certain there is no power running through the panel.

Before doing anything else, you need to contact the local power utility company to shut off power at the meter loop or feeder wires. If you’re planning on doing this project yourself, you’ll need to make sure you have any necessary permits. Go to your state government’s website to find out what’s required in your area.
Working with electricity can be extremely dangerous. That’s why professional electricians guarantee safety by using a gadget called a voltage tester to make sure that a meter loop has been turned off. To do this, place both ends of the voltage tester on one of the feeder wires. If it glows, it’s still on, and if not, you’re good to go.
Electrical knockouts are designated spots that can easily be opened to allow access for new wiring. Each knockout consists of a circle in the middle that’s surrounded by several rings. When removing knockouts, start from the center and work your way outwards. On one of the sides of each knockout is a small marking or indentation.
To remove knockouts, place the tip of a flathead screwdriver on the opposite side and hit it with a screwdriver to open the knockout and use pliers to remove it. You’ll need to open several knockouts for several wires: one for the main service wire, one for each branch circuit, and another for the main grounding wire.

Next, an electrician will choose the most ideal spot for mounting the circuit breaker box to the wall. If the main service wire enters your home through a metal pipe or conduit, the opening at the top of the electrical panel needs to be installed carefully aligned to it. Use a pencil or electrical tape to mark the spot where you’ll need to drill, and make sure the panel is evenly placed by placing a level on both sides and on top and bottom. Then, use a drill and the electrical screws that came with the breaker box to secure it to the wall.

In general, there are three main service wires: two hot wires (which are either black, red, or both) and one neutral wire (which is always white). All three of these wires need to be pulled through the conduit and into the breaker box. You have to attach these wires to the end of a fish tape with a bit of electrical tape, then insert it through the conduit opening outside the home and push it through into the breaker panel. This is usually a two-person job as someone needs to be pushing it from outside while the other pulls it into the breaker from within.
The grounding wire is a bare copper wire that connects to a grounding rod outside and allows electrical systems to safely dissipate electricity into the earth. Like the main service wires, this one will need to be pushed through the metal conduit and into the breaker box with a fish tape. You will then connect the grounding wire to the grounding bus bar, a copper metal strip that can be found on both sides of the electrical panel.
Next up, attach the main service neutral wiring to the neutral bus. The location of the neutral bus in the electrical panel varies, but it’s always far from the hot bus bars and consists of a thin metal bar with many screws and a large opening for the main wire.

Electrical panels contain circuit breakers with voltages ranging from 120 to 240. This component both connects both of the black service wires to the hot bus and controls all the electricity entering your home. You’ll need to remove a small amount of insulation from each black wire to expose the bare wires inside, then place those wires into the corresponding openings in the main breaker. You shouldn’t leave any wires exposed as doing this can pose a safety risk when the panel is active. Lastly, use a screwdriver to tighten electrical screws holding the wires in place.

Branch circuit wires are additional wiring that’s intended for both general and specialized use. For example, your main service wires may provide 240 volts for appliances while branch circuit wires may only provide 120 volts for something smaller, like an outlet. Branch circuit wires consist of three total wires: one neutral, one grounding, and one hot. Push these wires through one of the knockouts to insert into the breaker box. Once inside, use a cable striping tool to remove a small amount of the outer coating from each wire (except for the grounding wire) to reveal the raw wires inside.
Once the branch circuit wires are in the breaker box, you should then insert the tip of the copper grounding wire into the grounding bus bar and use a screwdriver to tighten the screw that holds the wire in place.
To install a branch circuit breaker, place it in the designated spot below the main circuit breaker and use a screwdriver and electrical screw to hold it in place. Once that’s done, they attach the white, neutral wire to the neutral bus, the black, hot wires to the hot bus, and screw everything into place.
When everything is wired, place the panel on top of the breaker box to conceal the wires and use a screwdriver and electrical screws to secure it. You can now have the utility company turn the power back on and activate all the circuit breakers.

Working one by one, you should test each branch circuit breaker by turning it on and off. It’s also wise to label each circuit breaker so it’s easy to tell which part of the home they will affect.
Because working with electricity can be extremely dangerous if you don’t know what you’re doing, it’s pretty much always better to hire a pro for heavy-duty jobs like this one. A professional electrician charges between $500 and $2,000 on average to install a new electrical panel. For most homeowners, it’s best to hire an electrician in your area to do the job for you.
If you do go the DIY-route, you’ll only have to pay for the circuit panel itself and any necessary tools, which will cost a few hundred dollars.
Great company! Price was competitive, technician showed up on time and completed the job (exterior electric Radon fan replacement) quickly. Would hire them again.
I conferred with 2 other contractors before Armstrong Electric. Nick and his crew showed me that the project was not as convoluted as the other contractors made it appear to be. They completed the entire project on time. They were professional, friendly and cleaned up after at completion. I...
 Armstrong Electric LLC
The techs on my project, Shawn and Cliff, were great. They were prompt, courteous, and efficient. I am very happy with the results and would definitely contact Mr. Electric for any future electrical projects.
Victor was wonderful. He was on time, professional, and explained everything he was doing. He was thorough and figured out that the problem was electrical instead of with my HVAC system. Very knowledgeable. I will be using this company in the future for any HVAC needs. Thanks!
 Hubbs Heating & Air LLC
They were excellent. They did a great job. I was totally satisfied. They put tremendous effort in making sure the work was completed. They were great. They provided immediate response to any inquires I made. I would hire them again. I would recommend them to anyone who needs electrical work....
 Property-Tech Industries, LLC
Initially, the repairman could not find the problem. Apparently, there was some electrical shortage, but he could not find the definite problem. He left, but called back later to say he had a new idea. He returned and replaced the light switches on the doors. The refrigerator seemed to return...
 Appliance Pro LLC
The initial quoted price from a walk-through seemed high, but we discussed that the quote represented worst case scenario (re-wiring to two floors) and we were excited about the opportunity to have the work done in a timely manner with closing for fire safety reasons, etc. When the job was...
I have to tell you I am all about customer service - I will go out of my way and even pay more for it if you give me great customer service. <br> <br>In a world where this is hard to find, these guys were awesome! I can not sing their praises enough. They were prompt, personable, funny, got...
 Waibel Electric
When I challenged the markup on the generator, Bruder Electric withdrew its bid. They only want naïve customers.
We had no power to any of the electrical outlets in the MBR. We'd had an intermittent problem for a few years and they finally went out all together. We live on the 3rd floor of a 100 year old building and I know from past experience the wiring has been added to in hodgepodge ways over the...
From average costs to expert advice, get all the answers you need to get your job done.
If your outside electrical meter box has sustained wear and tear, it might be time for a replacement. How much it costs to replace an electrical meter box depends on labor, model, and box type.

It can be difficult to tell where the neutral or ground wires are located in your breaker box. Here’s what you need to know about your breaker box wiring.
Circuit breaker boxes give you the electricity you want and the safety you need in your home at the convenience of a switch. This guide will give you a comprehensive view of everything you need to know about your breaker box.
If you’re trying to choose between a circuit breaker vs. a fuse box for your home, our guide will help you decide which electrical panel is right for you.

There are a host of reasons why your circuit breaker switch won’t stay on. Troubleshoot to find out if you can fix it yourself or need to call the pros.

Circuit breakers help protect electrical circuits from overheating, which is especially important inside a home. Let’s go over the basics.