
Drywall texture can create an attractive finish and add dimension to your home’s walls. This guide breaks down the factors that influence the cost to texture drywall.
Here’s what to do whether you like it rough or smooth

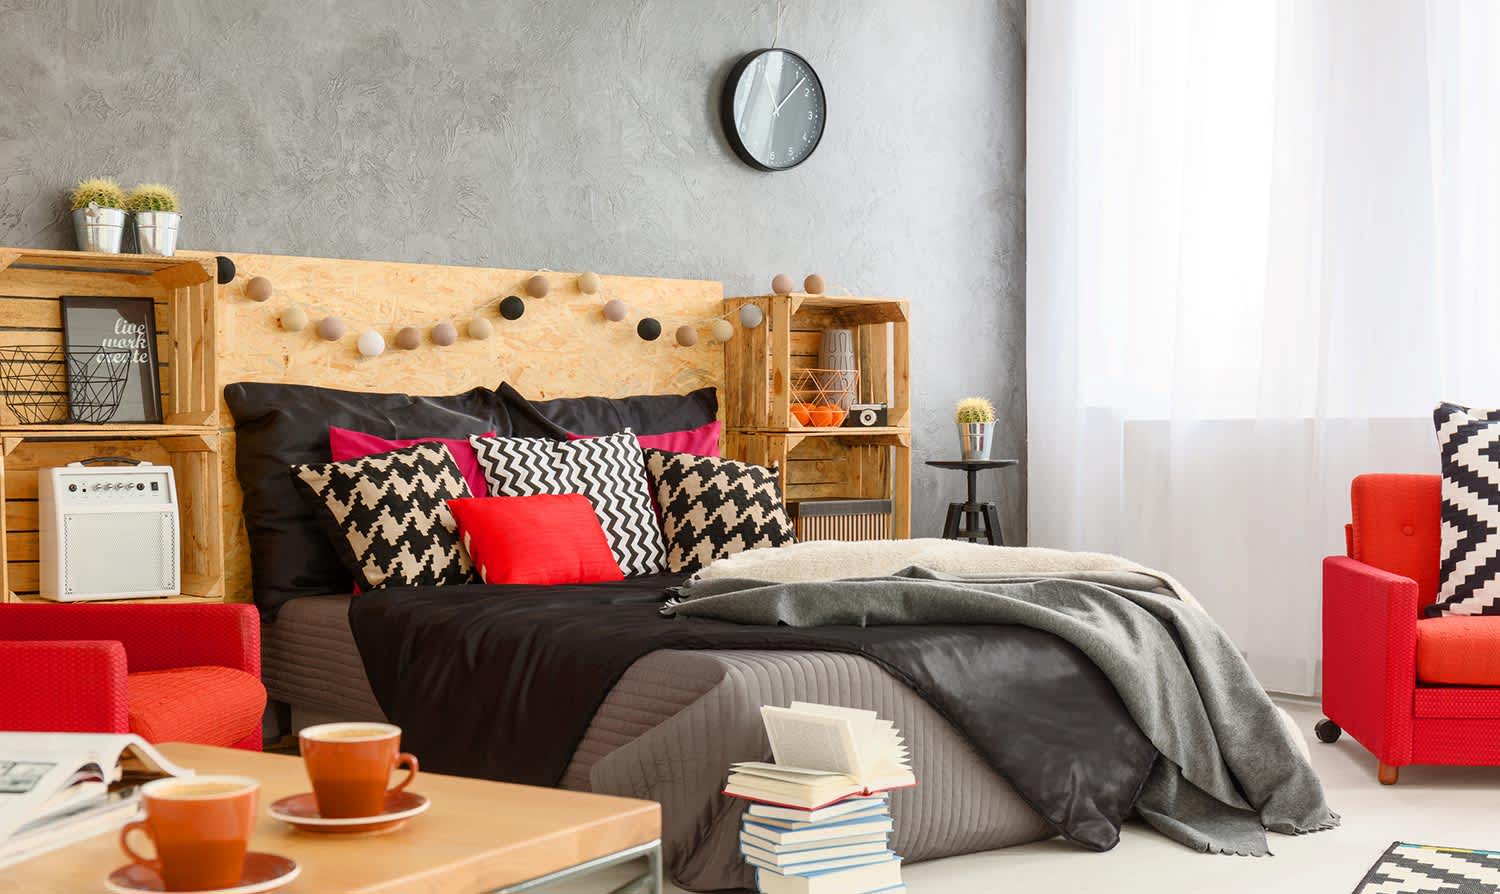
Creating textured walls with joint compound and simple tools like sponges or paint rollers lets you add depth and hide imperfections in your space.
Expect to pay $500 to $700 for professional wall texturing, while DIY materials cost $100 to $150 for tools and supplies.
Prep your walls by cleaning surfaces, patching holes, and applying primer so the texture adheres evenly and looks professional when finished.
Hiring a local interior painting professional helps you achieve the exact texture style you want without purchasing single-use tools or risking visual blemishes.
Adding texture to walls is a surefire way to take your space from 2D to 3D, but how to do it is another question entirely. First comes familiarizing yourself with all the drywall texture types. Next comes deciding whether you want a professional to do it or are up to tackling the challenge yourself. Start by learning how to texture walls so you know what it takes. From using a sponge to a trowel, here’s a look at what tools and techniques you’ll need to bring your walls to life with this specialty painting project.
Specialty painting is a decorative painting technique that uses unique applications to add distinctive textures, finishes, and effects. For example, faux finishes can mimic the look of wood, marble, or fabric, while metallic finishes offer a shimmering glaze.
While most of the benefits of textured walls are aesthetic, there are a few practical reasons to consider adding them to your space. For starters, they do a better job of masking imperfections, including both those that were there in the first place, like dents or scratches from a previous owner, and those that may appear down the line, like fingerprints in a high-traffic area.
The nooks and crannies in a textured wall also have the unseen benefit of producing better acoustics. Your space will echo less because the sound will be better absorbed into these divots rather than bouncing straight off like it might on a perfectly flat wall.
Finally, texturing adds an extra layer of protection to walls that also makes them more durable. With one in place, future damages are less likely to occur and more easily disguised if or when they do happen, making them a boon if you live in a full and active home.
The cost to texture walls ranges from $500 to $700 on average. However, exactly how much you spend is most impacted by factors like the scope of the project and whether you do it yourself or hire an interior painter near you for the job. For instance, there’s not a huge difference in price between different texturing styles—while you’ll pay around $3 per square foot of Venetian plaster, the rest of the options cost below $2 per square foot—but you will spend a lot less to do one wall versus many.
Before starting a project like this, you'll need to gather the correct materials and tools, decide on a specific texture, and take preliminary steps to ensure success, like priming the walls and patching existing damages.
Then, pick a texture. From orange peel to knockdown, there are many options to consider, and each has unique pros and cons. Be sure to do your research before making a final decision.
Once you’ve made your pick, gather your equipment. That includes things like drywall or joint compound, plaster, trowels, sponges, paint rollers, and rags, but exactly what you need will depend on your chosen style.
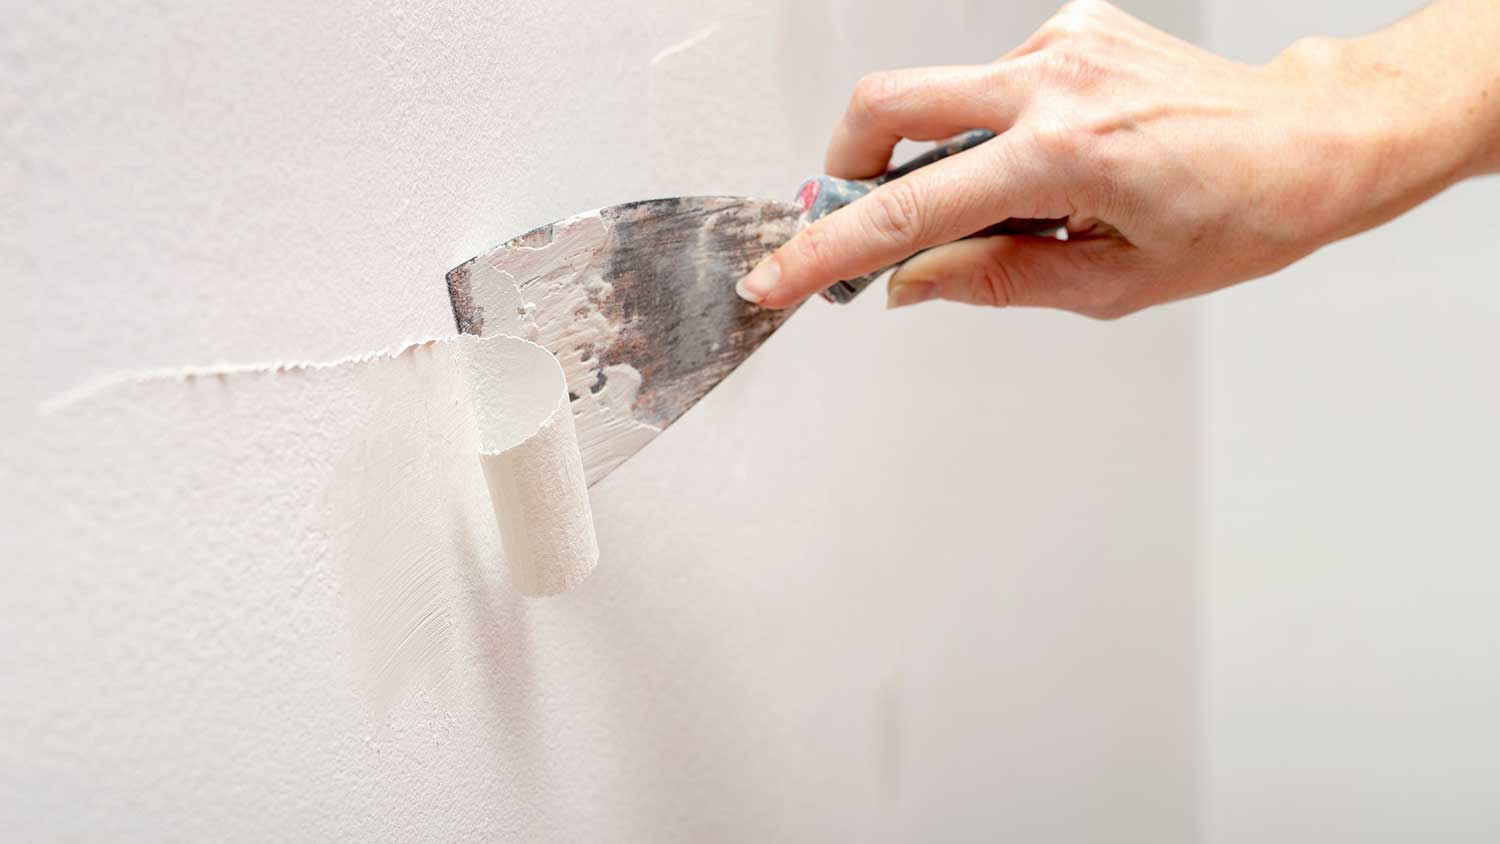
Next, clean the walls to the best of your ability with a damp sponge and gentle cleaner like dish soap. It’s okay if the final result isn’t perfect, because the texturing will do a great job masking residual imperfections. You’ll also want to take advantage of this moment to repair large damages, like patching a hole in drywall. Then let all the surfaces dry before heading onto the following step: priming your walls.
Apply a latex or drywall primer—doing this will create a uniform backdrop for your texture, ensuring it’s evenly absorbed throughout the wall. Let it cure completely—this could take anywhere from a couple of hours to days, depending on the temperature at the time—and then you’re ready to begin texturing.
The following DIY techniques will help you achieve many of the most popular wall texture styles with easily accessible tools that you may already have.
This technique is arguably the easiest because it requires paint rather than drywall compound, and is an easy, DIY way to do an orange peel texture.
For this method, all you’ll need is a can of paint, a large sponge—or two if you’re working with a buddy—and a drop cloth to protect your floors. The paint color can either be the same as what’s already on your walls, or a complementary accent color, like dark gray with navy walls, for instance.
If your walls are not already painted, you’ll need to start by applying the desired color. Let it dry before adding texture.
Soak the sponge in the paint and dab it all along the walls. To vary the texture, aim to use different angles and sides of the sponge.

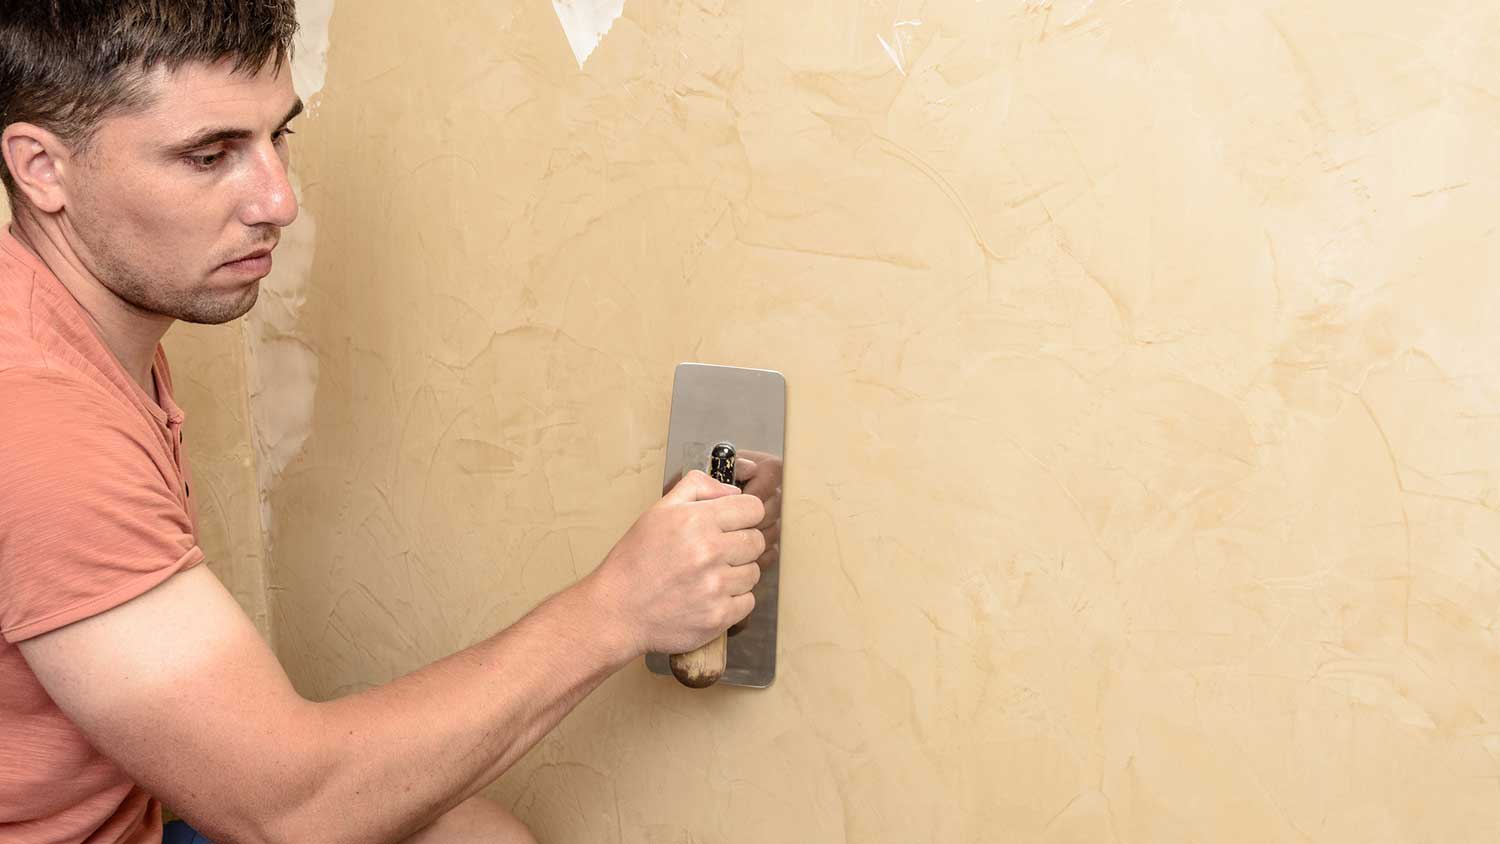
Using joint compound to texture walls is another option ideal for newbie DIYers, because it has a long dry time and can easily be removed if necessary. What’s more, it’s among the best ways to obtain a knockdown texture that looks professionally done.
For a project like this, you’ll need a paint roller, enough joint compound to cover the surface of all the walls you’ll be working on—about one-and-a-half to two 60-pound buckets per room. You’ll also need a paint roller, a trowel, and a drop cloth.
Combine the joint compound with water according to the proportions provided on the container. Mix until it arrives at a thick but pourable consistency.
Working one wall at a time, use a paint roller to apply an even coat of joint compound to the entire surface.
Place the trowel against the wall at an angle and drag across to flatten the joint compound to create a knockdown effect. Repeat until the entire wall is accounted for, alternating angles and directions periodically. You can also use the same technique with the teeth on a notched trowel for a comb texture.
This DIY is a bit more complicated because it requires either purchasing or renting a texture sprayer or hopper gun. On the plus side, such tools have fittings that enable a wider array of possible styles, unlike sponge or joint compound texturing, which allow for only one or two options.
You’ll need joint compound, a texture sprayer, and drop cloths to protect your floors and furniture, as well as protective gear like a face mask and goggles to protect yourself from vapors.
Texture sprayers emit joint compounds through small openings to create even, unique textures, but they can’t do their job properly if the material used is too thick. That’s why you’ll need to cross-check the water recommendations from your machine against those of your joint compound. Err on the side of using more water so that the substance is thin enough to accommodate your machine.
Most texture sprayers have adjustable nozzles for different textures. If you’re not sure which one to use, feel free to test each one on cardboard before committing.
Moving from left to right downward and working one wall at a time, spray joint compound in slow, even motions until the entire surface is accounted for. Let it dry and then paint the desired color on top of the texturing.

Using a paint roller to apply texture to walls is another straightforward and simple option for new DIYers.
You’ll need a traditional paint roller and a paint tray—as well as a paint brush to get into tight corners—and one to two 60-pound buckets of joint compound per room.
Again, the texture will need to be thick but pourable. When in doubt, use the amounts recommended on the package instructions.
Soak the paint roller in the joint compound and roll it on the tray to remove excess. Apply one wall at a time, working from left to right downward, until the entire surface is covered. From there, you can leave it as is or drag a large paintbrush across it repeatedly to create a slap-brush texture.
The joint compound will take about a day or slightly more to cure completely, at which point you can paint over it with the paint color of your choosing.
For a terracotta-like texture, rag painting can’t be beat. Unlike other methods, you’ll need a couple of different paint colors plus a glaze to achieve it, but no joint compound.
Pick a base paint color and another shade that will be used to create texture afterward. You’ll also need to combine the additional paint with a glaze or paint extender to create distinction between it and the base shade. Don’t forget that you’ll also need drop cloths to protect the rest of your space, as well as a paint tray, mixer, and rags for application.
Apply base coat color and let dry completely before proceeding. This color should be in the same family as the one you’ll be using to apply texture. Think: a dark blue to offset a lighter blue topcoat.
Place a one-to-one ratio of paint and glaze in a paint tray and mix thoroughly with a paint stick.
Roll up a rag and wet it slightly until moist but not soaking. Dip it into the paint and rub it against the tray to remove excess. Use the rag to pat the wall, moving left to right and downward. As it runs out of paint, use this opportunity to change the rag's shape for a varied final texture. You may need to use several rags throughout the process.
Once your walls are textured, here’s what you need to do to keep them looking good.
When there are a lot of small craters on your wall, you can’t expect any old feather duster to efficiently remove dust from them. Instead, use a dry, soft brush or the fabric attachment of a vacuum cleaner to eliminate debris without damaging your hard-won wall texture.
To avoid further damage, use gentle pressure and an even gentler cleaner (dish soap is the way to go) when rubbing to remove blemishes or stains from textured walls.
Textured walls are as hard to dry as they are to dust, so opt to use little to no moisture when cleaning them. There are some instances where a bit of water is your only option—when wiping off mud or fingerprints, for instance. In these cases, use a very lightly dampened sponge and a drop or two of dish soap, and dry immediately afterward with a microfiber cloth.
Texturing walls is achievable on your own, and you’ll save money by going the DIY route. However, you may be better off hiring a pro for more complicated texture styles, like Venetian plaster, though you can expect to spend more for their expert touch.
Pros charge between $40 and $100 per hour on average, and the typical project takes about a day. If you do it yourself, you’ll need to budget approximately $100 to $150 for all the tools and materials involved.
Custom Paint Jobs LLC is the go-to choice for all your painting needs. They painted both the interior and exterior of my house flawlessly. Their work speaks for itself!
Beginning with the estimate, Larry and Peyton were super helpful in getting my new condo's interior re-painted. Not only was the job well done, but also done in a super timely manner as promised.
 Five Star Painting of Plain City and Powell
From average costs to expert advice, get all the answers you need to get your job done.
Drywall texture can create an attractive finish and add dimension to your home’s walls. This guide breaks down the factors that influence the cost to texture drywall.
The cost to remove texture from walls depends on square footage and the type of texture. Learn all the factors that will impact your budget in this guide.
Skim coating drywall is a great alternative to replacement, and is often more affordable. Use this guide to estimate the cost to skim coat walls in your home.
Painting textured walls can be intimidating, but with the right technique, it’s a simple DIY project. Learn how to paint textured walls for stunning results.
There are several ways to add fun texture to a wall, from premixed textured paint to the many application methods you can use with joint compound. From stripes to splatters, here are popular ways to add some eye-catching texture to your walls.
Can you put wallpaper on textured walls? You can, but you might not want to. If you do, here are some tips to stack the odds in your favor.