Whether you’re installing a new door or replacing an existing one, the cost of door installation varies based on location, door type, framing needs, and other factors.
It’s a real shim when your door isn’t perfectly plumb

Whether you’re installing a new door in your home or fixing a sagging door or one that isn’t opening and closing smoothly, door shims are going to become your new best friend. Shims are super affordable but have a massive impact on how your doors fit into your wall opening and function. In this guide, we’ll discuss how to shim a door the right way to get you installing doors like a professional in no time at all.
Complex, high-risk projects demand more than typical DIY projects. They require time, specialized tools, and trained expertise to make sure the job is done safely and correctly. We made it easy for you to find a local pro—with our skilled network, you'll get the job done without the stress of doing it yourself or significant safety risks.
Shimming a door is a pretty straightforward job, but you do need to make sure you have the right kinds of shims before you get started. For most residential applications, you can use wood or plastic shims, which you can pick up for just a few dollars online or at your local home improvement store.
If you’re shimming a fire-rated door—you might have one leading into your boiler room or your garage, especially if you have solar batteries or an oil tank in there—then you should opt for metal shims, which are non-combustible.
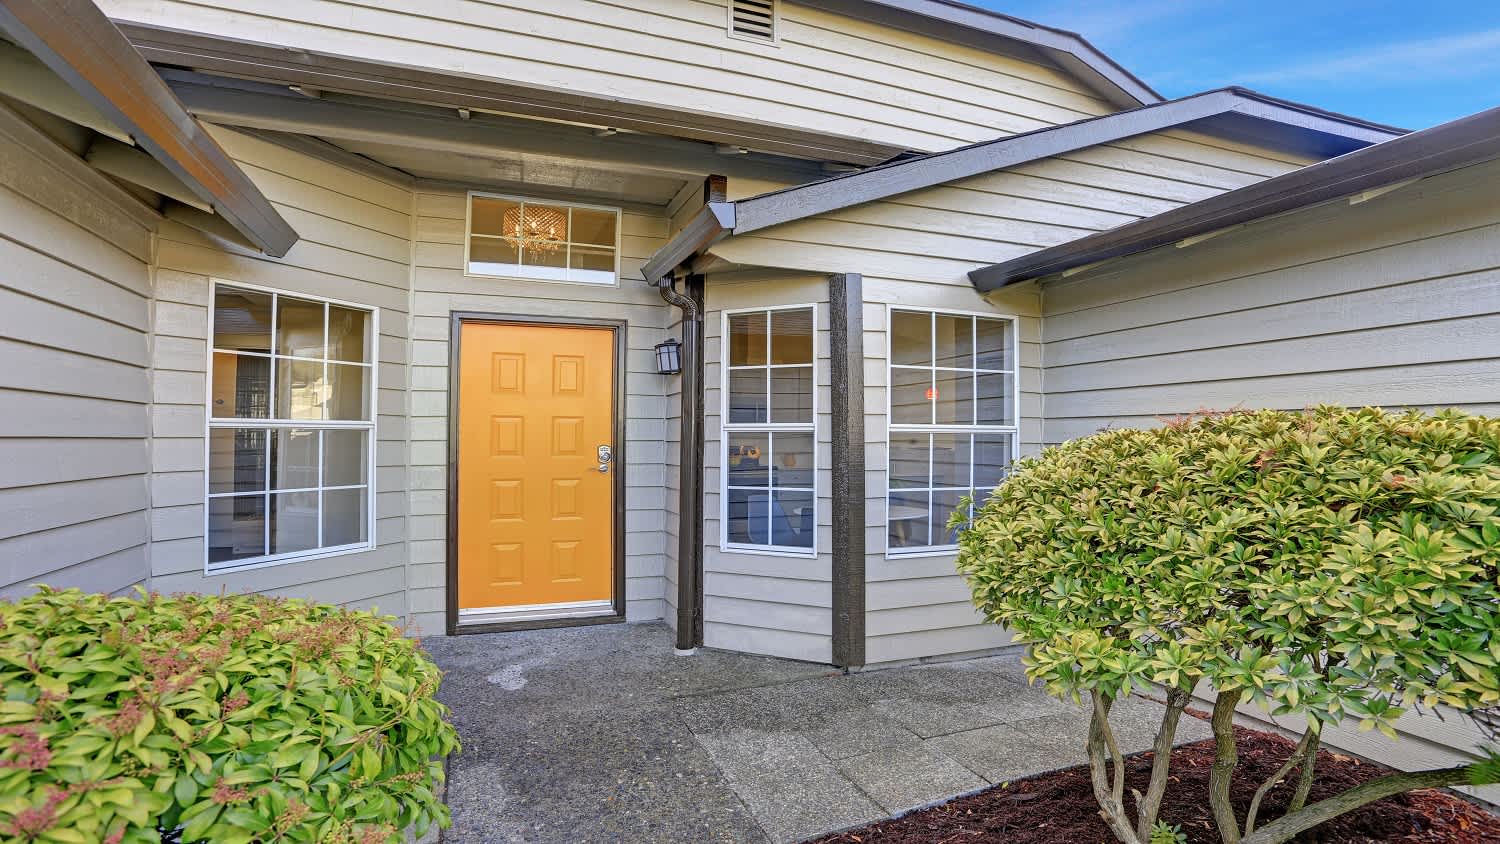
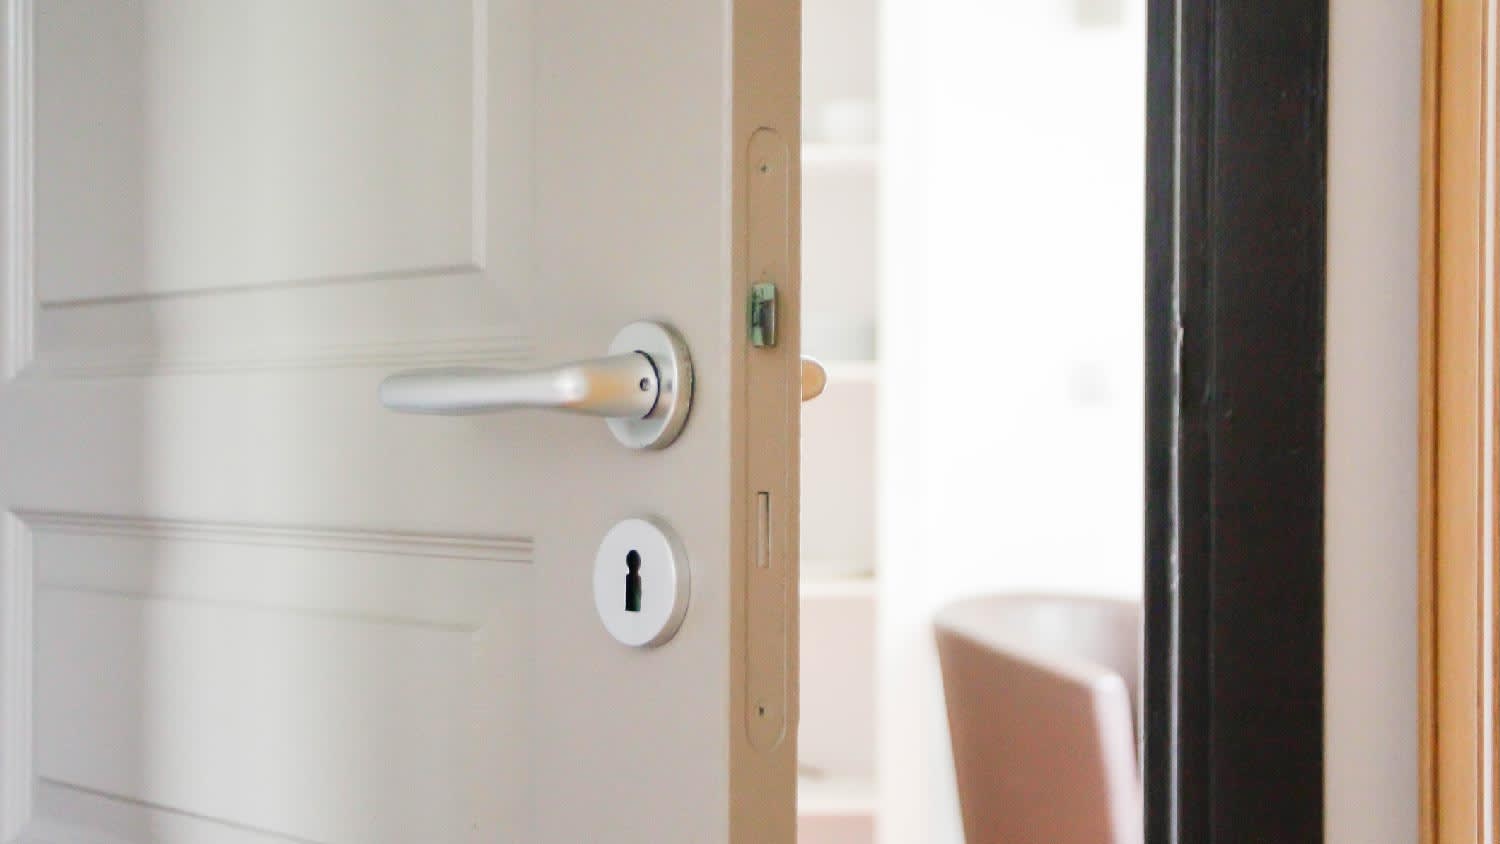
If you’re removing a door and installing a new one in your home, you should first get the new door frame centered in your rough wall opening using shims.
Start by getting the door roughly centered in your opening with the door closed. Depending on how your wall opening is framed, you should have anywhere from 1/4 of an inch to 1 inch of space on all sides of the door frame. Once your door is in place, insert shims loosely around the edges to hold it there.
Always use shims in pairs. It might be tempting to push a single shim into a gap, but since shims are angled, doing so will cause warping in your door frame over time. Instead, use two shims facing in opposite directions to create a perfectly flat but adjustable spacing. Aim for shims behind each door hinge and at the bottom and top of each stile. You can add more to the top and middle of the lock stile for additional stability, but it’s not necessary.

Hold your level up against your hinges with the door closed. If they’re perfectly level, you can move on to the next step. In most cases, the door won’t be perfectly level, so you’ll need to make adjustments. This is especially true if you’re using this guide to fix a sagging door.
Where you make adjustments will depend on how your door is sitting in the wall opening. Make adjustments on the hinge side only, if possible.
If the top of your door on the hinge side is too far toward the wall framing, lightly hammer in the shims behind your top hinge.
If the bottom of your door on the hinge side is too far toward the wall framing, lightly hammer in the shims behind your bottom hinge.
Once you’ve made adjustments, check again to make sure the door is plumb.
Now that your door is plumb, you can adjust the shims on the hinge side of the door to get the spacing right and tighten the door inside the wall opening. Start with the top shim, and don’t hammer in the shims so much that your door shifts. Try to get the spacing on your hinge side about equal to the spacing on the opposite side.
Start at the top hinge, then work down the hinges, and finally tighten the shims at the top and bottom of the door.

Follow the same process on the lock side, and try to get equal spacing on both sides of the door. Again, don’t hammer your shims too far, or you’ll risk pushing your door frame out of alignment.
Start at the top of the lock side and work your way down.
If you placed shims above your header, gently hammer those in to snug up the shims. Driving them in too much will cause the header to bow downward, and it could cause issues with the door’s functionality.

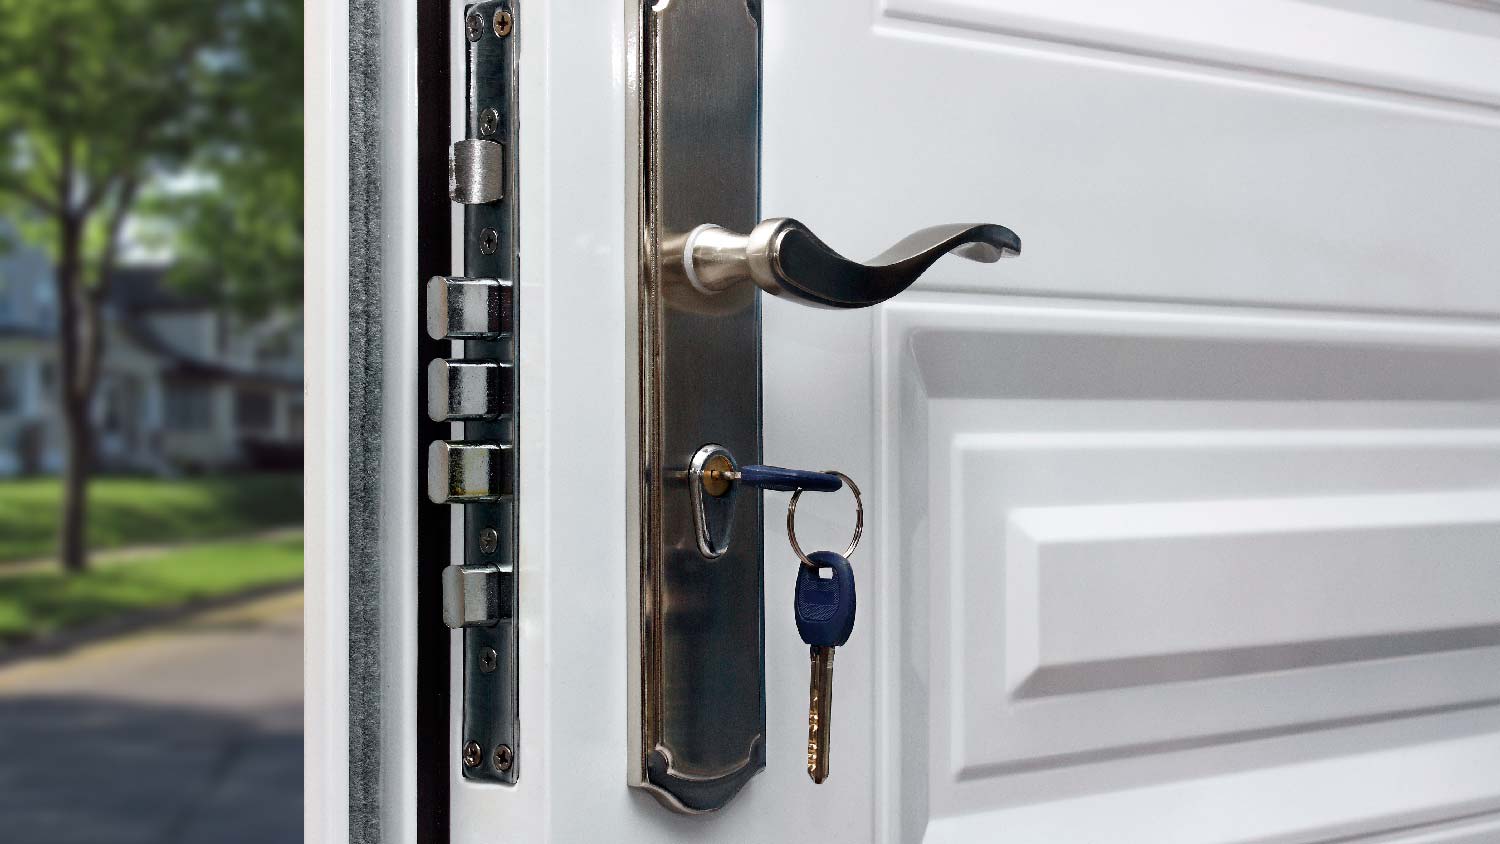
Finally, drive screws or finish nails through the door frame, through the shims, and into the framing around it to secure the door in place. You should at least add nails or screws through the shims behind each hinge and on the top and bottom set of shims on the lock side of the door.
For a more professional and finished appearance, cover the screw or nail heads with wood filler and paint over it. You can also counter-sink your screws to hide the heads better.
Shimming a door is a fairly inexpensive DIY project. You only have to pay for the shims themselves, which cost anywhere from $1.50 to $10 per pack. If this is something you do regularly, you can get over 200 shims for $25. If you’re crafty and have a jig, you can even make your own shims for free from scrap lumber, bringing the overall cost down to literally nothing.
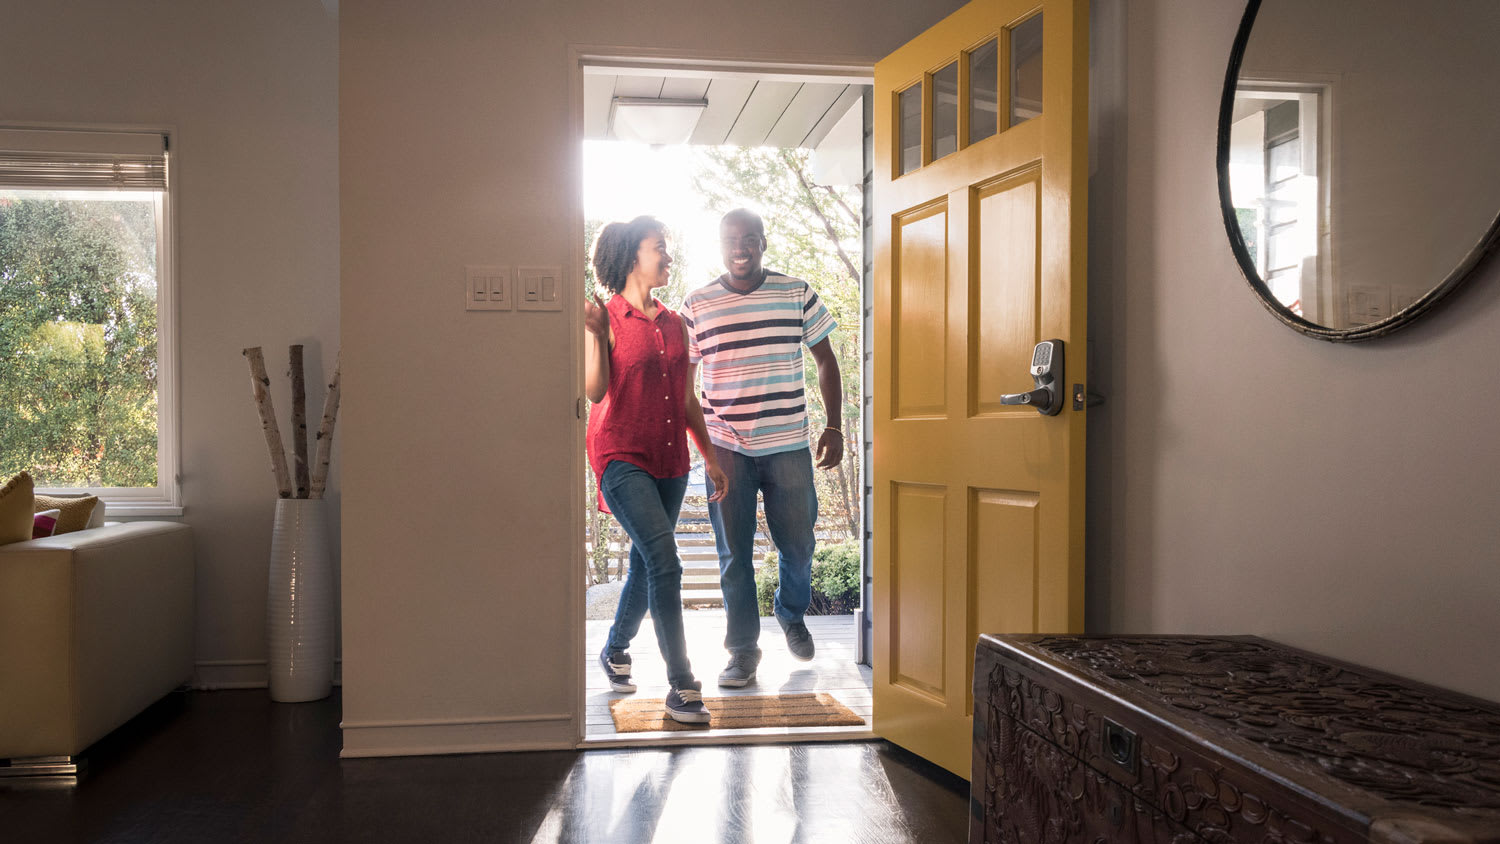
Shimming a door is a simple process that you can most likely handle on your own. The same is true if you’re installing a new prehung door or fixing an existing door that has shifted or warped over time.
Buying the shims and doing the work yourself will likely cost you between $5 and $10, whereas you’d spend an average of $100 if you hired a door installer near you to do the shimming professionally. That means an average savings of around $90 on the cost of a door installation, and the process is relatively straightforward.
However, if you don’t have the time to shim your door or you’ve tried to do the work but can’t seem to get your door centered, plumb, and level, you can always call in an expert for help.
Based on data from Angi, 52% of homeowners need additional carpentry work when repairing a door jamb. If you’re not sure if you need more work, you’re not alone, as another 23% of homeowners wanted a recommendation from a professional.
Terrible experience. Walls/trim/floors/cabinets/doors all have drip marks, overspray, etc. Tiling at the fireplace had to be redone by another vendor due to incorrect and shoddy install by Profect. Contractor had his children in our house while he was on site without prior authorization or...
 Profect painting & exteriors
Jason has helped me with multiple household projects, with the most recent being new door installation. He has always showed up on time and organized and has done an incredible job! Jason is very professional and he's now my go-to for anything around my house that needs to be fixed or...
Company came to look at my garage door that was off track. They also said I needed a brace on the other garage door. They put the door back on track, and I paid to install the brace. The technician told me I needed a new garage door opener, and it would cost $1000. Red flags went off in...
 Precision Overhead Garage Door Service
On Sunday 2/26 I requested quotes via Angi from 4 refrigerator repair businesses. Northwest Appliance responded to me Monday morning (2/27) and my refrigerator was repaired by noon the same day. Great communication, they did everything they said they would. The technician had the parts on...
Excellent customer service and knowledge. I was recommend to him from my neighbour. My front door and window came in great and were installed beautifully perfectly, I m very satisfied with their excellent work, so decided to order one more big bow window for my living room. I cant wait for...
Called ahead and worked quickly to install keyless locks on vintage wooden doors.
Scott did not get appropriate access to the property prior to the scheduled inspection which required us to come back later in the day to complete it. He also, unprofessionally, knocked on a neighbor?s door in his attempts to reach someone with access. His overall report was fine though the...
Door Depot was very responsive - they came out the day after my call to assess my needs, then returned at my convenience to complete the work. They arrived early, and the work was completed in a shorter period of time than estimated. Very pleased with the results. I would definitely use them...
 Door Depot LLC
Replace garage doors: Fast response, competitive estimate, timely work done well.
Jeremiah did an awesome job cleaning 28 windows inside and out! He was fast, efficient and now I have a beautiful view again. This was a Groupon for $139 for 20 windows, but I had 28 windows/doors cleaned, so there was an extra $6 per window. Totally worth it.
 Complete Home Services
From average costs to expert advice, get all the answers you need to get your job done.
Whether you’re installing a new door or replacing an existing one, the cost of door installation varies based on location, door type, framing needs, and other factors.
Planing a sticking door is a small repair that can make a big difference. Learn how much it costs to plane a door and what factors affect the cost.
Discover the average security door installation cost, key price factors, and expert tips to help you budget for your home’s safety upgrade.
If your storm door doesn’t shut properly, loose screws or damaged weatherstripping might be to blame. Learn how to fix a gap between a storm door and frame.
Use our guide to identify eight common door installation problems—and how to fix them.

You’re not imagining it: The door that previously fit your frame is suddenly too big. Learn how to fix a door that sticks using multiple methods here.