•
Discover the cost of widening a doorway, including average prices, key cost factors, and tips to help you budget for your project.
With a little elbow grease, you can make a statement with your entryway


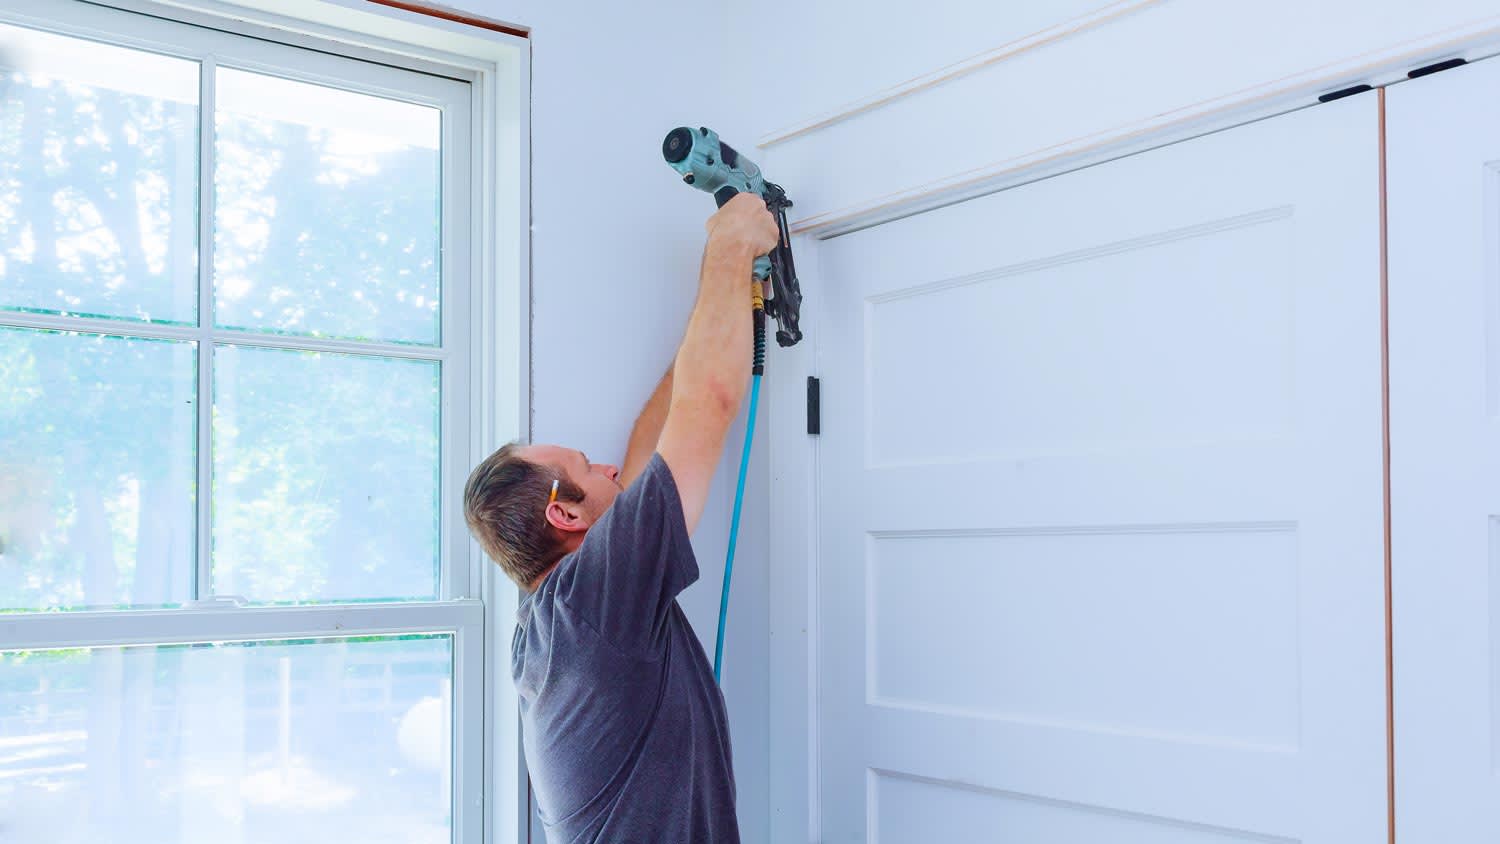
Sometimes, getting your hands dirty and doing a DIY project is a rewarding experience that makes you feel accomplished and brings charm to the home. Adding trim to a doorway is a project that, once you get the hang of it, you can do to all doors in your house—and you don’t have to shell out the door installation cost to do so. So, get your hard hat ready, and read this guide to help you get started!
The size, style, and type of trim might affect the length of nails you’ll need. Thick trim pieces may require longer nails to secure them to the wall. If you want extra security in your doorway trim make sure you have a drill, drill bits, and 3d nails on hand to strengthen the connection between the corners of your three pieces.
What’s our biggest tip for learning how to install door trim? Precise cuts. Using the miter saw to make clean cuts ensures the finished woodwork is tidy and secure.
Finally, if you’re planning on staining or painting your trim, finish your trim before installation. It’s easier to sand, stain, or paint the pieces on the floor than on the wall. After installing the pieces, touch up any nicks or smudges made by the nail gun or miter saw.
A clean workspace is a clean mind, so be sure to clear the space before you start measuring your trim to prevent injuries or confusion in your calculations. Remove objects you could trip over and clean the wall around your doorway to make marking the places for the trim easier.
Before touching the trim, you’ll need to determine where to place it along your doorframe. A reveal line will help you install the door trim ever so slightly away from the frame, giving the hinges room to operate. The easiest way to draw reveal lines is with a combination square and a pencil.
Set the combination square anywhere from 1/8 to 1/4 inch away from the jamb in the top two corners of your doorway. Draw one horizontal and one vertical line in each corner to mark your reveal lines.

To calculate the trim pieces, grab the measuring tape to measure from the ground up to where it’s parallel to the horizontal line. Repeat on the other side to ensure you have accurate side trim measurements.
Then, measure the distance between the two vertical marks to get the measurement for the inside of the top piece—this is called the header trim. Now you have the lengths for the thin sides of your trim pieces. Mark these measurements onto the inner edges of your trim.
“If you’re not painting the trim, it’s essential that the mitered pieces match perfectly,” says Bob Tschudi, Angi Expert Review Board member and general contractor in Raleigh, NC. “For painted trim, you can fill small imperfections with caulk before painting.”
With your safety glasses in place, use a miter saw to cut your trim at a 45-degree angle. The header trim will need two 45-degree angles on each end to fit against the side pieces. The side pieces only need one 45-degree angle on the end that fits into the header trim; the other end of the side pieces should be a 90-degree angle, as they’ll extend down to the floor.
Cut from the thickest side of the trim across to the thinnest side, as you will install the thickest side furthest away from the doorway. Your two side pieces should be mirror images of each other to ensure the joints fit properly together.

For the next step in how to install door trim, find your hammer or nail gun. Use 1-inch, 15- or 18-gauge nails to attach the thin side of the trim to the wall and 2-inch, 15- or 18-gauge nails for the thicker side of the trim. Space the nails approximately 1 inch away from the edges of the trim and 1 foot apart.
Measure one inch in and one inch above the thin, inner edge of the trim. You’ll want to match the spacing and distance for the outer edge of the trim, as well. This will leave two rows of nails in each piece of trim.
It might be wise to enlist a friend to hold the trim in place while you nail it to the wall. Consider using a piece of cardboard underneath the board while hammering to avoid damaging the wall.
Now it’s time to fit the two side pieces. If your cuts are off and the two pieces aren’t flush against the header trim—this might be your most challenging part of installing the door trim. Place the side pieces one at a time against the top trim until they’re flush with each other. The edges should go flat against one another.
If there is a gap or uneven section, you’ll need to sand down the trim until it evenly connects to the header. Generally, if there’s a gap, you’ll need to sand the opposite side to get it to lay flat.
Once both sides fit flush against the head trim, you can attach them to the doorframe. Before you nail them into the wall, place wood glue on the end of each side piece. Spread it evenly across the entire edge of the piece before placing it firmly against the header piece. Then, using 1-inch nails on the inside of the trim, nail the piece into the wall. When nailing in the outer portion of the trim, use 2-inch nails as you did with the header trim.
“In some cases, especially in older homes, you’ll have perfectly mitered wood, but the wall depth is slightly different,” says Tschudi. “Carpenters simply ‘shim’ the lower piece using small pieces of cardboard behind the trim before nailing.”
For extra security, you can predrill 1/16-inch holes in the top and side corners to better hold the two pieces together. Alternatively, you can simply drive four 3d (1 1/4-inch) nails into the corners.
Once you’re finished installing the trim, it’s time to touch up any marks or smudges made by the nail gun or miter saw. A damp microfiber cloth can remove any scuff marks, but you’ll need to touch up the paint if there are any significant nicks.
For some homeowners, making sure the pieces are flush and lined up perfectly is one of the biggest challenges. Despite knowing standard door sizes, it can be tricky. Even tiny gaps can turn that beautiful accent to your doorway into a low-key eye sore! To avoid this, you might want to pay extra in materials and use the extra trim as test pieces to ensure they’ll fit together, or scratch the DIY project entirely.
Consider hiring a local handyperson to transform an entryway into an elegant statement piece without the trials and errors of DIYing a doorway trim. The pros can help you install your preference from a variety of door casing styles and door casing sizes. Door casing materials cost anywhere from $0.60 to $1.20 per linear foot for the materials and $70 to $100 per hour to hire a pro to install the trim.
Terrible experience. Walls/trim/floors/cabinets/doors all have drip marks, overspray, etc. Tiling at the fireplace had to be redone by another vendor due to incorrect and shoddy install by Profect. Contractor had his children in our house while he was on site without prior authorization or...
 Profect painting & exteriors
Jason has helped me with multiple household projects, with the most recent being new door installation. He has always showed up on time and organized and has done an incredible job! Jason is very professional and he's now my go-to for anything around my house that needs to be fixed or...
Company came to look at my garage door that was off track. They also said I needed a brace on the other garage door. They put the door back on track, and I paid to install the brace. The technician told me I needed a new garage door opener, and it would cost $1000. Red flags went off in...
 Precision Overhead Garage Door Service
On Sunday 2/26 I requested quotes via Angi from 4 refrigerator repair businesses. Northwest Appliance responded to me Monday morning (2/27) and my refrigerator was repaired by noon the same day. Great communication, they did everything they said they would. The technician had the parts on...
Excellent customer service and knowledge. I was recommend to him from my neighbour. My front door and window came in great and were installed beautifully perfectly, I m very satisfied with their excellent work, so decided to order one more big bow window for my living room. I cant wait for...
Called ahead and worked quickly to install keyless locks on vintage wooden doors.
Scott did not get appropriate access to the property prior to the scheduled inspection which required us to come back later in the day to complete it. He also, unprofessionally, knocked on a neighbor?s door in his attempts to reach someone with access. His overall report was fine though the...
Door Depot was very responsive - they came out the day after my call to assess my needs, then returned at my convenience to complete the work. They arrived early, and the work was completed in a shorter period of time than estimated. Very pleased with the results. I would definitely use them...
 Door Depot LLC
Replace garage doors: Fast response, competitive estimate, timely work done well.
Jeremiah did an awesome job cleaning 28 windows inside and out! He was fast, efficient and now I have a beautiful view again. This was a Groupon for $139 for 20 windows, but I had 28 windows/doors cleaned, so there was an extra $6 per window. Totally worth it.
 Complete Home Services
From average costs to expert advice, get all the answers you need to get your job done.
Discover the cost of widening a doorway, including average prices, key cost factors, and tips to help you budget for your project.

Installing trim can give your home a finished, polished appearance. Learn how much it costs to install trim and what factors affect how much you’ll pay.

Trimming your bushes is one of the less costly aspects of landscaping, and it’s helpful to bundle many trimming services together to save money.

Learning how to install transition strips in doorways makes the transition between rooms smoother and protects the edges of the flooring.
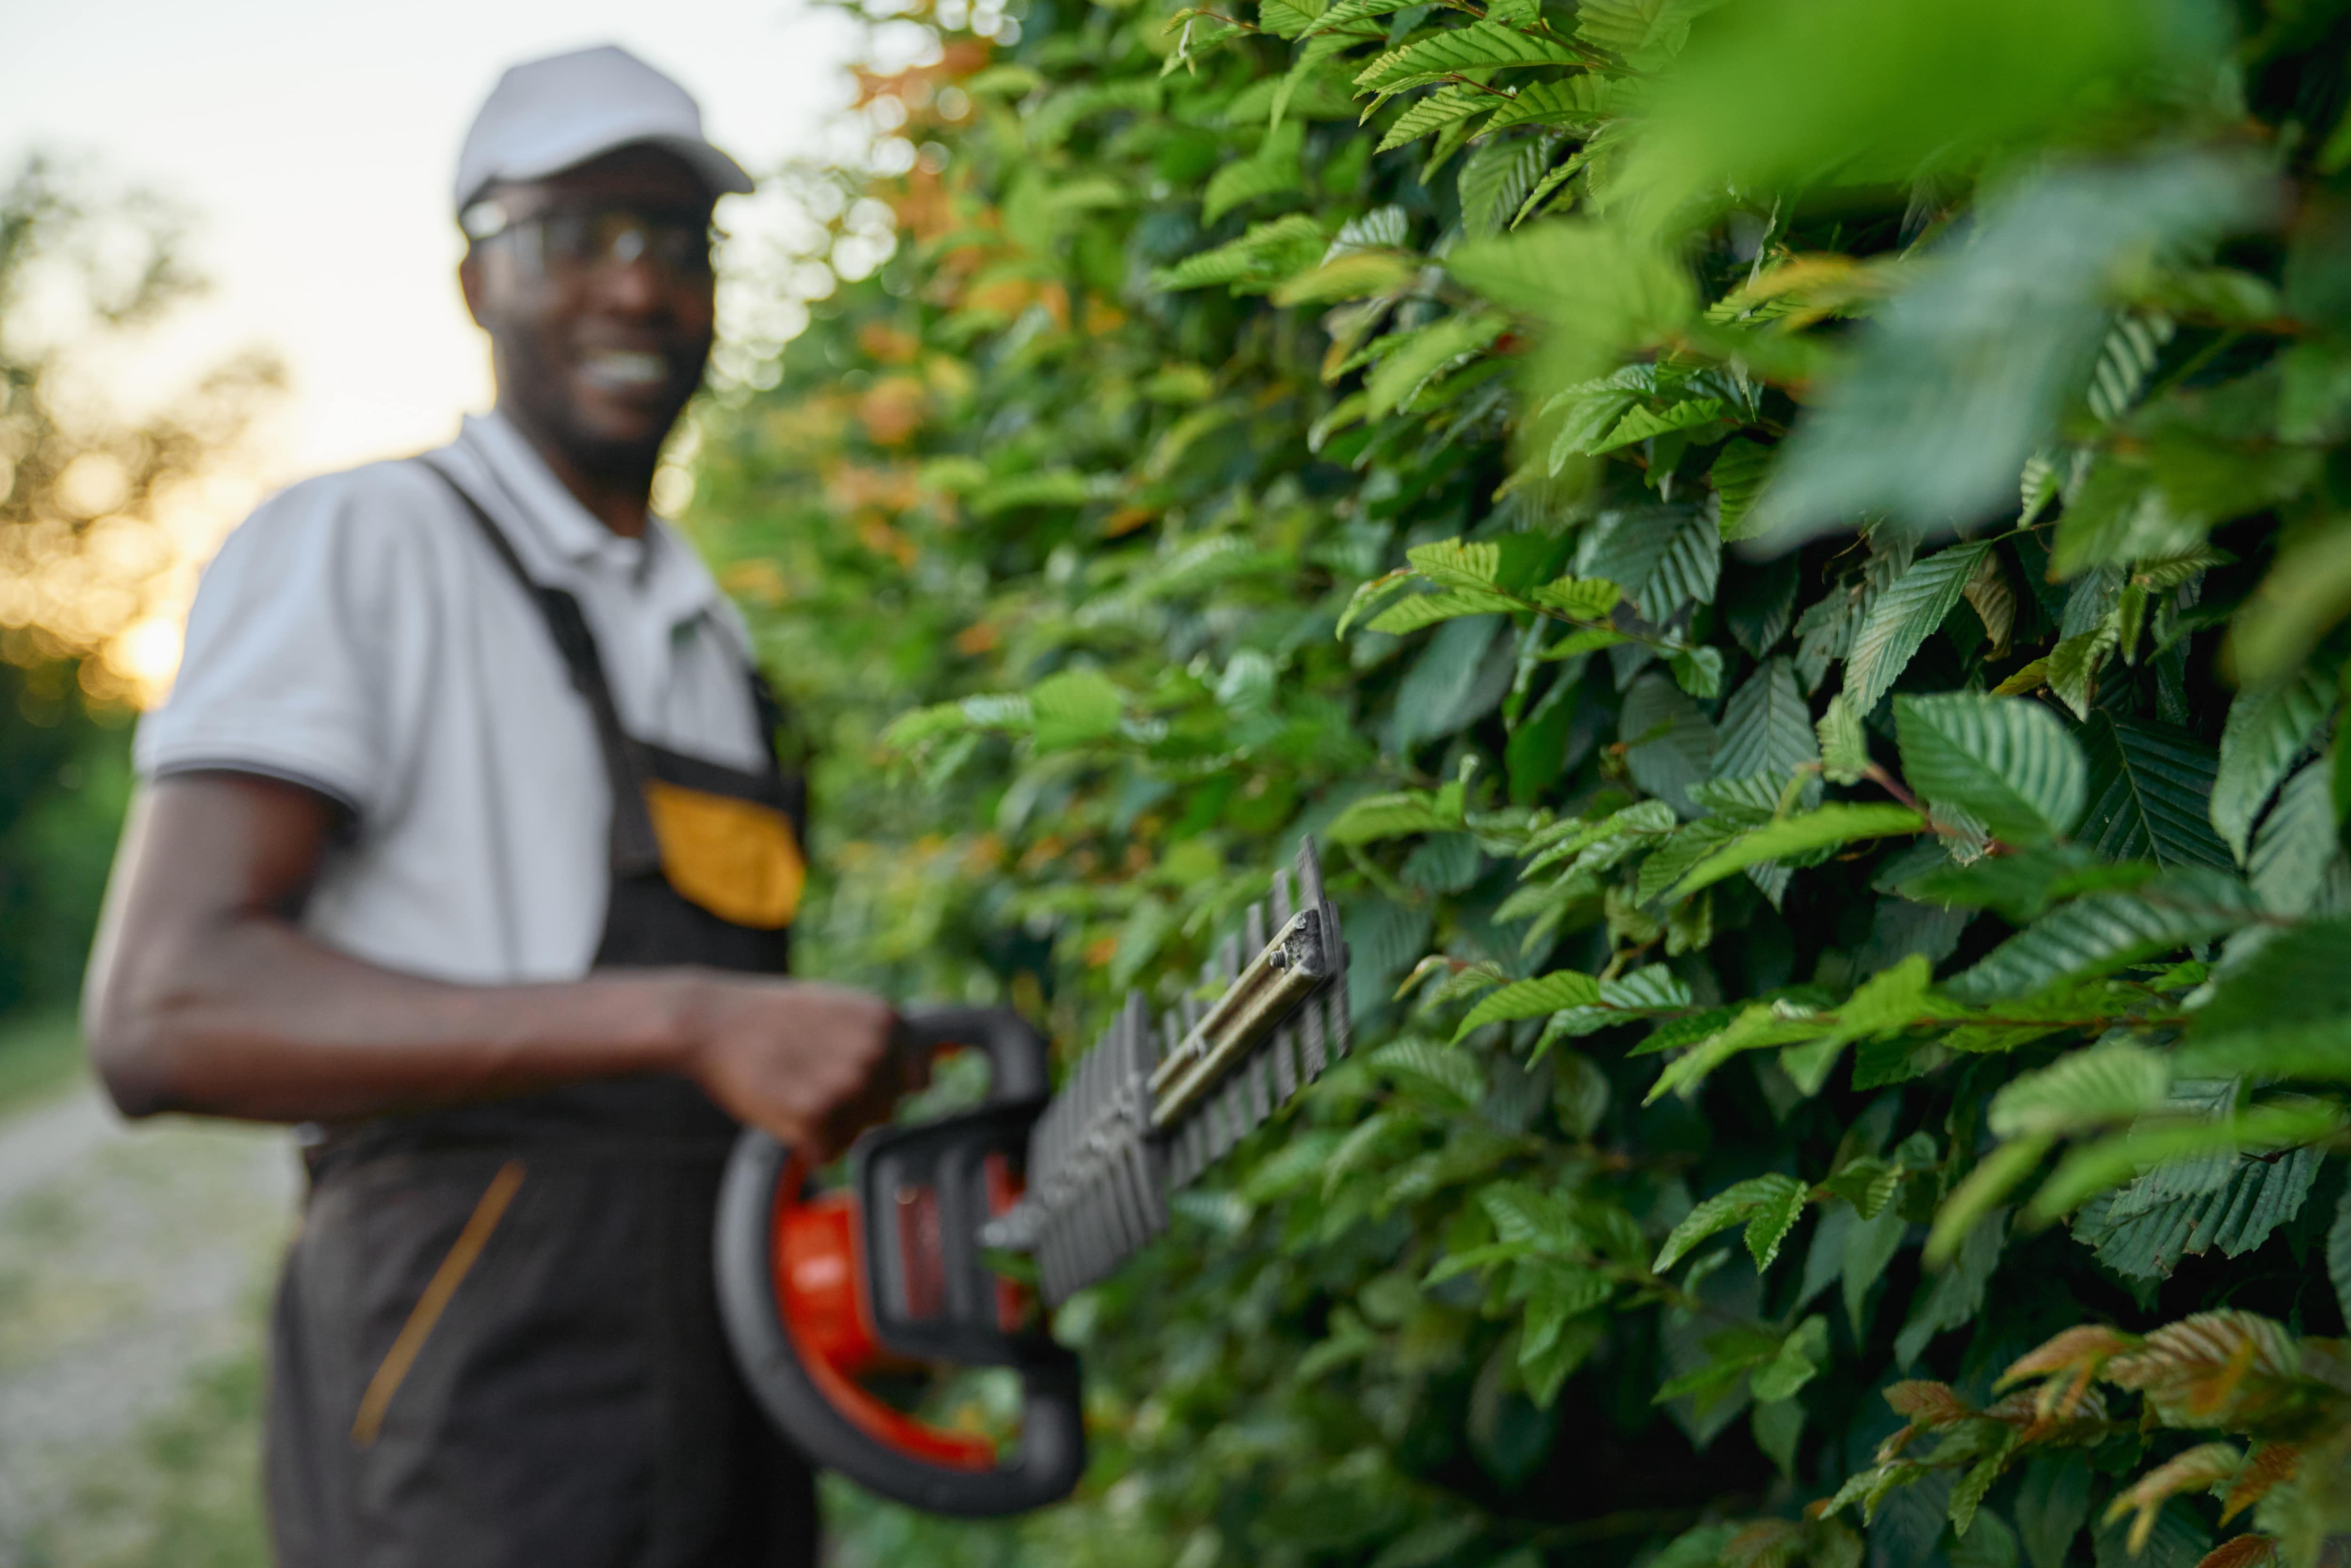
Do your hedges need a trim? Learn how to trim hedges correctly, key tips to keep them healthy, and how to stay safe while tackling the task.

Trimming shrubs and bushes takes time, patience, and a little sweat equity. Our guide will show you how to trim shrubs and bushes properly.