
Countertop repair costs may be the deciding factor between replacing or repairing your counter. Let’s break down the cost to repair, resurface, or relaminate.
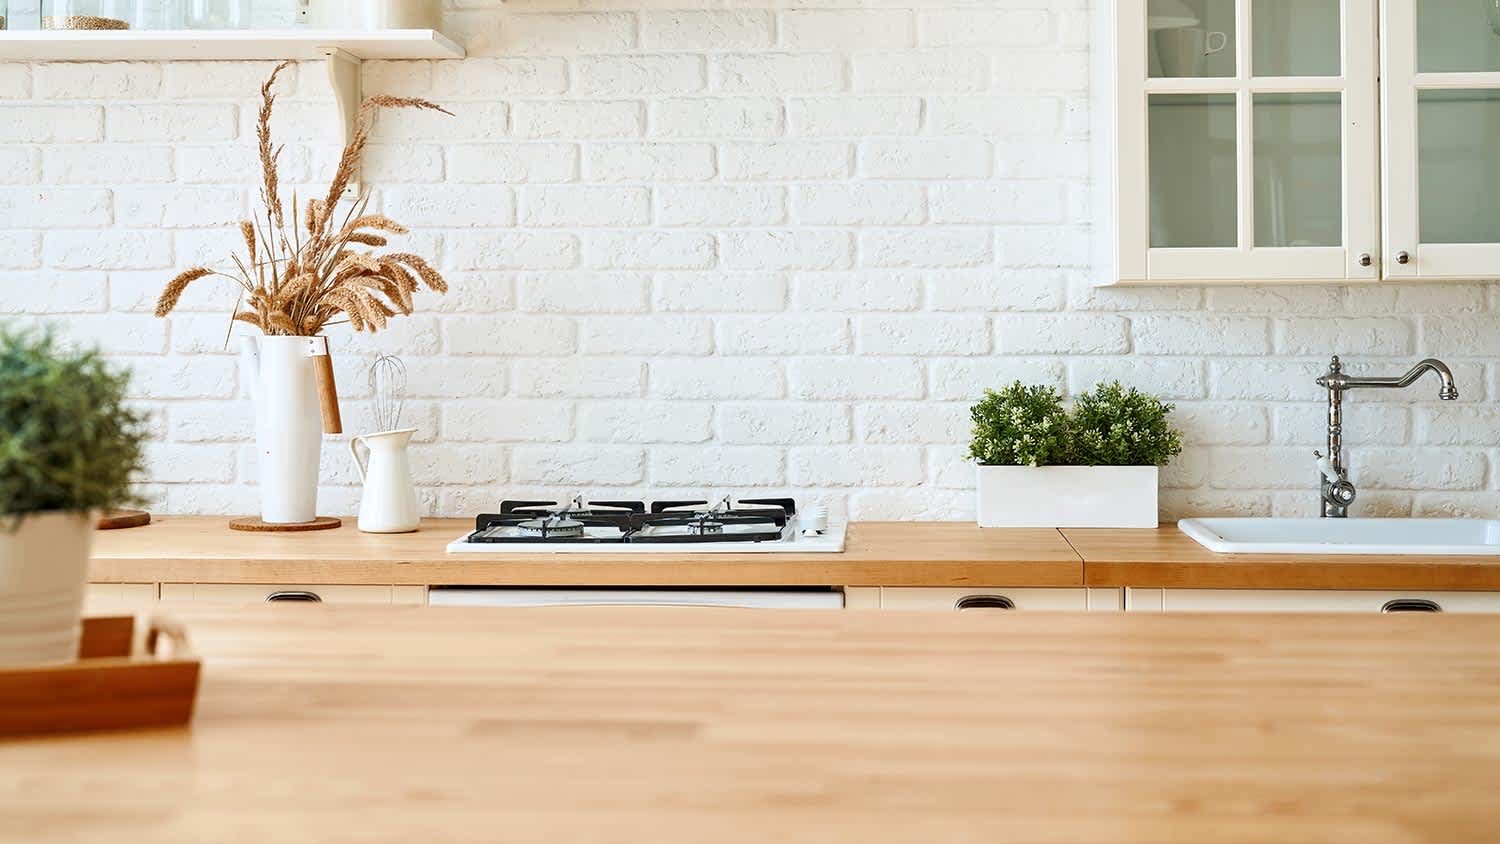
If your laminate has endured scratches and stains, give it a little TLC

It’s not rare for a laminate kitchen countertop to fall victim to a hot pot or a particularly deep scratch. Life happens, and when it does, it’s time to roll up your sleeves. You might have heard that it’s difficult to repair laminate or Formica®, but new products have made resurfacing countertops more accessible than ever. This guide will show you how to resurface countertops in a few simple steps.
There are a couple of different ways you can resurface laminate countertops. While some homeowners sand down the existing laminate and install a new layer of laminate, it’s simpler to use a countertop coating system (like Countertop Transformations from Rust-Oleum). These kits, which are available in some of the best countertop colors, typically come with a diamond-embedded sanding block, base coat, topcoat, and stone-like chips to mimic granite.
You'll have to be willing to do more maintenance for certain countertop materials. For example, you must regularly seal granite to prevent stains and etching. On the other hand, quartz and laminate are low-maintenance materials, and small repairs are inexpensive.

Coating systems are an ideal countertop idea for those on a budget. It’s no more difficult than repainting any other surface in your home. Just be forewarned: If your countertop has deep dents and chips, you’ll need to fill them using a two-part epoxy or laminate filler product. Surface-level scratches and heat stains don’t require extra prep.
For your coating to properly adhere, you’ll need to scratch up the surface of your existing countertop. Sand the surface using the diamond-embedded sanding pad that came in your kit. Make sure you sand evenly, and don’t forget to wear your goggles and dust mask. Sanding will kick up a lot of dust. When you're done, your countertop should be covered in tiny scratches and no longer have a glossy sheen.
Alternatively, if your countertop is a little large for hand-sanding, you can use an orbital sander with a 60- or 80-grit sandpaper. Just make sure to move with a light hand. If you go too deep, your surface won’t remain level.

Before you apply the base coat, you’ll need to prep the area to prevent damage to your cabinets and walls. Wash away the dust from sanding using a damp cloth. Use painter’s tape and plastic sheeting to protect areas that you don’t want to coat—the same way you’d prep for painting a room. This includes:
Covering your base cabinets and floor
Taping off the wall above your backsplash
Moving or covering appliances
Covering sinks and drains
It’s also a good idea to put your decorative chips in the dispenser before you start applying the base coat. You need to apply them while your base coat is still wet, and you’ll only have about 20 minutes to get it right. If you have a really large countertop, be ready to apply the base coat and chips in smaller sections.

Use a paintbrush and microfiber roller to apply the base coat to your countertop. A brush works best on the edges or the angles of a backsplash, while the roller will work best on the flat surface of your countertop. Make sure you paint a thick, even layer covering the entire surface.
With this step, it’s really important that you don’t allow the base coat to dry. You want it to maintain a tacky consistency so the chips will stick. Your kit should come with a wetting agent that you can spray on the surface if your countertop starts to dry.
It’s common for laminate or Formica® countertops to mimic natural stone slabs. The decorative chips in your kit will help you get a similar texture (as a bonus, it conceals messy brush strokes). Use the dispenser to disperse the decorative chips evenly over the visible surface of your countertop. This includes the edges and backsplash. You want to cover the entire base coat with chips.
Once you’ve applied an even layer, wait at least 12 hours for the base coat to dry. Do not let it dry for more than 24 hours.

Once your base coat is dry, you’ll need to smooth the surface of your countertop. The chips can have rough edges, and you don’t want that texture to show in your finished product.
Start by vacuuming up the loose chips. Your kit should’ve come with a chip scraper. Use it to push down rough edges. Proceed carefully so you don’t accidentally dent the coating.
After that, use the sanding block to lightly sand the surface of your countertop. This will smooth out any remaining rough edges from the chips. There are likely fewer chips on the backsplash and edges, so use a lighter touch in those areas. If you find that your surface still isn’t smooth, you can lightly go over it with 120-grit sandpaper.
When you’ve finished, vacuum up the sanding dust and wipe the area with a damp cloth.

Depending on your kit, your topcoat is likely a two-part formula. This means you’ll need to mix it before you apply it—and you’ll only have four hours to use it once it’s mixed. Follow the manufacturer’s instructions.
Once it’s mixed, use a paintbrush and foam roller to apply a thick layer of topcoat to your countertop. Like the base coat, a paintbrush will perform best on your backsplash, edges, and corners. The roller will perform best on the flat countertop surface and over the front edge.
Once you’ve coated your entire countertop, run your foam roller over the entire surface in a single direction. This will get rid of brush marks and uneven texture.
Before you use your countertop, let it cure for a minimum of 48 hours. It will take about a week to fully cure.
It costs anywhere from $250 to $550 to resurface a countertop, depending on the material. Something like laminate is much cheaper to resurface than quartz or granite. Installing an epoxy coating over a countertop costs even more, with an average price of $1,000 to $4,500 for smaller kitchens. Hiring a pro costs more than a DIY job, but professionally resurfaced countertops tend to last longer and hold up better than DIY options.
You can save a couple hundred dollars by resurfacing countertops on your own—but it really depends on the extent of the damage and the type of material.
For example, you can’t use a coating kit on quartz or Corian® countertops. If you have significant damage, you may need to relaminate the surface or replace the countertop altogether. In this case, you’ll probably want to call a countertop resurfacing company near you to take on the job.
I had FabClean 614 clean my apartment, and she did an outstanding job. She was so professional and efficient. My apartment looks absolutely spotless every surface, every corner, all cleaned to perfection. Definitely highly recommend FabClean 614 if you're looking for top-notch cleaning...
Cole has been handling plumbing and general contracting for our four properties over the past three years, and he’s always done a great job. Most recently, he installed a sink and countertop in our retail store where none existed before, and it turned out exactly how we needed. He’s...
 ANB Renovations LLC
This company is my go to resource for all my post renovation clean ups. They get the place spotless! All we have to do after is stage the place and sell, sell, sell! They are super professional and have some amazing scent that is left in every property. I highly recommend!
I had Ace Fireplace Services install custom chimney caps for my home, and the results are stunning. They fit like a glove and have added a touch of sophistication to my chimney. I can't recommend their services enough.
 Ace Fireplace Services
Supreme Brick & Chimney did an excellent job restoring the brick and mortar joints on my home. Their team was professional, knowledgeable, and completed the work on time. I highly recommend them and will hire them again in the future! Thanks!
 Supreme brick & chimney
I recently hired Custom Paint Jobs LLC to repaint my home, and I couldnt be happier with the results. Their attention to detail and professionalism were outstanding. Highly recommended
Window Depot did an amazing job on my deck. I wasnt sure what I wanted to do, but their composite decking was affordable and will last a long time. I am excited to have family over, and I am no longer embarrassed by my backyard. Jeff and the ground crew were polite, respectful, and caring for...
If I could give 10 stars for Kitchen Tune Up, I would. I cannot say enough good things about my experience with Kitchen Tune Up and the entire team involved in the process of my kitchen project. They went above and beyond as far as service and quality with my cabinets, paint, countertops, and...
Great job...edging and pre clean up went well with a great job with seal coat. Friendly, efficient and professional.
 All Star Paving and Sealing
They are very reliable and available. They the drains all the time
 The Waterworks
From average costs to expert advice, get all the answers you need to get your job done.
Countertop repair costs may be the deciding factor between replacing or repairing your counter. Let’s break down the cost to repair, resurface, or relaminate.
Butcher block countertops are a popular and durable choice for active kitchens. Learn how much it costs to install butcher block counters and what factors may affect pricing.
If you’re looking to refinish your countertops, epoxy will make them shine for years to come. This guide will help you budget for epoxy countertop costs.
Knowing how to clean different types of countertops is essential to having a sparkling surface (without damaging it). Learn how to safely clean and remove stains on marble, tile, quartz, stone, granite, and other kitchen or bathroom surfaces.

With a few smart tricks, it doesn’t have to cost a lot to make your kitchen look expensive. Get creative by swapping out lighting fixtures or changing paint colors.
Depending on the type of damage, you can repair a laminate countertop yourself—here are some tips to help restore your countertop.