

Pool tile costs can vary widely depending on the size of your pool and the type of tile. Here’s how much it costs to retile a pool and other projects to think about.
Dive into these DIY repairs for cracked, chipped, or loose pool tiles

Pool tile repairs become necessary when you notice cracked, chipped, or loose tiles caused by improper installation, freeze-thaw cycles, or natural aging over time.
Expect to pay $2,000 to $5,000 for professional pool retiling, while smaller repairs like replacing a few tiles cost $250 to $1,150.
You should address underlying issues like damaged coping, cracked expansion joints, or compromised grout before replacing your pool tiles to prevent future damage.
Hiring a local pool remodeling professional provides reliable help with tile replacement, coping repairs, and identifying structural issues that could cause long-term damage.
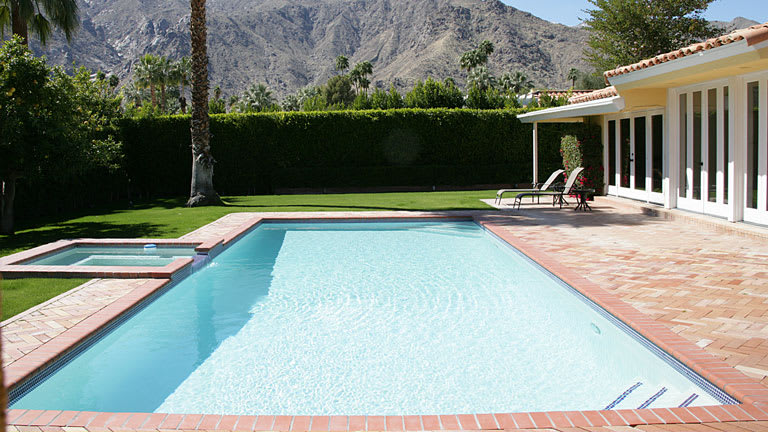
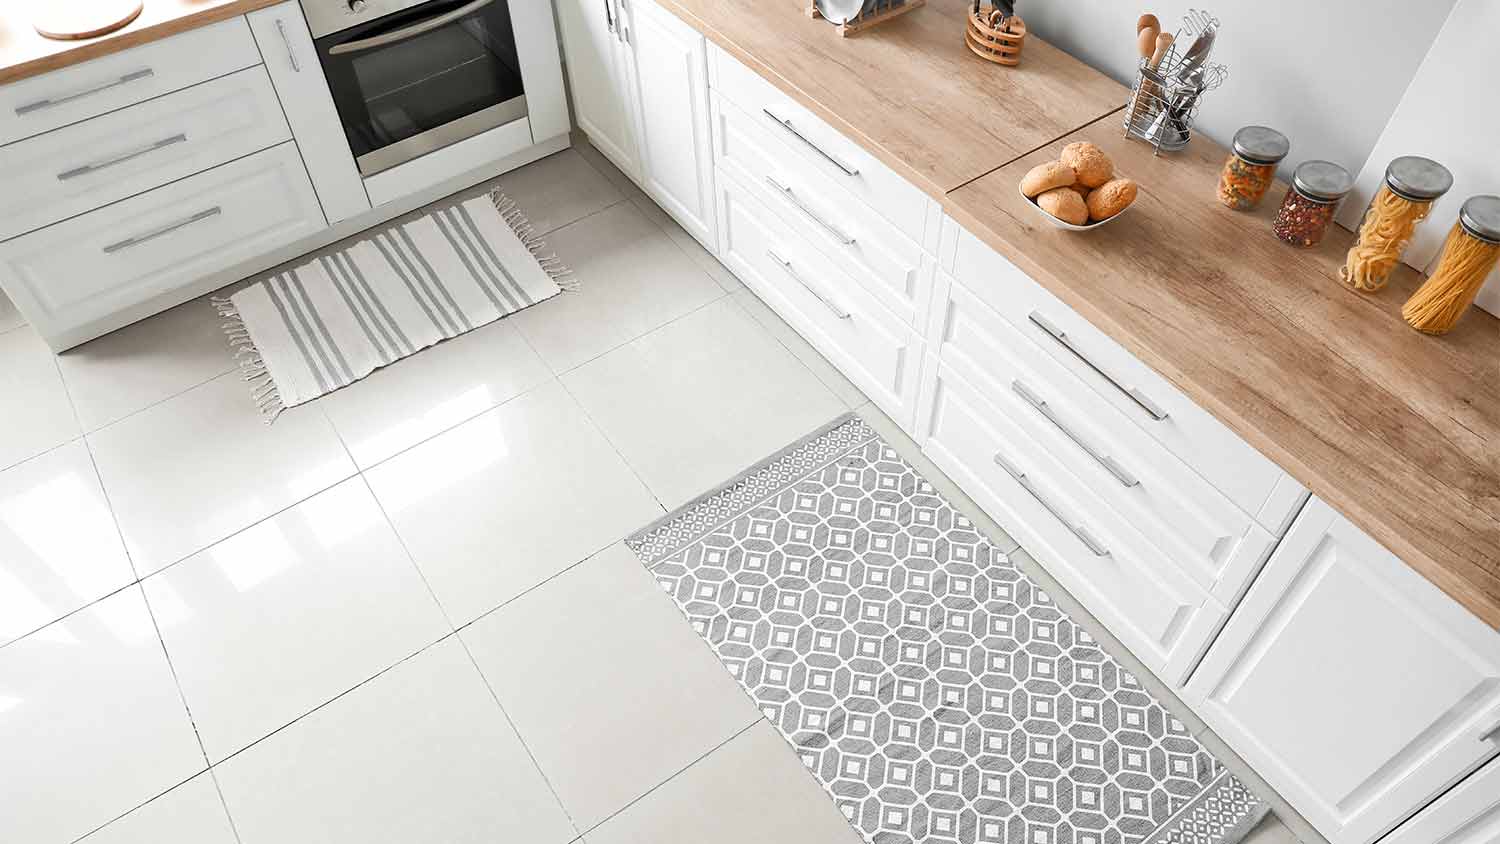
Although tiles used in a pool are often stronger than those used in a kitchen, they still only last between five and 15 years. After that, you may notice cracking, chips, or looseness. It’s not difficult to replace pool tiles, but you may also need to make other repairs, such as replacing the coping or recaulking the expansion joint. This guide will show you how to replace pool tile and address some of the underlying issues you may encounter.
Replacing and repairing pool tile will help prevent further damage. But unless your tile was damaged due to a heavy object being dropped on it, tile replacement is typically a temporary solution to a larger underlying issue. You’ll need to identify and address the root problem and then replace the tile.
Here are some common problems:
Damaged or missing tiles: Occasionally, your tiles can crack, chip, or detach from the pool. This may happen due to improper installation, freeze-thaw cycles, or age. Leaving damaged tiles unfixed can lead to water seeping behind the pool shell, causing more problems in the future.
Mold or mildew: The constant presence of water, combined with moisture trapped behind loose tiles or compromised grout, creates an ideal environment for mold and mildew. These issues can not only look unsightly but also degrade grout and tile adhesive.
Delaminated coping: Coping is the edging that surrounds a pool’s perimeter. It can lift from the pool deck and allow water underneath, which can freeze and damage the pool structure.
Damaged expansion joint: Brick, stone, or concrete pools have an expansion joint, known as mastic, that acts as a seal between the coping and the pool deck. If this caulking wears down, it can cause water infiltration and serious issues.
Damage to grout or the seal between pool coping and tile: Tile pools have a seal, known as a bead, between the coping and tile. This should be made from a flexible, waterproof urethane sealant. Sometimes installers use grout, which can crack and allow water to seep behind the tiles, causing them to delaminate.
Cracked bond beam: Tile may crack because the structural beam behind the coping is damaged. In this case, you will need to hire a pro to repair the beam.
For most homeowners, retiling a pool costs between $2,000 and $5,000. Of course, you don't always need to retile the entire area. Most swimming pool repairs (like replacing a few tiles, repairing a leak, or caulking a damaged joint) cost somewhere between $250 and $1,150.
If you’re replacing loose tiles and the tiles themselves aren’t damaged, you can reuse them. Otherwise, contact the original pool contractor to find out the exact tile manufacturer or model—they may even have spare tiles available.
You can also bring a photo or sample to a local pool store to search for a close match. If you can’t find an exact match, choose tiles with the same size, shape, and a similar color. For a perfect match, consider custom-made tiles.
These steps will guide you through the process of replacing pool tile and coping.

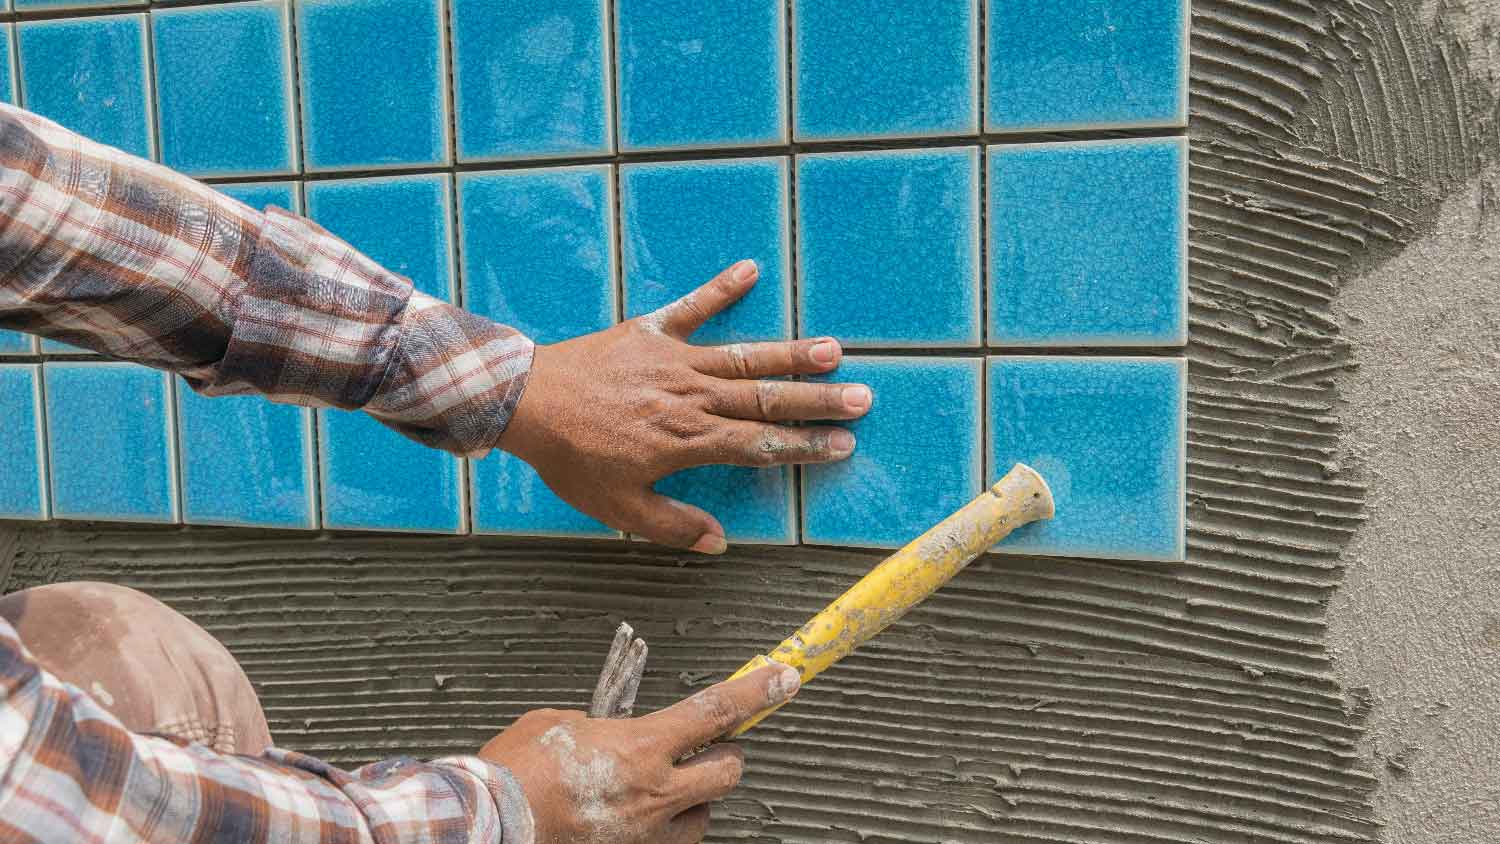
Replacing damaged pool tile is a straightforward DIY project if you take the proper precautions and follow the right steps. Before you begin, always wear gloves and eye protection to prevent injury. Also, if your pool has decorative or patterned tiles, note their orientation before removing the damaged pieces to ensure a seamless look when installing the replacements.
Here are the step-by-step instructions for replacing a pool tile:
Drain your pool so the water level is well below the tiles you’re replacing.
Use a grout saw to remove existing grout around the damaged tiles.
Chip away damaged tile using a hammer and chisel. Proceed carefully, placing the chisel at the joint of the damaged tile and lightly tapping your hammer to wedge it underneath. This should pull up the tile.
Mix thin-set pool mortar according to the manufacturer’s instructions.
Use a trowel to spread mortar on the back of the replacement tile, following the instructions for the required amount.
Press the tile into place, aligning it with surrounding tiles. Use small spacers or painter’s tape to maintain alignment while it sets.
Let the mortar cure for 24–48 hours, following the manufacturer's instructions.
Apply pool-grade grout to the joints around the replacement tile. Wipe away excess grout with a damp sponge.
Allow the grout to cure for 24–48 hours before refilling the pool.
If you have masonry experience, replacing pool coping is a feasible DIY project, as long as it’s made from brick, natural stone, or concrete pavers. If coping is made from a concrete slab, or if you suspect a cracked structural wall, you’ll need to hire a local pool specialist.
Before you begin, put on safety goggles and gloves, and lower the pool water below the tile line. Here are the steps to replace pool coping:
Remove damaged coping using a chisel and pry bar.
Carefully chip away the loose or deteriorated mortar with a hammer and chisel.
Clean the area of debris before you reinstall the coping. Moisten the bond beam before applying new mortar to improve adhesion.
Mix the pool mortar according to the manufacturer’s instructions.
Apply mortar to the coping surface using a trowel.
Insert coping pavers, brick, or stones in place over the mortar. Gently tap them with a rubber mallet to set them in place and ensure they’re properly sloped slightly away from the pool.
Fill gaps between coping units with mortar or pool grout.
Clean excess mortar or grout with a damp sponge.
Allow mortar to cure, following the manufacturer’s instructions.
Apply a urethane or silicone sealant along the bottom edge of the coping, where it meets the tile.
Inspect and re-seal the expansion joint between the coping and deck with a flexible sealant (not mortar) to allow for movement.

Sometimes, you don’t need to replace the entire pool coping. During your inspection, you may only notice cracks in the grout or damage to the coping bead (the joint between the tile and the bottom of the coping). In these cases, you can regrout the joints and reapply caulk to the bead. Here’s how:
Drain the pool so the water is well below your work area.
Use a grout saw to remove the existing grout and coping bead. Take care not to damage tiles or pavers.
Mix pool-grade grout according to the manufacturer’s instructions. Apply the grout between existing pavers, bricks, or natural stone using a putty knife or small trowel.
Wipe away extra grout with a damp sponge.
For the coping bead, use a pool-grade flexible urethane sealant instead of grout. Smooth with a damp finger or caulk tool.
Allow the sealant to fully cure according to the manufacturer's instructions.
The expansion joint is a flexible joint between your pool deck and coping. It prevents cracking when your pool and pool deck expand in warm weather and contract in cold weather. You’ll likely need to recaulk the joint every five years to prevent damage to your coping, which in turn will damage your tile. Follow these steps:
Clear the area of all debris.
Use a utility knife, hook blade, or grout saw to score and cut the old caulk from the joint.
Pull the rest of the caulk up by hand or using pliers.
Vacuum the area to make sure you clear away all caulk remnants.
Press a foam backer rod into the joint. This serves as a base for the sealant and ensures the correct depth of the sealant.
Apply pool-grade flexible urethane or silicone sealant over the backer rod. Smooth with a damp finger or caulk tool for a neat finish.
Allow the sealant to cure according to the manufacturer’s instructions.
Only perform this repair in temperatures within the sealant manufacturer's specified range (often between 40 and 80 degrees Fahrenheit) so the mastic can properly set. Keep in mind that not all pools have an expansion joint.
Proper maintenance will help keep your new tile in top shape, allowing you to avoid frequent replacements. Use these tips:
Remove calcium deposits using a cleaning solution specifically designed for pool tile.
Avoid harsh chemicals when possible (you may need to use some for algae buildup).
Use soft-bristled brushes for cleaning, not stiff-bristled brushes that could scratch the tile.
Remove leaves regularly. Buildup could damage the pool filter and cause algae growth.
Winterize your pool at the end of the season.
Regrout and recaulk as soon as you notice significant signs of wear.
Have your pool inspected annually to identify potential issues that could lead to long-term damage.
You can save on labor costs by replacing pool tile yourself, but this is not a viable solution for most homeowners. It’s usually better to repair chipped or cracked tiles temporarily with pool putty until you can hire a professional. There’s considerable room for error when it comes to pool repairs. Even a small crack can cause major damage in the winter if water gets below the surface and freezes. A pool tile installer near you will do the job correctly and prevent costly damage down the line.
The price of a pro depends on the type of repair and the type of pool. If you’re replacing pool tiles as part of a large pool remodel, expect to spend $6,000 to $15,000. This is comparable to the cost of resurfacing a pool. Outside of a remodel, replacing a few tiles and making necessary repairs typically costs less than $1,200 for a pro job.
Joseph did a great job with the staircase and trim. Timely and efficient, clear communication about the work, very fair pricing. For the stairs in particular, done very skillfully in an old house (1893) in a tight spiral, and very creative with how to do the handrail. Did a nice job with...
This company does it right. Firstly, I want to say that Landan was a joy to work with. He was so kind, transparent, and had everything under control. His entire team showed up ready to work and they were all very respectful of the fact that we were in an office space. A little backstory – we...
Professional Team, smooth to communication chain and schedule flexibility. Follows proper construction procedure and completes task on time.
Very professional, knowledgeable and helpful! Completed the install on time and as expected.
Cole has been handling plumbing and general contracting for our four properties over the past three years, and he’s always done a great job. Most recently, he installed a sink and countertop in our retail store where none existed before, and it turned out exactly how we needed. He’s...
 ANB Renovations LLC
Excellent, Prompt, Courteous Service!!! They were super friendly and quite personable. I felt very comfortable with the gentlemen that did the installation. They installed it exactly where I asked them to and they did an excellent job!! I loved their service so much.
I hired windows depot USA of central to install new windows in house in Oshawa. Ilya was very professional from the start, not only did he offered a great price, he also made sure the installation was on time. I am very satisfied with final outcome. The windows look great and the overall...
The guys did an outstanding job and we had a great experience with CarifaTile. I appreciated that Joe reviewed the quotes with me and set expectations prior to the install. The crews showed up as scheduled and always left the areas clean upon leaving the house. We will definitely use...
 CarifaTile
Did an amazing job transforming my yard. Also installed sod in places, would recommend to everyone.
Always been satisfied with the service work and how they have taken care of my pool.
From average costs to expert advice, get all the answers you need to get your job done.
Pool tile costs can vary widely depending on the size of your pool and the type of tile. Here’s how much it costs to retile a pool and other projects to think about.
From small leaks to broken pool pumps, how much do pool repairs cost? We'll break down what to expect from your pool repair bill no matter the size of the fix.

Knowing you have a pool leak is one thing, but finding it is another. We'll cover pool leak detection costs and what to expect from the repair bill.
Find and hire the best pool tile installation pro for your project. Learn what questions to ask, qualifications to verify, and steps to ensure quality work.
Who to hire for pool tile installation? Compare pool tile installers and pool contractors, learn pro steps, and choose the right expert today.
Whether your floor has a small crack or some serious damage, this guide will help you know when you can make repairs or if you need a full tile floor replacement.