
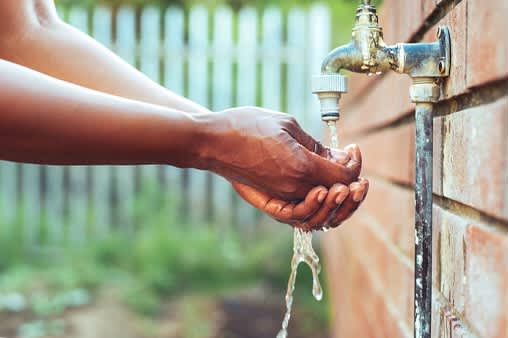
A leaky outdoor faucet can mean gallons of wasted water and a higher water bill. Thankfully, the cost of replacing an outdoor faucet is relatively low. Learn the true cost to replace an outdoor faucet so you can know what to expect.
A quick and easy process for improving your outdoor water supply

Replacing an outdoor faucet, also known as an outdoor spigot or hose bib, is a DIY project that can save you time and money while ensuring your outdoor water supply is in perfect working condition. Whether your existing spigot is leaking, damaged, or you simply want to upgrade to a more efficient model, this comprehensive guide will walk you through the process of replacing it. We'll cover everything from gathering the necessary tools and supplies to turning the water back on safely. So, let's roll up our sleeves and get started on this satisfying DIY project.
Before you start replacing your outdoor spigot, it's crucial to take some preliminary steps to ensure a smooth and safe process.
Rust and corrosion: Outdoor spigots are exposed to the elements and can accumulate rust over time. It's essential to take precautions to avoid injury when working with rusty parts. Wear gloves to protect your hands and use penetrating oil to help loosen any rusted components.
Measure the size of your old spigot fixture and the pipe it's attached to. Spigots come in various sizes, so getting one that fits snugly without any gaps is essential.
If you live in an area with freezing temperatures, consider switching to a frost-free hose bib. These prevent freezing and bursting during winter, but keep in mind that installing one may require additional steps like cutting plumbing pipes and soldering them back together.
Now that you're prepared, it's time to shut off the water supply to the outdoor spigot.
Locate the shut-off valve for your outdoor spigot. This valve is typically found inside your home's basement or crawl space.
Turn the valve clockwise to shut off the water supply to the spigot.
Go outside and open the old spigot to release any residual water that may be trapped in the line. This will help prevent water from gushing out when you remove the old spigot.
Removing the old spigot can be a bit tricky, especially if it's been in place for years and has become rusted or corroded. Use an adjustable wrench to loosen and remove any nuts or bolts securing the spigot to the wall or pipe. If the spigot is stuck due to rust, apply penetrating oil to the joints and let it sit for about 15 minutes to loosen the rust.
Carefully use a pipe wrench to turn and remove the old spigot counterclockwise, and be gentle to avoid damaging the pipe behind it.
Now that the old spigot is out of the way, it's time to install the new one. It’s a good idea to wrap plumber's tape, or Teflon tape, around the threads of the pipe where the spigot will be attached. This helps create a watertight seal. Then, position the new spigot over the taped area and secure it in place with screws or bolts. Use a screwdriver or wrench to tighten the connections.
If there are any gaps between the spigot and the wall, fill them with plumber's putty or exterior caulk to prevent water from seeping behind the spigot.
With the new spigot securely in place, it's time to turn the water supply back on. Return to the shut-off valve inside your home and turn the valve counterclockwise to restore the water supply to the outdoor spigot. Go outside and check for any leaks around the new spigot, and if you notice any, tighten the connections further or reapply plumber's tape as needed.
You might be wondering whether it's better to tackle this project yourself or hire a professional. There are advantages of both options. DIYing the replacement can save you money on labor costs, and it's an excellent opportunity to learn basic plumbing skills and gain confidence in handling home repairs. For simple spigot replacements, DIY can be a quick and straightforward process.
Hiring a local plumber, however, also has its benefits. Professionals have the experience and knowledge to handle complex situations, such as switching to a frost-free hose bib or dealing with extensive pipe issues. It's important to note that if you decide to switch to a frost-free hose bib, this may involve cutting and soldering pipes. If you're uncomfortable with these tasks, hiring a licensed plumber is recommended to ensure the job is done correctly and in compliance with local building codes. Plus, hiring a pro means you won’t have to lift a finger.
Positive experience. As previously stated, the replacement/repair could not be completed (no fault of the plumbing tech) b/c misinformation was rec?d by property management maintenance. Thanks to the plumbing tech for your efforts. Appreciate you!
 The Waterworks
If you want to pay the most exorbitant prices possible for your job, this is the company for you. “By the job” pricing is a rip-off, at least how these people use it. Every job is plugged into a category and prices are set by category. You might have a job that takes half an hour or one that...
 Benjamin Franklin Plumbing
Cole has been handling plumbing and general contracting for our four properties over the past three years, and he’s always done a great job. Most recently, he installed a sink and countertop in our retail store where none existed before, and it turned out exactly how we needed. He’s...
 ANB Renovations LLC
Matt is a consummate professional. The work turned out to be far more difficult than expected and rather than turn the job down, Matt rose to the occasion and completed a near impossible task. I can not recommend Greene's Plumbing Service more highly. On a scale of 1-5 I would give Matt a...
Involved an extensive bathroom remodel, including removing tub & installing walk in shower, new drywall, custome tile work to ceiling, plumbing, etc. Overall, job was done on time and on budget. Nick & his team were very professional and had high attention to detail. Quality was great. Highly...
 Stamos Flooring and Remodeling LLC
Awesome company. Had a jacuzzi tub taken out and replaced with huge walk in shower with partial glass enclosure. Onyx to the ceiling with a decorative border, moved plumbing and installed hand held shower, new ceiling, flooring, and paint. Replaced window with glass block. Everything was done...
 Columbus Bath Design
The initial quoted price from a walk-through seemed high, but we discussed that the quote represented worst case scenario (re-wiring to two floors) and we were excited about the opportunity to have the work done in a timely manner with closing for fire safety reasons, etc. When the job was...
Initially, I called the Service People to have a leaking garbage disposal replaced. I had purchased a special deal through Angie's List: $79 for $200-worth of plumbing services. <br /> When I went to schedule the work, the earliest date I could get through Angie's List was after the upcoming...
This company did a very good job on the brick wall and it looks just amazing. The staff was always professional and was practically OCD on how the bricks were stacked and how they were laid. Although it took longer than expected, I am willing to sacrifice time over perfection anyday. The...
 My Handy Mate LLC Improvement & Remodeling
<p>I am so glad we called Rotor-Rooter. I was hesitant to call them because we usually prefer to give business to local providers. But when we had sewage back up in our basement on a Saturday evening, I had a hard time getting a hold of someone, not to mention the high weekend/evening rate...
From average costs to expert advice, get all the answers you need to get your job done.
A leaky outdoor faucet can mean gallons of wasted water and a higher water bill. Thankfully, the cost of replacing an outdoor faucet is relatively low. Learn the true cost to replace an outdoor faucet so you can know what to expect.

Brick walls can add character and elegance to interior and exterior spaces. Use this brick wall cost guide to see the price range for adding one to your home.

This guide features information on the costs to repair a brick wall, whether or not you need a brick mason to complete spalling, tuckpointing, or a full restoration.

When you notice small cracks or damaged sections of a brick wall, they need your attention. Use this guide to handle minor brick wall repairs.
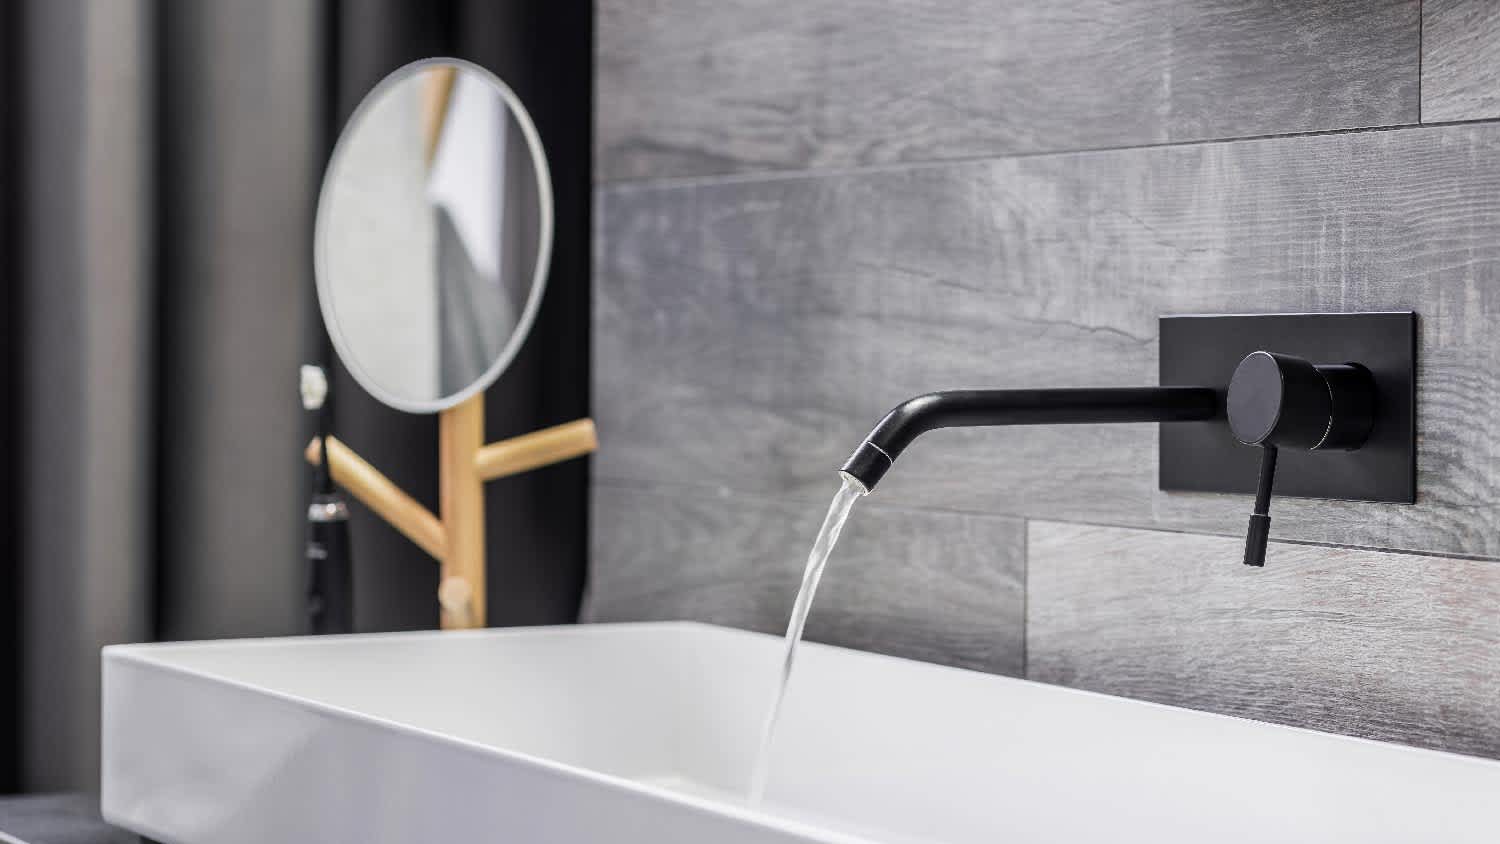
A bathroom or kitchen remodel isn't complete without all the important details, including faucets. Consider the pros and cons of wall-mounted faucets before choosing one.
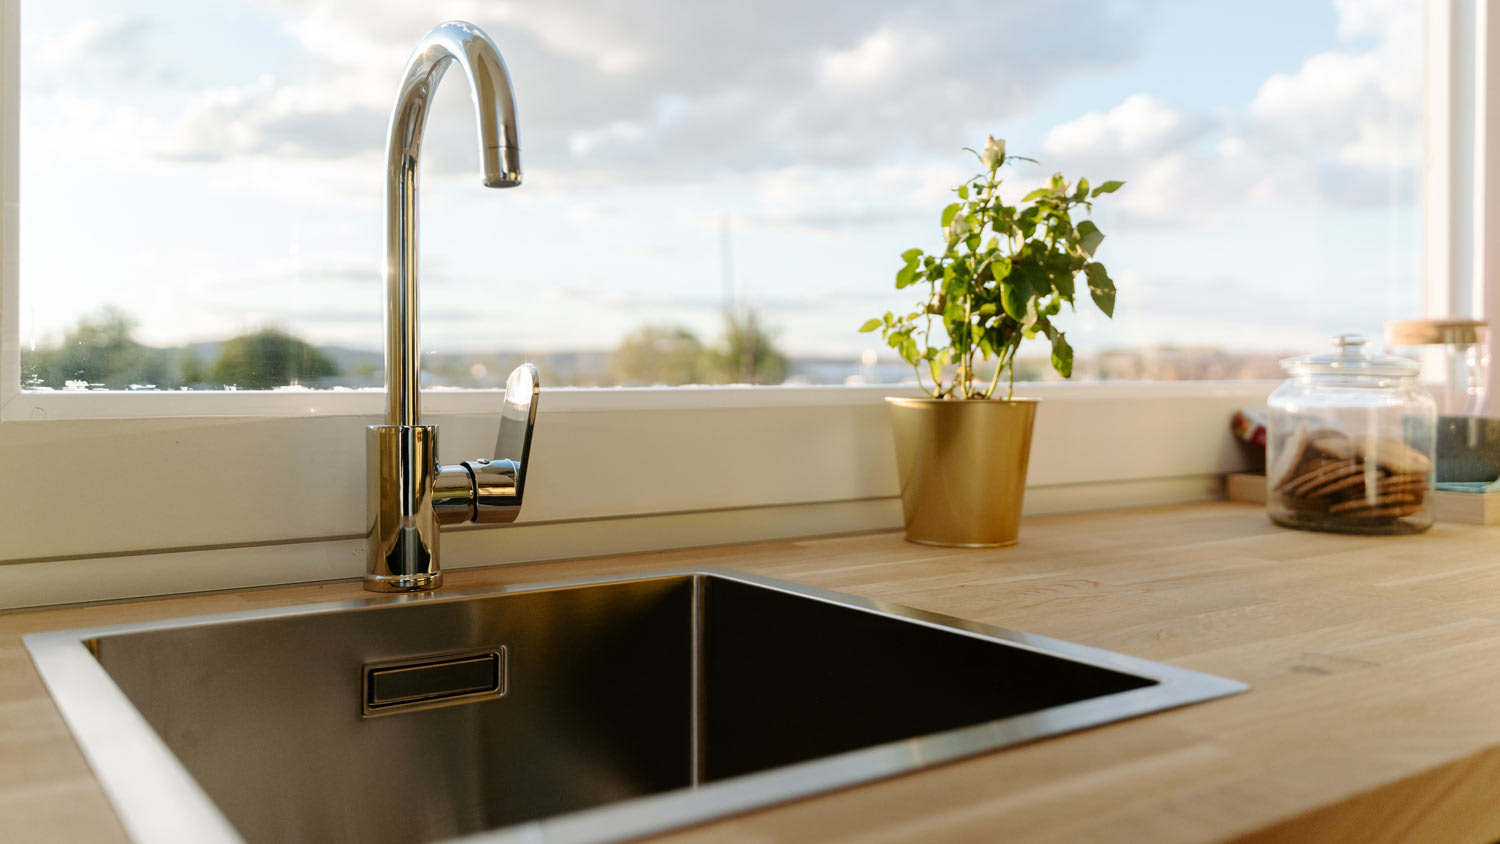
Whether you are remodeling your home or need a new faucet to replace an outdated one, use this guide to find out who replaces faucets.