
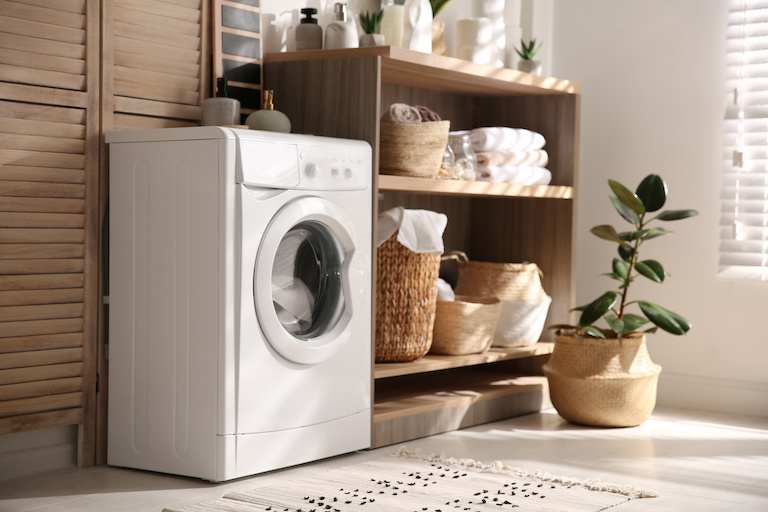
Does your front-load washing machine smell? This is a sign it needs regular cleaning and maintenance. Learn how to clean your washer to prevent mold and mildew.
Seal the deal with a brand new rubber gasket

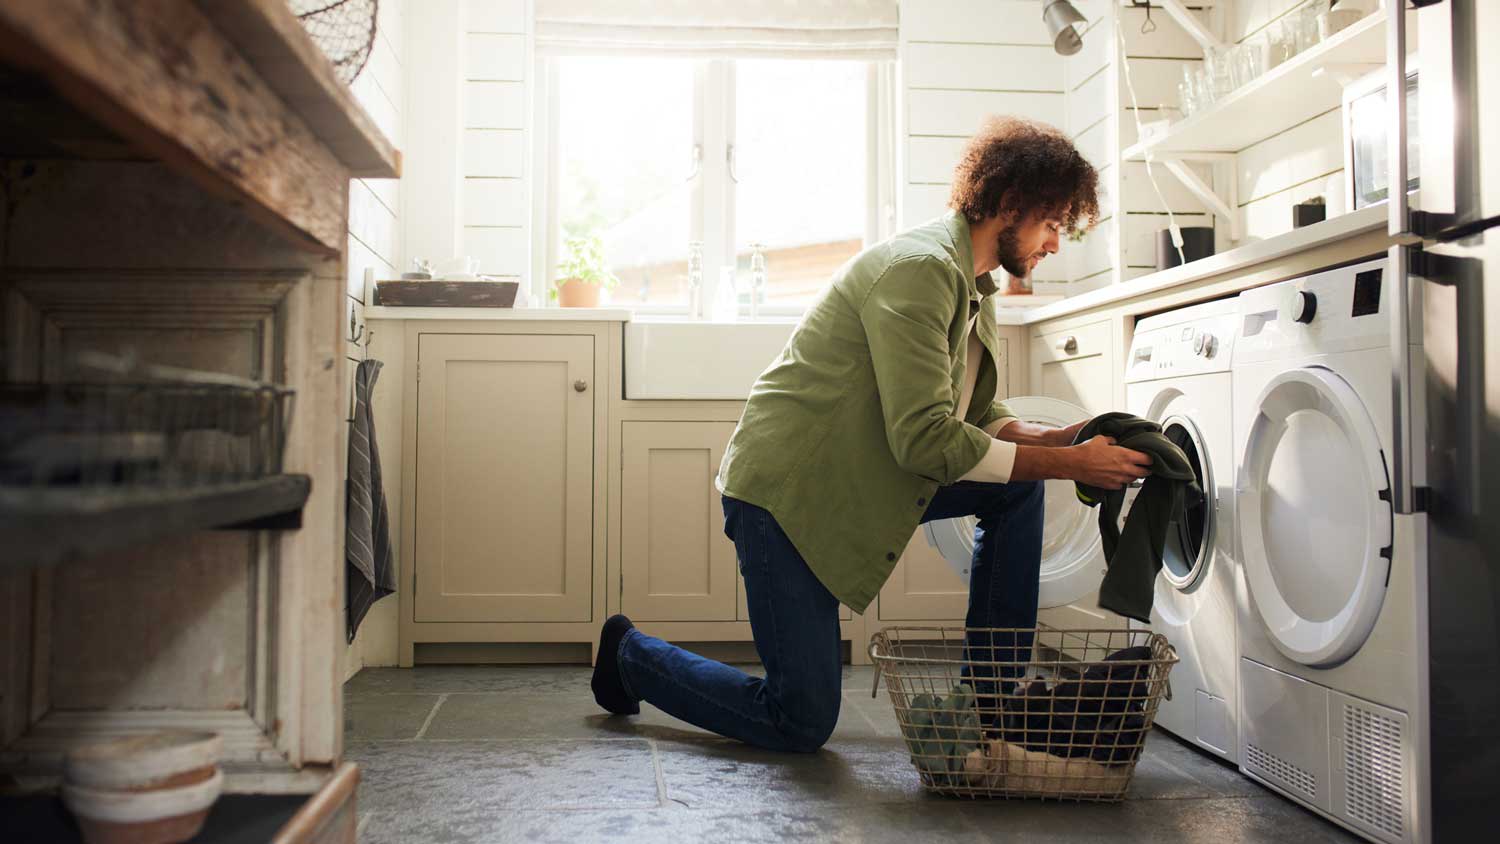
Front load washer seal replacement becomes necessary when you notice persistent mildew smells or water leaking from the door during wash cycles.
Parts for replacing your front load washer seal cost $50 to $250, and professional labor adds $75 to $150 to complete the repair.
Your seal replacement requires removing outer and inner clamps, disconnecting hoses, and properly aligning the new gasket before reinstalling all components and panels.
Hiring a local washing machine repair professional saves you time and frustration by handling clamp removal and seal alignment correctly the first time.
Have you noticed a mildew smell in your washer that won’t go away after a thorough cleaning? Or worse yet, a leak on the floor in the middle of a cycle? In both instances, there’s a good chance you need to replace the rubber seal on your washer—a common washing machine repair. If you have a front-load washer, this guide will help walk you through the different steps to get your machine back in service.

First, buy the part from the manufacturer. This will help ensure you have the right seal for the washer model, as they're not all made the same.
Also, a dry workspace is best for this project. Wipe down your washer if there’s any moisture before you begin work.
Pull the washer away from the wall (or out of the cabinet) so you can access the screws on the back. Now, you’re ready to get started.
Unplug the washer and turn off the electricity to the outlet on your circuit breaker. This is a very important step to avoid accidental electrocution.
Next, turn off the water supply to your washer. Look beside the machine on the wall to find the cold and hot water valves. Turn both of them 90 degrees to shut off the water.
There are several steps involved in removing the front panel of your washer. If you can’t remove the panel, proceed to step three. Take a picture of the current setup so you know how to reinstall the panel later.
Unscrew the top panel. The screws are on the top back of the machine. Tug the panel gently and pull up.
Pull out the detergent dispenser drawer. Press down on the unlocking tab to remove it.
Remove the control panel. The screws are on the top front of the machine. Lift the plastic tabs and pull up gently—but undo the wiring harnesses before you give it a big yank.
Locate the access cover on the front of the washer. Separate the drain hose from the clip, and unscrew the plastic housing.
Open the washer door and unscrew the few screws on the right side of the door. This allows you to access the clamp that’s holding the seal in place. Continue to step four.
If you can’t remove the front panel on your washer, you’ll have to work through the front opening. This supreme lack of space can complicate the project, so you might consider hiring a pro to do the job or use a spring expansion tool.
The outer clamp has a spring system which can make it difficult to remove. First, figure out where the spring is. Usually, it’ll be at the bottom center of the drum. Insert a flat-head screwdriver between the seal and the clamp to jiggle it loose, or use a spring extension tool.
Once you remove the clamp, tug the edges of the seal and pull it off the groove. Push it inside the washer.
It’s now time to remove the front panel. Unscrew the screws that are on the top front of the washer. As you pull the panel down, take care not to accidentally pull the hose or door switch.
Now that you’ve removed the front panel, you can access the seal. Before you can remove the seal, you need to disconnect the hose at the top.
Use pliers to loosen the clamp and slide it up the hose. Depending on the model of your machine, you may have two hoses: a circulation hose and a steam hose.
If the hose needs an extra budge to come out of the fitting, use a flat-head screwdriver.
Once the hose is disconnected, loosen the clamp for the inner seal at the top center of the drum. Use a socket to loosen the clamp and pull it off.
Remove the seal from the washer.
Take the nozzle fitting from the old seal and install it into your new seal.
Clean and wipe the inside of your washer where the seal sits.
Before you install the new rubber seal, take time to figure out the correct orientation of the gasket. A good place to start is by looking at the location of the nozzles and where they align to the hose. Most seals will also have arrow indicator marks, which you can use to align to the location of screws on your machine.
The easiest way to install your seal is first to lubricate it with small amounts of liquid soap. Then, start at the top center. Install the seal in the groove, and move in a clockwise or counter-clockwise direction until it is fully installed.
To install the inner door seal clamp, align the screw on the top center and slide it onto the boot. Use a screwdriver and ratchet to tighten the clamp. Check to see if it’s properly installed by grabbing the seal and giving it a good tug.
Reattach the hose to the fitting, and use pliers to slide the clamp back down to the bottom of the hose.
Pull up your picture from step two for reference.
Grab your front panel and place it onto the bottom tabs.
Place the drain hose back into its housing and put the door switch wire harness in the right place.
Snap the panel back into place and then reinstall the screws. (Don’t forget the screws behind the access cover!)
Snap the drain hose back into its clip.
Reach behind the seal to access the door switch assembly. Pop it back into place before reinstalling the screws.
Next, install the outer clamp by aligning the spring at the center bottom. Move counter-clockwise until you encounter resistance. At this point, use pliers to push the clamp into place.
Reinstall the control panel by placing it on the tabs and pushing it back. Before you snap it shut completely, reconnect the wire harnesses.
Push the detergent dispenser back in. Finally, reinstall the top panel by sliding it back on and screwing it into place.
Although it’s possible to DIY your washer gasket replacement, it can be a time-consuming process if you don’t have any experience. Some steps, like removing the clamps and reinstalling the seal, sound straightforward but can take a lot of trial and error.
To avoid any frustration and wasted time, you can look for a washing machine repair service near you to ensure the repair gets done the first time correctly. The cost to replace a washer rubber gasket is $50 to $250 for the part, plus $75 to $150 for professional labor.
Positive experience. As previously stated, the replacement/repair could not be completed (no fault of the plumbing tech) b/c misinformation was rec?d by property management maintenance. Thanks to the plumbing tech for your efforts. Appreciate you!
 The Waterworks
Carpet repair done well. Scheduling was easy. Showed up on time.
As usual with ECO, tech Jordan was outstanding, very professional, very knowledgeable, and very thorough with repairs made to tankless water heaters. Very highly recommend ECO!!!
 Eco Plumbers, Electricians, and HVAC Technicians
I would recommend this company to anyone! He showed up on time, was friendly, completed a very difficult repair on our dryer vent cover, was responsive, and pricing was extremely fair and competitive. I would have him back to do any of our repairs or cleanings without hesitation!
Everything from initial contact to completion was absolutely top notch. We contacted the business during off hours to leave a message, and the owner still reached out to feel out the issue within minutes. We were scheduled and repaired within 48 hours. I cannot say enough about the...
 Supreme brick & chimney
Ace Fireplace Services came to the rescue for my chimney repair. They were quick to pinpoint the issue and worked their magic to fix it. My chimney is now in excellent shape, and I'm a satisfied customer.
 Ace Fireplace Services
On Sunday 2/26 I requested quotes via Angi from 4 refrigerator repair businesses. Northwest Appliance responded to me Monday morning (2/27) and my refrigerator was repaired by noon the same day. Great communication, they did everything they said they would. The technician had the parts on...
Excellent! We were very satisfied with the service provided and the entire experience from start to finish. Very friendly and professional staff. I was able to instantly get in contact with them for a quote and the response time and overall communication remained quick and easy throughout the...
 Prime Cleaning Service
Description says they handle window repair including rotten hardwood - they called me back right away but didnâ t leave a voicemail. I followed up 3 days later and they said they donâ t do that kind of work.
I needed reliable, affordable help the day of with moving a couple of appliances and misc items. It was a relief to hear back from Tanzillo almost instantly that morning so I could stop looking and move on to plan and prepare. Every part of the move was friendly and professional. Next time I...
From average costs to expert advice, get all the answers you need to get your job done.
Does your front-load washing machine smell? This is a sign it needs regular cleaning and maintenance. Learn how to clean your washer to prevent mold and mildew.
Ensure your front-load washer lasts its lifespan. Follow these front-load washer maintenance tips to fend off damage, mildew, leaks, and other problems.
Your old top-load washer doesn’t have to be the standard. There’s a new kid on the block. This guide dives into the pros and cons of front-load washers.

Even a washing machine gets dirty and starts to smell over time. Follow our tips for cleaning a front-load washer and ensure your laundry smells fresh once again.
Although knowing about the parts of a washing machine might not seem essential, having this information will set you up for easier repairs.
Your washing machine can make your laundry routine easier—or more difficult. Consider these key differences between top load versus front load washers.