

The frame is a crucial part of a door’s looks and proper functioning. Here’s how much you can expect to pay to replace a door frame in your home.
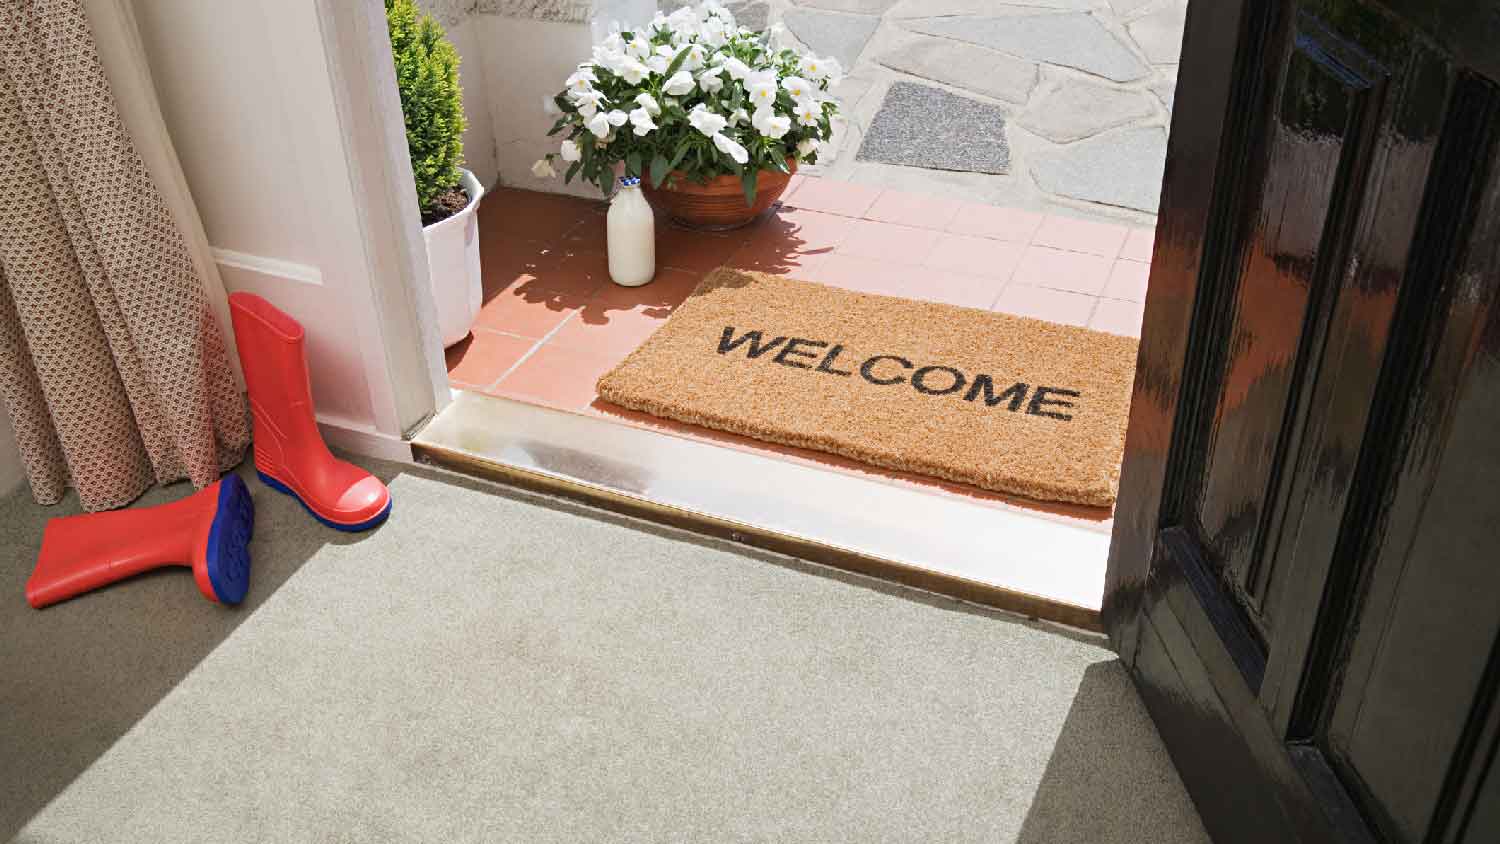
Step into an updated look with a brand new door threshold

The door thresholds in your home likely see constant foot traffic, which can leave them dirty, scuffed, and annoyingly loose over time. Replacing them is a relatively straightforward process, and with some patience and practice, you can learn how to replace a door threshold to improve your home’s appearance and, on exterior doors, avoid water and drafts from entering your home. Use this DIY guide on replacing door thresholds to get the job done in under an hour.
The supplies and tools you need to replace this part of your door will depend on the type of threshold and whether you’re working with an interior or exterior door.
Replacing an interior door threshold will usually require a pry bar and either a finish nailer or hammer, and you’ll need a jigsaw to notch the threshold. You also don’t need to caulk an interior door threshold, so you can save some money on the caulk and caulk gun.
Replacing an exterior door threshold will demand sealing to protect against water and air drafts, which means you’ll need that caulk and caulk gun. These thresholds usually use screws for mounting, so you won’t need a finish nailer or hammer, but you’ll likely need a screwdriver. Finally, exterior door thresholds less commonly require notches for trim, so you might be able to get away with cutting it to length with a handsaw rather than a jigsaw.

Your first order or business will be to remove the existing door threshold. The process will be a bit different for interior vs. exterior door thresholds.
To replace the threshold on an interior door:
Carefully slide a putty knife under the threshold to pry it up slightly. This should expose the nailheads. Be careful not to damage your flooring in the process.
Use your pry bar to pry out the nails.
Slide the threshold back until it comes loose from the doorframe.
To replace the threshold on an exterior door:
Use your putty knife to pop out the screw head covers. These might be absent on your threshold, so skip this step if you can already see the screw heads.
Unscrew the threshold.
Use your pry bar to pry off any trim on the inside of the threshold, if applicable. Set it aside for reinstallation later.
Use a putty knife to break the sealant along the inside edge of the threshold, if applicable.
Use a rubber mallet to tap the threshold back toward the inside of your home until you can remove it entirely.
Home improvement stores sell door thresholds in common lengths that may not match your door, so you will need to cut it to length.
Using your tape measure to measure the inside of the door frame. Make sure you account for any portion of the threshold that will fit underneath the door jamb trim.
Use a handsaw or jigsaw to cut the new threshold to the correct length. For exterior door thresholds, a single straight cut will usually suffice. For interior door thresholds, you may have to notch out for trim.
Carefully measure the cutouts for your interior door threshold using a tape measure. Mark your measurements on your new threshold as you go, and then make the cuts with a jigsaw.

Use your whisk broom and dust pan to sweep out any debris that might have been trapped under the old door threshold. Some contractors use construction adhesive to help keep door thresholds in place. If you see remnants of an adhesive, do your best to scrape it off with your putty knife and sweep away the debris.
It’s worth checking the area for rot or physical damage, which may require replacing the door frame or getting it repaired.
Once you have the threshold cut to the proper length and notched out for trim, if necessary, you can install it in place.
Slide the threshold into place to make sure it fits properly in the space. Use a rubber mallet to tap it gently into position if you need to.
If you’re replacing an interior door threshold, use a finish nailer or finish nails and a hammer to attach the new piece to the flooring underneath. You may want to throw down a bead of construction adhesive under the new threshold to prevent it from shifting in the future. Additionally, be careful if you use a hammer to nail it down, as you could easily damage the new threshold.
If you’re replacing an exterior door threshold, you’ll more likely screw it down into the flooring. Be careful not to overtighten. Place screw head covers over the screws if your threshold came with them.

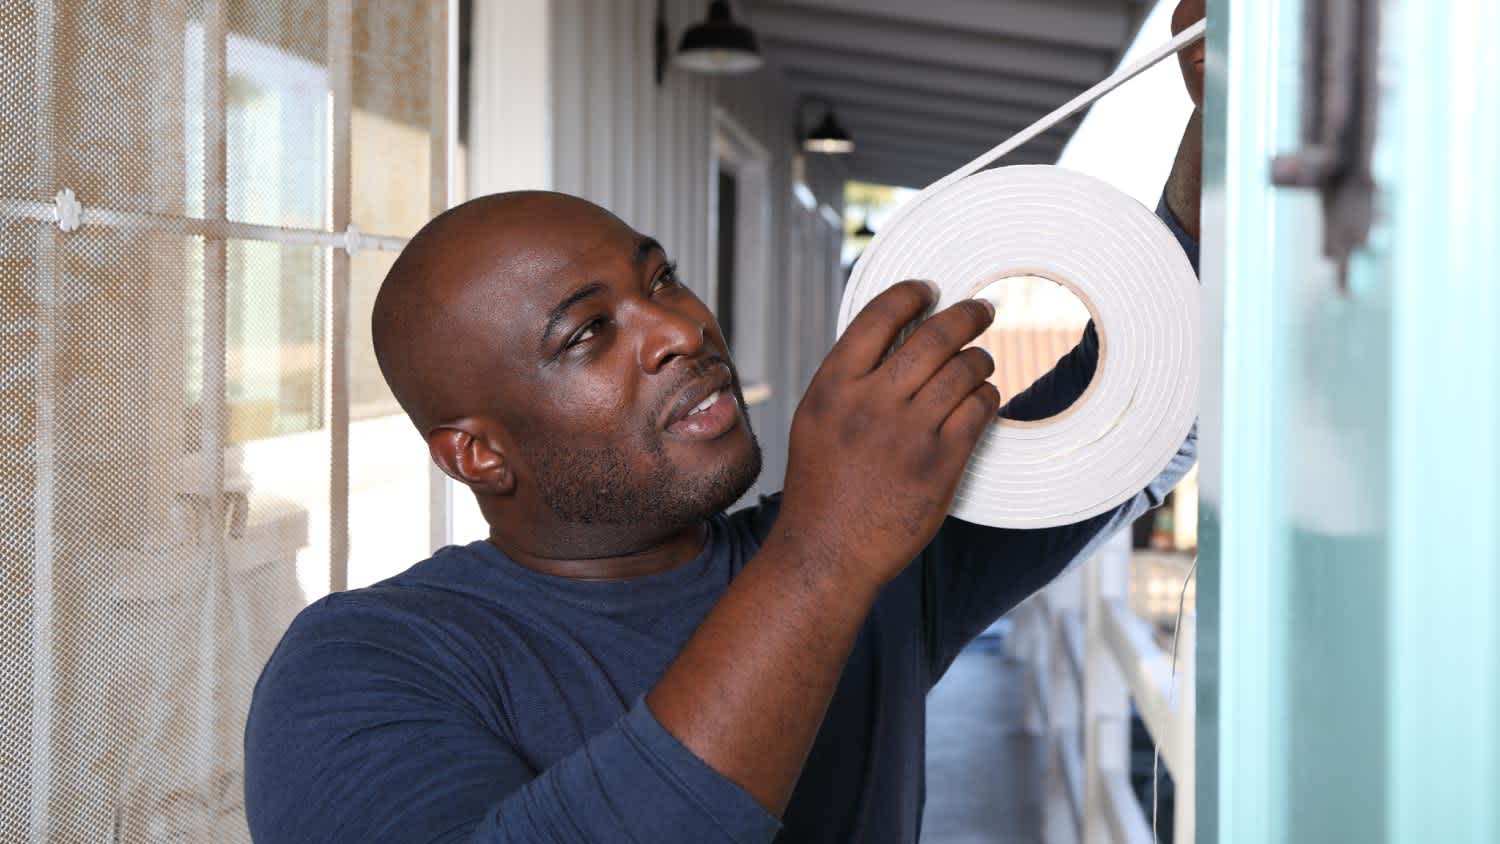
If you’re replacing the threshold on an exterior door, it’s best to seal it to prevent water and outdoor air from leaking in from under the door.
Use your caulk gun to apply a bead of sealing caulk along the entire length of the inside of the new threshold. There are some types of weatherstripping that work in place of caulk, as well, but caulk is an affordable option that’s easy to apply.
Immediately reinstall your trim, if applicable. You may need to replace the trim if you damaged it when you pried it off.
Let the caulk dry for 24 to 48 hours before stepping on the threshold.
Replacing a door threshold requires some tools and may present some difficulty for inexperienced DIYers, but it’s a project that most homeowners should be able to tackle without too much trouble. You can save yourself between $100 and $300 on the cost of door repair by doing this work yourself, so it could be well worth it to DIY.
With that being said, there are some situations where it’s best to hire a pro. If you’re looking to replace a marble door threshold—usually reserved for bathroom doors—then you should hire a professional. Not only is marble not possible to cut cleanly to size at home, but attaching it properly is key to prevent water damage in your home if you ever have a leak in your bathroom.
Additionally, if don’t have experience with making the intricate cuts like the ones necessary to notch interior thresholds, or if you’re concerned that you won’t be able to waterproof or weatherproof your exterior threshold, then we recommend you call in a local handyman to get the job done properly the first time around.
Excellent, Prompt, Courteous Service!!! They were super friendly and quite personable. I felt very comfortable with the gentlemen that did the installation. They installed it exactly where I asked them to and they did an excellent job!! I loved their service so much.
Ace Fireplace Services' chimney sweep service is truly exceptional. They used advanced technology to ensure a thorough cleaning process, and my chimney has never looked better. I highly recommend their services.
 Ace Fireplace Services
Binion and Alex did such a good job. Fast, fair, efficient. Would def use them again. Best experience Iâ ve had in moving - someone should give them a raise. Will undoubtedly recommend this service.
Great customer service. The owner Ilia was wonderful to work with. Would definitely recommend this company.
I definitely recommend Ramonaâ s cleaning service! I have booked services with her many times and she arrives on time, ready to work and provides a great service.
Excellent experience! Left my place looking great. Friendly customer service too. Would recommend!
The service was excellent! They gave me a quote, and had it done 4 days later. My driveway looks amazing, very professional! I would definitely recommend their service to anyone. I have had neighbors stop by and ask for their information as well.
 All Star Paving and Sealing
Webb â s was priced well, flexible on scheduling, great with communication, and detailed in their work. Iâ ll definitely use their services again.
They’ve been great to work with. All of my clients that have used them have nothing but good things to say about the experience. Quick responses and fast service. They’re a trustworthy team!
 Total Home Roofing
Mary cleaning service does an amazing job cleaning my home. They go over and beyond the cleaning services that I have had in the past. They are very punctual and thorough with cleaning my home, I’m extremely happy with the service they provide and I highly recommend them.
From average costs to expert advice, get all the answers you need to get your job done.
The frame is a crucial part of a door’s looks and proper functioning. Here’s how much you can expect to pay to replace a door frame in your home.

Whether you’re installing a new door or replacing an existing one, the cost of door installation varies based on location, door type, framing needs, and other factors.
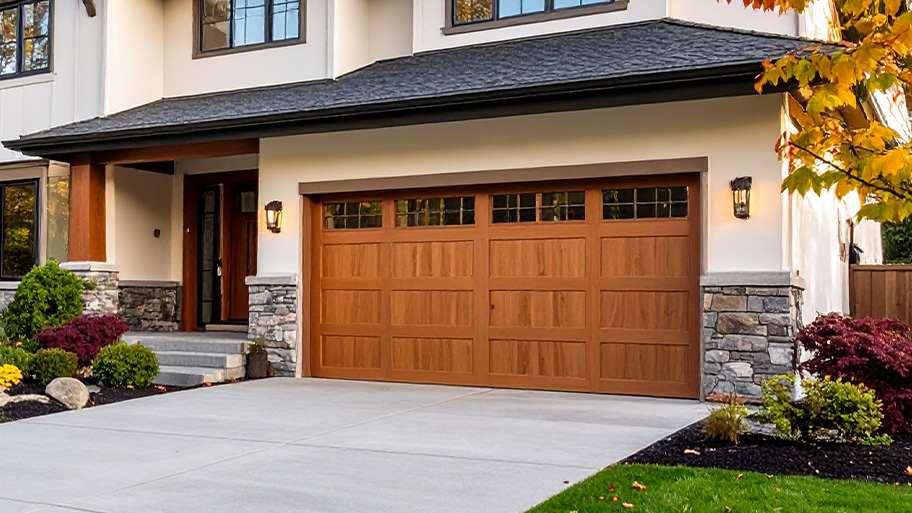
Replacing a garage door is necessary to add security and value to your home. Learn how each door type affects the total cost of this project.
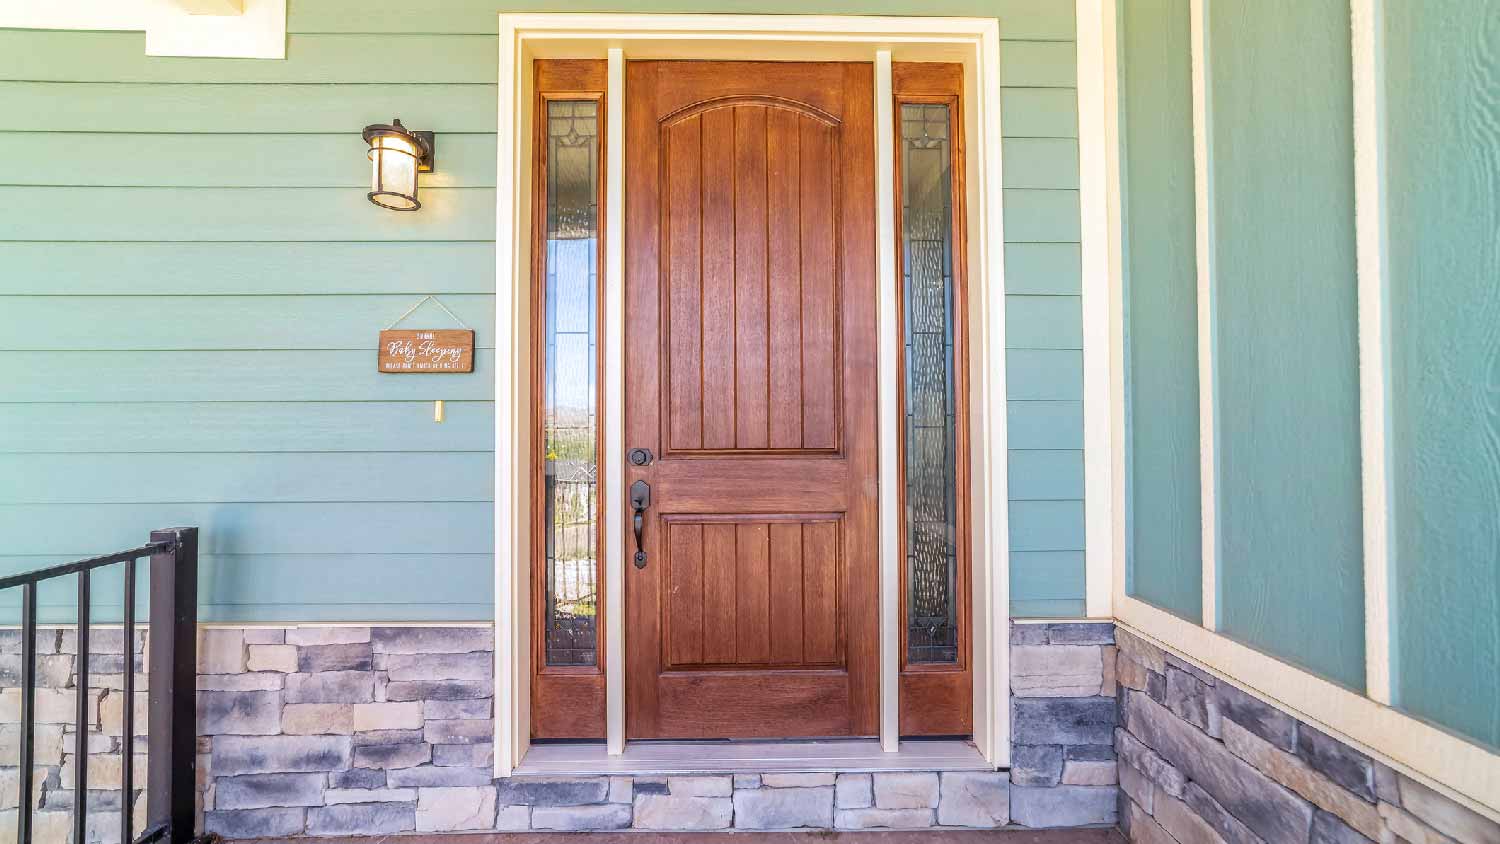
A door sill and a threshold each serve a purpose, but both are necessary for the performance of exterior doors. This guide covers door sills versus thresholds.
Learn how to quickly soundproof your interior doors and keep unwanted noise out with a little weatherstripping and time.
Understanding the anatomy of a door can make you a better DIYer. Here are all the parts of a door that you can easily reference.