

•
Discover the cost to install a stair railing, including average prices, key cost factors, and tips to save on your project.
Erase all evidence of misplaced canine chomps

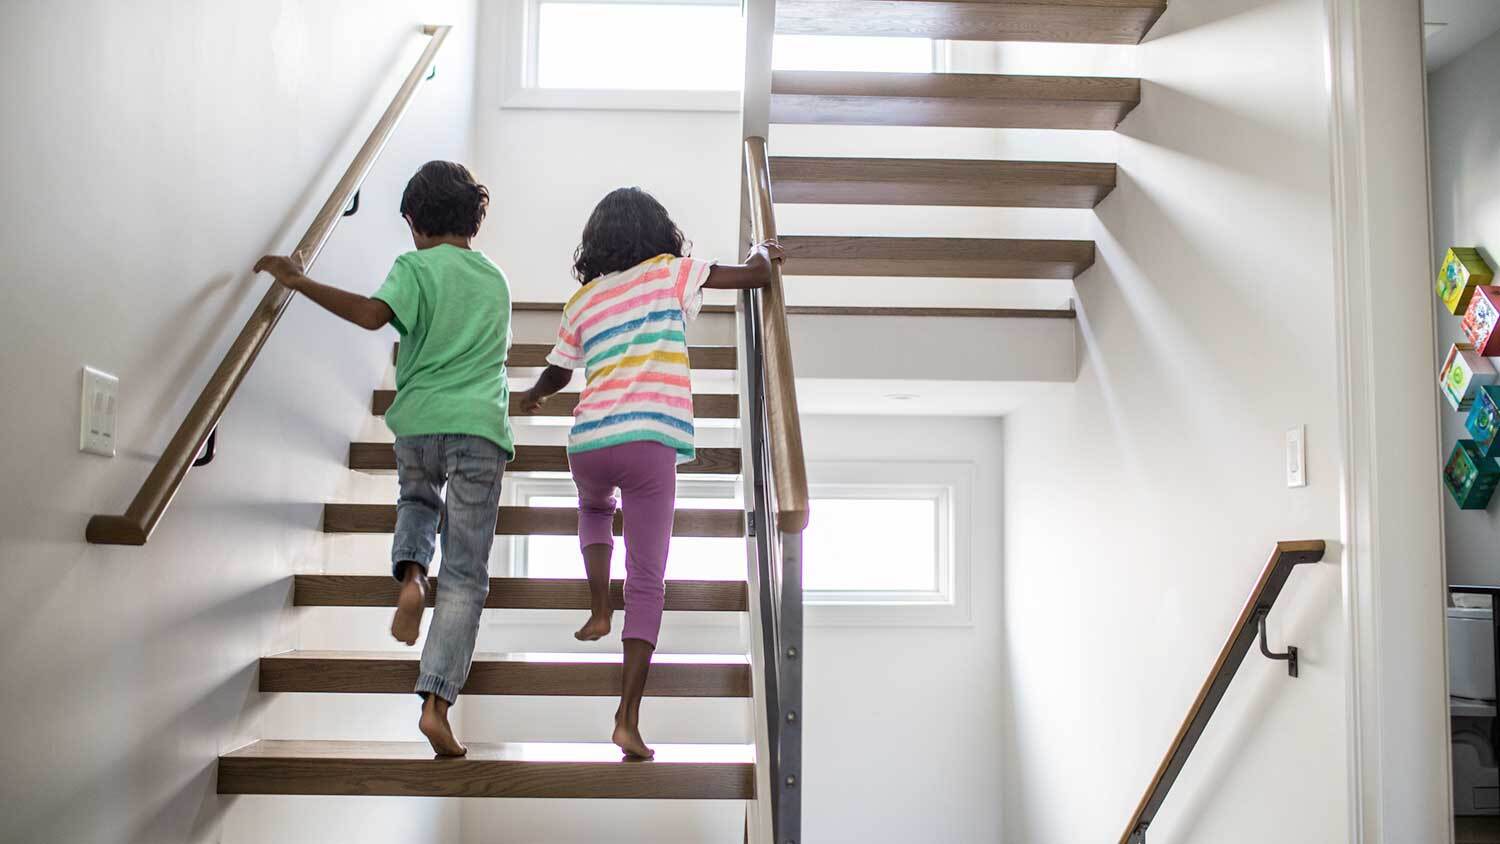
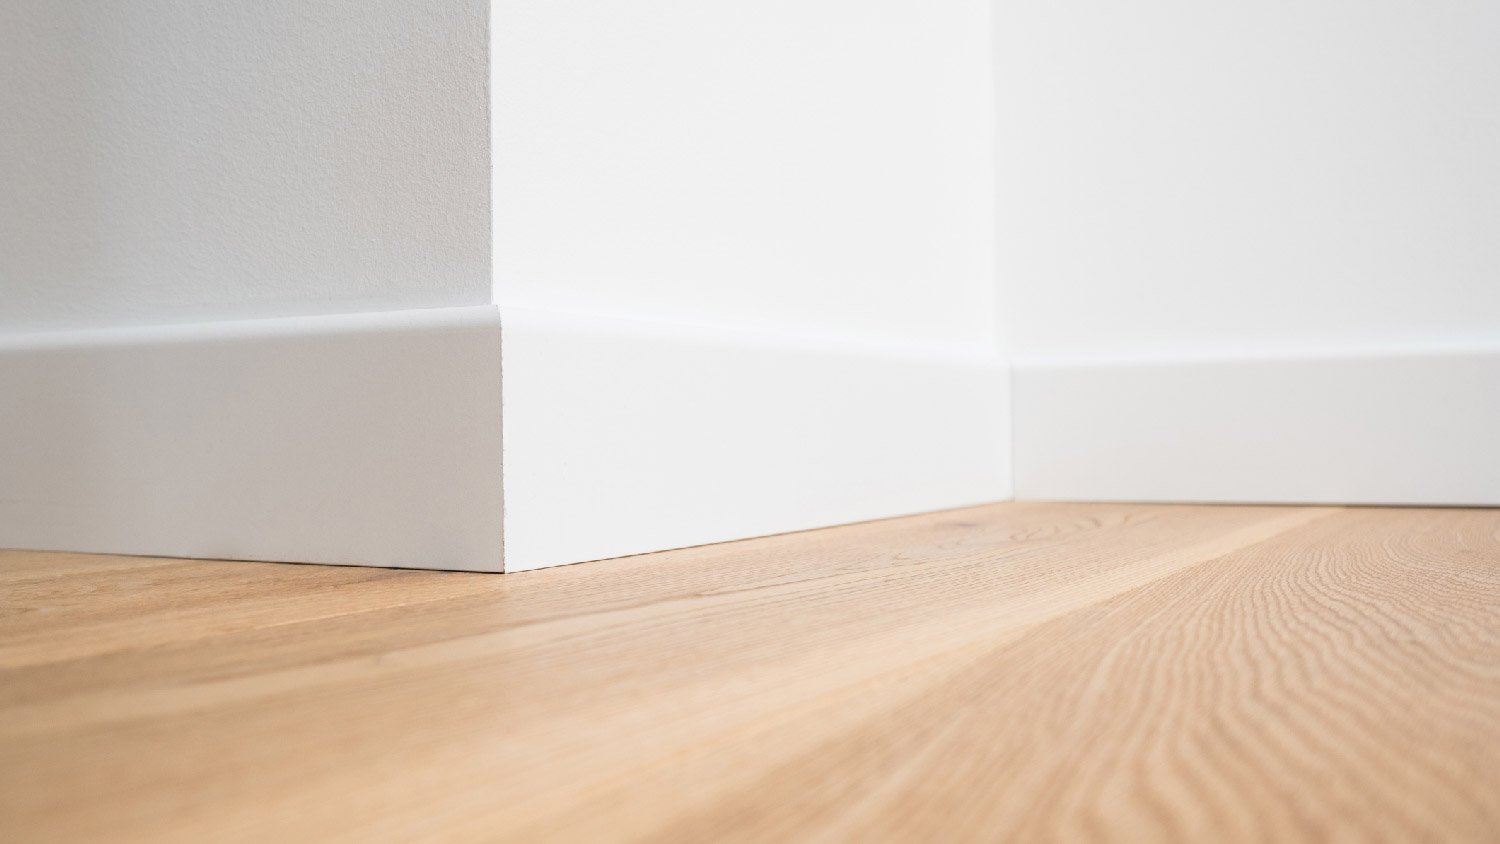
Your dog may be your best friend, but they can be a real threat to your baseboards. Baseboard trim is a common target for dogs to chew on, leaving you with a damaged, unsightly mess to repair. Fortunately, repairing dog-chewed baseboard casing is a fairly straightforward process, so evidence of Fido’s misbehavior can be fixed up in just a few hours.
Your first step is to remove damaged baseboard fibers and paint to create a clear surface for the repair. Use a medium-bristled brush to sweep away damaged material and medium-grit sandpaper to smooth the surface. Wipe the area down with a damp rag to remove dust and stray wood fibers and let the trim fully dry before moving on to the next step.

Using a putty knife, apply wood filler or wood epoxy to the damaged area to restore it to its original level of material. Press the filler or epoxy into the existing trim for good adhesion.
Before the filler or epoxy has dried, use a straight edge to level the material and a dowel to create and match any curvature in the trim detailing. Work the filler material until it is level with the rest of the trim and matches the trim shape throughout.
It’s important to let the filler or epoxy fully dry before moving on to the next step. Finishing before the filler material is fully dry can interfere with its ability to stay adhered to the trim surface and may prevent it from fully hardening, making it more susceptible to further damage. Consult the manufacturer’s instructions for curing and drying times.
Once the filler is completely dry, lightly use fine-grit sandpaper to smooth the surface and prepare it for finishing. Take care not to oversand the repaired area, which can leave divots or uneven spots. When you’re done, use a damp rag to wipe away any dust and let the surface dry.

Once the repair area is sanded and dry, paint or stain the trim to match the rest of the baseboard. If the existing paint or stain is faded or discolored, you may want to sand and repaint or stain the entire baseboard for a consistent finish.
Repairing dog-chewed baseboards is a fairly simple DIY, but there are a few mistakes you’ll want to avoid:
Not allowing filler to fully dry. Filler that’s only partially set before sanding and painting won’t hold up as well as fully dried filler.
Using too much or too little filler. Make sure your filled and rebuilt repair area matches the surrounding trim.
Not removing all damaged material. Leaving shredded wood fibers or paint flakes in the damaged area can prevent the filler from adhering properly and affect the quality of your repair.
In most cases, fixing dog-chewed baseboards is a simple DIY project you can complete in just a few hours. However, if the damage is extensive or larger sections of trim are missing, hire a pro to replace your baseboards for professional results. A local baseboard installer will measure your baseboard trim to ensure you have the correct new baseboard trim size and replace the damaged baseboards so you won’t even be able to tell there was damage in the first place.
From average costs to expert advice, get all the answers you need to get your job done.
Discover the cost to install a stair railing, including average prices, key cost factors, and tips to save on your project.

The cost to install wainscoting depends on labor, materials, and square footage. This guide will help you budget for your next project.

Whether you need to heat your home for the winter or simply enjoy lighting a fire occasionally, it's helpful to know the cost of a cord of wood in your area.

Stumped about when to use plywood? While well-known in the construction industry, homeowners may be unclear about what plywood is. Learn more in this article.
Replacing a stair railing is a surefire way to update your home’s look and improve safety. Learn how to replace a stair railing with this straightforward guide.
Baseboard holes are no small blemish. They're easily visible in a room. Learn how to fill nail holes in baseboards to keep walls clean and smooth.