

An electric fence is an effective way to keep animals in your yard. Learn how much different electric fences cost, in this guide.
Weave rustic charm into your yard with a DIY wattle fence

Wattle fencing is an age-old technique that transforms flexible branches into a beautiful, sustainable garden boundary. This traditional fencing method weaves saplings between upright posts to create a sturdy, natural barrier that can boost your yard’s appeal. With some basic tools, materials, and a little patience, you can build an eco-friendly fence that looks like it sprouted from nature itself.
Building a fence requires specific equipment to ensure it is level, deep enough into the ground and properly fastened together. While you may be able to rent it from your local hardware store, we suggest contacting a pro with the proper tools and experience for the job.

Timing is crucial for a successful wattle fence. Plan to collect your weaving materials (saplings and flexible branches) in early spring or late fall when branches are most pliable. Willow, hazel, or young birch tend to work best thanks to their natural flexibility and strength. Look for straight, flexible branches that are around 6 to 8 feet long and roughly the thickness of your thumb. You can also find longer ones and cut them to size. You'll need about 90 to 100 branches for every 6 feet of fence length to create a dense weave.
For your support posts, called uprights, use sturdy wood like oak, locust, or pressure-treated lumber. Keep in mind that the uprights will need to be about 1/3 to 1/2 longer than the length of your desired fence height, since about that length will be buried in the fence hole. So, to build a 4 foot fence, you’ll need uprights that are about 6 to 7 feet tall.
Plan to space the uprights 18 to 24 inches apart, keeping in mind that closer spacing creates a sturdier fence that's easier to weave. You can figure out how many uprights you’ll need by multiplying your desired fence length in feet by 0.75, which accounts for 18-inch spacing, then add one extra post for the end.

Use this guide to create a one-of-a-kind garden fence with a little patience and a free weekend or two.
Begin by deciding where your wattle fence will go. Use a tape measure to map out your desired length and placement of the fence. Use a hammer or mallet to place stakes at each end of the fence line you mapped and stretch a piece of string tightly between them. This string will act as a guide to help you make sure the fence is straight. If you’re creating a curved design, you can use multiple stakes to create smooth bends, or you can lay out your fence line using a garden hose or spray paint to mark the intended shape.
Once you mark the fence line, carefully measure and mark where each upright post will go, spacing them approximately 18 to 24 inches apart. You can use additional stakes or spray paint for these markers.
Using a post hole digger, create holes with a depth that’s 1/3 to 1/2 of your desired fence height and 6 inches in diameter at each location you marked during step one. Place your post hole digger vertically in the hole and use a level to ensure that each hole is as straight as possible.
While digging, save the soil nearby—you’ll use it to backfill the holes when setting the posts. Once you’re done digging, it’s a good idea to add 3 inches of gravel to the bottom of each hole to provide drainage and prevent post rot.
Now that you’re done digging, grab your upright posts. Position the first post in one of the holes you dug during step two, resting it on the gravel base. Hold the post vertically while checking it with a level to ensure it's plumb. Having a helper nearby can make this step easier.
Once positioned, pour dry quick-setting concrete mix around the post until the hole is about 1/3 full. Add water according to the concrete package’s instructions, typically about one gallon per 50-pound bag. Continue filling the hole with concrete until it reaches 3 inches below ground level.
While the concrete is still wet, recheck the post with your level and adjust if needed. You can temporarily brace the post with stakes and boards to ensure it sets straight. Repeat this process with each post. Allow the concrete to fully cure, usually at least 24 hours, before proceeding to the next step.
Once your concrete has been curing for at least 24 hours, begin prepping your weaving materials. Start by sorting your branches by length and diameter, creating organized piles of similar sizes. You'll want your thickest pieces for the bottom rows and progressively thinner pieces as you build up.
Strip off any side branches, leaves, or twigs that could interfere with weaving. If your branches seem stiff, soak them overnight in water to increase their flexibility. Lay the branches parallel to your fence line for easy access during weaving. You'll need approximately 15 to 20 branches per linear foot of fence for a dense weave.
Begin at one end of your fence line. Starting with your thickest base branches, weave your first branch horizontally through the posts, going in front of one post, behind the next, and so on. Start your second branch from the opposite side, creating an alternating pattern. Keep these base rows as close to the ground as possible, pushing down firmly.
When you need to start a new branch, overlap it with the ending branch for at least three posts to maintain the fence’s stability. Work slowly and maintain consistent tension throughout the process, as this bottom section creates the foundation for your entire fence.
Once you’ve woven your base, grab your smaller branches and continue weaving them above the base layer, maintaining the same over-under pattern and starting each new row from alternating sides to ensure even tension.
Press each new row firmly down onto the previous one, keeping the weave as tight as possible. Work in small sections, completing three to four rows across a few posts at a time rather than trying to weave entire rows at once. This method helps maintain consistent tension and prevents gaps. If you notice any spaces developing, gently adjust the branches above and below to close them.
Stop weaving once you reach about 1/4 away from the top of your fence’s height to leave room for the top rows. So if your fence will be 4 feet tall, stop weaving around 3 feet.
To finish your wattle fence with a sturdy, attractive top, select your longest, thinnest, and most flexible branches. Weave these through the posts as your final rows, pulling them extra tight and weaving them closely together. Where one branch ends, tuck it behind a post and start the new branch from the same post, weaving them parallel for at least three posts to prevent gaps.
For extra stability and a polished look, you can add a final top rail by selecting a few thick branches. Weave them horizontally along the very top of your fence, securing each branch to each post with natural twine using a figure-eight wrap. This helps hold all the layers beneath it firmly in place.
Once your top is secured, walk the length of your fence and trim any protruding branch ends flush with the uprights using sharp pruning shears. Cut at an angle to allow water to run off rather than making straight cuts that could collect moisture and rot.
Building a wattle fence yourself costs between $100 and $250 for materials, with the main expenses being posts and concrete. If you can harvest branches from your own property or obtain them with permission from a neighbor, your costs could be even lower.
Hiring a pro to build your fence can increase your costs. Professional fence installation costs an average of about $3,200. Wattle fences tend to cost much less since the materials are more affordable than traditional fencing materials. You can expect to spend between $15 and $20 per linear foot for professional wattle fence installation.
Some pros may offer a hybrid service where they install the posts professionally while leaving the weaving to you, which is a way to cut your costs.
A reliable team for moves across state. My switch to a new place needed careful lifting through tight hallways. The movers checked the doorway first, then carried heavier pieces with slow, controlled movements. Their patience helped prevent damage, and I?d choose them again.
We have used Window Warriors many times with no issues. They arrived on time and were very professional . We have pets and Window Warrior team treated them very well, well trusted team.
We have bought and sold numerous times over the past 50 years. Sherman Hall and Top Line are top notch. Thorough and detailed, he explains every possibility, probability, and eventuality. High class and pleasant. The best.
 Top Line Home Inspections, LLC
Our homes curb appeal skyrocketed thanks to Custom Paint Jobs LLC s exterior painting.
Window Depot did an amazing job on my deck. I wasnt sure what I wanted to do, but their composite decking was affordable and will last a long time. I am excited to have family over, and I am no longer embarrassed by my backyard. Jeff and the ground crew were polite, respectful, and caring for...
Great job...edging and pre clean up went well with a great job with seal coat. Friendly, efficient and professional.
 All Star Paving and Sealing
Did an amazing job transforming my yard. Also installed sod in places, would recommend to everyone.
Manuel Calvillo is the best option in the area for roofing and you won't be disappointed.
We hired Andrew and the team from Midwest Lightscapes for a custom lighting design and installation on a Victorian Village home. The house had outdated low-voltage halogen outdoor lights and many of them were not working. Andrew designed and installed a new system including uplighting on the...
 Midwest Lightscapes
The work was completed in a day and a half. They cut small trees, pulled out an old swing set, pulled out railroad ties and left the place spotless when the job was complete. I am very happy with the fence and their efforts were above and beyond my expectations.
 Elite Fence
From average costs to expert advice, get all the answers you need to get your job done.
An electric fence is an effective way to keep animals in your yard. Learn how much different electric fences cost, in this guide.
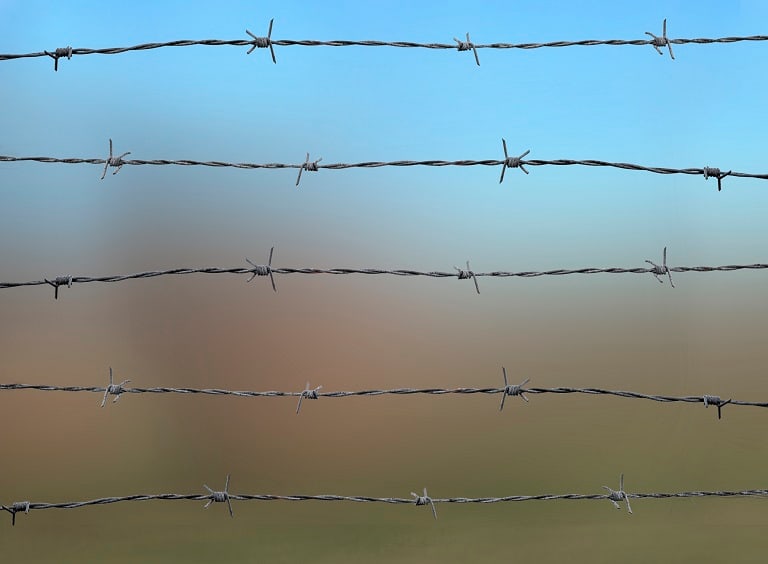
The cost of a barbed wire fence depends mainly on how large your property is. If you have a longer fence, you can expect to pay a few thousand dollars.
Wondering how to hire a fence contractor who will do the perfect job? Use our tips to figure out which questions to ask contractors before you hire one.
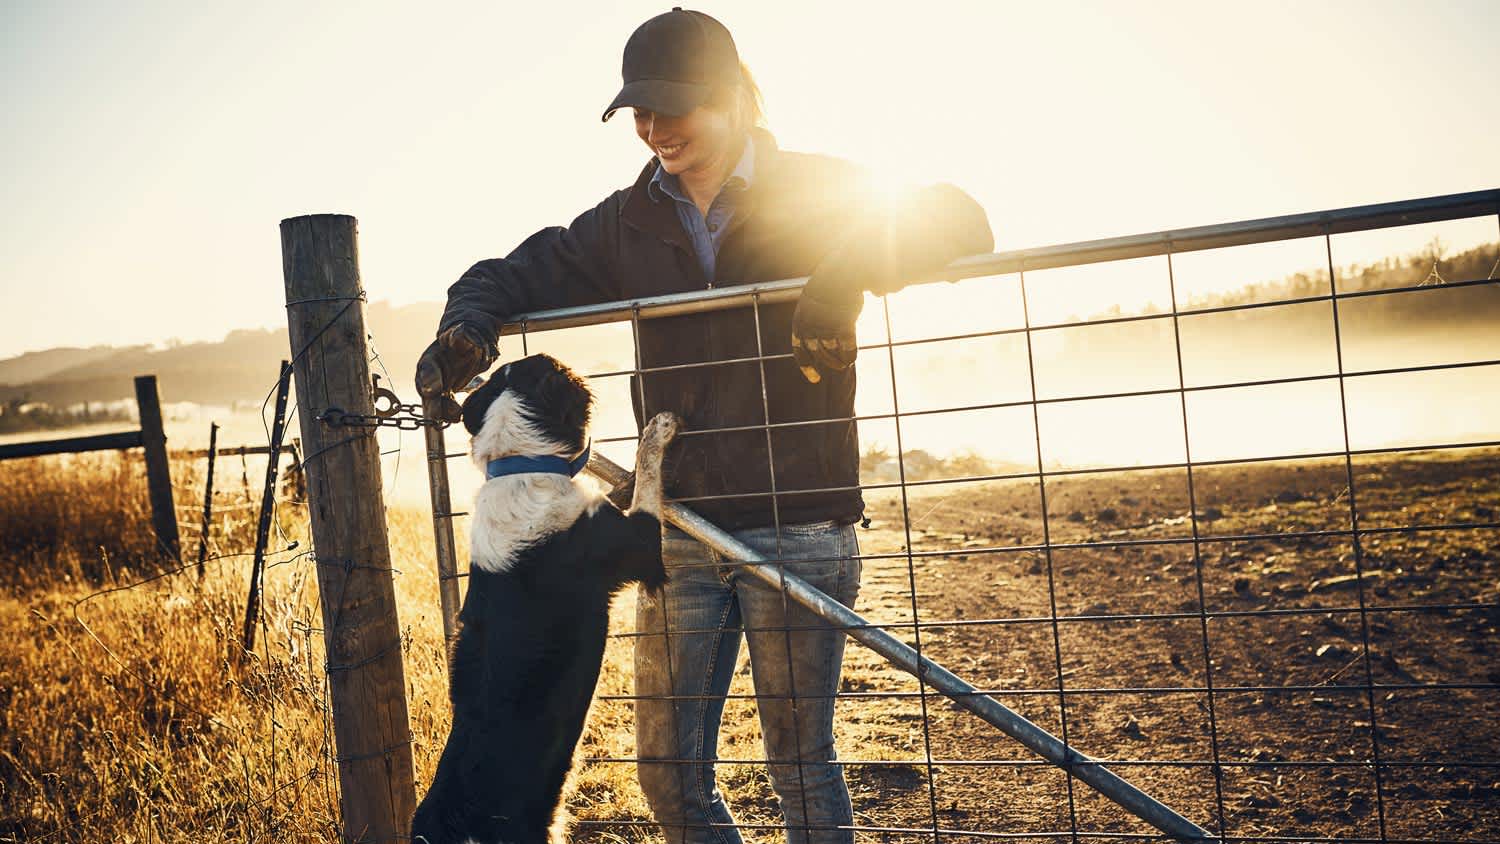
There are a lot of different types of farm fencing. Find the one that’s right for your property with our handy guide.

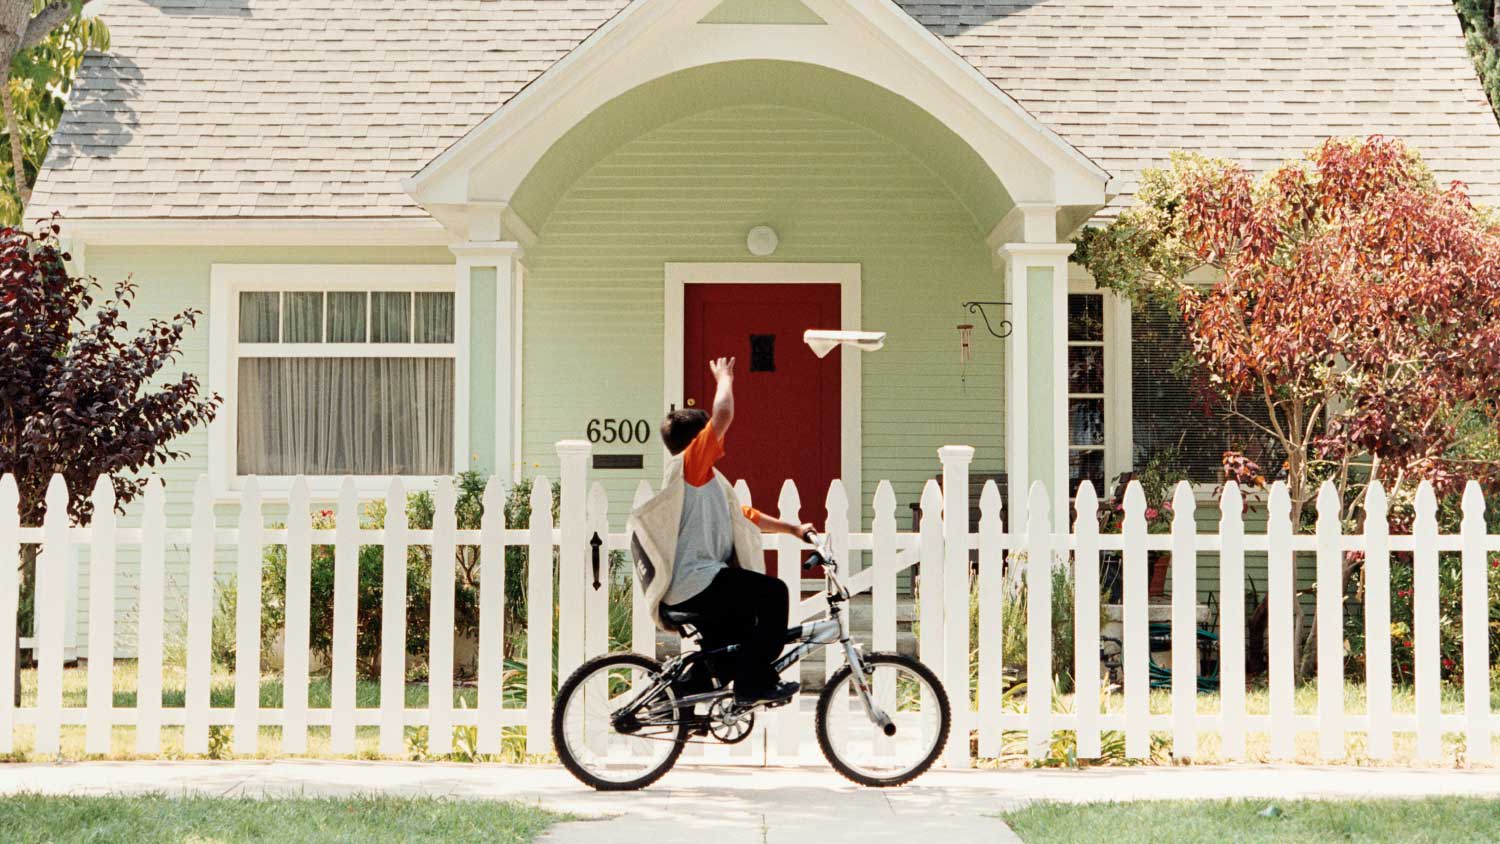
Fences make great neighbors. Here's how to choose the right types of fences for privacy and security in your yard.

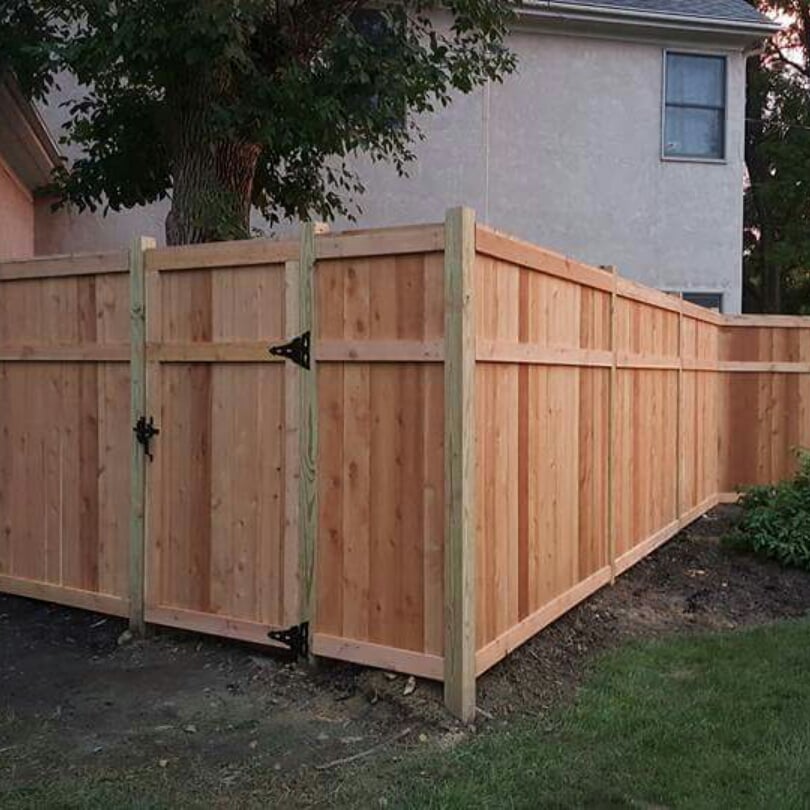
Whether you’re installing a new fence or redoing an old one, it’s worth checking out different designs first. These wooden fence ideas will help you find the perfect fit for your yard.