
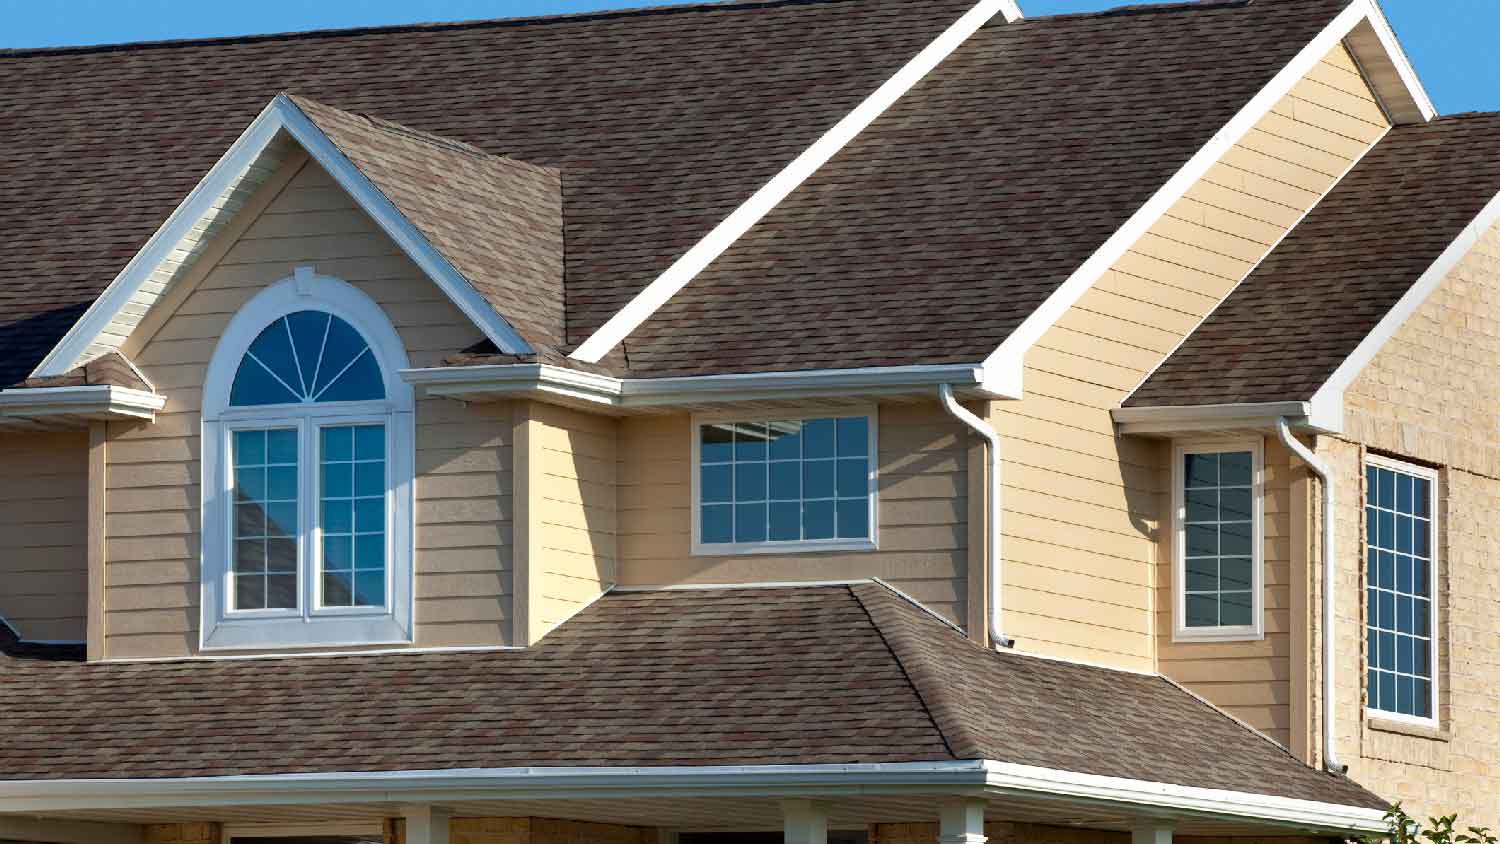
Architectural shingles cost is determined by project size, material quality, and roof condition. Find out how much they'll cost for your home.
Give your roof an extreme makeover

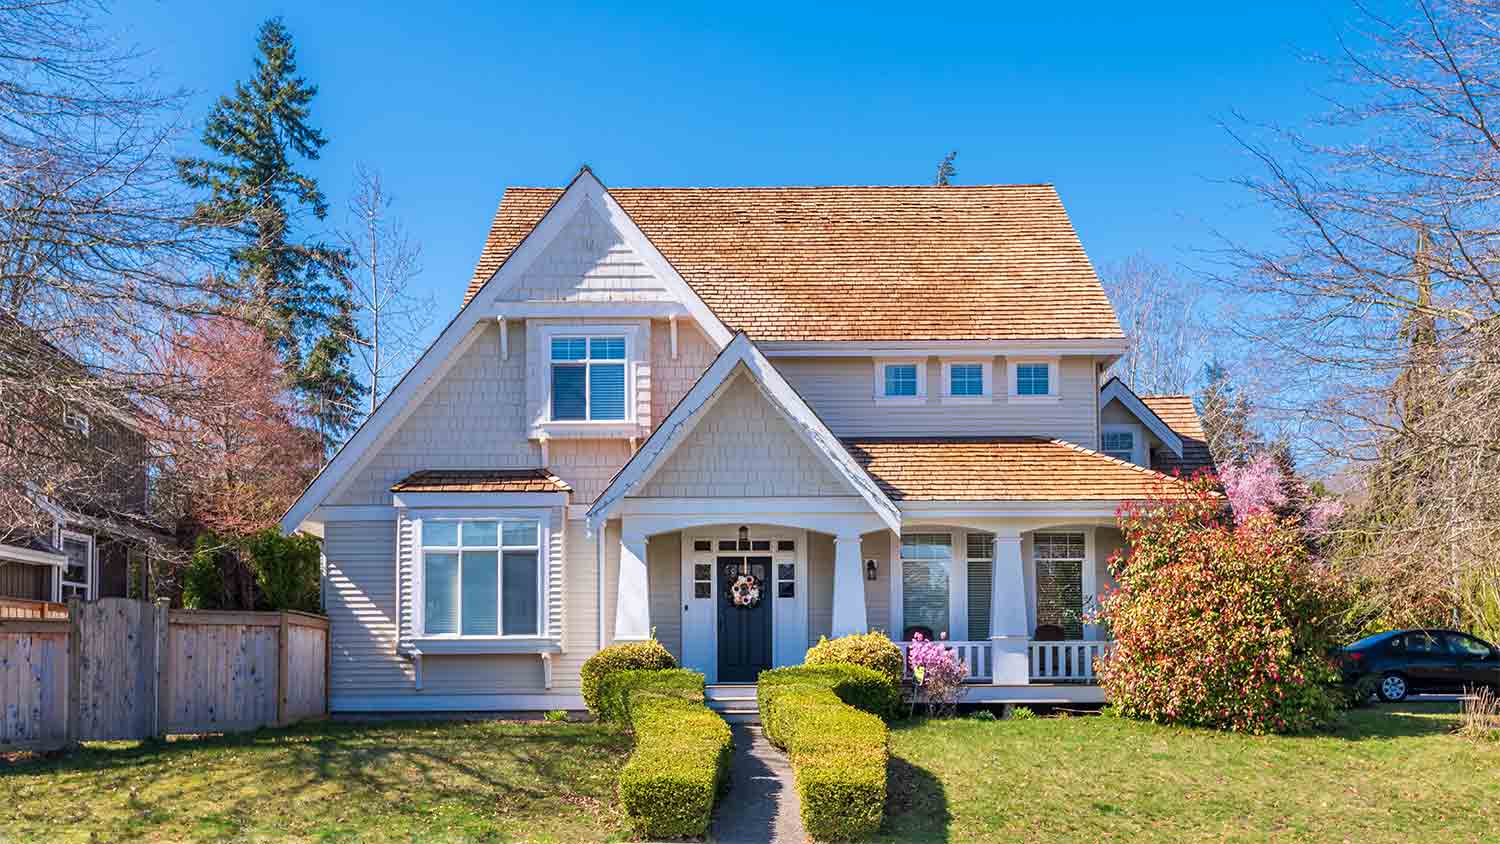
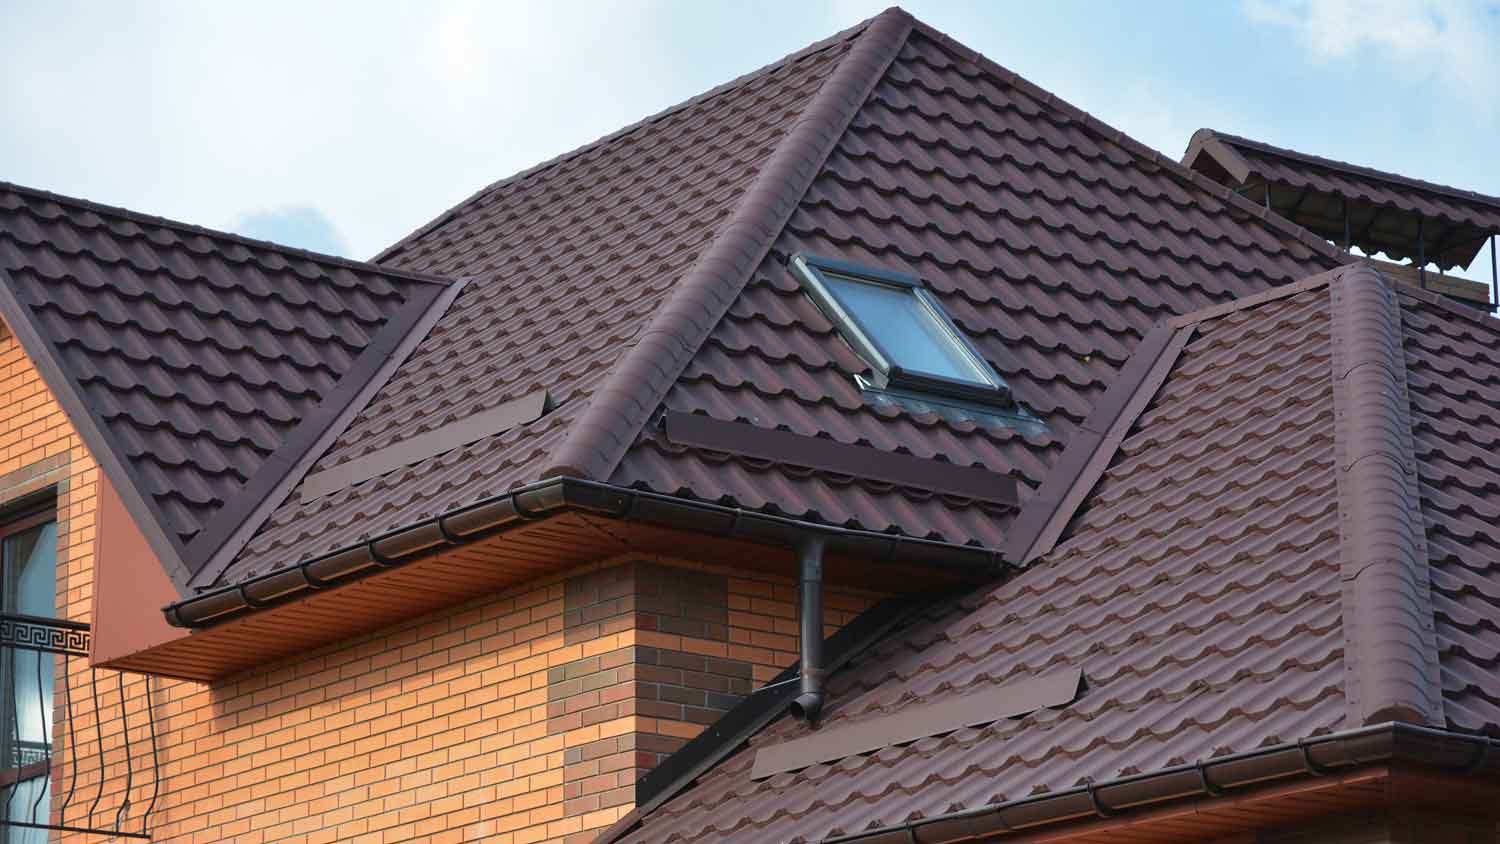
Standard wood roof shingles, including cedar shakes, are a popular choice out of the different types of roofing materials—and it is easy to see why. Installing cedar roof shingles will give your roof that “wow” factor that all the neighbors will envy. It is a budget-friendly alternative that has many homeowners choosing wood shingles over metal roofs. It adds a beautiful, natural, and upscale look to any home, while helping your roof to resist wind and extreme weather conditions.
Most homeowners hire professional roofers for this task, but DIY installation is possible if you have the necessary experience. If you want to learn how to install cedar shakes or wooden roof shingles yourself, then you should be an advanced DIYer who is comfortable and confident working at heights and with saws. Before you can learn how to install wood shingles, you need to focus on safety and gathering supplies.
No matter what type of shingles you want to install, your first order of business is safety, as the majority of the work takes place on a roof. Keep in mind that installing wood shingles is a dangerous DIY task unless you have experience working on a roof and using saws in awkward positions. Without the proper experience and skills, tackling this project yourself could lead to serious injury and improper installation. Contact a local roofer for a quote instead.
If you are confident you can handle installation yourself, make sure your ladder is sturdy and ask a friend or two to keep it stable as you climb to and from the roof. You should also wear the appropriate safety gear for working on a roof, including the following:
Helmet
Safety glasses
Ear plugs
Ear muffs
Respirator
Gloves
Steel-toed boots
Long sleeves
Long pants
Safety vest
When it comes to picking an underlay, you have some choices. Choose the non-breathable underlay that best fits the needs of your roof and geographic location. A simple felt underlay is the most budget-friendly option, but a more advanced moisture-resistant membrane is the best bet for most homeowners. Conduct plenty of research before buying the underlay or ask your local roofing contractor for suggestions.
Now you are ready to learn how to install wood shingles. But before doing anything else, install the appropriate roof ventilation components to ensure that air flows correctly below the underlay and into the roof space. Roof vents are one of the most important parts of a roof, as they help to manage moisture on the roof and in the attic.
If you purchased a roof ventilation kit, it shipped with simple over-fascia ventilation boards and support trays. Install the over-fascia vents according to the instructions at the bottom of the roofline. If the kit did not ship with the appropriate fasteners, use screws or staples, depending on the thickness.
After you place the vents, do the same with any felt support trays. Place these trays on top of the over-fascia vents, nailing them into place via holes on the exterior. If possible, also nail it through the roll panel and into the rafter via the top of the tray.

No matter which underlay type you choose, the wood shingle installation process, including for cedar shake shingles, remains similar. Place the non-breathable felt or membrane across the entire roof, ensuring there is plenty of overlap between layers. You should end up with a single complete covering with no gaps.
Take your time placing and configuring. After that, dress the underlay down to the bottom of the support trays and secure each piece of underlayment with self-adhesive tape. This process takes a while, so keep at it until the entire roof is covered and secured.
Now it is time to affix battens across the entire width of the roof. Placement depends on the shape, design, and size of your roof, but most installations start with a first batten placed around five inches from the outer edge of the fascia (measured to the center of the batten.)
Secure the batten in place with screws and move on to the remaining pieces. Each subsequent roof batten is placed five inches apart from the previous piece.
Now it is time to install the beginning layers of wood shingles. This initial double layer is the last line of defense before hitting the underlayment, so go slowly and take care to get it right.
When starting out, make sure the shingles overhang the verge and eaves by about 1.5 inches. This helps protect both roofing elements. Place the two layers of shingles in a broken bond pattern. Lay down two shingles next to one another and the third shingle on top, directly over the joint. Make sure to include a small gap of about 1/5 of an inch to help with ventilation and allow for natural thermal movement.

Once the double layer of wood shingles is placed and you are satisfied with the overall configuration, affix them in place with stainless steel ring shank nails or roof staples. Do not just staple or nail all over the place, as following a specific pattern helps increase the stability of the shingles.
Make sure each fixing is three-quarters of an inch from the edge of the shingle itself and approximately one inch up from the butt of the shingle resting above. Break out a chalk line or tape measure to ensure the fixings are all in a straight line.
Go around and add a third layer of wood shingles if you think you need them. However, some states and counties only allow two layers of shingles for fire safety reasons. Contact your local regulatory agency for more information.
Additionally, shingles are heavy, and some roof designs may not accommodate an additional layer. In many cases, you can add another layer later on, so talk to a professional roofer about your options here.
Next, cut the top course of the shingles with a hand saw or utility knife to ensure an even and uniform ridge that extends five inches from the fascia. To make this go faster, invite a skilled friend or family member to the top of the ladder so they can hold you in place as you make the necessary cuts.

To finish things off, consider affixing preformed hip and ridge shingles on the roof ridge for aesthetic appeal and to help create a secure and protective ridge. The installation process is exactly the same, and these preformed shingles are built to fit over the edge layer of the preexisting shingles.
Installing cedar roof shingles can be a difficult DIY job, but following these tips will help you install them properly and safely. By allowing the wood to acclimate, using the right nails and tools, properly aligning the shingles, and allowing for ventilation, you can ensure your roof lasts as long as possible.
Cedar shakes should be allowed to acclimate to the environment before they are installed on the roof. This lets them dry out and will minimize shrinkage after installation. To acclimate the wood properly, it should be stored in a dry location off the ground. It should be left there for about two weeks before installation. This requires some planning and preparation of an appropriate place, so make sure to include this time in the overall timeline of the project.
Choosing the right nails and tools will ensure the cedar shakes are secure and will not become loose over time. Wood shingles swell and shrink as environmental factors like moisture and humidity fluctuate, so if improper nails are used, they will not be able to hold the shingles in place. Wood shingles require corrosion-resistant nails and staples, like stainless steel, that are long enough to secure them.
Wood shingles should be aligned so that each row overlaps the seams in the row beneath it. This will ensure that there are no gaps that can allow moisture to get into and under the shingles and compromise the integrity of the roof.
Installing roof vents and allowing for ventilation gaps between the shingles can help prevent mold and mildew growth by drying out the shingles after they get wet from rain or humidity. Proper ventilation will also keep the attic dry, which is important to maintaining structural integrity.
Now that you know how to install wood shingles, it is time to decide if this is the right project for your skill level. This is slow, painstaking, and potentially dangerous work, so give it a go only if you have prior roof experience and are confident in your abilities.
Don’t have the experience? Hire a roofing company instead to ensure your safety and proper installation. Wood shingles for a roof replacement cost approximately $21,500 for a 1,600-square-foot home.
Mitchell and the crew were top tier i am so happy with my new roof
D1 Roofing delivers outstanding service from beginning to end, backed by a strong warranty and expert teams. I highly recommend them for their excellence in meeting and surpassing expectations with unmatched communication. Choosing D1 Roofing was flawless decision
This place took $25,000 for a flat roof job with a five-year warranty and never returned to fix the leaks that were caused by their work. These people are not professionals and should not be doing this type of work. They incorrectly changed the pitch of the roof, and caused more damage than...
The technician was very professional and friendly. He answered all my questions and was very thorough. He left the fireplace area very clean . He inspected from the roof and advised me as to other work that might need to be done. There was no pressure there. I was very satisfied with the...
 Supreme brick & chimney
I am really impressed with their timeliness and turnaround. Mitchell came out, and we decided to move forward with their pricing. Our roof was on within a week, and we could not be happier with their team! Amazing company, great prices and honest, dependable craftsmanship. I highly recommend...
Manuel Calvillo is the best option in the area for roofing and you won't be disappointed.
They damaged multiple items on my property, including a marble slab used as a table top, tried to hide it, and refused to pay or replace. Arrived day one without a ladder to access roof & delayed a day. Left a mess in back yard; didn't wear face masks; no show by owner to property to see damages
I've hired Gary/Cherokee Roofing for two different homes, work quality, responsiveness, and completion have been great both times. And the prices quoted were very competitive. I would definitely hire again.
Lyle did a great job removing asbestos shingles from our front porch roof. They worked together with our roofer to make sure that the new roof was able to be installed on the same day that Lyle removed the asbestos shingles.
 Lyle Environmental
Bradley Builders did a good job replacing the roof on our front porch. They color-matched the existing shingles on the rest of the house and installed a metal ridge roll since we live in a historical neighborhood. They did the job while we were out of town. When we got back, everything was...
 Bradley Builders, Inc.
From average costs to expert advice, get all the answers you need to get your job done.
Architectural shingles cost is determined by project size, material quality, and roof condition. Find out how much they'll cost for your home.
The cost of 3-tab shingles varies widely, depending on the size, condition, and steepness of your home's roof. Discover how much they'll cost for yours.
Asphalt shingle roofs are the most common roof type in the U.S. Learn about average shingle roof costs and the factors that can affect your total.
When deciding between wood shakes and wood shingles, you’ll want to consider the look and texture. Our guide will show you the differences between the two.
Discover how to install metal roofing over shingles to add long-lasting weather protection to your existing roof without removing the old material.
Learn everything you need to know about how to shingle a roof and finish the job efficiently while staying safe with these tips.