

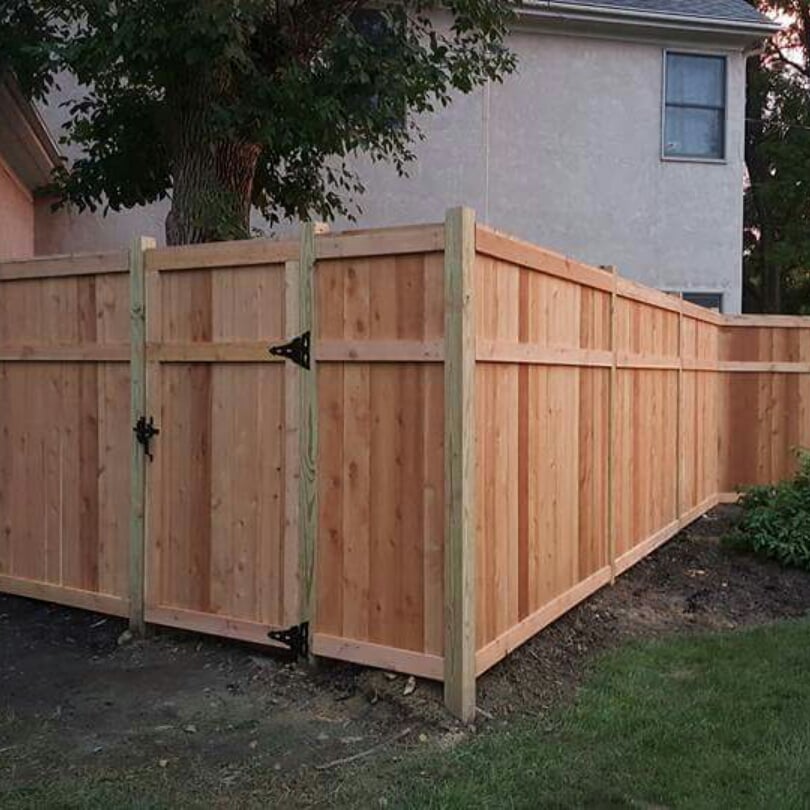
Gate installation costs depend on the material your gate is made of, and the type of gate you want to install. Explore all the gate installation cost factors in this guide.
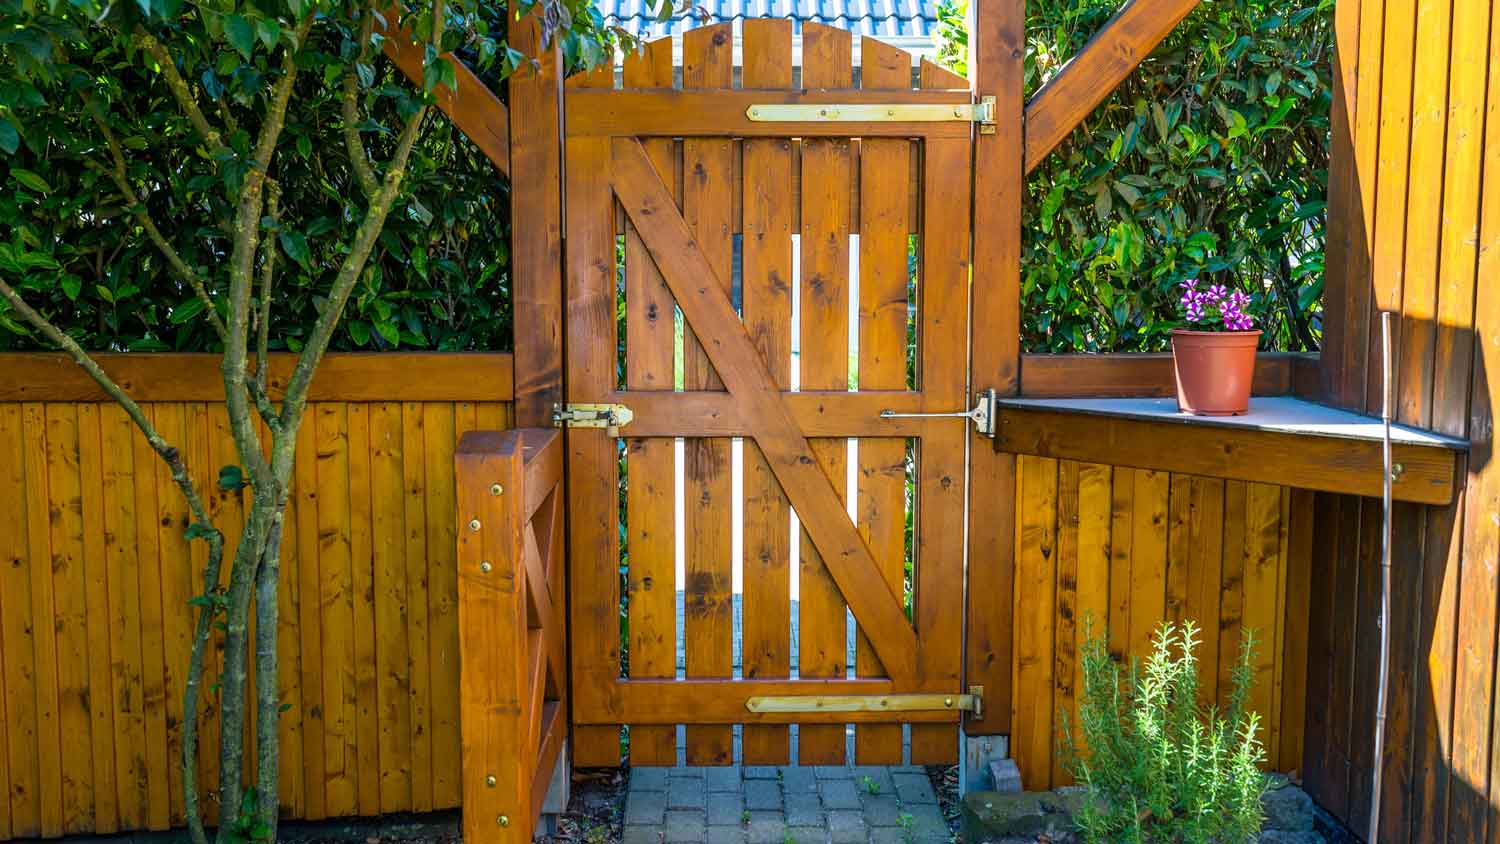
A simple spring can make all the difference

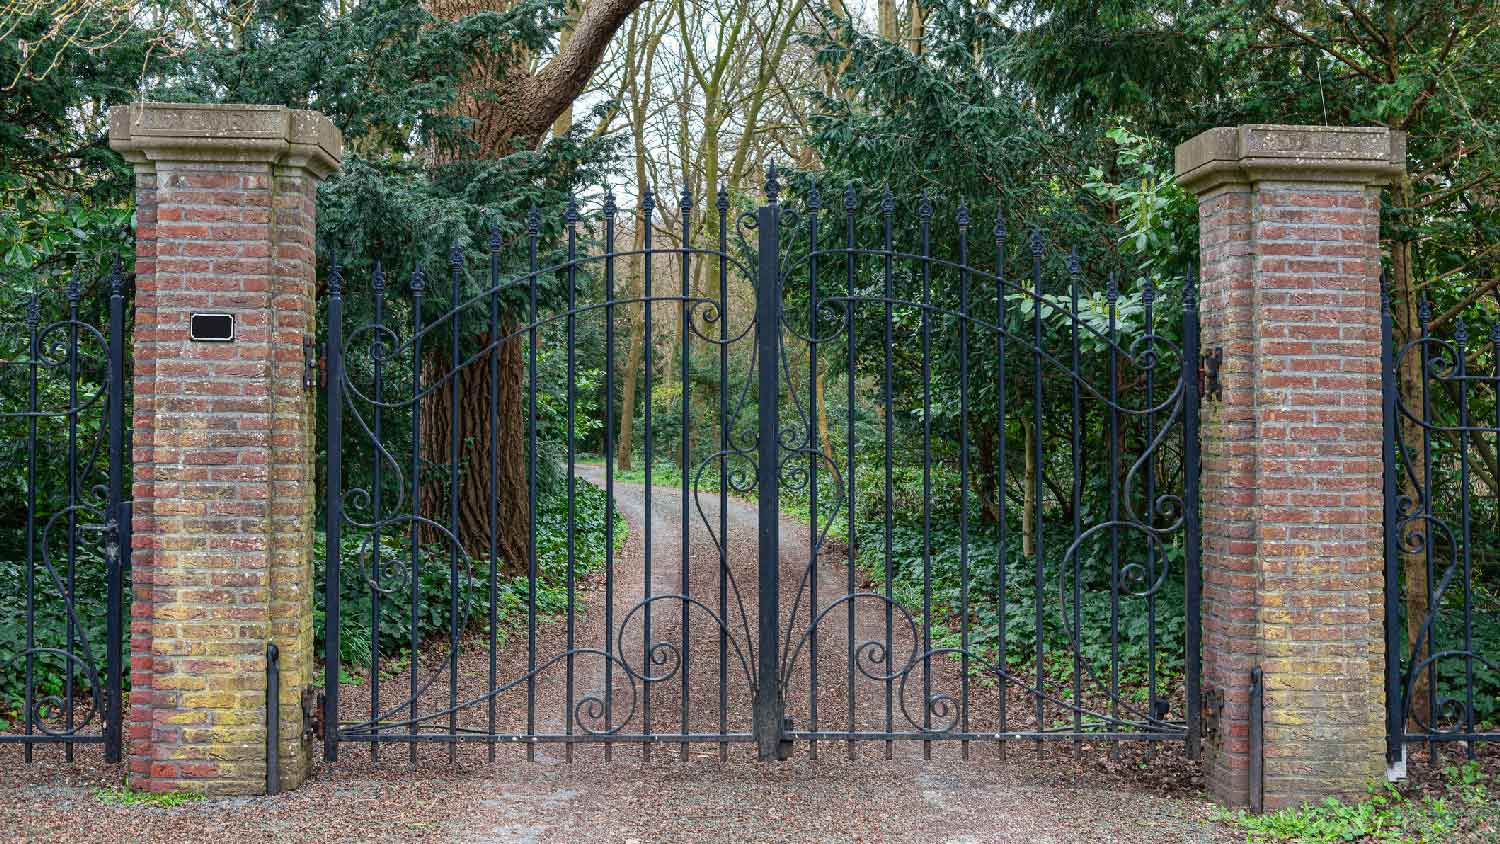
A gate slamming strongly on a windy day is noisy and prone to damage. Plus, if your gate is constantly swinging open, it’s a privacy problem and backyard security risk—especially when you have kids and pets playing in your yard.
An inexpensive spring can solve the slamming and security issues by keeping your gate closed after it swings shut. It also results in smoother closure, reducing the chance of premature gate repairs or replacement.
Fortunately, this is a DIY job even the least handy homeowner can tackle in minutes. Follow this simple step-by-step guide to learn how to install a gate spring.
A spring for a gate won’t work effectively if the gate itself isn’t sitting properly. Fix sagging gates and ensure they smoothly swing before you set up the spring.

Deft drill work prevents sloppy screw settings that can affect the spring’s performance or damage the mechanism or your gate.
With the gate closed, check the spring position and mark screw holes before digging out your drill. Always check the manufacturer’s instructions, as gate spring positions vary depending on the model. There are usually photos to illustrate the correct position. However, standard guidance is as follows:
The spring is typically angled going to the right on the hinge side of the gate.
The top of the spring is often labeled so and will have the tightening tension knob there.
Mark the screw holes for the bracket that attaches to the gate (on the hinge side) and for the one that connects to the gate post, with the spring positioned as vertically as possible.
Right-hand opening gates usually have the top bracket attached to the gate post with the bottom bracket on the gate, and left-hand opening gates are the other way around.
Drill pilot holes through the post and gate on the marked spots. Pilot holes help prevent gate or post wood from splitting or cracking when you put in the screws and allow you to more accurately and efficiently apply the screws. Using a 9/64-inch or 7/74-inch drill bit usually works. Drill the four provided screws securely into place.
Note: If you're attaching the spring to a thick metal gate, you might have to substitute the screws in the kit for strong self-tapping screws that create a hole and thread simultaneously. When you have a brick gate post, you’ll need to insert wall plugs into the drilled holes to anchor the screws into the masonry securely.
If you don’t get the tension just right, your gate will either not open freely or will continue to swing. Close the gate and use the wrench supplied as part of the kit (sometimes called the tension rod or bar) to adjust the tension via the mechanism at the top of the spring.
The process for adjusting the spring tension varies, so always check the manufacturer’s instructions for details on using the tools and which direction to turn the wrench or bar to increase or decrease torque. The kit often includes a peg; release it to increase or loosen tension and then replace it to lock in the desired tension.
Typically, you shouldn't turn the wrench more than three increments clockwise at a time to prevent over- or under-tightening that can damage the spring or gate.

You might get lucky and have the perfect amount of spring tension on installation. However, there is often a bit of trial and error to hit the preferred amount.
You want the tension to be tight enough to snap shut the gate and keep it firmly closed but not so tight that it slams shut violently, remains slightly ajar, or is stiff to open.
Gate spring installation is an easy and quick DIY job, and the supplies don’t cost a lot. You can make significant savings installing a gate spring yourself. If your existing gate could benefit from the addition of a gate spring, you might only want to call in a local gate repair company if you really aren’t confident handling a drill or you need more significant repairs done at the same time.
If you’re hiring a local fencing contractor to install a new gate, ask them about the closing mechanism or latch type. Depending on the gate type, they may install a gate spring as part of the job and wrap it up in the overall gate installation costs.
A reliable team for moves across state. My switch to a new place needed careful lifting through tight hallways. The movers checked the doorway first, then carried heavier pieces with slow, controlled movements. Their patience helped prevent damage, and I?d choose them again.
We have used Window Warriors many times with no issues. They arrived on time and were very professional . We have pets and Window Warrior team treated them very well, well trusted team.
We have bought and sold numerous times over the past 50 years. Sherman Hall and Top Line are top notch. Thorough and detailed, he explains every possibility, probability, and eventuality. High class and pleasant. The best.
 Top Line Home Inspections, LLC
Our homes curb appeal skyrocketed thanks to Custom Paint Jobs LLC s exterior painting.
Window Depot did an amazing job on my deck. I wasnt sure what I wanted to do, but their composite decking was affordable and will last a long time. I am excited to have family over, and I am no longer embarrassed by my backyard. Jeff and the ground crew were polite, respectful, and caring for...
Great job...edging and pre clean up went well with a great job with seal coat. Friendly, efficient and professional.
 All Star Paving and Sealing
Did an amazing job transforming my yard. Also installed sod in places, would recommend to everyone.
Manuel Calvillo is the best option in the area for roofing and you won't be disappointed.
We hired Andrew and the team from Midwest Lightscapes for a custom lighting design and installation on a Victorian Village home. The house had outdated low-voltage halogen outdoor lights and many of them were not working. Andrew designed and installed a new system including uplighting on the...
 Midwest Lightscapes
The work was completed in a day and a half. They cut small trees, pulled out an old swing set, pulled out railroad ties and left the place spotless when the job was complete. I am very happy with the fence and their efforts were above and beyond my expectations.
 Elite Fence
From average costs to expert advice, get all the answers you need to get your job done.
Gate installation costs depend on the material your gate is made of, and the type of gate you want to install. Explore all the gate installation cost factors in this guide.
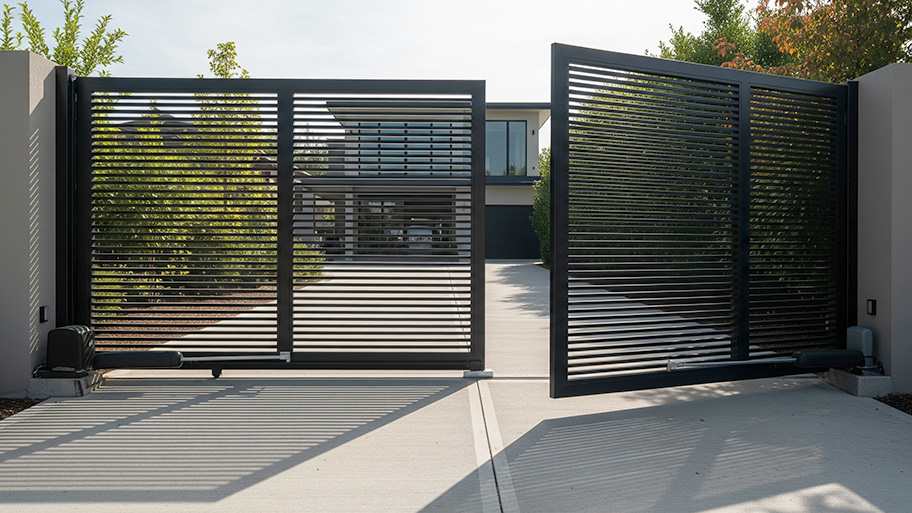
Discover the average automatic gate installation cost, key price factors, and ways to save. Get expert tips for homeowners planning a new automatic gate.
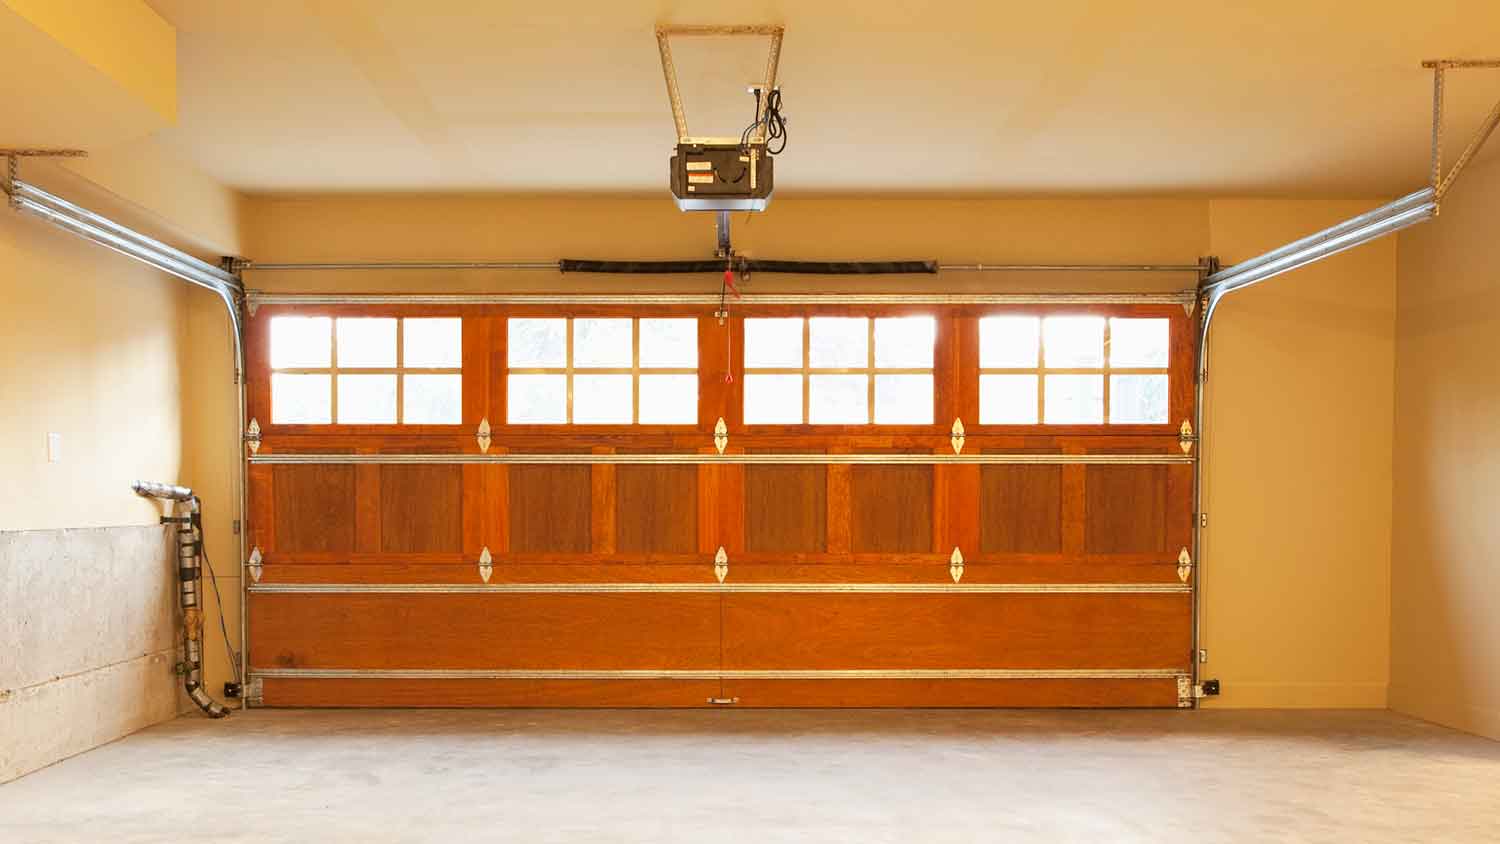
If your garage door is suddenly hard to open, one of your springs may have sprung. Learn how to replace a garage door spring—or who to call if you need a pro.

Learn how to hire a qualified driveway gate installer. Discover questions to ask, qualifications to check, and tips for finding the right pro for your project.
A good, working gate latch keeps your property secure. Read this guide to find out how to install a gate latch in five quick steps.
Protecting your home is an investment worth making. Learn about the best types of security gates to find a style that fits both your budget and your property.