

Installing drywall is the most common way to finish your home’s interior. Use this drywall installation cost guide to see what your project is likely to cost.
Although it involves multiple steps, the result is worth the time investment

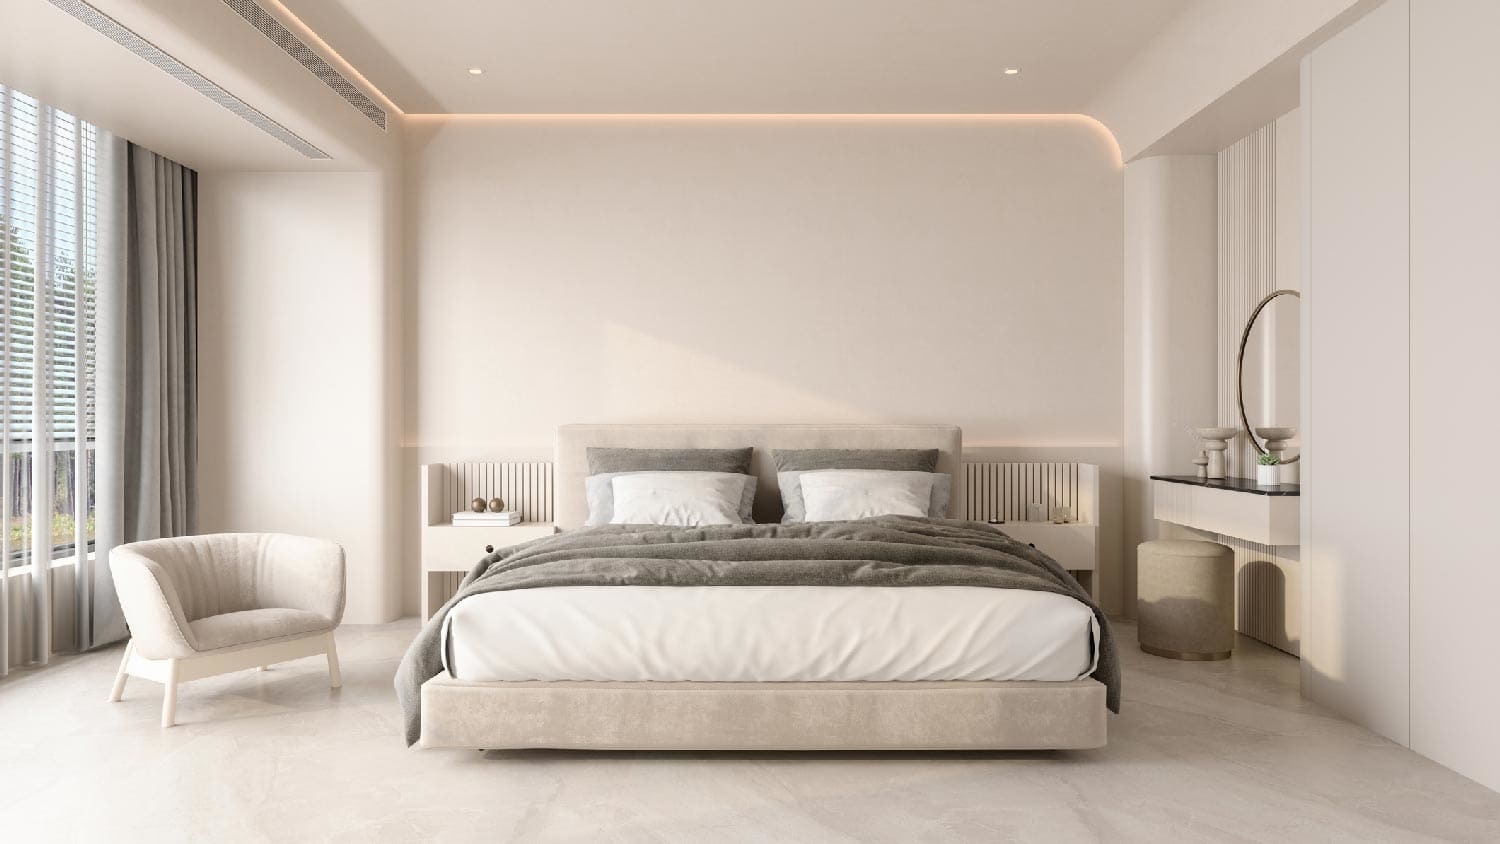
Perfect, straight drywall corners don’t make themselves—adding drywall corner bead is what cleans up the look resulting in nice, sharp corners. Although there is a way to square off drywall by overlapping it at a corner, the edges are brittle and it isn’t the best long-term choice.
Handy workers have the choice between metal bead or paper-face bead. Which one you use depends on your DIY skills and comfort with drywall tools.
The prep work is the same for both metal beads and paper-faced beads. You want to make sure any sharp edges on the drywall have been cut or sanded down. Double-check that the drywall is clean and ready to apply primer everywhere but the corner. By properly setting up the area, you’re ensuring it’s ready for the corner beads, saving you time in the long run.

Measure the drywall in its entirety. This will usually be from a sort of molding to the ceiling or, if your drywall runs the entire height of your wall, measure floor to ceiling. For both types of drywall beads, you’ll want to leave just a little space at each end, around one-half inch.
When you cut paper-faced beads, you can simply cut the paper. The process is physically easier than cutting metal beads, which you need to do with aviation snips. Make sure with either type that there are no sharp or rounded edges—the beads should be as straight on the ends as they are in the middle. Cutting corner beads is much easier than cutting drywall.
When it comes to attaching the beads, the method differs depending on which type of beads you choose. For paper-faced beads, apply a very thin layer of joint compound along the corner. Press the beads into the compound. They should adhere to the compound well, but add some staples just in case. Let it thoroughly dry before moving on to Step 3.
For metal beads, apply a thin compound as you did with the paper-faced beads. Press the metal beads against it firmly and, before it dries, use a hammer and small nails to secure it to the drywall. Nails are preferred to screws as screws tend to either raise above the beads or add small depressions if screwed in too tight. Wait for the compound to dry before moving on.

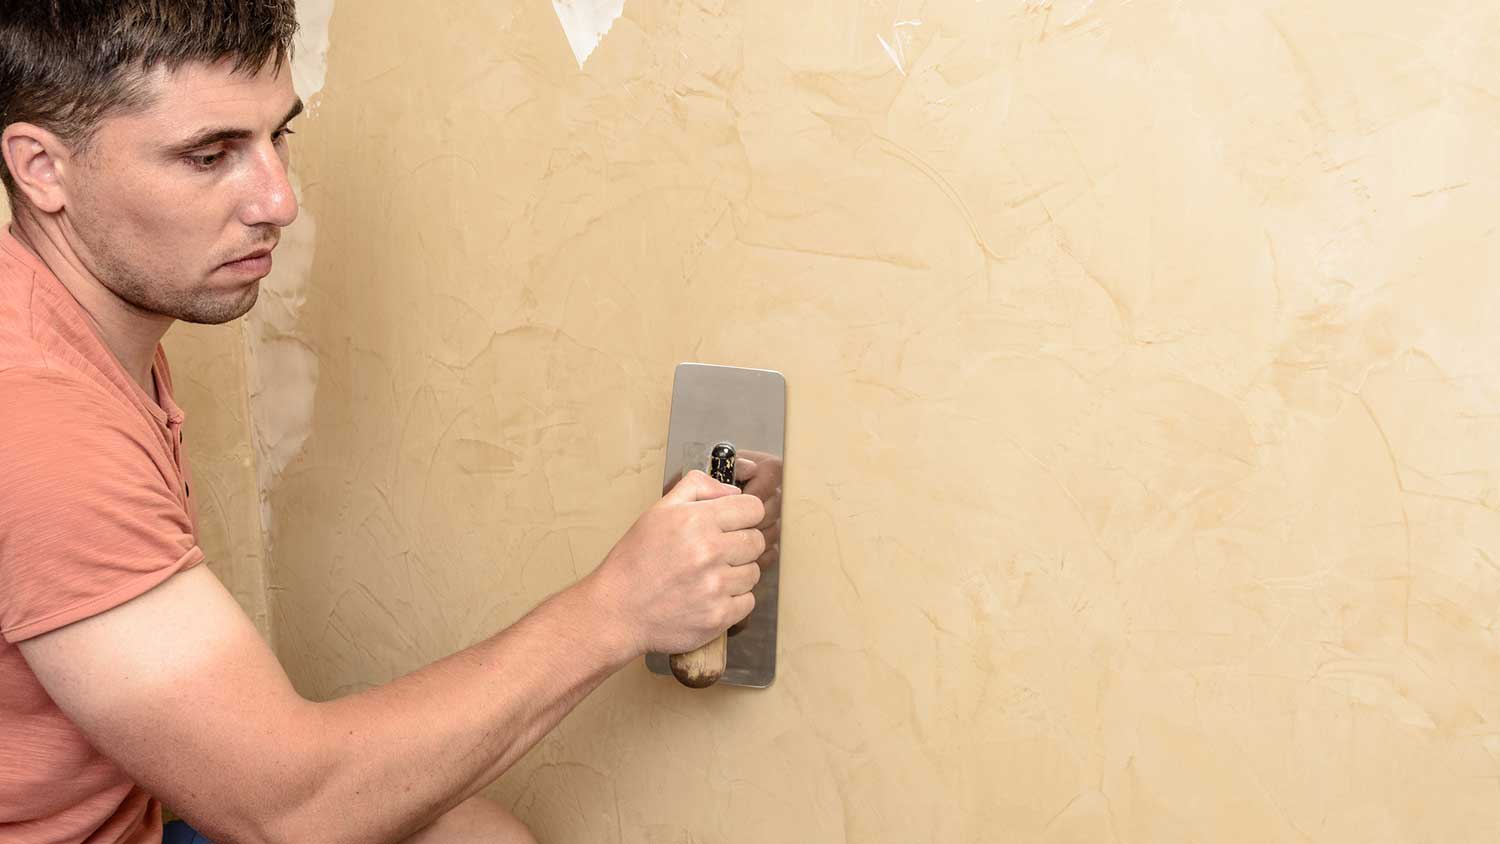
Only begin this step once everything is dry, which could be a few hours to overnight. Spread the joint compound over the beads using your putty scraper. You don’t need to be too clean, it’s the first layer and you’ll sand it down. Try to blend the compound into the drywall around the beads, spreading it evenly. While you don’t need to be exact, try not to spread it too thick as it will take much longer to dry. Let it completely dry before continuing.
Once the compound has dried, sand it down. You’ll want to do this with higher grit sandpaper, ideally around 150-200 grit, so you don’t take too much off at once. If you use low-grit (coarser) sandpaper, you run the risk of damaging the drywall around the bead.
Work from the corner and sand in a smooth motion while making sure you’re sanding enough to remove all unnecessary joint compound, but not so much that you’re exposing the bead.

The final step in the installation of drywall beads is to prime and paint the finished surface. Priming helps seal the joint compound and create an even surface for paint application, and if you’re painting the entire wall, you’ll have to prime that anyway. Once the primer has dried, paint the walls and, once it’s dry, enjoy your completed work.
If you’re comfortable using the tools this is a great DIY project, but drywalling is one of the least expensive contractor jobs. This is because it doesn’t take professionals long to do, and the materials are fairly inexpensive.
While a local drywall expert might cost between $50 and $100 an hour, adding corner beads won’t add much time to your bill if you are installing the beads along with a new wall. If you are just hanging the beads on existing corners, a DIY fix shouldn’t cost more than the materials (and tools if you don’t have them) and just a few hours of work.
Cancelled appointment two hours after they were supposed to come for drywall work.
I would recommend this company to anyone! He showed up on time, was friendly, completed a very difficult repair on our dryer vent cover, was responsive, and pricing was extremely fair and competitive. I would have him back to do any of our repairs or cleanings without hesitation!
I cant stop admiring my newly painted walls. Custom Paint Jobs LLC made my house feel brand new.
Excellent experience with hiring Tether House to Mount our 77’ Samsung TV in our bedroom. Fast, friendly, and knowledgeable. Highly recommend.
Excellent customer service and knowledge. I was recommend to him from my neighbour. My front door and window came in great and were installed beautifully perfectly, I m very satisfied with their excellent work, so decided to order one more big bow window for my living room. I cant wait for...
Manuel Calvillo is the best option in the area for roofing and you won't be disappointed.
Would hire again. Wall looks great. Happy with job.
 Central Paving
Involved an extensive bathroom remodel, including removing tub & installing walk in shower, new drywall, custome tile work to ceiling, plumbing, etc. Overall, job was done on time and on budget. Nick & his team were very professional and had high attention to detail. Quality was great. Highly...
 Stamos Flooring and Remodeling LLC
We have had a great experience with Rising Height for the past five years on a number of miscellaneous renovation projects. They laid flooring for us and had a very good sub do the finish. Installed drywall for a vaulted ceiling, finished an attic/loft with new subfloor, framing and drywall,...
 Rising Height Unlimited
Mr. Lopez was super nice and professional. He repaired our drywall just as he described during the estimate phase. Our dining room wall looks great again! Thanks Mr. Lopez!
From average costs to expert advice, get all the answers you need to get your job done.
Installing drywall is the most common way to finish your home’s interior. Use this drywall installation cost guide to see what your project is likely to cost.
The cost to replace plaster with drywall can quickly add up. This guide will help you budget for this project and decide if it's worth the effort and cost.
Drywall texture can create an attractive finish and add dimension to your home’s walls. This guide breaks down the factors that influence the cost to texture drywall.
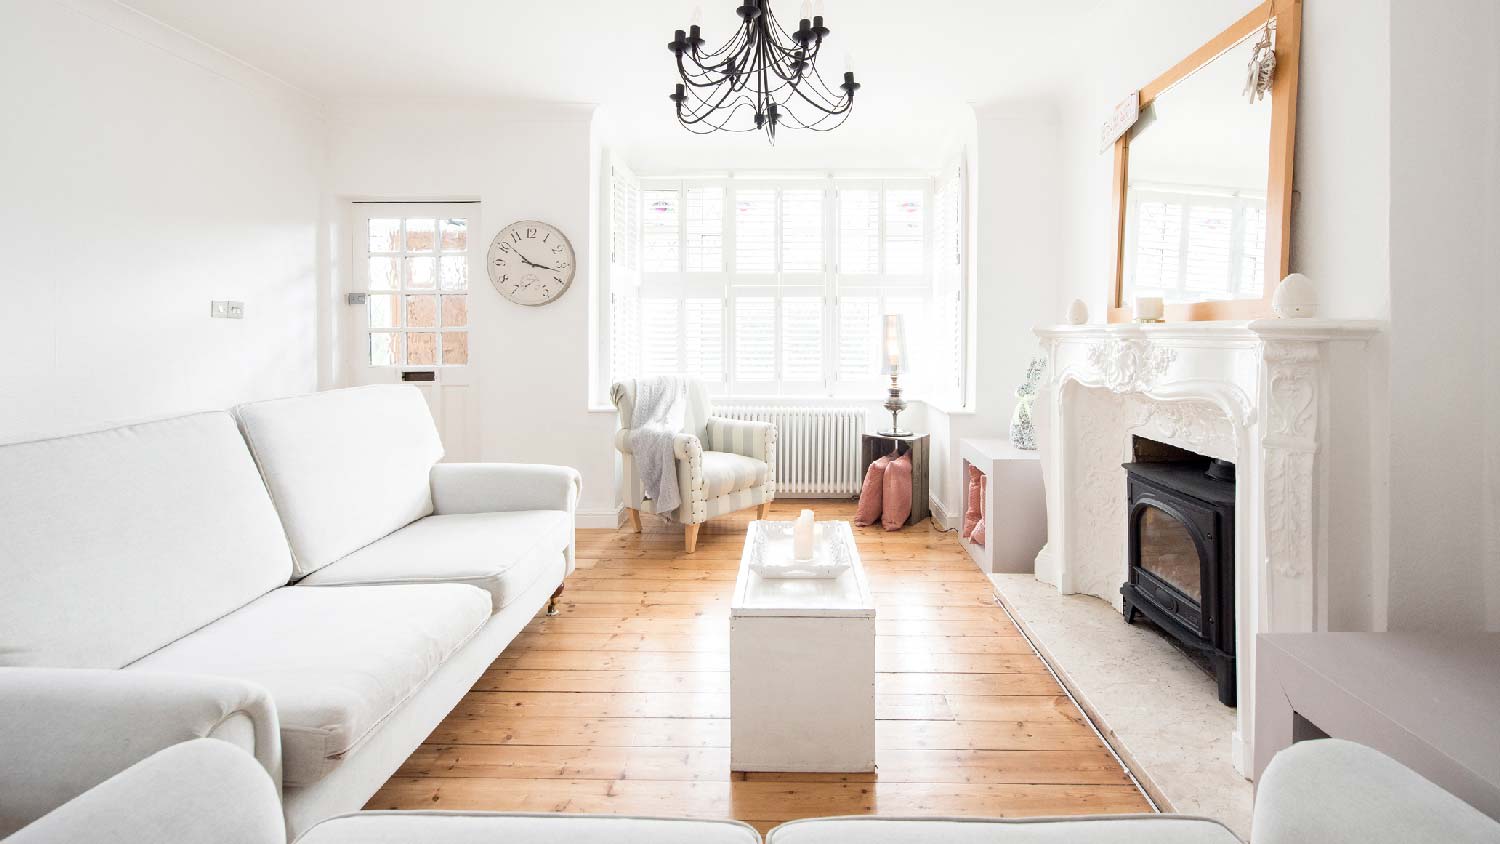
Rounded vs square drywall corners—which one should you choose? Use this guide to understand the key differences, and decide which one is right for your project.
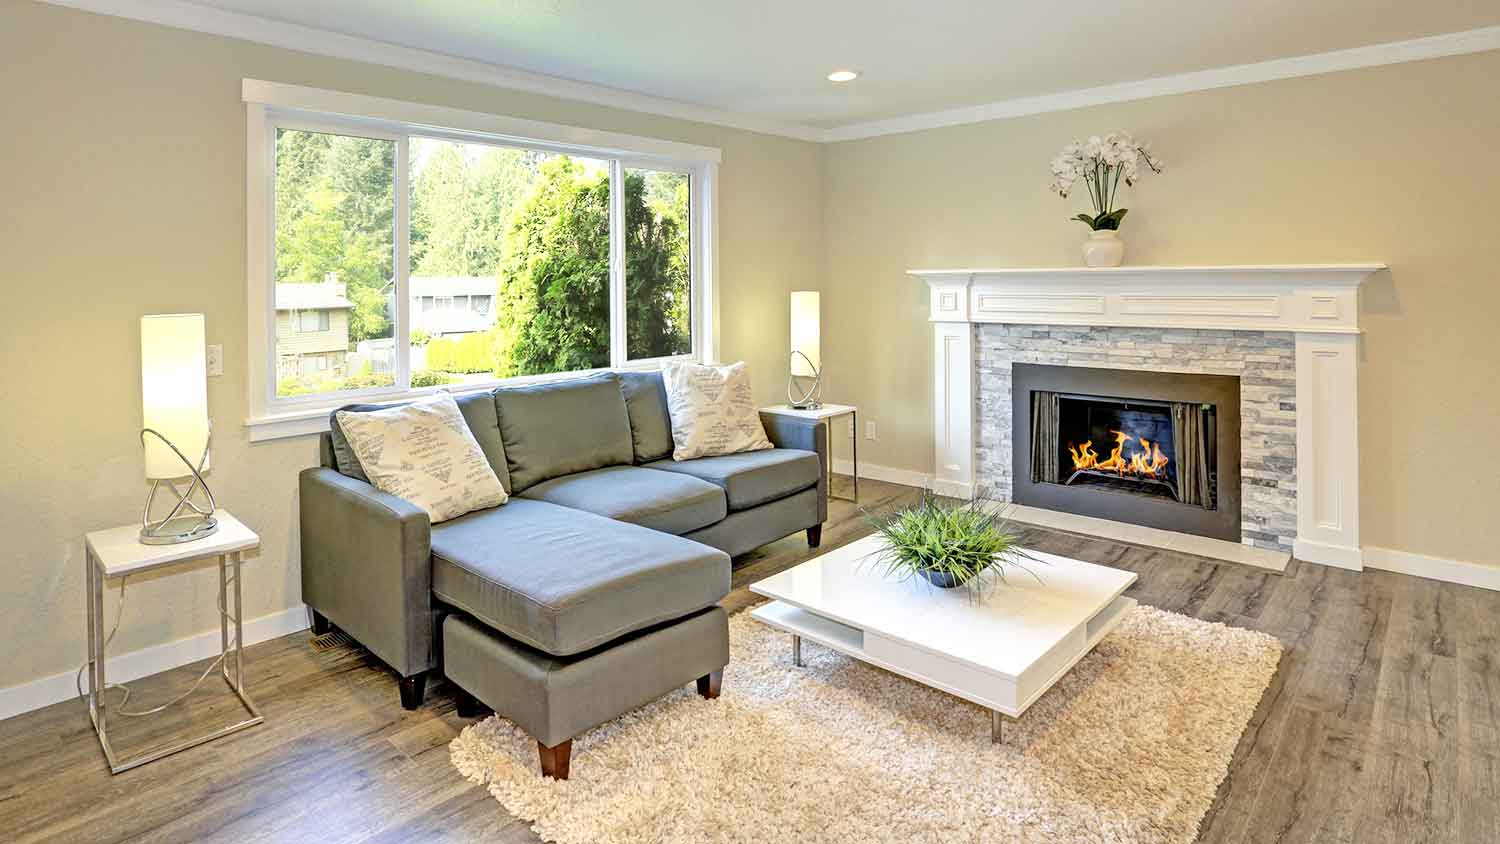
Don’t forget about room corners in your plans for smooth, seamless walls. Learn how to drywall corners like a pro with this step-by-step guide.
If you’re wondering, “How much drywall do I need?” this guide will help you estimate how many drywall sheets and related materials are required.