
•
Discover the cost to install recessed lighting. Discover how price factors, labor, and other considerations can help you save on your lighting project.
You can do it!

Installing can lights in a finished ceiling requires cutting precise holes, running electrical wiring through the attic, and connecting junction boxes to your power source.
Expect to pay $100 to $600 per light for professional installation, while DIY canless fixtures and supplies cost $50 to $100 per light.
You should turn off power at the breaker before starting, confirm no voltage with a tester, and secure wiring with NM staples along joists.
Hiring a local light fixture installation professional keeps electrical work safe and code-compliant, handling permits and wiring connections so your home stays protected.
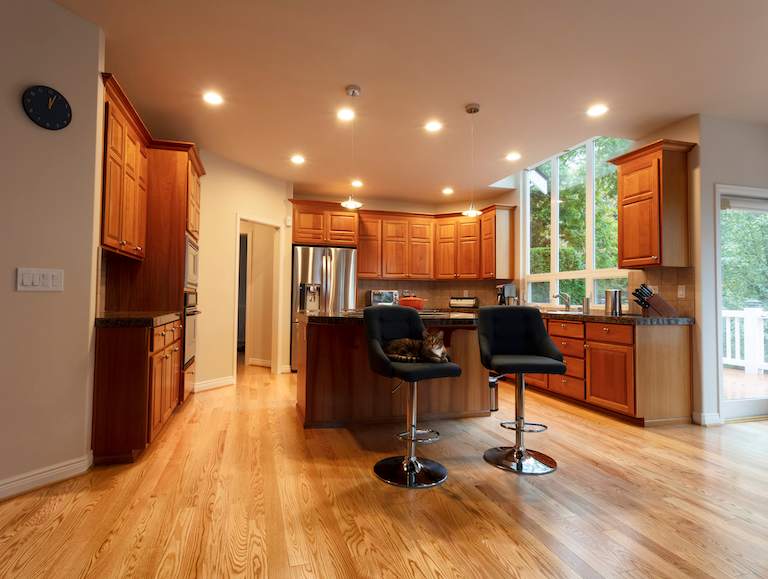
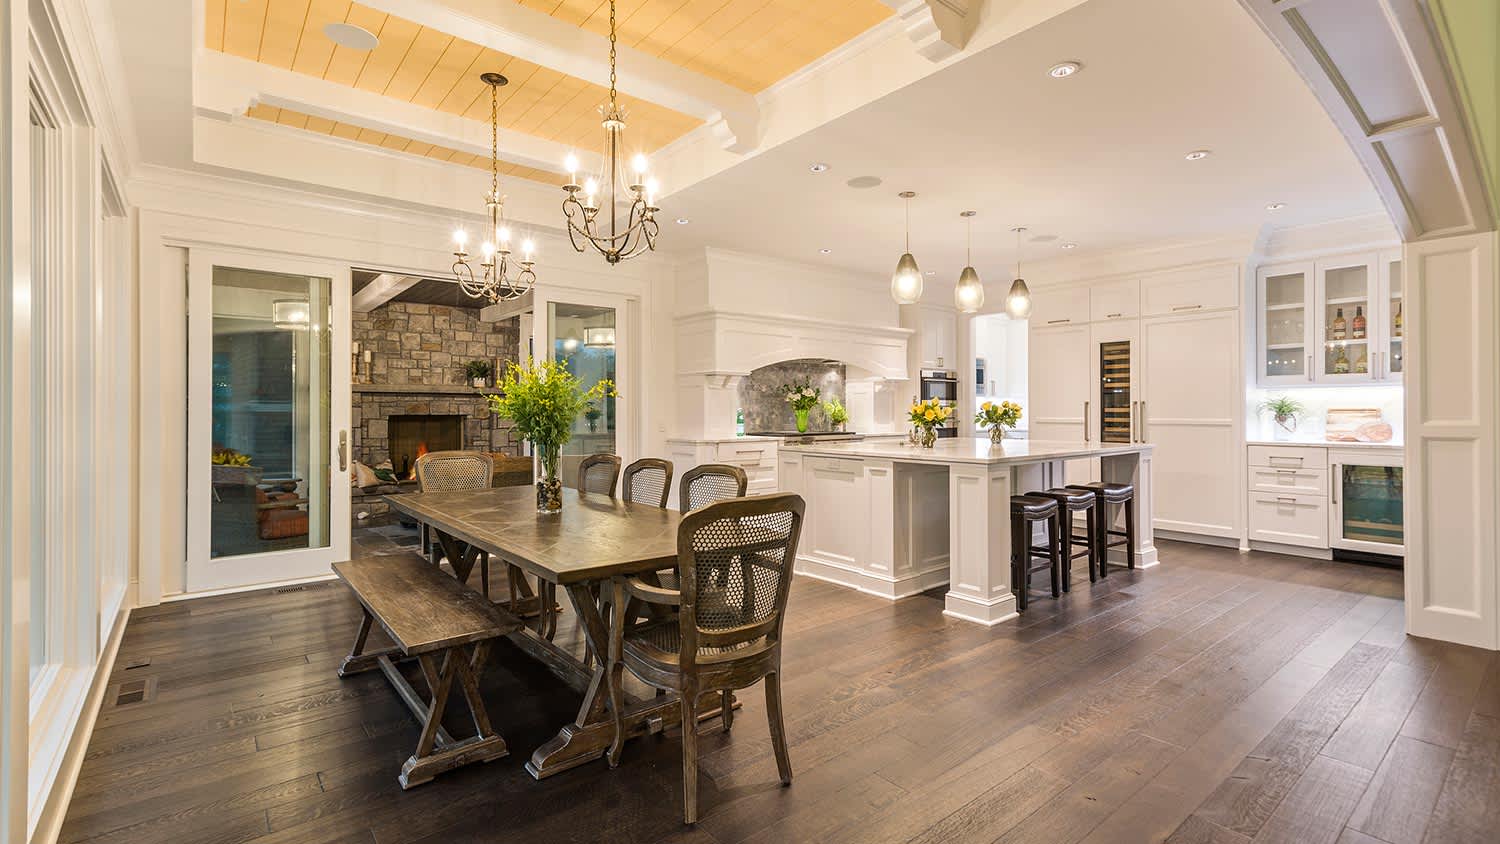
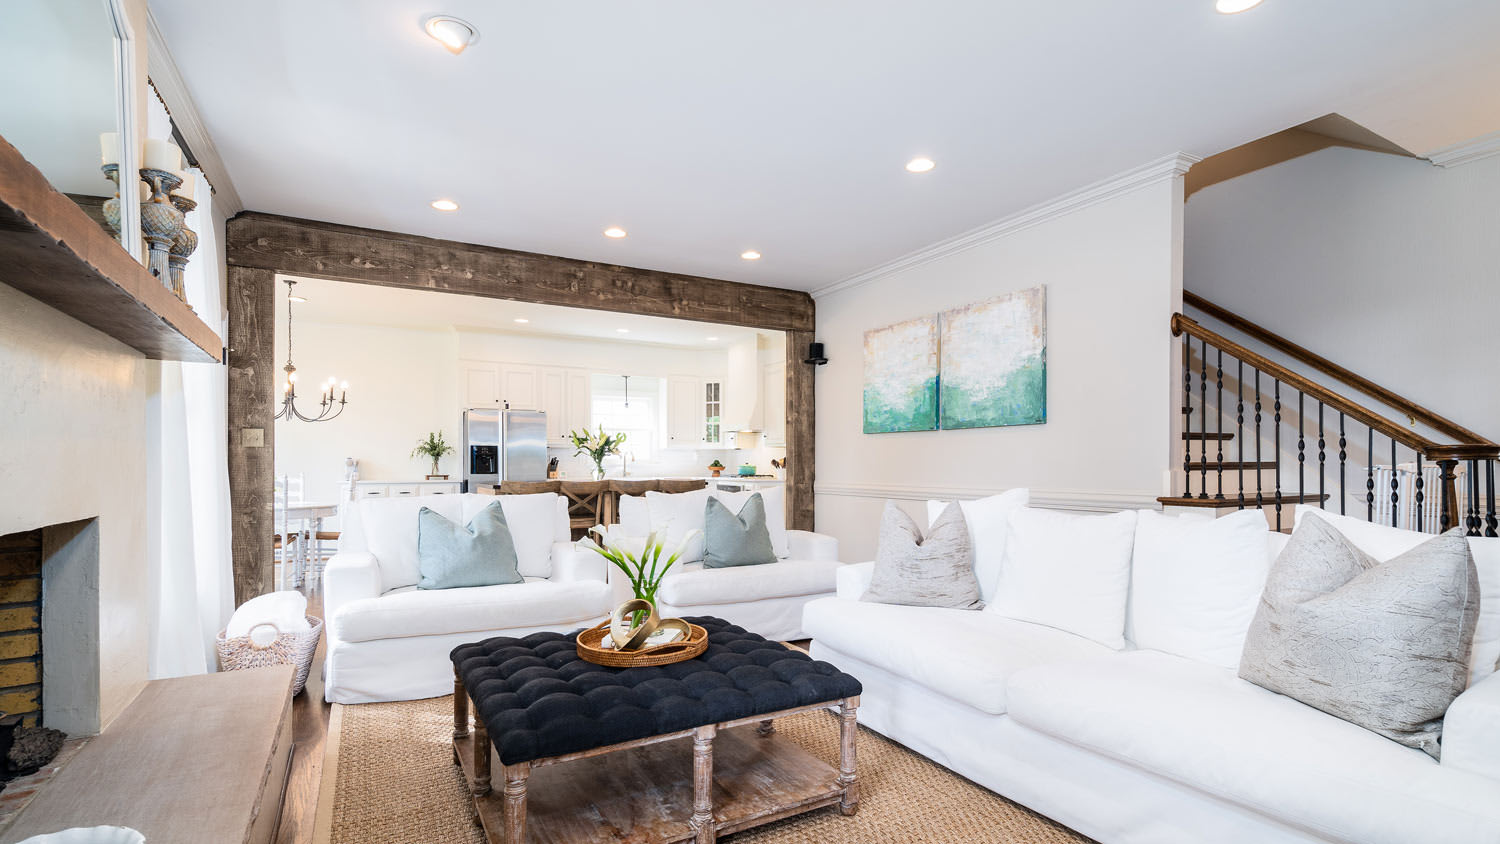
Less is more when you install canless recessed lighting yourself. Recessed lighting is a great way to improve your investment, create ambiance, and spotlight high-value areas in your home when compared with other types of lighting. LED canless lighting pairs modern technology with long-term savings in a versatile light bulb that lasts an average of 10 to 15 years. This guide covers how much it costs to install a canless recessed light, the tools and supplies needed, and the simplest way to install it.
This installation can be an easy task with the right know-how. It’s not that different from installing recessed lighting and might be even easier in some ways. In any electrical project, safety is the obvious concern. To keep you and your family safe, we made a list of easy-to-follow precautions:
Protect yourself from insulation fiberglass and sharp edges by wearing work gloves throughout this process.
Wear safety goggles to protect your eyes from any particulate.
Protect your mouth and lungs from fibers and particulates by wearing a mask.
Use caution going up and down ladders.
Remove clutter and tripping hazards from your workspace.
Planning the layout is the fun part. This is when you can look around your space, think about what you want to achieve, and get creative with a solution. If being creative isn’t your thing, there are some tried and true suggestions when it comes to where to install recessed lights.
During your planning process, use painter's tape to mark the ceiling. It's easier to move and won't damage the paint finish.
Avoid creating shadow areas.
Stay 12 to 18 inches from walls, adding on distance for cabinets and appliances.
Center the light if it’s in a hallway or closet, or if it makes sense to do so.
If you have to lay in new wiring for the task, keep it simple. Locate a potential junction box like an existing light fixture, outlet, or ceiling fan. Avoid overpowering the electrical feed by capping the existing power source after. If you try to run your light while operating the ceiling fan, you can blow the breaker.
Before you turn the power off, prepare your workspace. Lay down your drop cloth, set up your ladder, and prep and turn on any external lighting you’ll need to illuminate the space. Use a table to set out your supplies and tools in a way that makes them quick and easy to find.
In any project involving electricity, always shut off power to your work area before starting and when resuming any work. When the power is turned off, use your voltage tester to confirm your work area does not have power.
For a can-to-canless replacement, remove the existing can light and housing, and jump to step five.
If you’re adding a new light, center the template included in the canless lighting fixture on your mark, and tape it in place. Trace the circle with a pencil and remove the template. Use your drywall jab saw to cut out the fixture hole. Carefully dispose of your cutout drywall and any fiberglass insulation that came down during the process.
To install canless recessed lighting in a finished ceiling, run the electrical through the attic. You can link the wires from the original junction box rather than running single wires for each. Start with the one closest to your power source.
Cut your electrical wire two to two-and-a-half feet longer than the distance between the power source and the fixture hole.
Tack the wire with NM staples along the joist to prevent them from moving in either direction.
Leave about 12 to 16 inches of both wires hanging out of the hole.
If there isn't existing wiring to the ceiling, you have to start from scratch. That means getting an electrical permit, installing a new breaker, and running the power from your box to the work area. It’s a big job that your local electrician can probably do quickly and safely.
With the wires hanging down from each hole, you can attach the fixtures.
Strip the electrical wire to expose the two coated wires and the bare ground wire.
Punch out the metal discs at either side of the junction box.
Insert the first set of wires into one side and the second into the other side.
Connect all the like-colored wires using the wire nuts.
Tuck all the wires in the junction box and tightly close it.
Each box can be a little different. LED wafer lights and canless recessed lights have subtle differences in their composition and installation. Review the manufacturer's instructions for clarity.

With the electrical wires connected to the power source and the light’s junction box, you can nest it into the hole. Place the junction box in the ceiling first, then insert the fixture. Wafer-style canless LED lights have spring tabs that will lay flat on the interior surface of the ceiling and hold the fixture snug. Hold the spring tabs up during insertion.
When all the fixtures are nested in their holes, you can turn the power back on at the breaker. Check that the light works by turning it on.
Exchanging your current canned lights for canless fixtures is a simple DIY job with the right tools and some electrical safety precautions. A canless recessed lighting fixture can cost anywhere from $10 to $100 depending on the shape, size, and type. The biggest cost of this job is the labor. You can save up to $100 per light for canless recessed lighting installations when you do it on your own.
While that is a big savings for multiple lights, there are risks involved. If you aren't confident about the risks and regulations for an electrical job like this, you’ll cost yourself a lot more in the long run. Faulty and unpermitted electrical work can nullify your home insurance. It can also decrease your resale value to have unpermitted electrical work. Consider hiring a local electrician rather than doing it yourself if electrical work is new to you.
Custom Paint Jobs LLC gave our office a fresh new look. Clients love it!
Best painters in the Greater Columbus, Ohio area. Quality of work second to none and customer service is head above shoulders than everyone else. I cant wait to work on another project with Silvio and Team!
The Mosby team went above and beyond for my project. They not only installed my light fixture; they also worked through an old, wonky, and as it turns out incorrect wiring issue from the work of prior contractors. Professional, thorough, conscientious, and kind. Five star experience. Thank you!
We had a 20+ year old landscape lighting system that needed replacement. Midwest Lightscapes worked with us to design a much improved lighting system, lighting the exterior of the house and the back yard. Installation of the 45 light system took one and one-half days, and went very smoothly....
 Midwest Lightscapes
Jeff was a consummate professional. Responsive, courteous, and focused on meeting our needs. I had a small project of installing and replacing two ceiling light fixtures. He responded to my Home Advisory inquiry within 24 hours and in a span of two weeks our light fixtures were installed. ...
For several months I was looking for somebody to tile a wall in my master bath and move lighting fixtures, and could not find anybody who was responsive. I contacted Rowe through Home Advisor and within days they came by to assess the job and provide an estimate. The cost was very...
A team of 2 spent 5 hours, cleaning top to bottom (removed all light fixture and cleaned.... impressive!!!)
 Luzia's Cleaning
It went very well. I was able to select the color blocks I wanted and where they would be placed in the window. All of the employees were very pleasant and patient. The guys who installed the window arrived promptly, did their job, and there was nothing for me to clean up. The window looks...
 Innovate Home Org - Columbus Glass Block
The initial quoted price from a walk-through seemed high, but we discussed that the quote represented worst case scenario (re-wiring to two floors) and we were excited about the opportunity to have the work done in a timely manner with closing for fire safety reasons, etc. When the job was...
Charlie recommended a separate fan with new lighting to clear steam from the room better. Several weeks ago I contacted Charlie via email to ask about pricing and scheduling, after one follow up he did reply with cost and said it would be about two weeks before he could do the work. I replied...
 Settle Muter Electric
From average costs to expert advice, get all the answers you need to get your job done.
Discover the cost to install recessed lighting. Discover how price factors, labor, and other considerations can help you save on your lighting project.
Light fixtures are important elements in any home. Find out how much it costs to install a light fixture based on factors like type, location, and labor.
Choosing the best recessed lighting for your home depends on a variety of factors. This guide explores if canned vs. canless recessed lighting is right for you.
Installing recessed lighting can be a difficult task, so it’s important to hire the right professional to do the job.
What is recessed lighting and is it the right choice for your space? Dive into this quick guide to learn more about these light fixtures.
Do you want to brighten up a dim room? Learn how to install recessed lighting in any room with this easy-to-follow DIY guide.