
Explore the key factors that impact vinyl fence installation costs in Columbus, OH, including labor, materials, permits, layout, design, and yard conditions.
Your climbing plants will thank you


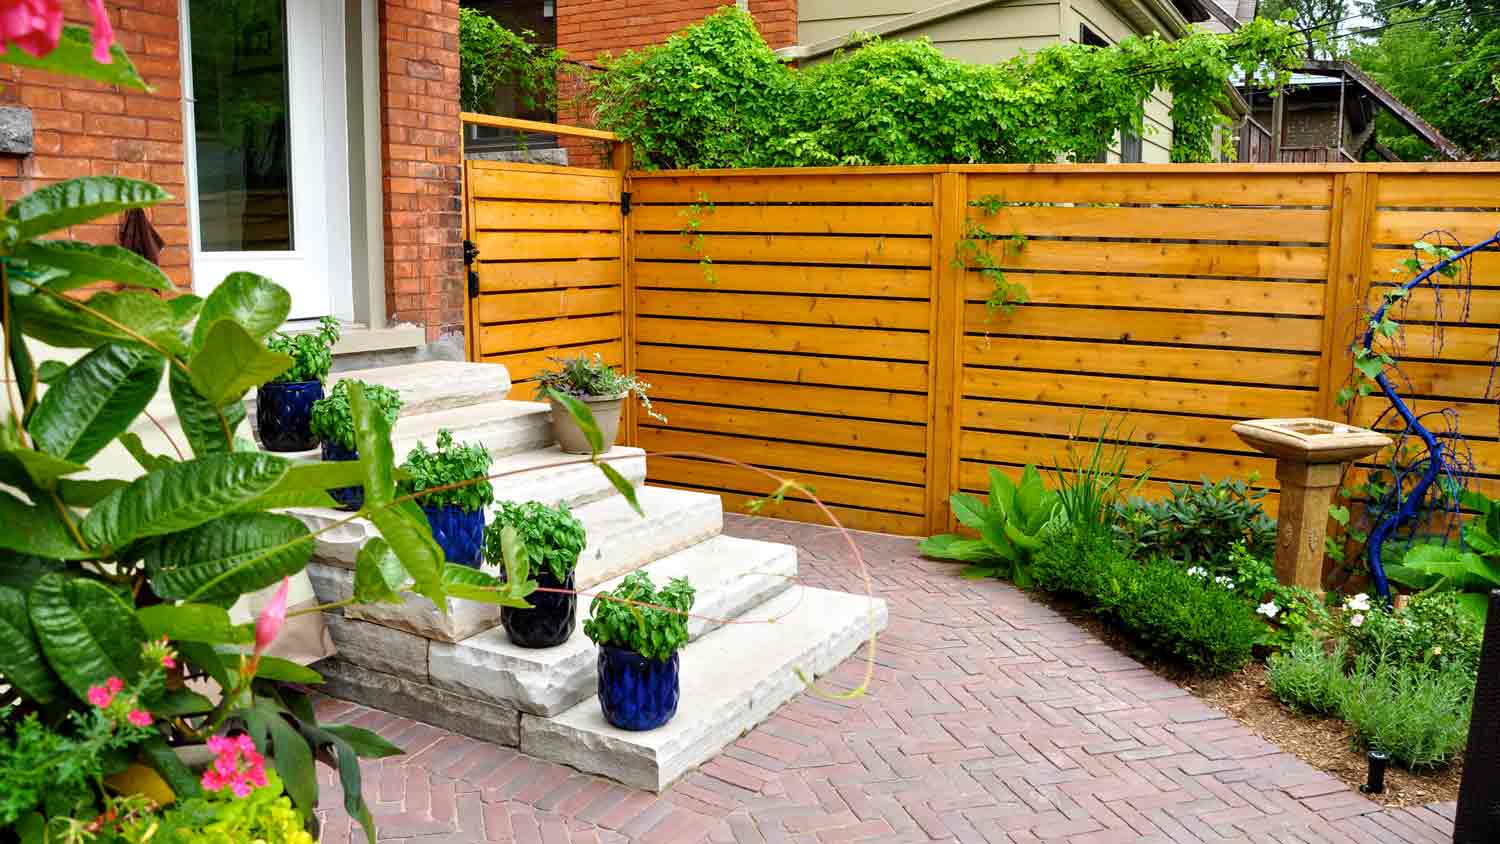
Attaching a trellis to the top of a fence is a great way to add privacy, height, and aesthetic appeal to your garden or outdoor space. Even better, this simple project is suited for all DIY skill levels. You only need the materials, tools, and perhaps a buddy to assist with lifting. Now, roll up your sleeves—here's how to install a trellis on a fence.
Pre-built trellis panels at most big box stores make installation easy because you won’t have to build a lattice frame. Wood trellis panels measuring 4 by 8 feet cost around $40. Cedar, redwood, and pressure-treated wood are excellent options because of their resistance to decay and insects. Remember, wood may require periodic maintenance, like staining or sealing. Select a trellis panel that fits inside the two posts at the top of your fence.
Get a trellis with tighter spacing to disrupt views if you want privacy. If you plan to add climbing plants, you want a more open grid, roughly 4 inches. Lastly, you will need U-shaped fence brackets to attach the trellis. They are available in white or black powder-coated metal and are sold in packs of six starting at $30. You want to ensure the bracket is wide enough for the trellis to slip into but not wider than your fence post for aesthetic reasons.
Before buying, you need to know the height and width of your new trellis panel. The panel will fit inside the two fence posts, ensuring room for the U-shaped brackets. If your fence is wider than the available trellis sizes, you may need to purchase multiple trellis panels and install them side by side using brackets.
Grab your measuring tape, pencil, and notepad to take and jot down measurements. Begin measuring the length between the fence posts. You may need to stand on a ladder to reach the top of the fence. While measuring, be mindful of any obstacles above your fence. Make sure you can install the trellis without obstruction.

Staining the trellis panel for extra weather-proofing is a good idea. Ensure you use a stain appropriate for your wood type. For instance, if working with pressure-treated lumber, it is strongly advised to use an oil-based stain made for outdoor use, as the chemically treated material can’t absorb water. The stain will take about a day to fully dry. Apply with a clean and dry paintbrush.
Before starting, inspect the fence to ensure it's in good condition and structurally sound. If you notice any loose or damaged boards, address those issues before proceeding with the installation. You may need to reach out to a local fence installer for repairs.
With the help of a friend, place the trellis into position and, while holding it steady, ensure it looks centered and level. Then, place it down on a clean surface.
Grab one of the fence brackets and place it midway inside the gate post, and with a pencil, mark where the pilot holes will go. Repeat the process on the other side.

Start by drilling pilot holes for the brackets using a drill bit one or two sizes smaller than the bracket screws, then follow these steps.
Install the brackets: Screw in the brackets one at a time on each fence post using a drill.
Place the trellis: With the help of a buddy, put the trellis between the top fence posts and inside the brackets.
Attach the trellis: Have your friend hold the trellis panel for stability and screw the trellis into place through the brackets.
After attaching the trellis, gently shake it to ensure it's stable and securely fastened to the fence. Make any necessary adjustments or tighten the screws if needed.
Whether to DIY or hire a professional to install a trellis on a fence depends on several factors. Do you own the tools, have time, and feel comfortable installing a trellis?
Your fence plays a role, too. If you have enough room at the top of your fence between the posts, this project is relatively simple for most DIYers.
However, the project becomes more complex if you need to create space for the trellis by extending existing fence posts or if you have a broad area to cover. Perhaps your fence is a little damaged. In these instances, a professional can ensure the best results if the project is out of your scope.
From average costs to expert advice, get all the answers you need to get your job done.
Explore the key factors that impact vinyl fence installation costs in Columbus, OH, including labor, materials, permits, layout, design, and yard conditions.

A new fence adds privacy, improves safety, and even boosts curb appeal. But how much does fence installation cost? Find out in this guide.
A fence can be a beautiful and functional addition to your property. Learn all the factors that determine your fence installation costs in Columbus, OH.
Get a clear estimate of wood fence repair costs. Learn what impacts price, compare repair types, and find tips to save on your next fence project.

This step-by-step guide will teach you how to tighten a sagging chain link fence. Improve your fence's appearance and protect your property.

There are enough types of metal fencing out there to make your head spin, so how to tell which is the best metal fence type for your property? Keep reading to find out.