

Gate installation costs depend on the material your gate is made of, and the type of gate you want to install. Explore all the gate installation cost factors in this guide.
A DIY project you can breeze through this Saturday

Learning how to build a lattice gate is a simple project that comes with big bragging rights. You don’t even have to be a seasoned woodworker—just weave DIY magic using a pre-built lattice panel and grooved lumber. Here’s how to create a rustic gate for your deck or garden step-by-step.
First things first: a shopping trip. Pressure-treated lumber is an excellent choice for outdoor gates because it’s resistant to decay and insects. A lattice panel in the material measuring 8 feet by 4 feet starts at $29. Pick up a couple of grooved two-by-fours at the desired height for your gate, starting at around $10 each. You want to ensure the groove is wide enough for the lattice’s thickness, typically about half an inch. Always inspect lumber for defects, such as knots, warping, or cracks.
For assembly, you’ll need three-inch deck screws and shorter one-inch screws. You will also need a slide bolt latch that includes the appropriate fasteners. Lastly, purchase your gate hinges. Since lattice panels are reasonably lightweight, 3- to 4-inch hinges are typically sufficient.

You know that old saying, "measure twice, cut once"? Well, when you're building a gate, keep it in mind for each aspect of the fence. You want to ensure the gate fits just right and has enough space to open and close smoothly.
Start by measuring the opening where you intend to install the lattice gate. Measure at several points, top, middle, and bottom, and note the narrowest width. The latter measurement is what you will refer to when building the gate. The standard width for an outdoor gate is 3 to 4 feet unless you’re building a double fence gate.
Next, measure the gate opening from the ground to the desired height. Like with the width, check for any variations in height, especially if the base is uneven, and note the shortest measurement.
The gate will need some clearance above the ground to prevent it from dragging. A two to four-inch gap is typically sufficient, but this can vary based on your needs and terrain.
Consider the hardware you plan to use, such as hinges and latches. These items may add some additional width to your gate frame, so be sure to account for it when determining the final measurement.
Based on your measurements, determine the frame dimensions for your lattice gate. You want to construct the frame to match the narrowest width and the shortest height you measured. These dimensions ensure that the gate will fit within the opening without binding or dragging on the ground.
Once you have the frame dimensions, calculate the size to cut the lattice panel so that it will fit within the frame. Typically, you'll want the lattice panel to be about half an inch larger on all sides than the assembled frame’s interior to account for the depth of the groove in your two-by-fours.

Before you begin, ensure you have your two-by-fours, lattice panel, measuring tape, saw, safety equipment, and gate specifications.
Refer to your specs and measure the length you need for the frame pieces. These measurements should align with the gate opening and your desired gate dimensions.
Using a measuring tape and a pencil, mark the measurements on the lumber accurately. You want two verticle and two horizontal pieces of the same length.
Carefully align the saw blade with one of your marked lines on the lumber. Start the saw and guide it along the marked line to make a clean and precise cut. Take your time and use a straightedge if needed to ensure a straight cut. Repeat this process for each piece of lumber, cutting precisely to your marked measurements. Consider labeling each piece with its intended position to avoid confusion during assembly.
Depending on the width and height of your gate, you may need to cut the lattice.
Measure and mark the desired cut lines on the lattice panel. Set the depth of the circular saw blade to slightly greater than the thickness of the lattice panel. Carefully guide the saw along the marked lines, applying steady, even pressure.
Use sandpaper to lightly smooth any rough edges or splinters on the cut pieces, ensuring they are safe to handle. Avoid over-sanding. You don't want to remove the protective chemicals on the pressure-treated wood.
You need a clean, level workspace to assemble the frame.
Place the four frame pieces (vertical and horizontal) on your workspace, arranging them to form a rectangle or square shape, with the ends of the vertical pieces butting up against the horizontal pieces. Confirm that the frame is square by using a carpenter's square. Place the square in one of the corners, ensuring it aligns perfectly with both sides of the frame.
Drilling pilot holes for your screws will prevent the wood from splitting. Using a drill bit slightly smaller than the diameter of your deck screws, create pilot holes at each corner where the frame will join.
Once you've drilled pilot holes, it's time to connect the bottom piece to the side pieces. You can use woodworking clips or grab a friend to help hold the parts together and then attach each corner using screws and a drill.
Slide the lattice panel into place by gently pushing it into the grooves from top to bottom. Secure the lattice by screwing the top frame piece into the sides pieces via the pilot holes.

The number of hinges needed will depend on the gate's size and weight. For this project, two hinges will work. Ensure you have the appropriate screw sizes for the hinges.
Position the hinges: Place one each at the upper and lower sections of the gate for stability.
Mark drill holes: Use a pencil to mark the locations for the hinge screw holes on both the gate frame and the gate post, ensuring they line up correctly.
Pre-drill holes: Carefully pre-drill pilot holes at the marked locations to prevent wood splitting when you insert the screws.
Attach hinges to gate frame: Secure one side of each hinge to the frame using screws and the pre-drilled holes.
Attach hinges to gate post: Secure the other side of each hinge to the gate post using screws.
Check alignment: Ensure the hinges are level and aligned correctly to allow the gate to swing smoothly.
Test the gate: Close it several times to ensure it operates smoothly and securely.
Decide where to place the latch, usually within easy reach near the gate's middle or top. Install the mechanism on the gate following the manufacturer's instructions—this will vary based on the type of latch you choose—starting by drilling pilot holes. Then, attach the catch on the gate post, ensuring it lines up with the mechanism.
Whether to DIY a lattice gate or hire a professional depends on your budget, DIY skills, and available time. DIYing a lattice gate can save you labor and material costs, especially for simpler designs—a store-bought gate starts at around $150, which is significantly lower than the cost of fence installation. Building a gate yourself also means you can customize it however you like. On the other hand, a local gate installer has the knowledge, experience, and tools to build gates correctly and quickly, ensuring they function properly and look great.
A reliable team for moves across state. My switch to a new place needed careful lifting through tight hallways. The movers checked the doorway first, then carried heavier pieces with slow, controlled movements. Their patience helped prevent damage, and I?d choose them again.
We have used Window Warriors many times with no issues. They arrived on time and were very professional . We have pets and Window Warrior team treated them very well, well trusted team.
We have bought and sold numerous times over the past 50 years. Sherman Hall and Top Line are top notch. Thorough and detailed, he explains every possibility, probability, and eventuality. High class and pleasant. The best.
 Top Line Home Inspections, LLC
Our homes curb appeal skyrocketed thanks to Custom Paint Jobs LLC s exterior painting.
Window Depot did an amazing job on my deck. I wasnt sure what I wanted to do, but their composite decking was affordable and will last a long time. I am excited to have family over, and I am no longer embarrassed by my backyard. Jeff and the ground crew were polite, respectful, and caring for...
Great job...edging and pre clean up went well with a great job with seal coat. Friendly, efficient and professional.
 All Star Paving and Sealing
Did an amazing job transforming my yard. Also installed sod in places, would recommend to everyone.
Manuel Calvillo is the best option in the area for roofing and you won't be disappointed.
We hired Andrew and the team from Midwest Lightscapes for a custom lighting design and installation on a Victorian Village home. The house had outdated low-voltage halogen outdoor lights and many of them were not working. Andrew designed and installed a new system including uplighting on the...
 Midwest Lightscapes
The work was completed in a day and a half. They cut small trees, pulled out an old swing set, pulled out railroad ties and left the place spotless when the job was complete. I am very happy with the fence and their efforts were above and beyond my expectations.
 Elite Fence
From average costs to expert advice, get all the answers you need to get your job done.
Gate installation costs depend on the material your gate is made of, and the type of gate you want to install. Explore all the gate installation cost factors in this guide.
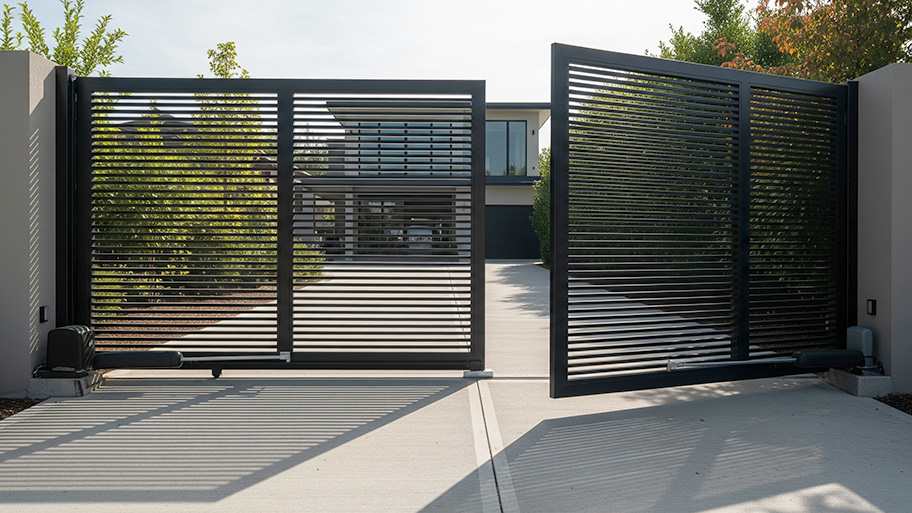
Discover the average automatic gate installation cost, key price factors, and ways to save. Get expert tips for homeowners planning a new automatic gate.
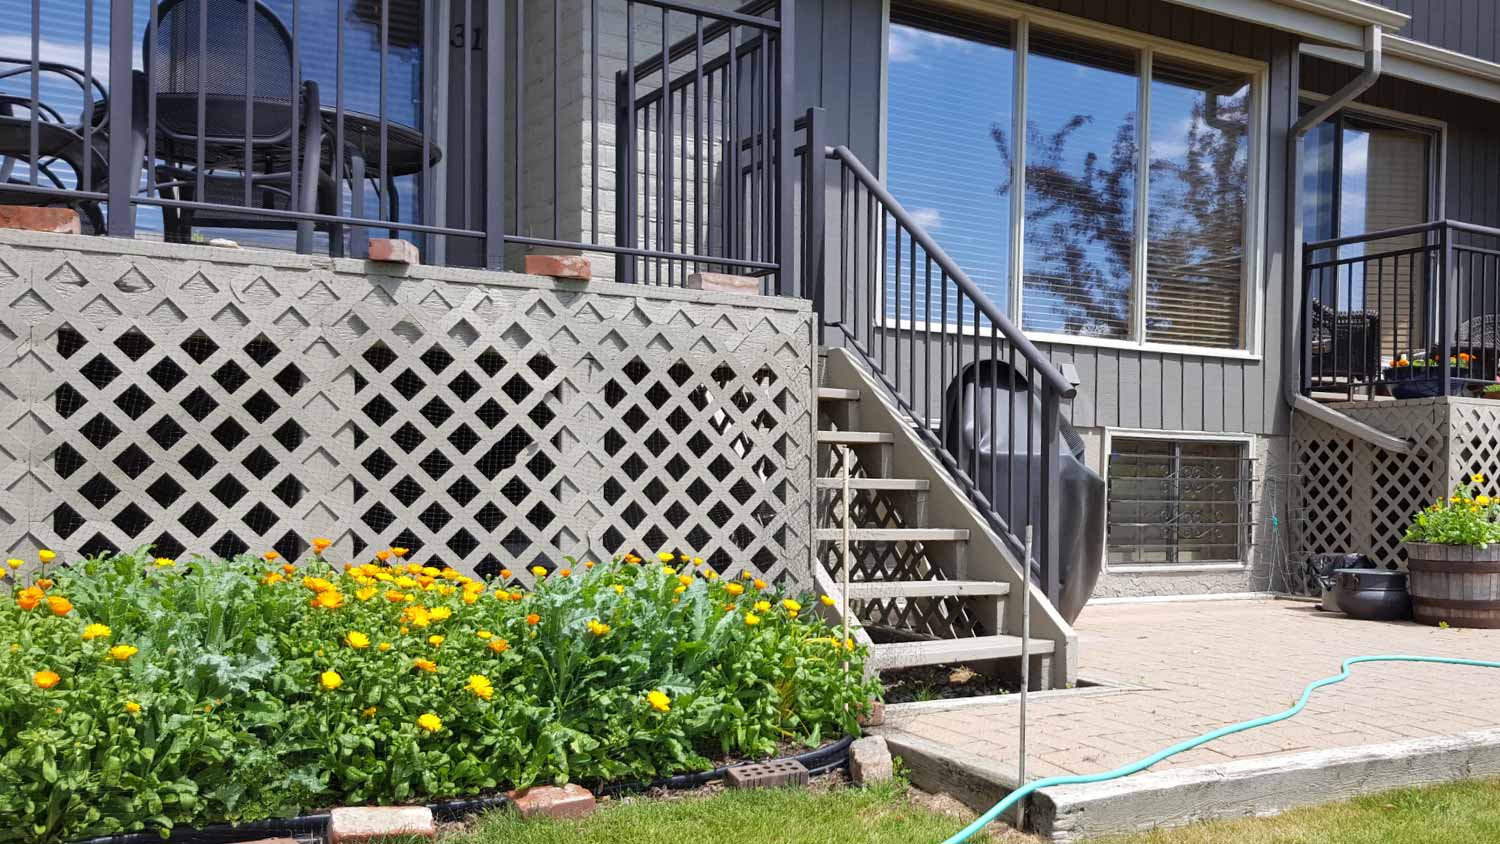
Lattice panels can give your home a polished look and hidden storage. Learn how to install lattice under a deck or porch with this step-by-step guide.
Trex, a composite of wood and plastic, is a popular material for deck fencing. Learn how to build a Trex gate to add a matching opening to such a setup.
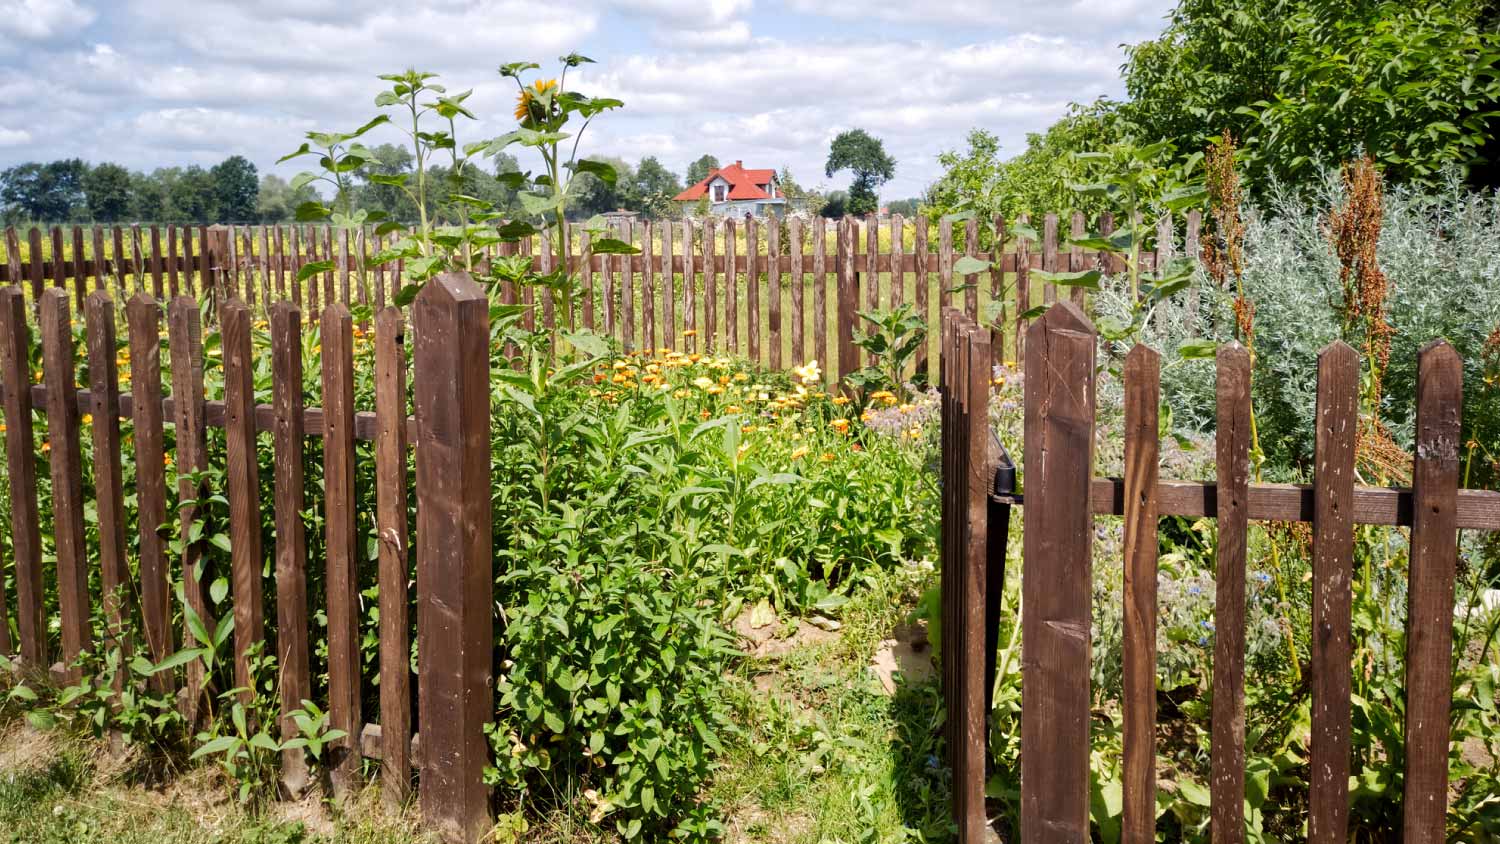
Knowing how to build a garden gate will help you protect your beautiful flowers and crops from hungry wildlife getting in and destroying all your hard work.
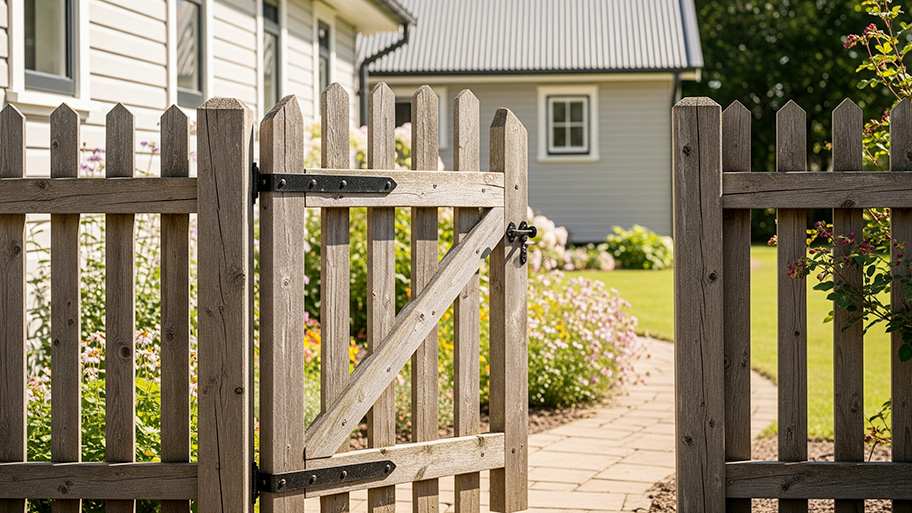
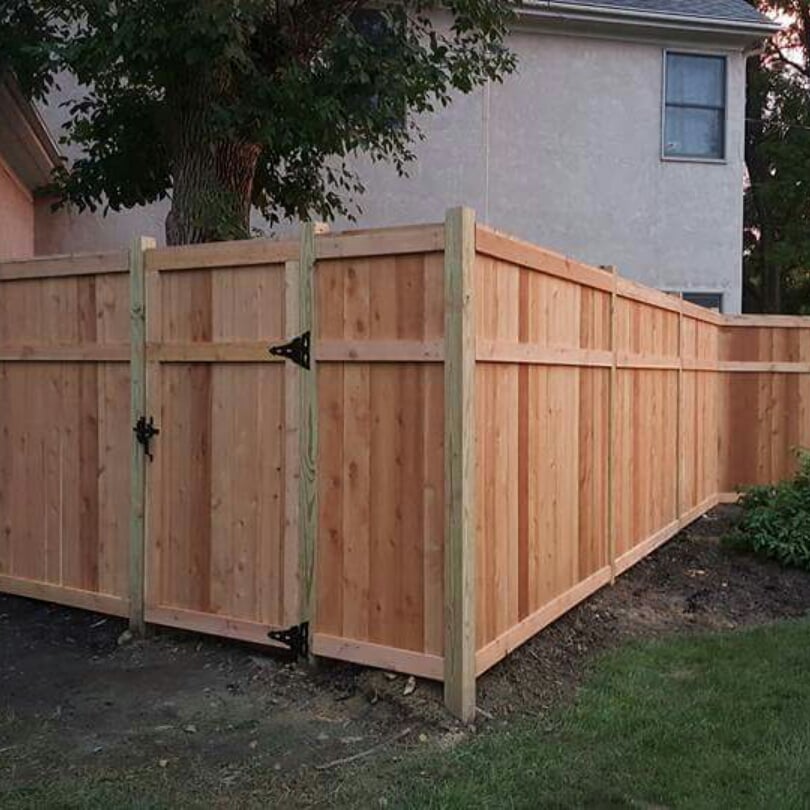
Learn how to build a wooden gate for your fence so you can secure your property while enjoying easy access to the yard.