
The cost to replace the bottom of kitchen cabinets often isn’t too high, but depending on the damage, a full cabinet replacement can cost thousands.
Get your kitchen out of hot water by fixing and protecting it from water damage

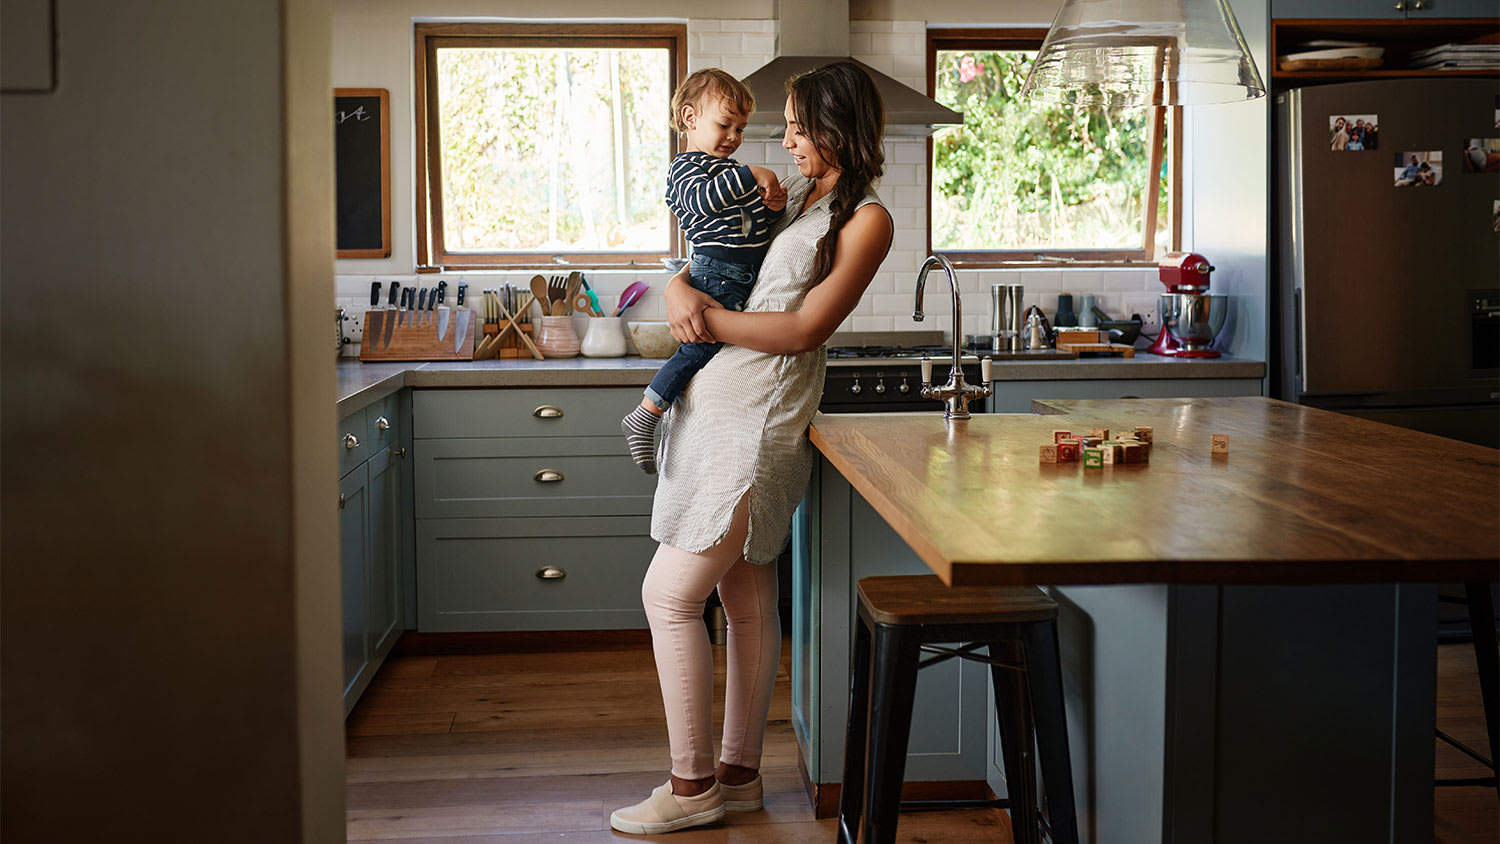
Your kitchen cabinets look fine—as long as you don’t open the doors. Kitchens are susceptible to water damage, not to mention the heat and moisture that are a staple when cooking. The damage manifests into a Pandora’s box of issues on your cabinets that include stains, bubbling, peeling layers, and worse. Fortunately, you can repair the water damage and have your kitchen cabinets looking brand new—or at least very gently used—again. Here’s how.
Before you can fix the water damage on your kitchen cabinets, you need to know the type of damage you’re dealing with. Is it on the surface or structural? Surface-level water damage can appear as stains, either as white spots or milky-colored patches (blushing). Bubbling or peeling wood veneer is another sign you need cabinet repairs. Fortunately, you don’t need to be an expert to tackle this DIY.
If water has had time to sit and seep into your cabinetry, this puts you at a higher chance of having structural damage. Structural damage causes your cabinets to sag, crumble, and rot. Because of the unchecked and undried water, you’ll need to check for mold. At this point, you’re past repairing them and better off using the services of cabinetry professionals to replace them.

Take off the doors. If your kitchen cabinets are still wet, this will help air circulate and get them to dry faster.
Use rags and towels to soak up any standing water. Open all the doors and windows in your kitchen. This helps speed up drying time by increasing air circulation and decreasing humidity. Wet-dry vacuum cleaners, fans, and dehumidifiers are optional but are especially efficient for quick-drying cabinetry.

Depending on their location, your kitchen cabinets can wind up with grime and grease. While you can use an antibacterial cleaning solution to get the job done, you likely have everything you need in your home. Mix equal parts white vinegar and warm water in a spray bottle with liquid dishwashing soap. Spray the mixture on your cabinets and let it sit for a few minutes. Scrub it clean with a sponge.
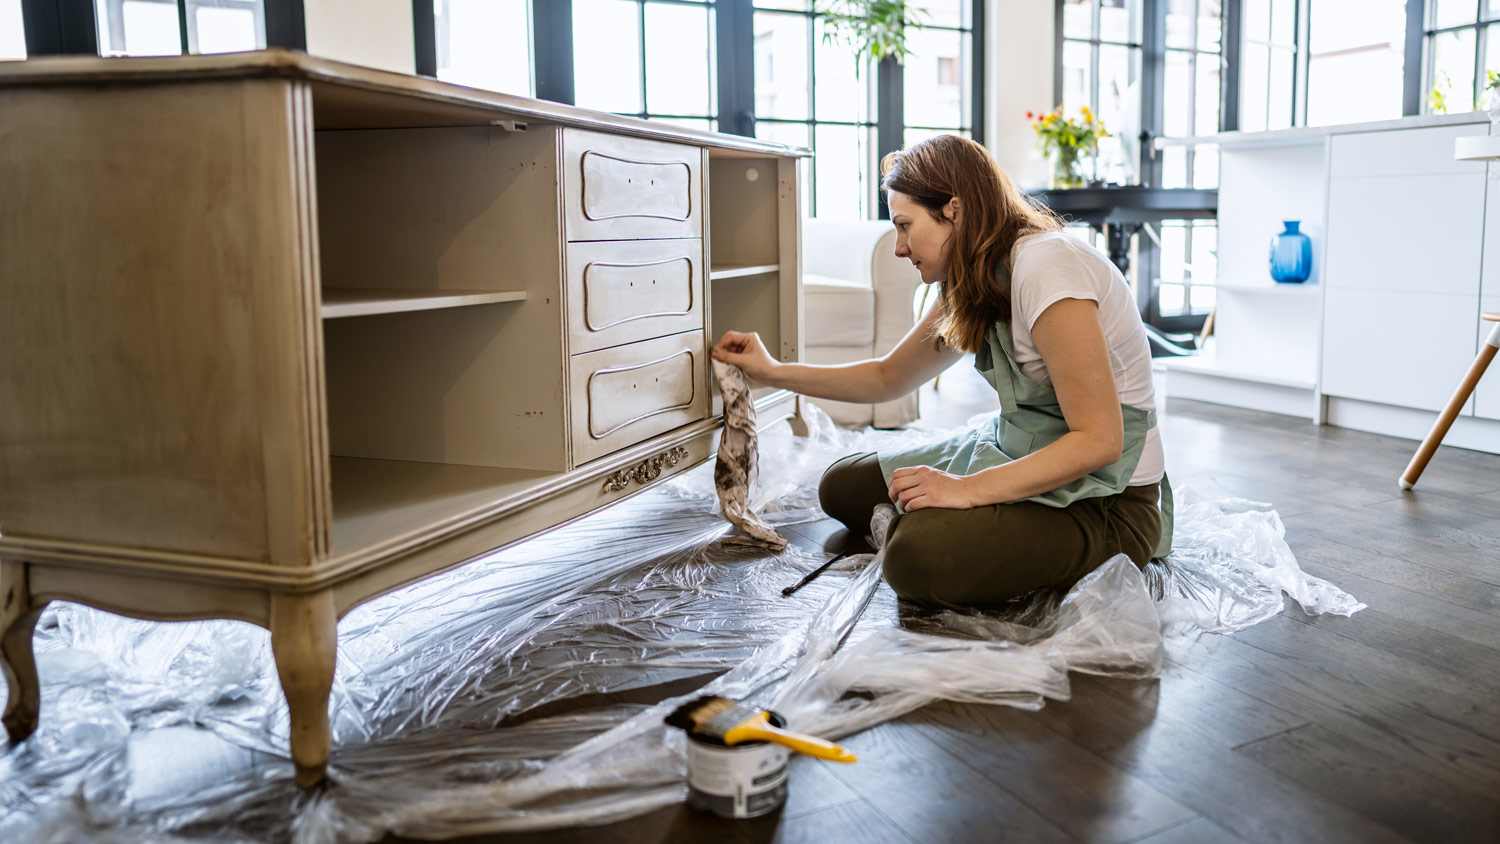
How you repair your water-damaged kitchen cabinets depends on their style. Some homeowners choose to paint over their cabinets, while others enjoy the depth that wooden cabinets add to a kitchen. To fix your cabinets, you may need to remove stains and reglue laminate.
White spots and blushing are two types of stains indicative of water-damaged wood. This type of damage is visible on unpainted wood furniture. In short, you only need this step if your kitchen cabinets are made of wood. Your cabinets may look like wood; however, laminate and thermofoil cabinets, more cost-effective choices for kitchen cabinetry, are made with a plastic vinyl layer that can mimic the look of wood.
To remove white spots: Gently rub a soft cloth—dampened with liquid furniture polish or denatured alcohol—over the white spots until they disappear.
To remove blushing: Apply denatured alcohol (for shellac finishes) or lacquer thinner (for lacquer finishes) to a towel. Quickly pass the towel along the stains in short, gentle strokes until the blushing disappears.
Heat and moisture in your kitchen can cause delamination—the peeling and separating of your cabinet layers. Apply a heavy-duty construction adhesive, like Liquid Nails, under the lifted layers and use cabinet clamps to hold them together. If the layer is too damaged to be reglued, remove and replace it.

Remove the original finish on your kitchen cabinets after painting or staining in preparation for applying a new one. Depending on the stripping agent you use, it can contain powerful and harmful chemicals, so make sure you wear the right protective gear, including safety glasses, gloves, and a mask.
Use a paintbrush to apply a generous coating of chemical stripper to the surface of your cabinets. Let denatured alcohol (for shellac) or lacquer thinner (for lacquer) sit on the surface before scraping the paint or finish off with a plastic putty knife.

After stripping the original finish, some may be left behind. Sand the surfaces with an orbital sander and sandpaper, making sure you’ve removed all traces of the finish. This will create a smooth surface for staining and applying a new finish to your cabinets. Use a vacuum or dry cloth to clean the area of any dust and debris.

Sanding helps create a smooth surface. Unfortunately, no amount of sanding will help you correctly fix your cabinet if its surface is riddled with scratches, dents, and holes. That’s when you need to get your hands on wood filler. Use a putty knife to apply wood filler to your cabinets.
Firmly press the product into every nook and cranny. After letting it harden, smooth out the surface with your orbital sander. Follow up by hand-sanding with a fine 220-grit sandpaper, making sure you move in the direction of the wood grain. Vacuum or use a tack cloth to remove any remaining dust or debris.

You’re done fixing your water-damaged kitchen cabinets. That said, your job isn’t done. Leaving your cabinets bare won’t be visually pleasing, and leaving them unprotected makes them susceptible to future water damage. You need to walk through the final steps to refinish your kitchen cabinets by staining or painting your cabinets before adding a protective seal.
It’s important to catch water damage early so you can repair it. The most common signs of a moisture problem are rotting, buckling, or peeling surfaces, which show up in 31% of cases. Damp or wet areas are also common indicators at 26.5%, as are stains or discoloration.
Repairing water-damaged cabinets is no easy feat. However, if you become familiar with these common pitfalls, you can increase your chances of a successful project the first time around.
Ignoring the Source of the Problem: If you repair water-damaged cabinets without actually knowing what water damage looks like and resolving it, you’ll continue to face this issue. That’s why it’s essential to identify and fix the cause of your cabinet damage. You can always call a pro for guidance.
Using the Incorrect Materials: The materials you choose for a water damage repair project matter. It’s up to you to determine which water-resistant materials are right for your situation. Ask a reputable contractor if you’re unsure.
Rushing the Drying Process: In a perfect world, your cabinets would dry immediately and be ready to use in no time at all. Unfortunately, you’ll need to be patient and wait for them to dry or you might see further damage.
Forgoing Humidifiers: Humidifiers are your best friends while attempting to repair water-damaged cabinets. Failure to use them can result in mold, mildew, and other issues.
Doing It Yourself: In some cases, a professional repair is necessary. If the water damage is severe, for example, hiring a water damage restoration pro may make sense. They can provide you with water damage restoration tips and help you reduce the risk of this problem recurring.
Ignoring Mold: If you notice mold on your cabinets or around them before you begin your project, be sure to remove it. Understand how fast mold can grow after water damage and apply an antibacterial cleaning solution to prevent the substance from growing.
Fixing water damage on your kitchen cabinets is a long, gradual project, especially when you account for all the drying time. Fortunately, with patience, you can get the job done yourself with your budget going toward the cost of materials. If your kitchen cabinets have extensive damage that requires more experience and TLC, the job may be better suited for a water damage restoration professional. Beyond working on your cabinets, they can tackle larger and more time-consuming projects, like fixing water-damaged wood floors. The cost to repair water damage depends on the extent of the damage, but you can expect your water damage repair costs to be between $3.75 and $7 per square foot.
Positive experience. As previously stated, the replacement/repair could not be completed (no fault of the plumbing tech) b/c misinformation was rec?d by property management maintenance. Thanks to the plumbing tech for your efforts. Appreciate you!
 The Waterworks
Carpet repair done well. Scheduling was easy. Showed up on time.
As usual with ECO, tech Jordan was outstanding, very professional, very knowledgeable, and very thorough with repairs made to tankless water heaters. Very highly recommend ECO!!!
 Eco Plumbers, Electricians, and HVAC Technicians
I would recommend this company to anyone! He showed up on time, was friendly, completed a very difficult repair on our dryer vent cover, was responsive, and pricing was extremely fair and competitive. I would have him back to do any of our repairs or cleanings without hesitation!
Everything from initial contact to completion was absolutely top notch. We contacted the business during off hours to leave a message, and the owner still reached out to feel out the issue within minutes. We were scheduled and repaired within 48 hours. I cannot say enough about the...
 Supreme brick & chimney
Ace Fireplace Services came to the rescue for my chimney repair. They were quick to pinpoint the issue and worked their magic to fix it. My chimney is now in excellent shape, and I'm a satisfied customer.
 Ace Fireplace Services
On Sunday 2/26 I requested quotes via Angi from 4 refrigerator repair businesses. Northwest Appliance responded to me Monday morning (2/27) and my refrigerator was repaired by noon the same day. Great communication, they did everything they said they would. The technician had the parts on...
When we had the winter freeze, I called Quantum Waterworks Waterline & Drain Cleaning Services and within 1 hour I received an e-mail and he sent someone out the next day and he was on time, he was nice and did the job quickly and cleaned up after himself. We had a leak in our kitchen from...
On time, clean and finished fast. Windows seem sturdy and the finish is good. Caulking was done with no smudges. Would recommend.
Did a great job replacing the ice maker and water regulator on my refrigerator. He was quick and thorough, very friendly and professional. If I needed a heart transplant I'd want him to do it!!!
From average costs to expert advice, get all the answers you need to get your job done.
The cost to replace the bottom of kitchen cabinets often isn’t too high, but depending on the damage, a full cabinet replacement can cost thousands.
Get a clear estimate of cabinet repair costs. Learn what impacts pricing, compare repair types, and find ways to save on your next cabinet repair.
Discover the cost of resurfacing kitchen cabinets, including average prices, key cost factors, and tips to help you budget and save on your next kitchen update.

The secret to keeping the kitchen feeling fresh for years to come is regular cleaning and maintenance. Here’s how to maintain that new kitchen look.
Follow this simple guide to fix water-damaged wood furniture. You don’t always have to buy new ones.
Major leaks can cause irreparable bathroom vanity damage, but some water damage can be rectifiable. Whether it's peeling paint or veneer, warped or sagging panels, learn some techniques for repairing a water-damaged bathroom vanity.