
When refinishing your cabinets, you’ll need to consider the condition of your cabinets, budget, color, and stain preference. Find the cost to refinish cabinets in this guide.
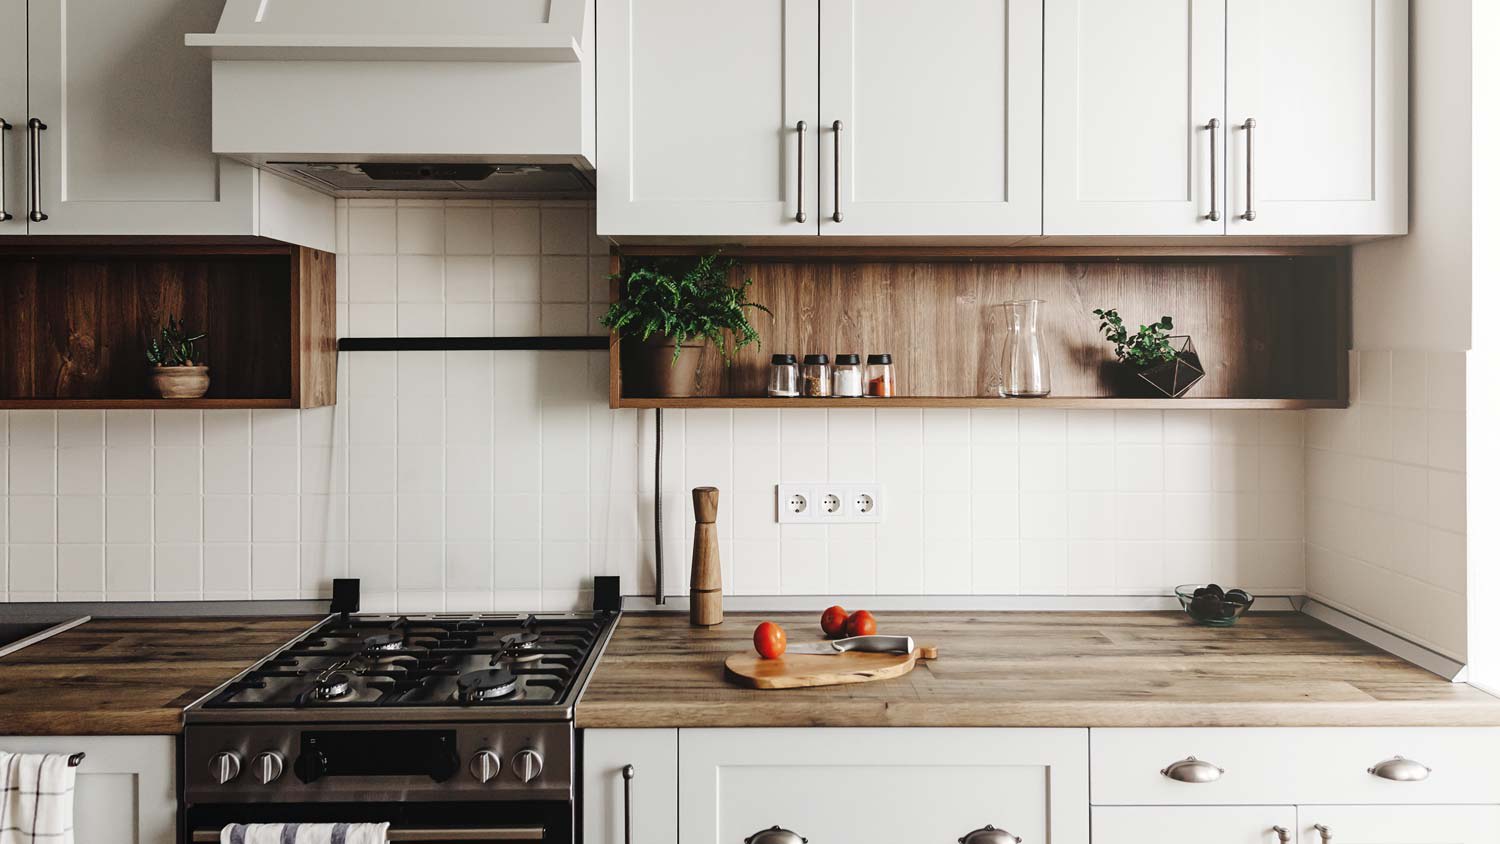
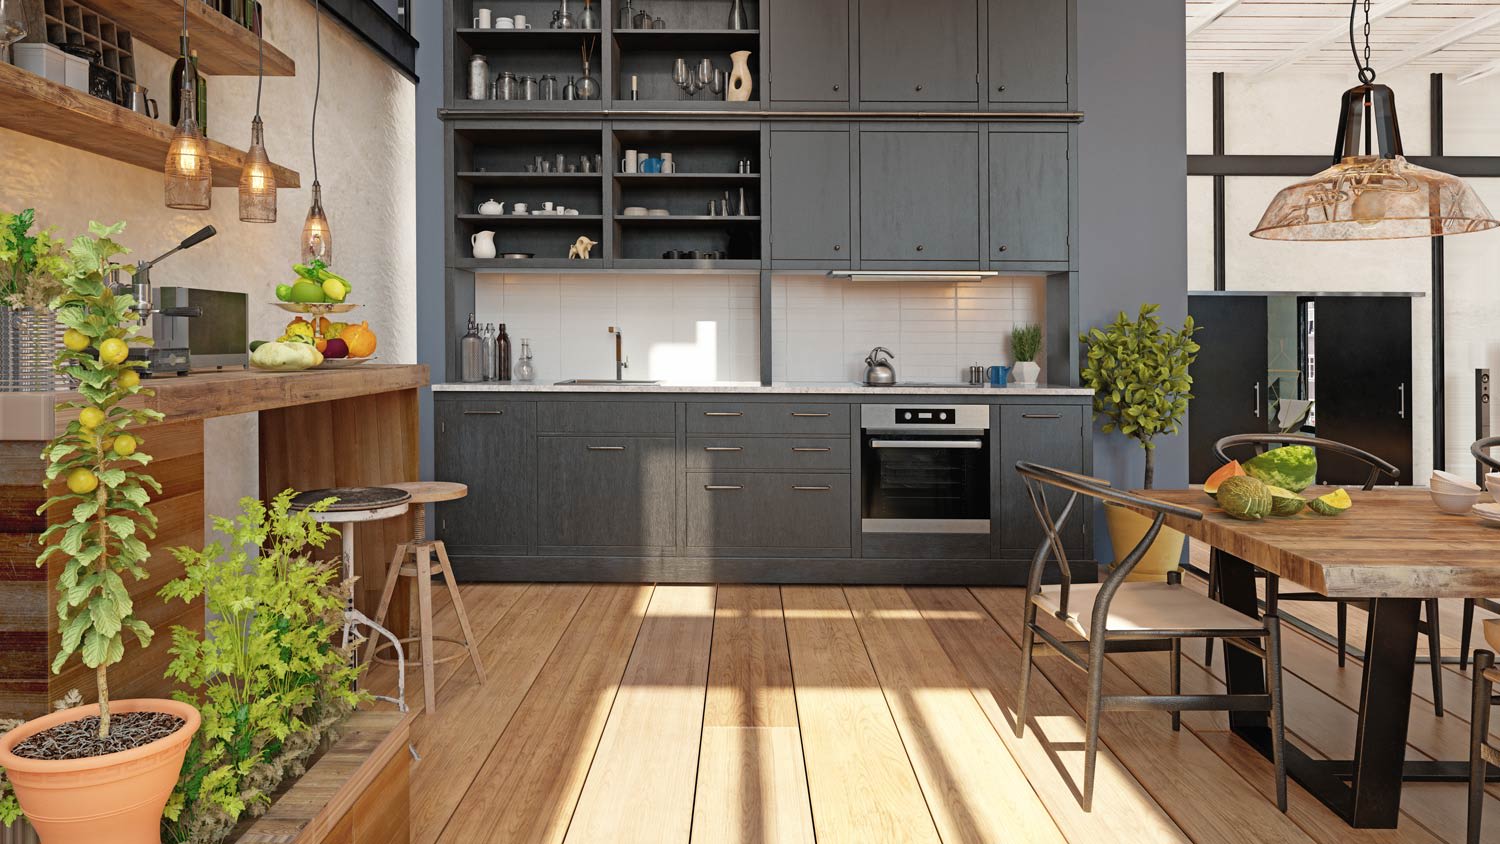
Give your kitchen a whole new vibe


Refinishing kitchen cabinets updates your home affordably, especially if you choose painting over staining, and can boost resale value by around 72%.
Expect to pay $1,800 to $5,000 for professional cabinet refinishing, with average costs around $3,000 depending on your project size and finish choice.
You can paint your cabinets for a fresh look by cleaning, sanding, priming, and applying multiple coats for long-lasting results.
Hiring a local cabinet refinishing professional provides reliable help with staining, chemical stripping, and finishing work while keeping you safe from toxic fumes.
Are you searching for a way to give your kitchen a fresh look that's affordable and that you can tackle yourself? Learning how to refinish cabinets is a great way to makeover your kitchen without breaking the bank.
Whether you want a minimalist look or a more moody and dramatic theme, you can renew your cabinets with the right method. Learn how to refinish cabinets yourself and tips for making your project successful.
Quick refresher: Refacing cabinets involves removing, replacing, and reattaching the doors. On the other hand, cabinet refinishing requires sanding down the existing doors and revitalizing them with new paint, stain, or lacquer.

Refinishing your kitchen cabinets is an excellent way to update your home on a budget. If you are an advanced DIYer, you can also save money on labor costs. Plus, you can transform the look of your cabinetry, and your kitchen by extension, with this low-lift project.
Minor kitchen remodels, such as refinishing your cabinets, can also increase the resale value of your home. In fact, the ROI for major and minor kitchen upgrades is about 72%. So, not only will your kitchen look beautiful, but it can also boost your home's value.
The cost of refinishing cabinets varies depending on the project size and if you paint or stain them. Typically, it costs $3,000 on average to refinish your cabinets, but can range between $1,800 to $5,000. However, it's less costly than refacing or replacing your cabinets.

Before we dive into how to refinish cabinets, there are a couple of things you need to do to prepare. Preparing for this task will make the process easier.
The first thing you need to do is purchase and gather the necessary tools and materials. What you will need depends on the method you choose for refinishing your cabinets. Here is a list of common items you will need to complete the project:
Respirator
Rubber gloves
Safety glasses
Drop cloths
Plastic sheeting
Box fans
TSP Cleaner
Tack cloths
Rags
Screwdriver
Orbital sander, sanding block, and various grits of sandpaper
Wood filler and a putty knife (if you need to make repairs first)
Painters tape
Paint brushes, roller, and tray
Stain or paint
Varnish
Once you gather your supplies, use plastic sheeting and drop clothes to protect the walls and floor. Don't forget to tape off areas around your cabinets so you don't get paint or stain on counters, walls, or the floor.
Always use personal protective gear, proper ventilation, and safety precautions when refinishing your cabinets. Stains, lacquers, and paints contain volatile organic compounds that emit strong odors and can cause health risks such as difficulty breathing, irritation to the eyes, nose, and throat, and even damage the central nervous system.
You should ensure the space you are working in is properly ventilated, and you should wear a respirator, safety goggles, and gloves to protect yourself from fumes and debris. If you have any health concerns, then you should hire a cabinet refinishing professional to do the job for you.

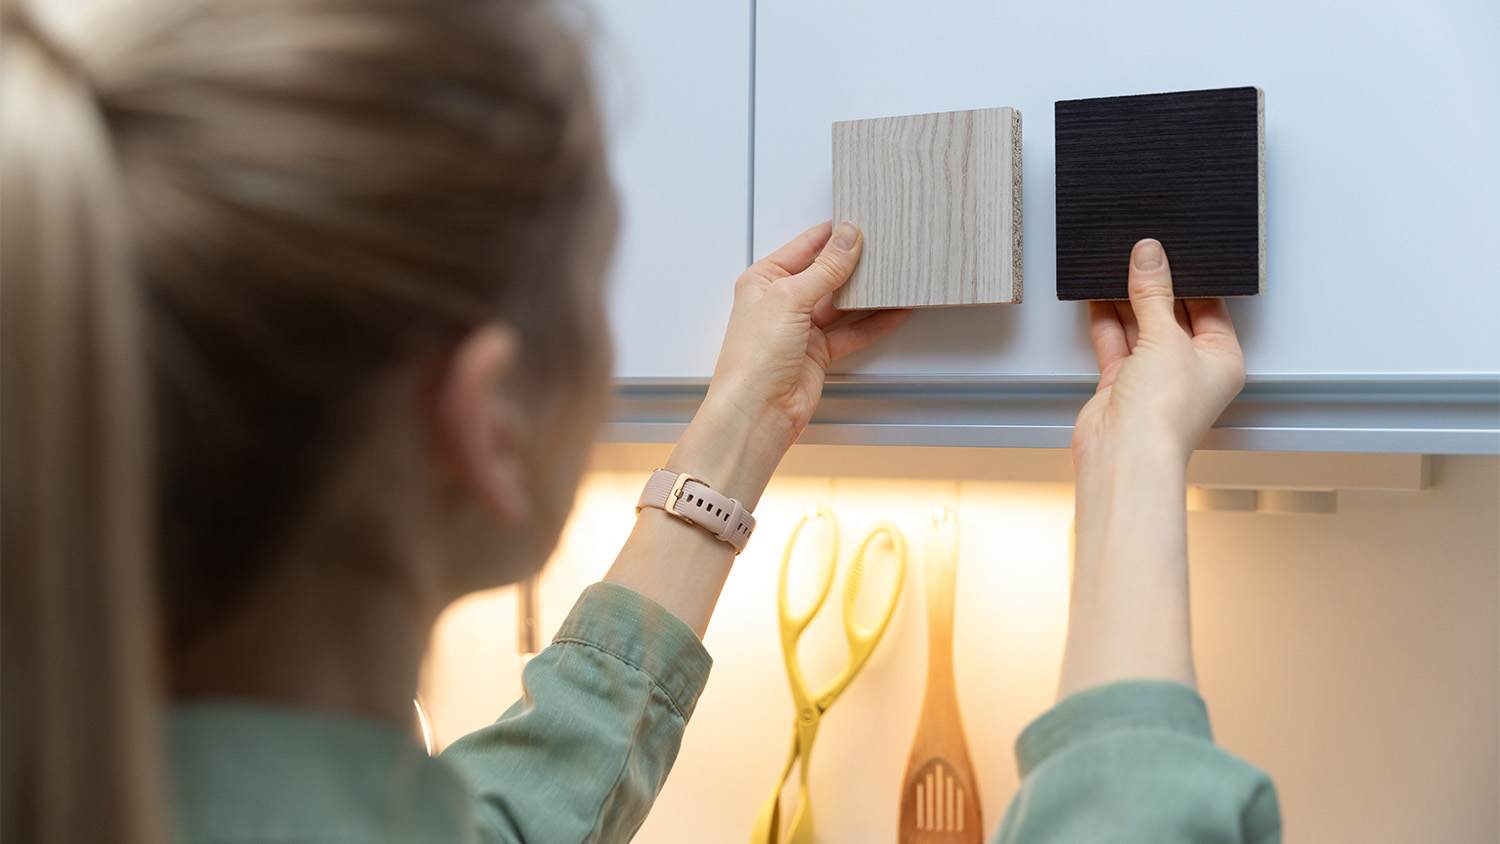
The refinishing method you choose will depend on the style you want. For instance, if you want a minimalist look, you may opt for painting your cabinets a neutral color. If you prefer a more traditional look, then you will want to consider staining them with a darker finish. Here are the top methods to try to renew your kitchen cabinets.
The great thing about painting your cabinets is you have a wide selection of colors. It's a cost-effective way to refinish your cabinets that may be easier than staining them. However, it still takes patience and can be time-consuming.
Follow these steps to paint your cabinets:
Use a screwdriver to remove the cabinet doors and hardware. Make sure to label the doors and hinges so you can put them back together.
Clean cabinet doors, drawers, and cabinet boxes, with a degreaser solution or TSP cleaner to rid dirt and grime.
Repair minor imperfections with a wood filler, then use a putty knife to smooth the filler out, and then allow it to dry.
Sand cabinets, drawer faces, and doors with 220-grit sandpaper to scuff up the surface. Wipe clean with a tack cloth to remove debris.
Apply paint primer to any surface you will be painting. Wait until it fully dries, then lightly sand and wipe with a tack cloth.
Use a foam roller and brushes to apply the paint to cabinet boxes, doors, frames, and drawer fronts. Allow the first coat to completely dry before applying the second coat. You may have to apply several coats to reach your desired result.
After your cabinets dry, install the cabinet doors, drawers, and hardware back to their places.
Making your cabinets lighter is challenging, though it’s possible. You need to ensure your cabinets are made of hardwood because if they aren't, then you should not proceed with this method. Note that this process involves stripping the old finish from your cabinets, and you can ruin them if you do not apply it correctly.
You may want to consider hiring a pro to tackle this task. But if you have experience, then you can refinish your cabinets to make them lighter with the following steps:
Remove cabinet doors and hardware. Remember to label them to make putting them back easier.
Use a chemical stripper to remove the existing finish. Make sure to read and follow the manufacturer's instructions for the product. You will need to use a scraper when it's ready to help remove the finish. Remember that using chemical strippers on cabinets can pose risks of damaging them and is hazardous to breathe.
After waiting the allotted time required by the manufacturer, you can proceed to make minor repairs with wood filler. Smooth wood filler out with a putty knife and allow it to dry.
Use an orbital sander to remove the rest of the finish. You will need to sand them down to the natural wood. For your first pass, you may have to use a coarser grit sandpaper, such as 100 to 150 grit, then change to a finer grit to finish. Remove the debris and clean with a tack cloth.
You can apply a pre-stain wood conditioner to help the stain apply more evenly. Follow the manufacturer's directions and apply the wood conditioner with a brush following the direction of the wood grain. Wipe off excess with a dry clean cloth.
Use a high-quality brush or a soft rag to apply the stain. Always apply in the direction of the wood grain for a smooth and even application. After the stain dries, use extra fine steel wool or sandpaper to lightly buff the surface, then clean with a tack cloth.
Once the stain is fully dry, you can protect your cabinets by applying a clear polyurethane varnish. Before applying, wipe with a tack cloth to ensure there is no dust on the surface, and refer to the instructions to get the best results.
Wait until your cabinets are completely dry then assemble them back together.
Staining your cabinets a darker color is much easier than making them lighter. Plus, your kitchen will have a rich luxurious look if you opt for something like a red mahogany or dark walnut stain. If you choose a color that is similar to or darker than your current stain it will make the process simpler. Follow these steps to refinish your cabinets:
Remove cabinet drawers, doors, and hardware and clean with a degreasing solution or TSP cleaner.
Lightly sand surfaces before staining. Use an orbital sander or sanding block to rough up the surface and then clean with a tack cloth.
Similar to staining cabinets lighter, you can use a pre-stain wood conditioner to make the stain apply more evenly. Apply in the direction of the wood grain and wipe off the excess after the allotted time per instructions.
Follow the manufacturer's directions to ensure a smooth application for the stain product you choose. Use a high-quality paintbrush to apply the stain, moving in the direction of the wood grain. Wait the recommended time before applying additional coats of stain. Typically, it will be between four to six hours per application.
Apply one coat of sealer, such as clear polyurethane varnish (mixing in a few drops of mineral spirits, if necessary, to keep it flowing). Let it dry, then sand it with a fine-grit sponge. Vacuum up any debris, and apply a second coat. Let it dry, then sand and vacuum.
Once your stain is dry, reassemble your cabinets and enjoy your new updated kitchen.
Now you know how to refinish cabinets, but you should use these additional tips to ensure your project results are pristine.
Choose a method that matches your skill level: It's great to have a can-do attitude when tackling home renovation projects. However, it's best to pick a method you are experienced with or isn't as risky as others. For instance, if you want lighter cabinets but don't feel comfortable trying this task, it's best to hire a cabinet refinishing professional near you to handle this project.
Spot test before you start: Save yourself time, money, and the risk of damaging your cabinets by testing a spot in an inconspicuous space first. For example, you can test stripping and staining in a spot on the back of the cabinet door that isn't visible.
Use high-quality paint brushes: Cheaper brushes can have loose or limp bristles that will prevent a smooth application. Paint brushes that are too stiff can also cause streaks in the paint or stain.
Remove cabinet doors and hardware: You may be tempted to paint or stain your cabinets with the doors and hardware attached, but this can cause problems with the process. It can make even applications more difficult, and removing them can prevent paint and stain drips.
Always follow the manufacturer's directions: The process for refinishing your cabinets may vary depending on the manufacturer's directions for the products you use. So, make sure you read the instructions before starting.
Deciding if this is a project you should do yourself depends on your skill level. If you are experienced, then you can save money on labor by doing the cabinet refinishing work yourself. However, refinishing cabinets is a tedious task and is not a good option if you have any respiratory health conditions because of the toxic fumes.
Hiring a cabinet refinishing pro will cost between $35 and $75 per hour, but you can skip the hassle of a DIY project and have the job done right by a pro. That way, you can ensure a high-quality and long-lasting refinishing job that will last for years to come.
This company does it right. Firstly, I want to say that Landan was a joy to work with. He was so kind, transparent, and had everything under control. His entire team showed up ready to work and they were all very respectful of the fact that we were in an office space. A little backstory – we...
Terrible experience. Walls/trim/floors/cabinets/doors all have drip marks, overspray, etc. Tiling at the fireplace had to be redone by another vendor due to incorrect and shoddy install by Profect. Contractor had his children in our house while he was on site without prior authorization or...
 Profect painting & exteriors
Jason has helped me with multiple household projects, with the most recent being new door installation. He has always showed up on time and organized and has done an incredible job! Jason is very professional and he's now my go-to for anything around my house that needs to be fixed or...
Cole has been handling plumbing and general contracting for our four properties over the past three years, and he’s always done a great job. Most recently, he installed a sink and countertop in our retail store where none existed before, and it turned out exactly how we needed. He’s...
 ANB Renovations LLC
1st Choice Renew is simply the best! We hired them for a complete home renovation, and they transformed our space into something truly amazing. The team attention to detail and commitment to quality were evident throughout the project. They were easy to work with, very responsive, and always...
I am highly satisfied with the window replacement service I received; the professionals from Savvy Exteriors were punctual and did an amazing job that exceeded my expectations.
This company is my go to resource for all my post renovation clean ups. They get the place spotless! All we have to do after is stage the place and sell, sell, sell! They are super professional and have some amazing scent that is left in every property. I highly recommend!
My kitchen cabinets look brand new thanks to Custom Paint Jobs LLC. Their refinishing is exceptional.
On time, clean and finished fast. Windows seem sturdy and the finish is good. Caulking was done with no smudges. Would recommend.
Great job...edging and pre clean up went well with a great job with seal coat. Friendly, efficient and professional.
 All Star Paving and Sealing
From average costs to expert advice, get all the answers you need to get your job done.
When refinishing your cabinets, you’ll need to consider the condition of your cabinets, budget, color, and stain preference. Find the cost to refinish cabinets in this guide.
Discover the cost of resurfacing kitchen cabinets, including average prices, key cost factors, and tips to help you budget and save on your next kitchen update.
Discover the cost of glazing cabinets, including average prices, key cost factors, and tips to save on your cabinet glazing project.

The secret to keeping the kitchen feeling fresh for years to come is regular cleaning and maintenance. Here’s how to maintain that new kitchen look.
Wondering who to hire for cabinet refinishing? Learn what cabinet refinishers do, how they work, and how to choose the right pro for your home.
If your cabinets need an upgrade, consider whether you should reface or refinish them based on the type you have in your home using our helpful guide.