Whether you’re installing a new door or replacing an existing one, the cost of door installation varies based on location, door type, framing needs, and other factors.
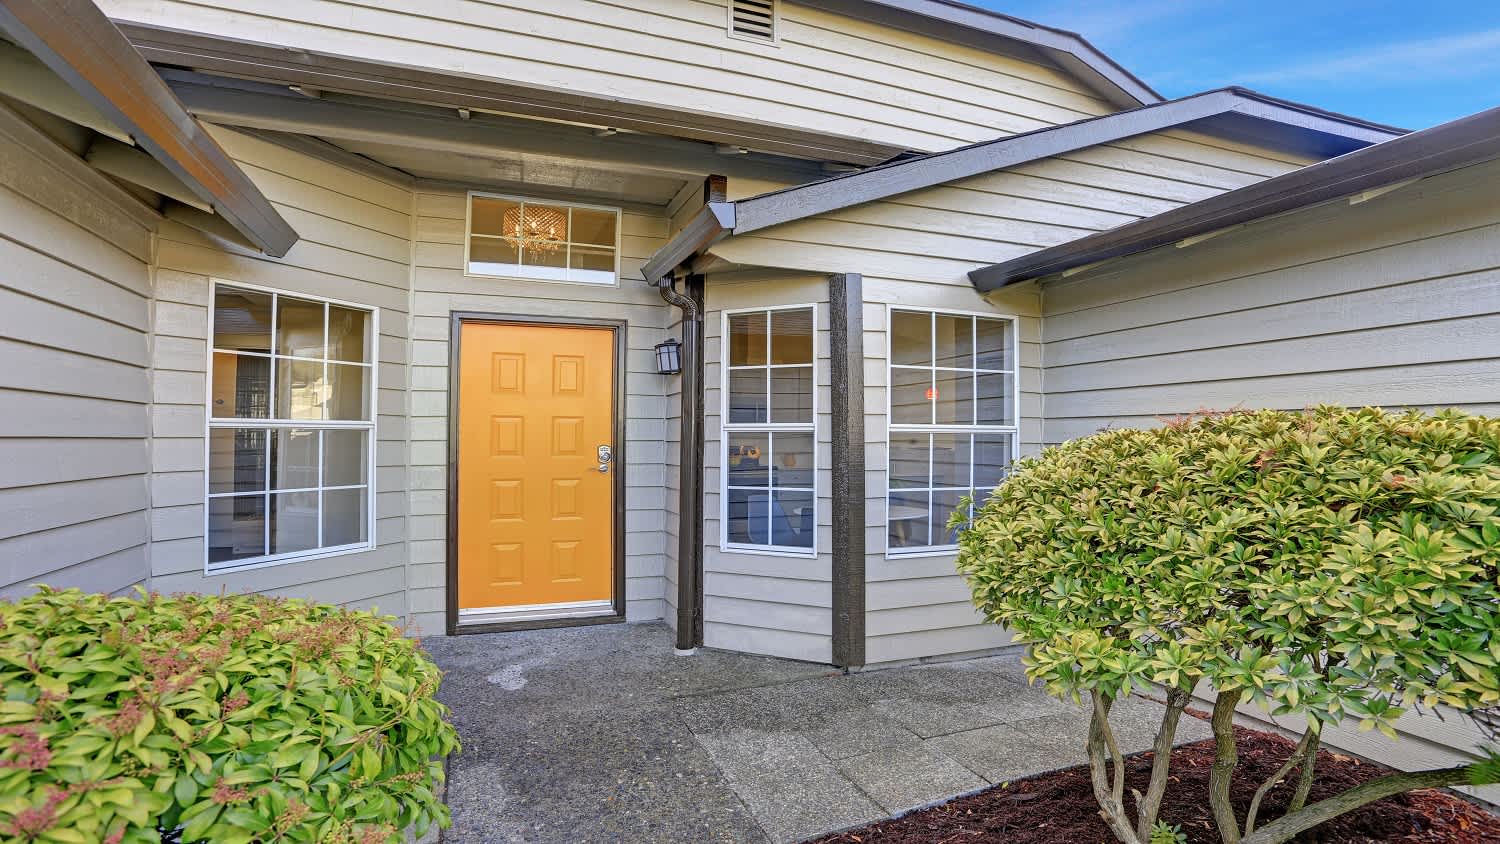
Custom door jambs are a great way to hang uncommon door sizes

It’s easy to buy a pre-hung door and stick it in the wall, but where’s the fun in that? If you know how to build a door jamb, you can take a little more pride in your home improvement project and hang custom doors, which can provide a little extra character in your living space. In this guide, we’ll discuss how to make a door jamb from scratch so you’ll be prepared to hang any door your heart desires.

Before you get started, it’s worth mentioning that this guide makes use of precut door jamb boards, which makes the most sense because, when you frame a door, you use 2-by-4-inch framing plus 1/2-inch drywall. As such, interior framed walls are all a standard width—4 9/16 inches—and the width of your jamb boards needs to match the width of your walls.
If you’re working with a different wall size, as might be the case in a home built prior to 1950, before national building codes were officially established, you might need to cut your own jamb boards. If that’s the case, you can use 1-inch-thick boards like a 1-by-8-inch common pine board and rip it to the proper width with a table saw to make your door parts.

Your first order of business will be to check how level your floor is so you can get accurate side jamb measurements.
Lay your level on the floor spanning the wall opening. If your floor is perfectly level, you can move on to take jamb board measurements for your door. In most cases, it won’t be level, so you’ll need to see how far off it is.
Raise the side of the level that’s lower than the other until you get a level reading.
Hold the level in place while you use your tape measure to measure from the floor up to the bottom of the level.
Record your measurement, and make sure you write down whether the hinge side or the lock side needs to be longer. You’ll need this later when installing the hinges.
Next, you’ll need to figure out how long your side jambs and head jamb need to be. Measure your side jambs first.
Measure the height of your doorframe on each side. Write down these measurements and label them “hinge jamb” and “lock jamb.” The hinge jamb is the side where you intend to mount your hinges.
Subtract the thickness of your head jamb material from this number. If you’re using a 1-by-6-inch board or another 1-inch board, the thickness will be 3/4 of an inch.
Next, measure how long your head jamb needs to be. Simply measure your rough opening, as the head jamb will span the entire opening.
Now, you can cut all three of your jambs to the proper length using your miter saw. Remember to wear safety glasses and a dust mask when using power tools.
Now that your boards are cut to the proper length, you need to mark where your hinges will sit on both the door and the hinge jamb.
If you’re working with a door that already has hinges installed, lay it on a work surface and butt the hinge jamb up next to it.
Align the bottom of the jamb with the bottom of the door, pull it down so it extends about 3/8 of an inch beyond the door, and clamp it in place. This gap provides space under the door so it can open freely without hitting the door threshold.
Check that there’s at least a small gap at the top of the jamb as well. Ideally, the jamb should extend between 1/16 of an inch and 1/8 of an inch above the door.
Now, you’ll use that initial measurement you took using your level to adjust the hinge location on the jamb. If the floor on the hinge side sat lower, add that measurement to the bottom of the jamb so that it extends that much further below the door. If it was lower, subtract the measurement. Unclamp and adjust the jamb if necessary. This step will ensure your door sits perfectly level, even if your floor doesn’t.
Mark around where your hinges sit on the jamb using a pencil or utility knife. In the next step, you’ll cut depressions inside this line so your hinge sits flush with the jamb.
If you’re installing a door that doesn’t have hinges on it already, you can simply mark out spaces for the hinges on both the jamb and the door. You can use standard placements, which are 5 inches from the top of the door, 10 inches from the bottom of the door, and then a middle hinge installed in the middle of those two.
Now, you’ll create depressions on the jamb and the door, if applicable, so that your hinges sit flush with both surfaces.
Use your combination square to measure the width of one hinge plate.
Adjust your router bit so that it sits at that measured depth.
Carefully route out the majority of the material within the lines you marked on the jamb and door (if applicable). Stay around 1/8 of an inch from the edges.
Now, use your chisels to finish the depressions. Gently tap the chisel along the line and then perpendicular to that cut to hog out the rest of the material.

Now that your depressions are cut, you can attach your hinges.
Use a screwdriver to screw the hinges into the door first.
Next, screw the other half of the hinges into the jamb, making sure that the hinge sits properly in the depressions you cut.
Connect the door and the jamb by installing the hinge pin.
Use your 2-inch finish nails and a hammer to mount your head jamb, making sure that the edges of the jamb align perfectly with the wall openings on either side of the doorway.
Your head jamb should span the entire width of the door opening. Your side jambs will reach down to the floor and butt up against the head jamb. Since you’re using nails to attach the jambs rather than screws, this arrangement allows the side jambs to add support to the head jamb from underneath to prevent sagging over time.
Now, you can install both the hinge jamb and the lock jamb.
Place your lock jamb on the appropriate side of the opening and check to make sure you have a tight fit.
Once you align the edges of the board with the wall opening, use your 2-inch finish nails to secure it in place.
Now, take your door and the hinge jamb that’s connected to it and do the same on the other side. Double-check that you have the appropriate gaps around the top and bottom of the door for easy opening and closing.
Nail the hinge jamb into place using your 2-inch finish nails.
Finally, you can measure, cut, and install your doorstop boards, which are small pieces of trim that prevent your door from opening the wrong way and damaging the hinges.
It’s a good idea to cut an opening for your door latch or lock before you install your doorstop boards, based on the type of door lock you’re using. This will help you line everything up perfectly so the door closes smoothly.
Use your tape measure to measure all three sides of the door jamb and record the measurements.
Use your miter saw to cut the doorstop boards to length. You can create butt joints for ease of installation, or you can cut 45-degree angles for a more decorative look.
Use 1-inch finish nails to nail your doorstop boards into place.
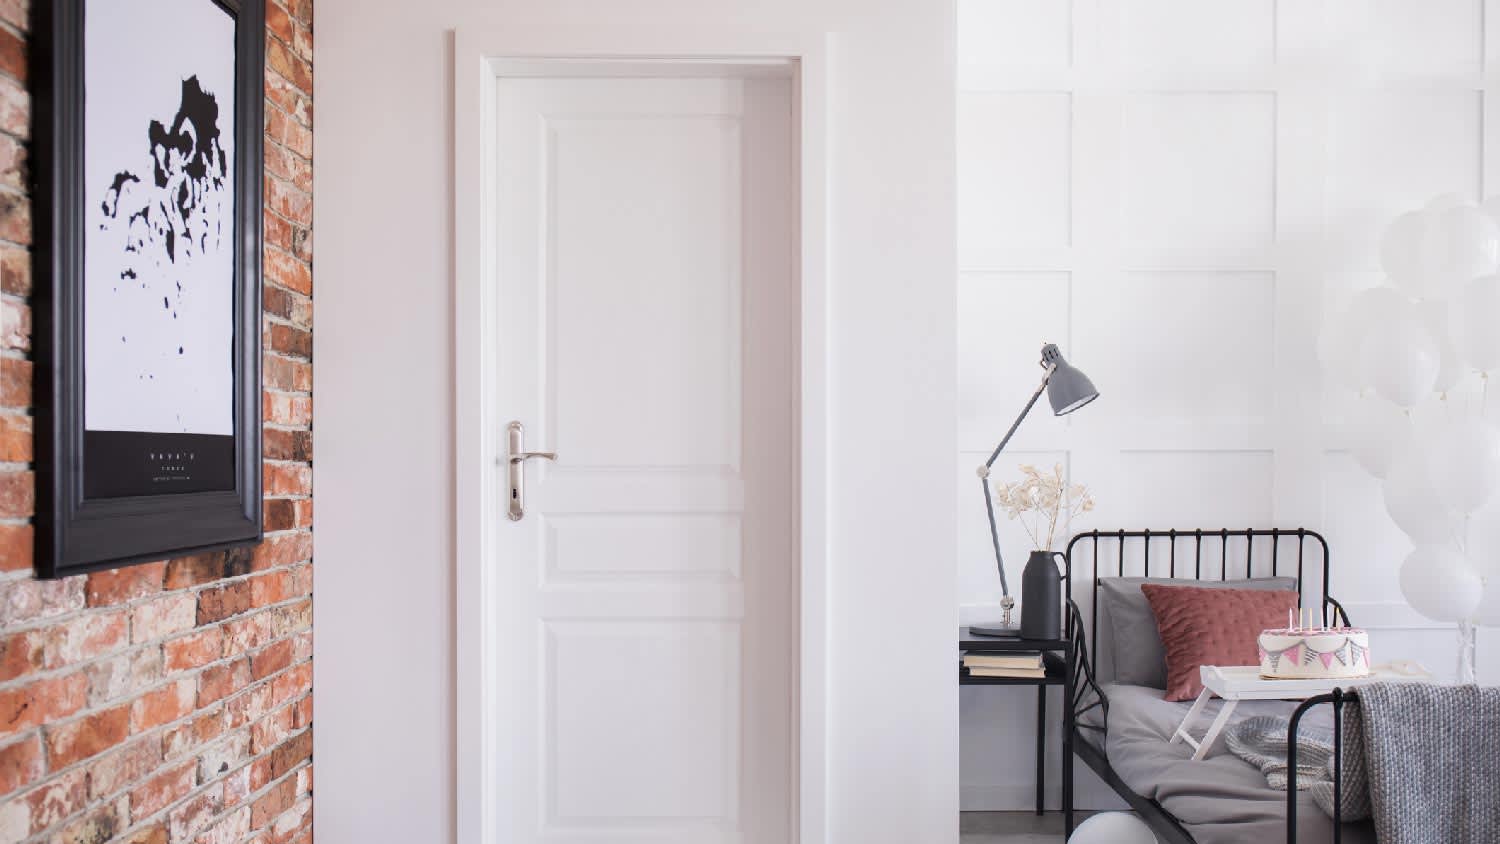
One of the most common misconceptions is that a doorframe and a door jamb are the same. However, this statement couldn’t be further from the truth. The frame and the jamb are different parts that serve separate purposes.
A doorframe is a fixed structure that encompasses and creates the overall shape of your doorway. Its major components are internal, sitting inside your walls, floor, and, in some cases, your ceiling. It includes vital parts such as support studs and sole plates that maintain the structural integrity of your walls.
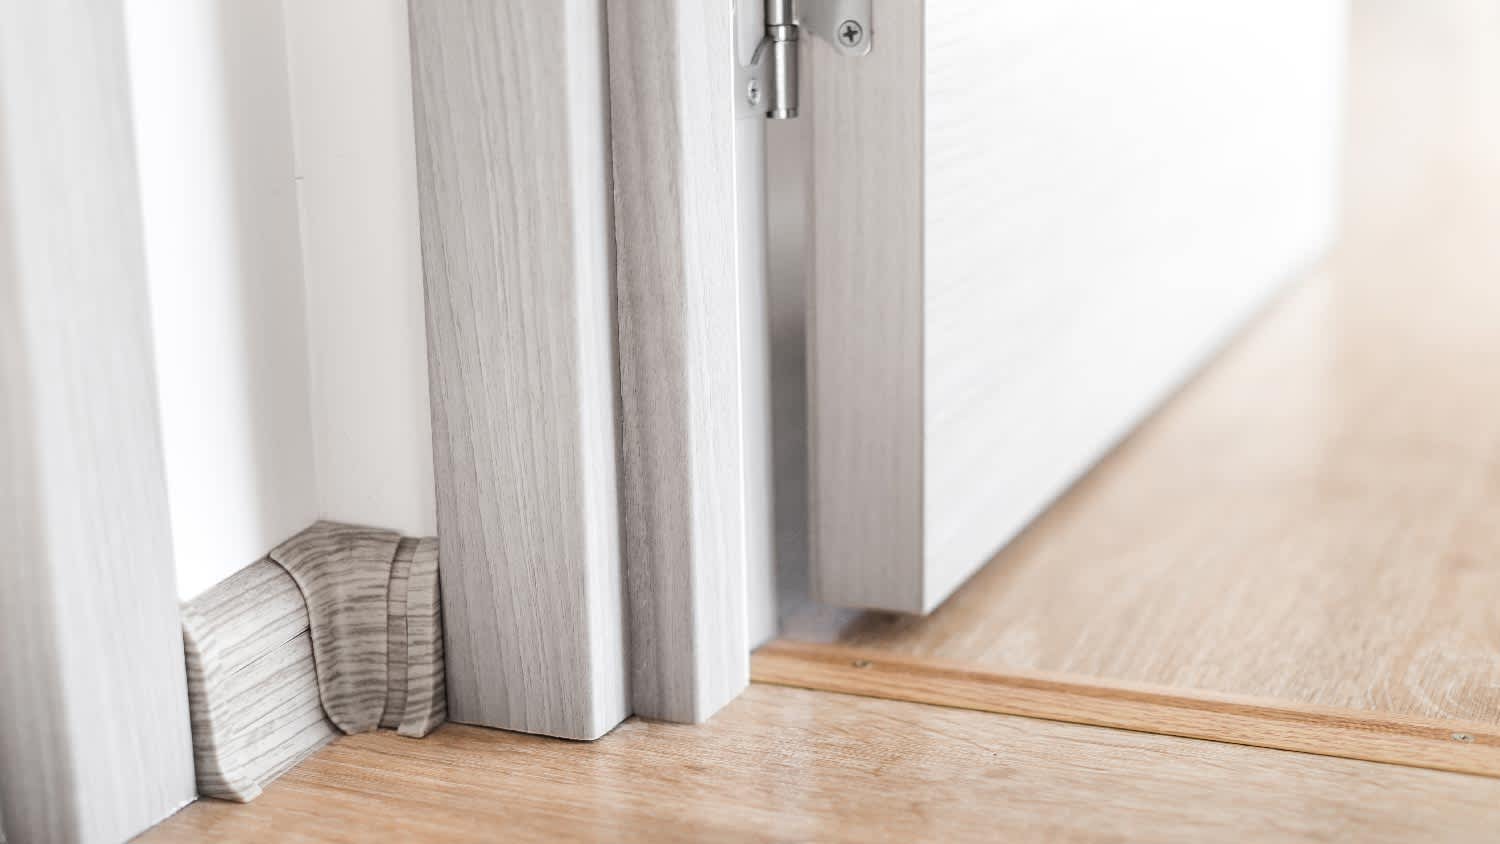
Door jambs are three-part sections that run horizontally up the sides and vertically along the top of a door. The sides house the hinges and latch or strike plate.
Hiring a local door repair company or door installer ensures everything works smoothly and looks good once installed. Professional door jamb installation costs $150 to $250, including materials and labor. If you need to replace the whole door, expect an average cost of $1,165.
Building a door jamb is a relatively complicated process. To do it correctly, you need to know how to use and have experience with several power tools. It also requires precise measurements and adjustments to ensure your door jambs fit inside your wall opening and your door hangs level and swings freely.
While it’s possible to make a door jamb yourself, we recommend hiring a professional. Many homeowners use custom door jambs to hang antique doors or DIY door builds, and any mistakes could ruin them.
Terrible experience. Walls/trim/floors/cabinets/doors all have drip marks, overspray, etc. Tiling at the fireplace had to be redone by another vendor due to incorrect and shoddy install by Profect. Contractor had his children in our house while he was on site without prior authorization or...
 Profect painting & exteriors
Jason has helped me with multiple household projects, with the most recent being new door installation. He has always showed up on time and organized and has done an incredible job! Jason is very professional and he's now my go-to for anything around my house that needs to be fixed or...
Company came to look at my garage door that was off track. They also said I needed a brace on the other garage door. They put the door back on track, and I paid to install the brace. The technician told me I needed a new garage door opener, and it would cost $1000. Red flags went off in...
 Precision Overhead Garage Door Service
On Sunday 2/26 I requested quotes via Angi from 4 refrigerator repair businesses. Northwest Appliance responded to me Monday morning (2/27) and my refrigerator was repaired by noon the same day. Great communication, they did everything they said they would. The technician had the parts on...
Excellent customer service and knowledge. I was recommend to him from my neighbour. My front door and window came in great and were installed beautifully perfectly, I m very satisfied with their excellent work, so decided to order one more big bow window for my living room. I cant wait for...
Called ahead and worked quickly to install keyless locks on vintage wooden doors.
Scott did not get appropriate access to the property prior to the scheduled inspection which required us to come back later in the day to complete it. He also, unprofessionally, knocked on a neighbor?s door in his attempts to reach someone with access. His overall report was fine though the...
Door Depot was very responsive - they came out the day after my call to assess my needs, then returned at my convenience to complete the work. They arrived early, and the work was completed in a shorter period of time than estimated. Very pleased with the results. I would definitely use them...
 Door Depot LLC
Replace garage doors: Fast response, competitive estimate, timely work done well.
Jeremiah did an awesome job cleaning 28 windows inside and out! He was fast, efficient and now I have a beautiful view again. This was a Groupon for $139 for 20 windows, but I had 28 windows/doors cleaned, so there was an extra $6 per window. Totally worth it.
 Complete Home Services
From average costs to expert advice, get all the answers you need to get your job done.
Whether you’re installing a new door or replacing an existing one, the cost of door installation varies based on location, door type, framing needs, and other factors.

The frame is a crucial part of a door’s looks and proper functioning. Here’s how much you can expect to pay to replace a door frame in your home.
The definition of a door jamb is simple: it’s what attaches your door to the wall. But, there are many moving pieces that you should be aware of. Learn more.

If you’re unsure how to repair a door jamb, we’ve got steps for the most common problems and to transform your door from an eyesore to a welcoming friend.
What is a split jamb door? There are a few things you should know about this type of pre-hung door—from the features to the pros and cons.
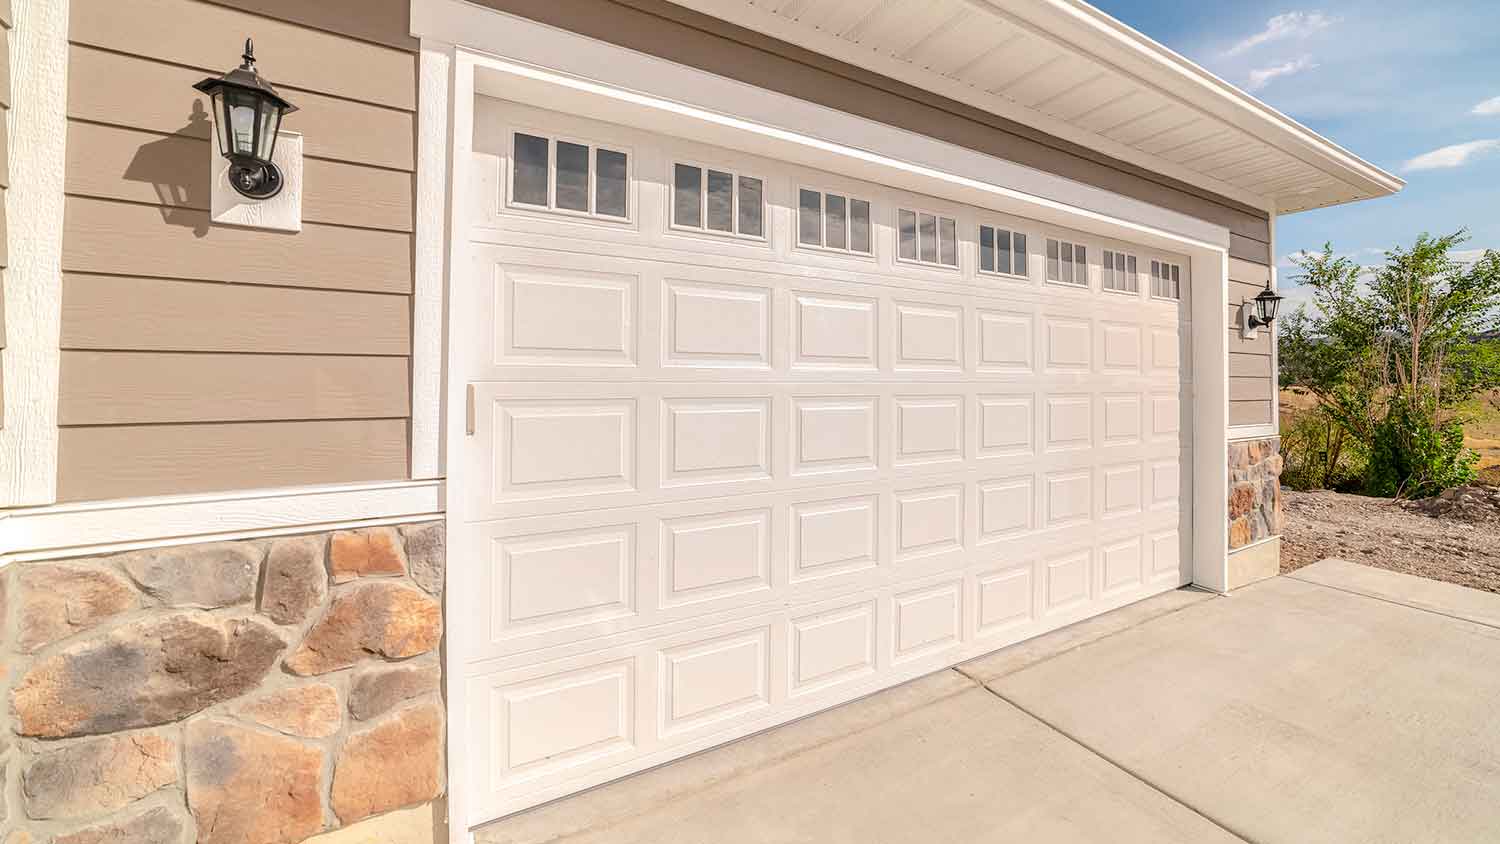
A garage door is nothing without a strong frame to keep it stable. Explore your garage door framing diagram to understand this essential structure.