

Both materials and labor determine hardwood floor installation costs. This guide breaks down all the prices you need to know before starting your new flooring project.
One room’s wood trash is another room’s wood treasure


Even for DIY-savvy homeowners, removing hardwood floors can be time-consuming, but a professional can do the job in about half the time.
A pro can offer advice on whether it’s financially viable to reuse your planks.
Hardwood flooring contractors have the right power tools to leave planks in good condition for reuse, while DIYers may use the wrong tools and damage the planks.
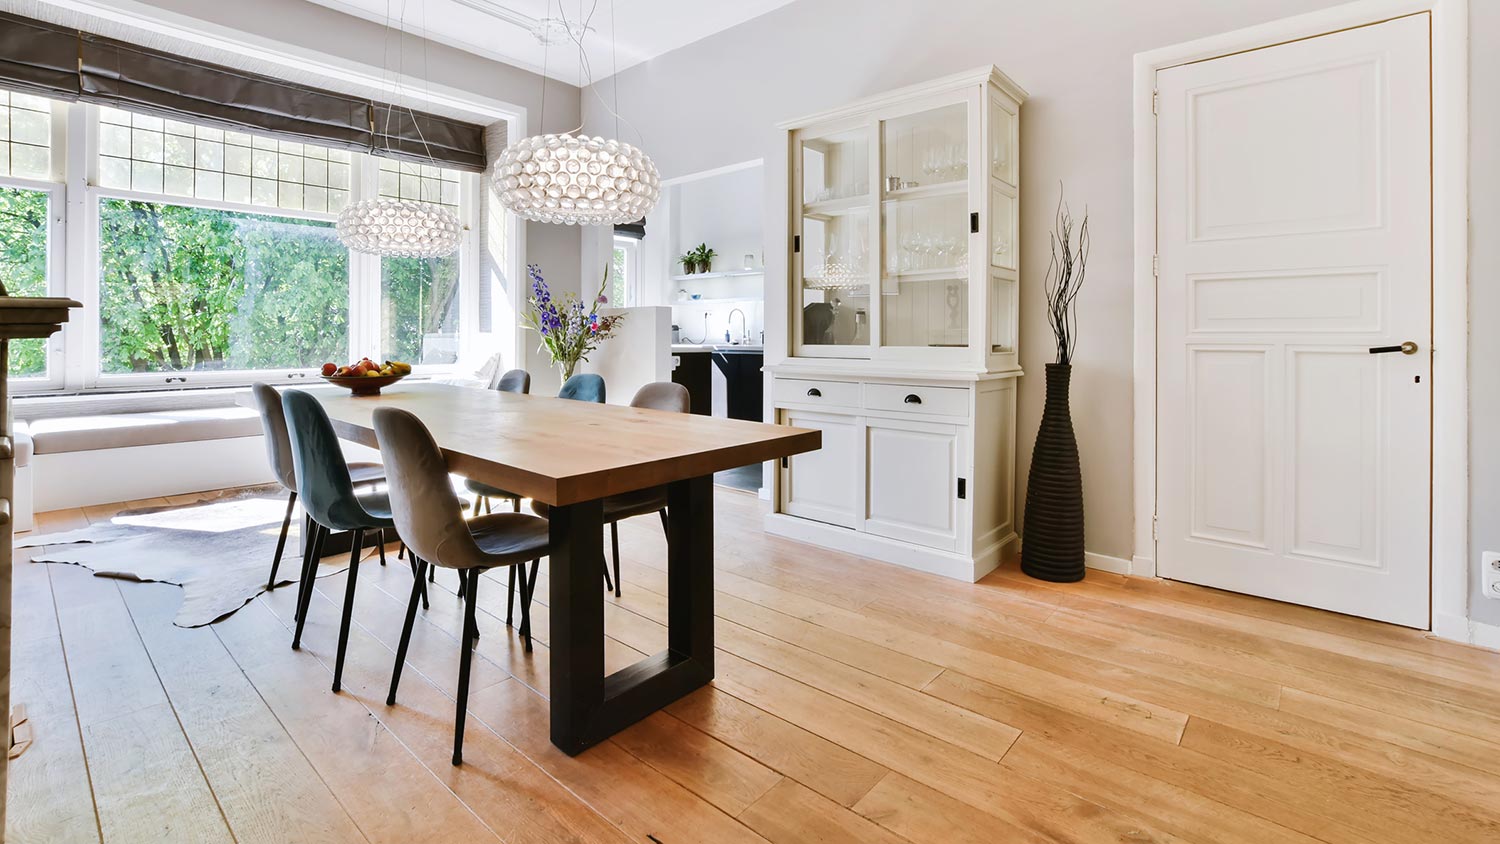
If you are doing general renovations or replacing the flooring in your home, you may find yourself pulling out hardwood flooring that is as old as the home itself. Give this wise and beautiful wood the spotlight it deserves and consider repurposing it elsewhere in your home, whether as flooring or for a crafty project, like building a chair for your porch. Here is some expert insight on how to remove hardwood flooring for reuse.
Yes, you can reclaim and reuse hardwood flooring instead of throwing it away. Depending on the age of the home, the hardwood flooring may even be a hard-to-find variety of wood, making this option even more appealing.
Before you get busy manually removing each plank, make sure that the wood is in good condition. Check for signs of pests, water damage, and warping. The planks should also be at least ⅛ inch thick. If they have been refinished too many times before, they may not be a good candidate for salvage.
Also, if you want to reuse the flooring, you need to be extra careful during the removal process. This will require patience, time, and the right technique to do the job properly.
There are many advantages to reusing hardwood flooring:
It is eco-friendly: Recycling wood reduces the amount of wood that ends up in landfill and cuts back on general pollution caused by production and manufacturing. Forty percent of U.S. trash is composed of construction and demolition debris.
It gives you that worn wood look immediately: Many people prefer the look of worn wood with its rich patina, as it lends a rustic, classic look to any home. By reusing wood that is already aged, you will get that look much faster (and less expensively) than if you bought new.
It saves you money: The cost to install hardwood flooring is $6 to $25 per square foot and installation runs $3 to $6 per square foot. Save on the cost of materials by using what you already have.
It is durable: Often, reclaimed hardwood flooring comes from homes and buildings that are 50 to 100+ years old. In these cases, the wood is usually from old-growth timber, which is more durable than modern hardwood flooring. Old-growth wood is denser, with more growth rings per inch, making it more resistant to decay and damage.
Once you are ready to embark on the project, keep these tips in mind.
Ready to get started? Here are five steps for removing your hardwood floors for reuse.
Gently use a pry bar to remove the baseboards before the floor and, if they are undamaged, reuse them, too. Make sure to cut away any caulk or sealant with a utility knife, then check the inside corners to see if they are mitered or coped.
If your baseboards are coped (meaning, the corners overlap each other using beveled cuts), you should remove the coped side first to avoid damaging the other board.
Sometimes it is too difficult to pry up the first plank of flooring unless you first cut one of the boards along the wall. In this case, you can use a circular saw to cut one of the boards along the wall in half. This will allow you to pry the piece off easily, giving you space to work on removing the rest of the boards.
You may also want to cut the edges of the floor on both of the short ends that do not have the tongue or groove. This can make the removal process easier if you are having a hard time removing the planks.
Before you start working with the pry bar, it is important to figure out which side of the board has the tongue. You will want to work with the tongue facing you, so that when you pry off the boards, the nails will be in the same direction. This will help to avoid cracking.
To pull up the old hardwood, you will need a pry bar, mallet, locking pliers, and nail claw. You should pry up boards with an exposed tongue by sliding the pry bar underneath and near a nail and lifting gently up, one-quarter of an inch at a time.
Repeat this process with all the nails. You may need to go around the board a few times before it completely lifts.
If reading these tips makes you uneasy, you may want to consider outsourcing the job by hiring a local flooring professional to pull out the old hardwood without damaging it.
Repeat the third step until you have removed all of the boards. Make sure you work carefully to keep the tongue and groove intact. They will need to be about 80% intact in order to reuse the boards for another flooring installation.
Finally, you will want to remove the nails from the bottoms of the old planks. Do this with a pair of pliers. Once you are done, wipe down all the grooves and tongues with a damp microfiber cloth to get rid of any old debris or buildup.
Here are some tips to ensure your reclaiming process goes as smoothly as possible.
Hardwood flooring that was in a sunny spot will likely have color variations. But since nothing in life is perfect, why not accept and embrace these slight imperfections? The rustic look of salvaged wood can add a unique look to any project. If the color variations are extreme, you can sand and bleach the floor.
Fluctuating temperatures or high humidity may have warped the wood. There might also be chips, cracks, water damage, or even mold, so make sure to inspect every plank before reusing it.
Sometimes bigger is better. When repurposing wood, it is helpful to work with planks six feet or longer because they are easy to pull up. Also keep in mind that many older buildings have sanded-down wood that is hard to repurpose because it may be thin. (You want the tops of the grooves to be more than ⅛-inch thick).
Hardwood floor removal is something many DIYers can take on. Just make sure you have a good working knowledge of power tools and that you are ready to roll up your sleeves and put in some sweat equity. The process is straightforward, but it might take some time, depending on the square footage of the old flooring.
On the other hand, you might not have much time to dedicate to old hardwood floor removal, or maybe you are concerned about damaging the tongue and groove of your flooring, which might be made of high-value wood. In these cases, hire a flooring company near you to help with the job. A professional can get all the wood removed, sorted, and cleaned so you can easily move on to the reinstallation process.
From average costs to expert advice, get all the answers you need to get your job done.
Both materials and labor determine hardwood floor installation costs. This guide breaks down all the prices you need to know before starting your new flooring project.

It’s impossible to keep floors damage-free over the years. Thankfully, the cost to refinish hardwood floors is far less than the price tag to replace them altogether.

Here’s what you should expect to pay when renting an orbital, drum, vibrating, or edging floor sander—as well as where you can rent them and what else to know.

Learn what to ask and where to look when hiring someone to refinish hardwood floors to ensure they restore your boards to their former glory on budget.
Moisture and heat can cause buckled hardwood floors. Learn why this happens, how to prevent it, and what to do if your hardwood floor is buckling.

Struggling to narrow down your project timeline when deciding whether to paint or refinish floors first? Here's how to figure out your next steps.